 ShopPrentice



Built by a woodworker
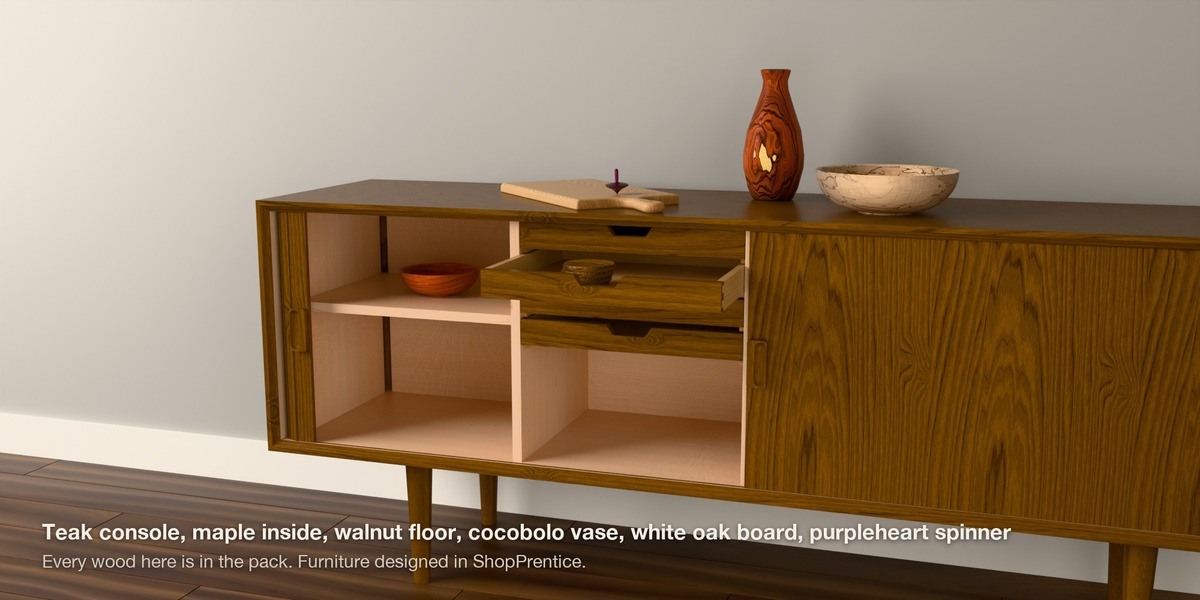
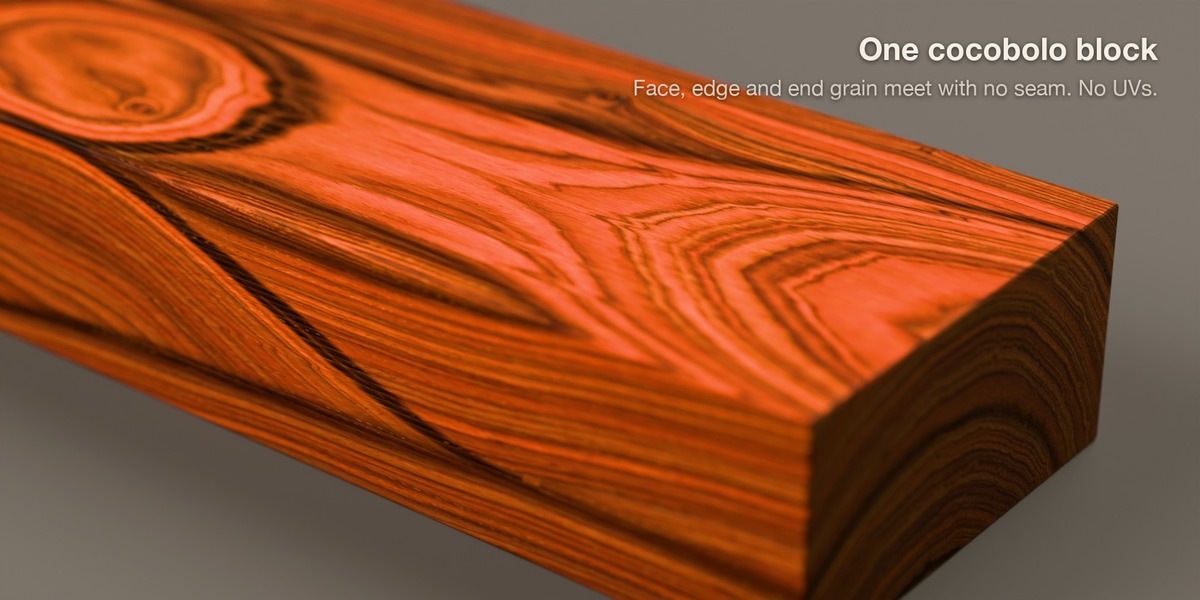
I'm a woodworker and an engineer who is really into the beautiful figure of natural wood. One reason I love woodworking is that it allows me to capture those figures in a piece of furniture, so people can appreciate them in their daily lives. I often build 3D models before I make my furniture, and I realized there isn't a wood shader good enough to meet the standard of a wood nerd like me. Almost all of the existing shaders are just generic-looking wood: people can tell it's wood, and nothing more. So I built my own. When I showed a piece to my fellow woodworker friends, they all asked: is that cocobolo?
Grown, ring by ring
I use hand planes a lot. If you haven't tried one, it's an amazing feeling to push a blade forward and lift off a thin shaving of wood. But what I really want to say is that each shaving reveals a new layer of the grain. As I keep planing, I see how the grain changes, and over time I have built a picture in my head of what the 3D structure of wood should look like. Trees are growing beings, so we need a model that grows the tree year by year: every pore, every ring, every medullary ray, and every year's dark extractives that form in the heartwood. Stop the growth at any year and you have a tree of that age. Your object is then cut out of that tree.
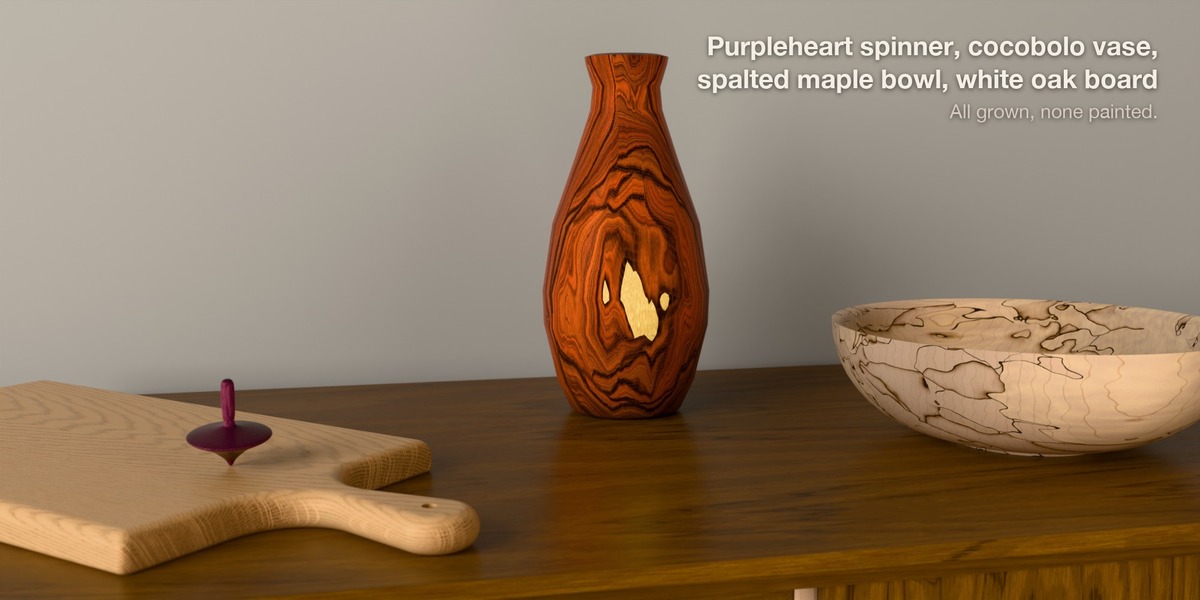
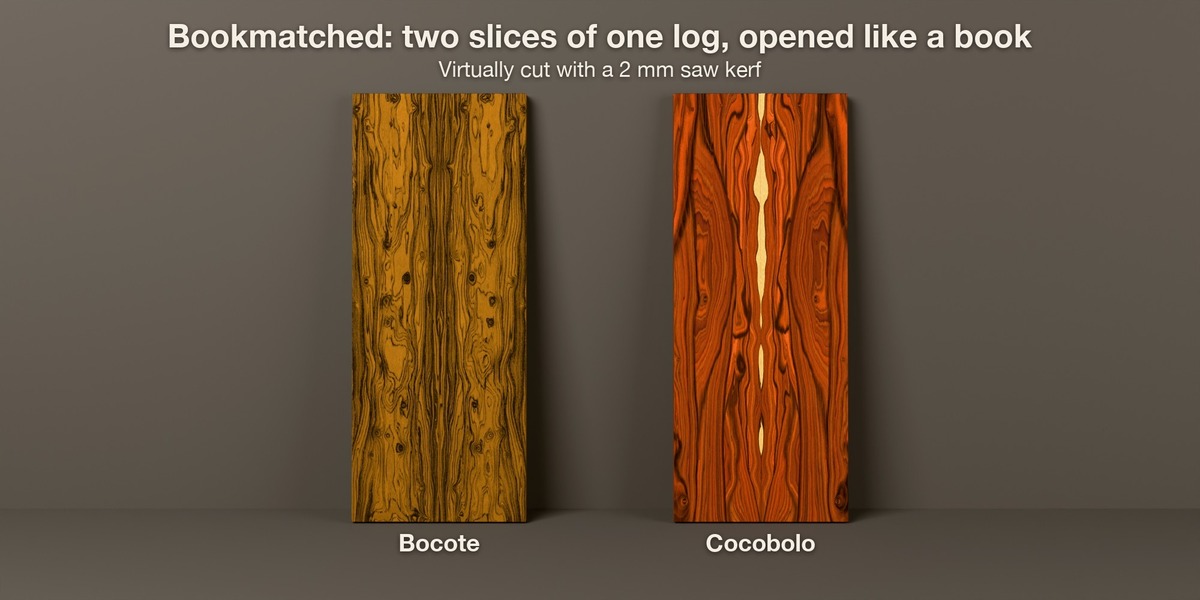
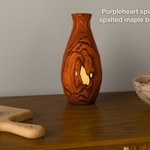
I keep it as close to the biology as I can. I checked all the botanical research papers out there to build this growth model. But that's still not enough to reproduce many interesting details, so I had to come up with mechanisms of my own where the papers stop. That is how it grows what painted textures can't: the spalting lines in maple, the black stripes in rosewood, the spider-web lines in ziricote...
I fine-tuned the model by hand to fit each wood. Every time I update the model, I slice the wood in different directions and compare it closely with photos of real wood. That's already over 1,200 iterations, and still growing.
10 woods here, 43 in the lumber yard
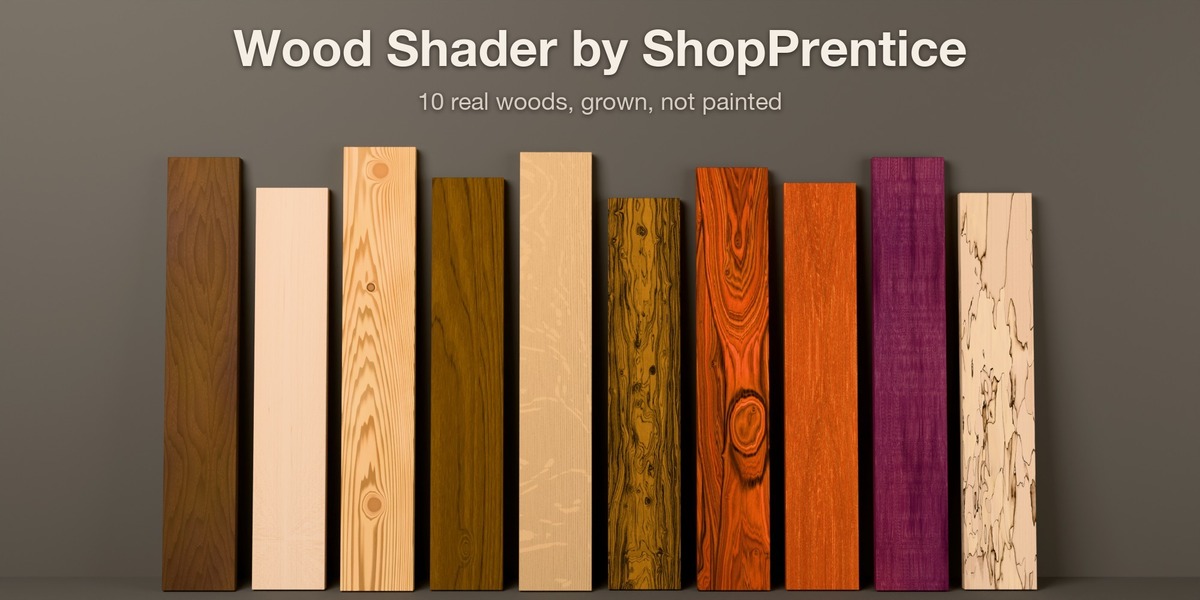
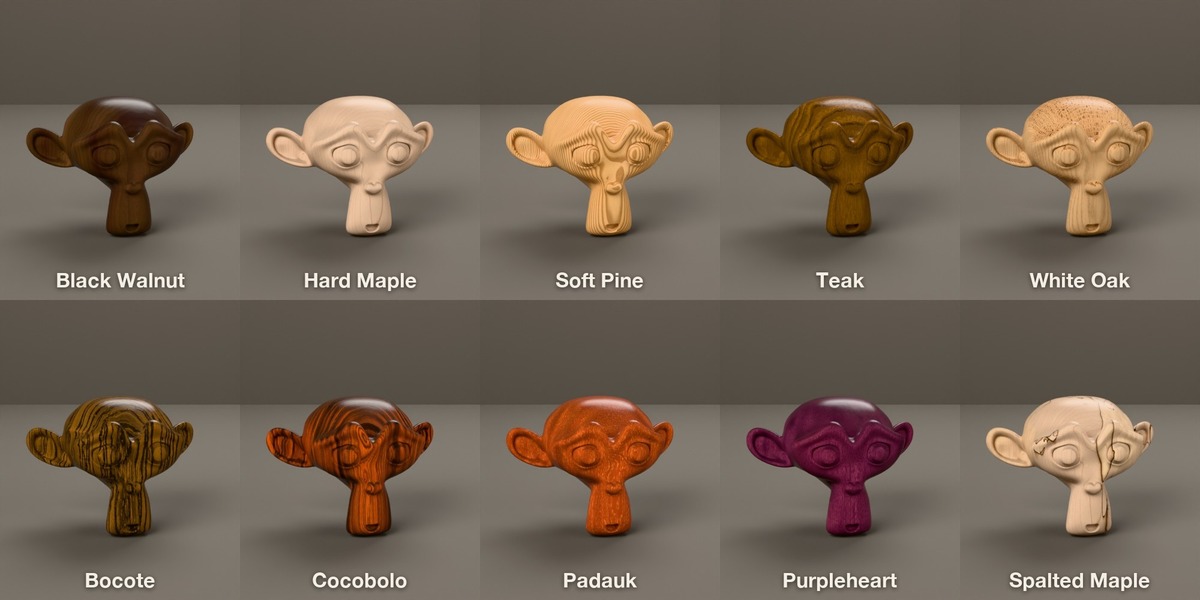
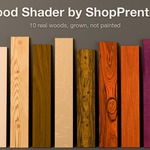
My virtual lumber yard has 43 species so far. I picked 10 for this pack:
Everyday: Black Walnut, Hard Maple, Soft Pine, Teak, White Oak
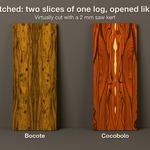
Exotic: Bocote, Cocobolo, Padauk, Purpleheart, Spalted Maple
The rest, rosewood and ziricote among them, are at shopprentice.com/lumber. I keep improving the woods and adding new ones. I only model woods I have worked or held myself, so I know what they should look like. I respect the wood.
What you get in Blender
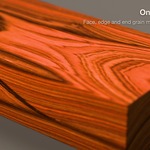
- The grain wraps around every edge, and end grain shows up exactly where it should. No UV unwrapping, no seams, on any shape.
- Wood at its real size: a figure 3 cm across stays 3 cm across, on a small box or a big table.
- Two logs (two different trees) of every wood. On most woods, the second is a young tree with a wide band of pale sapwood.
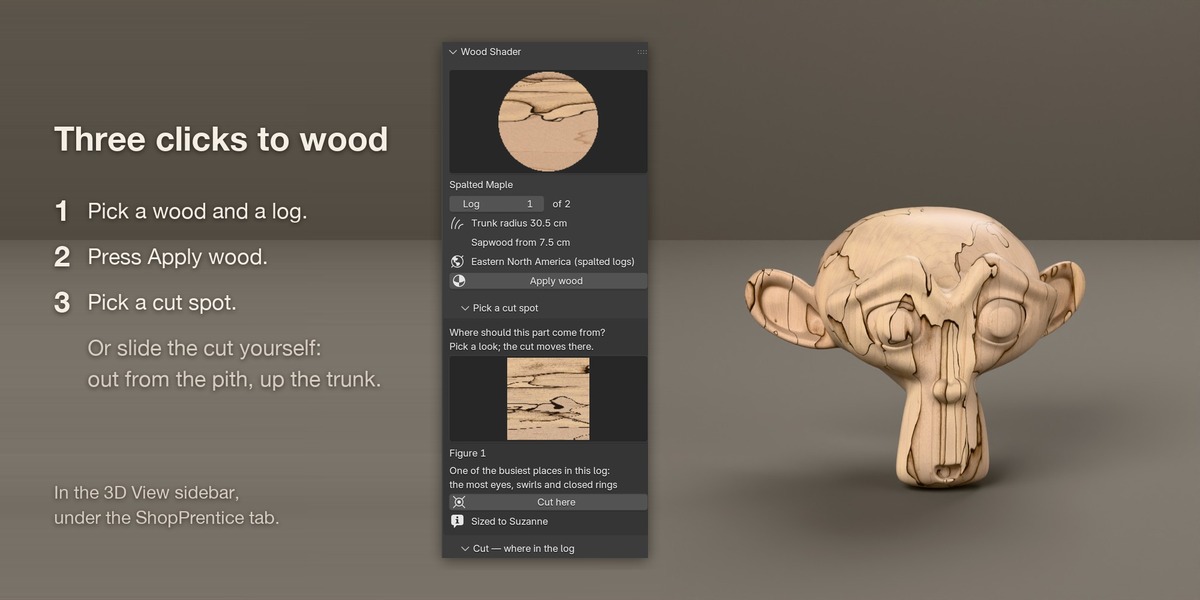
Three clicks to a wooden object
- Select your object and open the ShopPrentice tab in the 3D View sidebar.
- Pick a wood and a log, and press Apply wood.
- Pick a cut spot, or move the cut yourself.
The add-on builds the material and sets the scene up for you.
Cut it like a sawyer
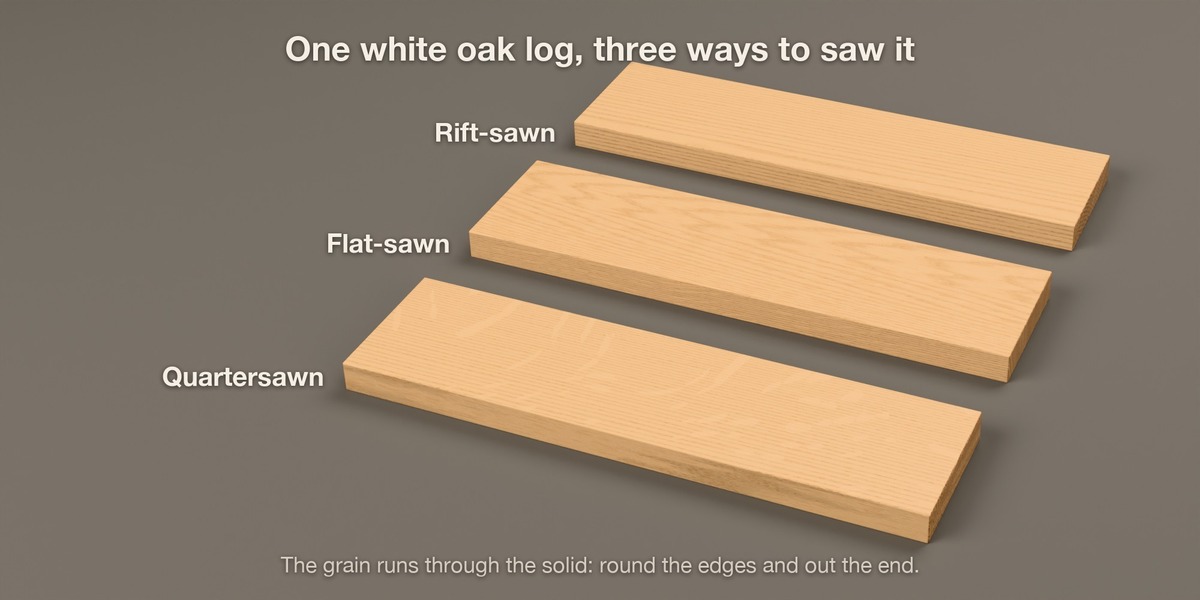
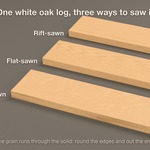
The same log gives very different boards depending on where you cut. The panel gives you that choice in a sawyer's words:
- Grain along X, Y or Z
- Out from the pith: near the heart or near the bark
- Across and Up the trunk: move through the log
- Roll and Tilt: turn the part inside the tree
Ready-made cut spots
Don't want to hunt? Each log comes with pictures to click:
- Quartersawn: straight stripes and ray fleck
- Flat-sawn: the arches called cathedrals
- Rift: calm, straight lines
- Sapwood edge: the pale band near the bark, where the log has one
- Figure: the busiest places in the log (eyes, swirls, shell lines, spalting), on the figured woods
A spot is sized to the part you selected, and the controls stay free for fine-tuning.
What you need
- Blender 4.2 or newer (made and tested on Blender 5.1)
- Cycles. The woods are Open Shading Language (OSL) shaders, so they do not work in Eevee.
- The add-on switches the scene to Cycles on the CPU with OSL turned on.
- For true wood colour, use the Khronos PBR Neutral colour display (one button in the panel). Blender’s "Standard" display turns pale wood, such as maple or sapwood, lemon-green under bright light, so Apply switches away from it. "AgX", Blender’s default, washes strong colours out.
Good to know
- The download is small, about 6 MB. There are no image textures: each log is a small shader file.
- Apply your object's scale so the wood comes out at real size.
- A part bigger than the tree still gets its wood, and the panel tells you when some of it is past the bark.
About ShopPrentice
ShopPrentice is where I design real furniture with real joinery, in wood that looks like wood. See more at shopprentice.com.