3D Slicer Suite
 Studio Guerra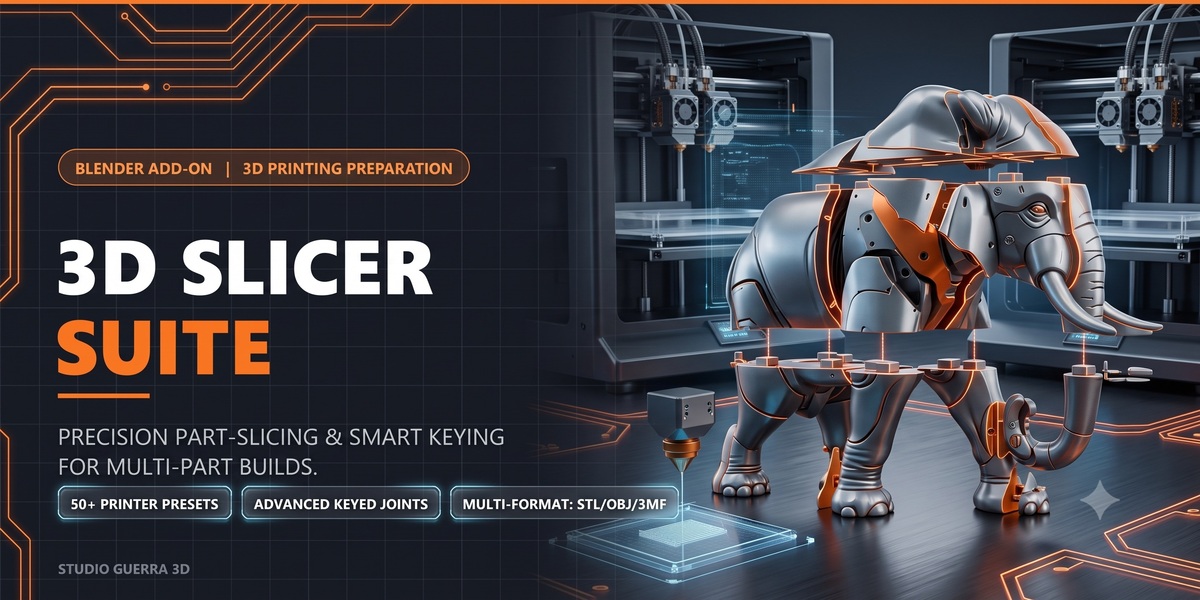




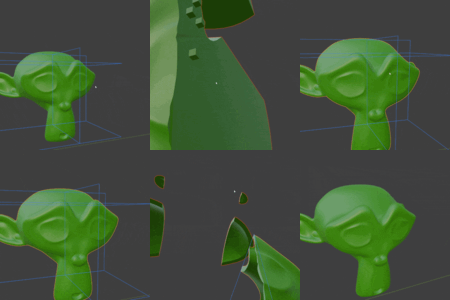
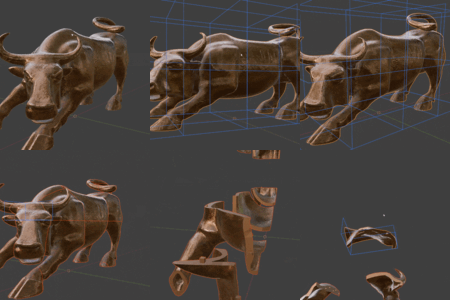
📄 Official Documentation: Slicer Suite Pro
Version: 1.0
Author: Aleguerra
Compatibility: Blender 4.2+
🚀 Introduction
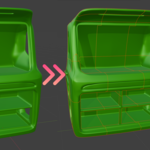
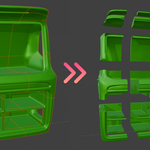
Slicer Suite Pro is the ultimate tool for those printing large 3D parts. It automates the tedious process of cutting giant models (such as helmets, armor, statues, and props) to fit your printer’s build volume.
Unlike manual boolean cuts, this addon analyzes the part's geometry to automatically create alignment pins (keys), ensuring your parts fit together perfectly after printing.
📥 Installation
Download the addon's .zip file.
Open Blender and go to Edit > Preferences.
Click the Add-ons tab and then the Install... button.
Select the downloaded .zip file.
Check the box next to "Object: Slicer Suite Pro" to activate it.
The panel will appear in the 3D View sidebar (shortcut key N), under the "Slicer Suite" tab.
🛠️ How to Use (Workflow)
1. Preparation (Very Important!)
Before slicing, ensure your object is ready:
Apply Scale: Select the object and press Ctrl + A > Scale. (The script requires a 1.0 scale to calculate real-world measurements in mm/cm).
Check Normals: Faces must be pointing outward (Blue in the Face Orientation overlay).
Manifold Mesh: The object must have volume (it cannot be a single flat sheet without thickness).
2. Cut Configuration
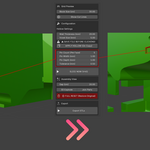
In the Slicer Suite panel, configure your settings:
Block Size (cm): The maximum size of the cutting cube. Example: For an Ender 3, use 20 or 22. For a Bambu Lab, use 25.
Pin Count: How many alignment pins you want per cut face.
1 pin: Places it in the center.
2+ pins: The smart algorithm spreads the pins as far apart as possible.
Box Width/Depth (mm): The physical size of the square pin.
Tolerance (mm): The 3D printing clearance. The script creates the hole (female) larger than the pin (male) by this value.
Recommended: 0.3mm to 0.5mm for PLA/PETG.
3. Slice
Select the object.
Click the SLICE OBJECT button.
Wait for processing. Blender may freeze for a few seconds while calculating complex intersections.
4. Visualization & Inspection
After cutting, use the "View & Assembly" section:
Explode: Automatically moves all parts apart so you can verify if pins were correctly generated on internal walls.
Reset: Reassembles the parts back to their original position.
5. Export
Click Export STLs....
Choose a folder on your computer.
The script will save each piece as a separate STL file, named automatically (e.g., Helmet_Part_0_0_1.stl).
⚙️ Detailed Parameters
⚖️ License
This addon is distributed under the GPL (GNU General Public License). You are free to use it for both commercial and personal projects.
Support: Found a bug? Contact us at: [email protected]
Have questions about this product?
Login to message
| Sales | 10 |
| Dev Fund Contributor | |
| Published | 5 months ago |
| Blender Version | 4.2 - 5.1 |
| Extension Type | Add-on |
| Render Engine Used | Blender-Internal, Blender-Game-Engine, Cycles, Eevee |
| License | GPL |