 MarkSeam



📦 Installation
-
In Blender, go to Edit > Preferences > Add-ons.
-
Click Install and select the
.zipfile for Addon Dev Tools. -
Enable the add-on by checking the box next to its name.
🔄 Using Auto Reload
Purpose: Automatically reloads your add-on whenever its files are saved.
-
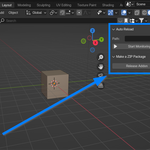
Open the 3D Viewport and navigate to the Sidebar (N-panel).
-
Go to the Addon Dev Tools tab.
-
In the Auto Reload panel:
-
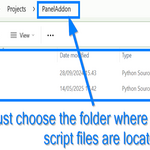
Set the folder path to your add-on’s root directory.
-
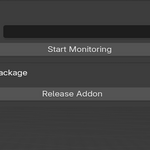
Click Start Monitoring to begin watching for file changes.
-
Edit your code in an external editor (e.g. VS Code). Changes will auto-reload in Blender.
-
Click Stop Monitoring to end monitoring.
-
Note: Multi-file add-ons are supported, but have not been extensively tested in complex setups.
📦 Creating a Release ZIP
Purpose: Packages your add-on into a .zip file for distribution.
-
In the same Addon Dev Tools tab, scroll to the Make a ZIP Package panel.
-
Ensure the folder path is set.
-
Click Release Addon.
-
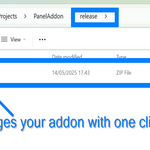
A
.zipfile will be created in areleasesubfolder inside your project.
🔧 Troubleshooting
-
Ensure your folder path points to the root of the add-on (containing
__init__.py). -
Reloading errors will appear in the Blender System Console (
Window > Toggle System Consoleon Windows). -
Blender must have permission to read/write in the specified folder
Have questions about this product?
Login to message
