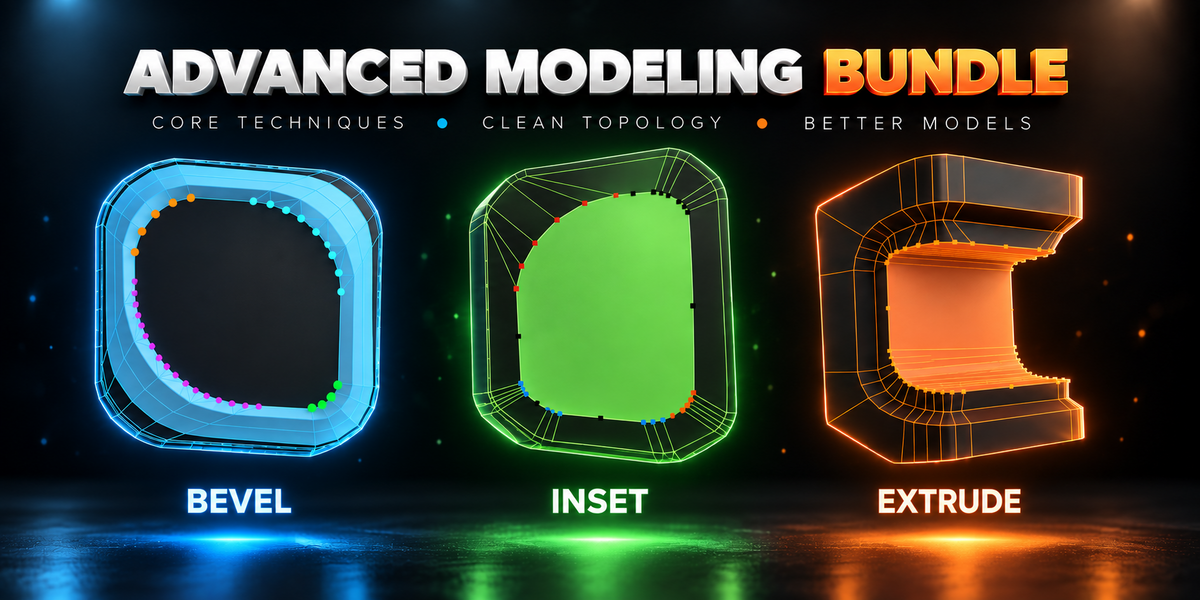
Advanced Modeling Bundle

Tachyon Studio in Modeling


CHANGELOG

Advanced Modeling Bundle

What's new in the three add-ons

Bevel 1.1.1, Extrude 1.1.1, Inset 1.0.3 — 25 September 2026

In all three, every shortcut in the editor can now be changed, and any of them can take Ctrl, Shift or Alt (or Cmd on a Mac).

All three

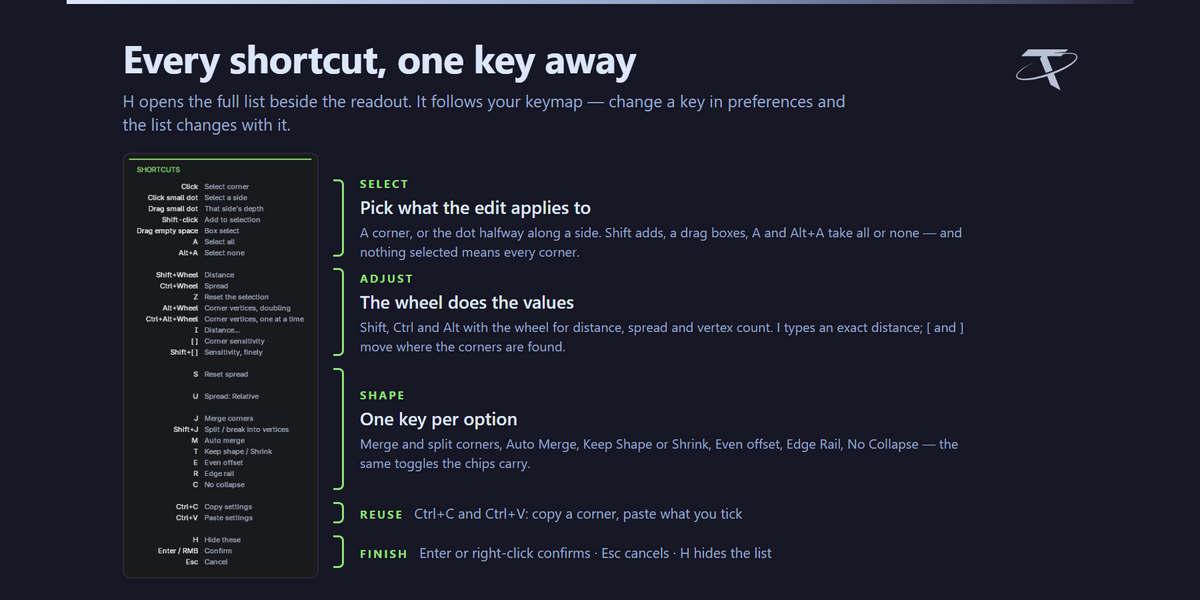
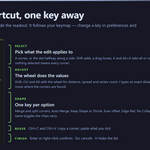
Every shortcut is yours to set. In the add-on preferences, under Keys in the editor, each action has Ctrl, Shift and Alt toggles and a key. Click the round button beside one and press the shortcut you want (Esc cancels). Any combination works, so Ctrl + Shift + D is as good as a plain letter. Two actions on the same shortcut get a warning, and the first one keeps it.

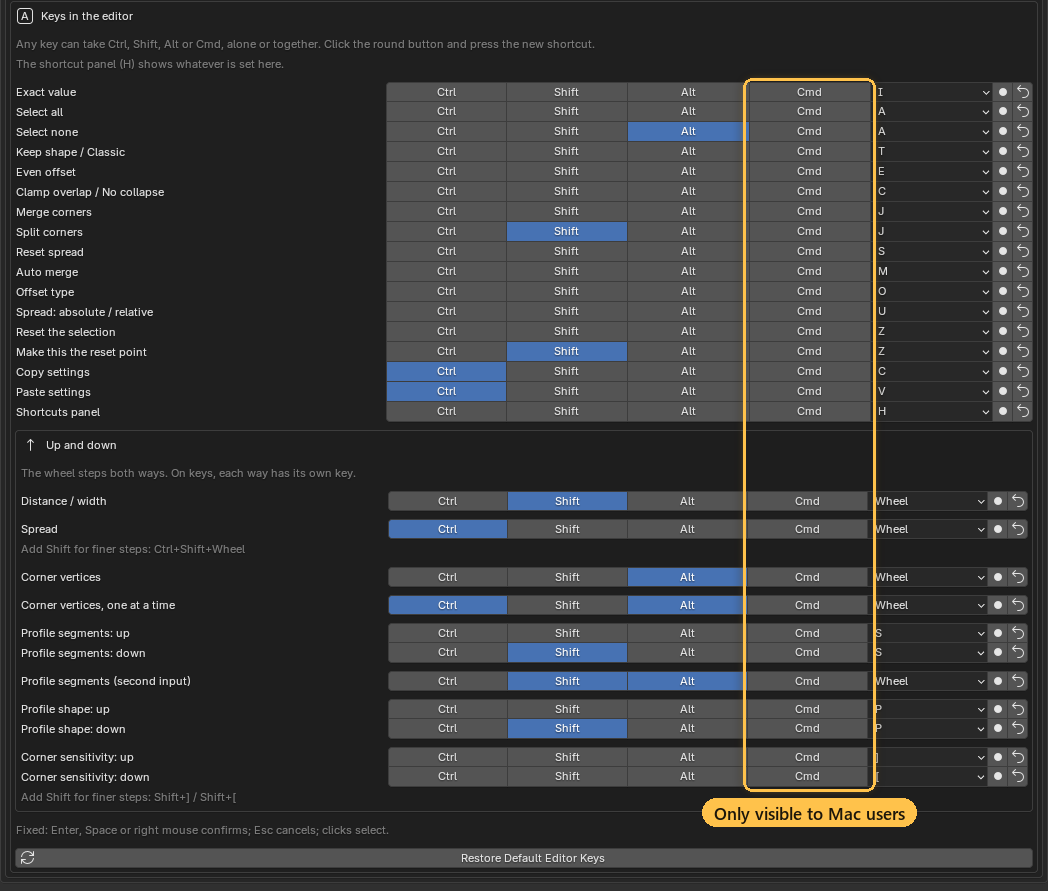
The shortcut preferences; the Cmd column only appears on a Mac

Anything that goes up and down can use the wheel or two keys. Distance, spread, corner vertices and corner sensitivity (and on the Bevel the profile segments and profile shape, on the Extrude Reach) can each be the wheel with your own modifiers, or a pair of keys, one for up and one for down: letters, numbers, arrows, the numpad or the side mouse buttons. The old Spread on and Segments on only chose between Ctrl and Alt; spread and vertex count now take any modifiers you like. Shift still gives finer steps on the spread and the corner sensitivity.

The shortcuts that rode on another key have rows of their own: Select none (Alt + A), Split corners (Shift + J), Set the reset point (Shift + Z), and on the Bevel profile segments down (Shift + S) and profile shape flatter (Shift + P).

On a Mac, Cmd works too. Every shortcut gets a Cmd toggle as well, and Alt is shown as Option, the way the keyboard reads.

Nothing changes until you change it: every default is what it was, and a key you had already changed, or your Spread on and Segments on choice, carries over. The shortcut panel (H) shows whatever you set.

Advanced Extrude 1.1.1

Reach can be moved too, and still only works while you hold a handle. The shortcut panel no longer lists Auto Merge, which the extrude doesn't have.

GPL-3.0-or-later · Copyright 2026 Tachyon Studio
CHANGELOG

Advanced Modeling Bundle

Every release of the three add-ons, newest first

Every release of the three add-ons in the bundle (Advanced Inset, Advanced Bevel and Advanced Extrude), newest first. They are released together, each with its own version number. Each is one package covering Blender 3.3 – 5.2: a modern extension on 4.2+, a classic add-on on 3.3 – 4.1.

Current version:  Advanced Bevel 1.1.0, Advanced Extrude 1.1.0, Advanced Inset 1.0.2

Released:  24 September 2026

Blender:  3.3 – 5.2

Licence:  GPL-3.0-or-later


Bevel 1.1.0, Extrude 1.1.0, Inset 1.0.2 — 24 September 2026

In all three, corners get a reset point you choose, and a copied corner pastes as the same size anywhere. The Bevel handles structural edges and keeps merged corners in shape. In the Extrude, the edges between corners follow a spread.

All three

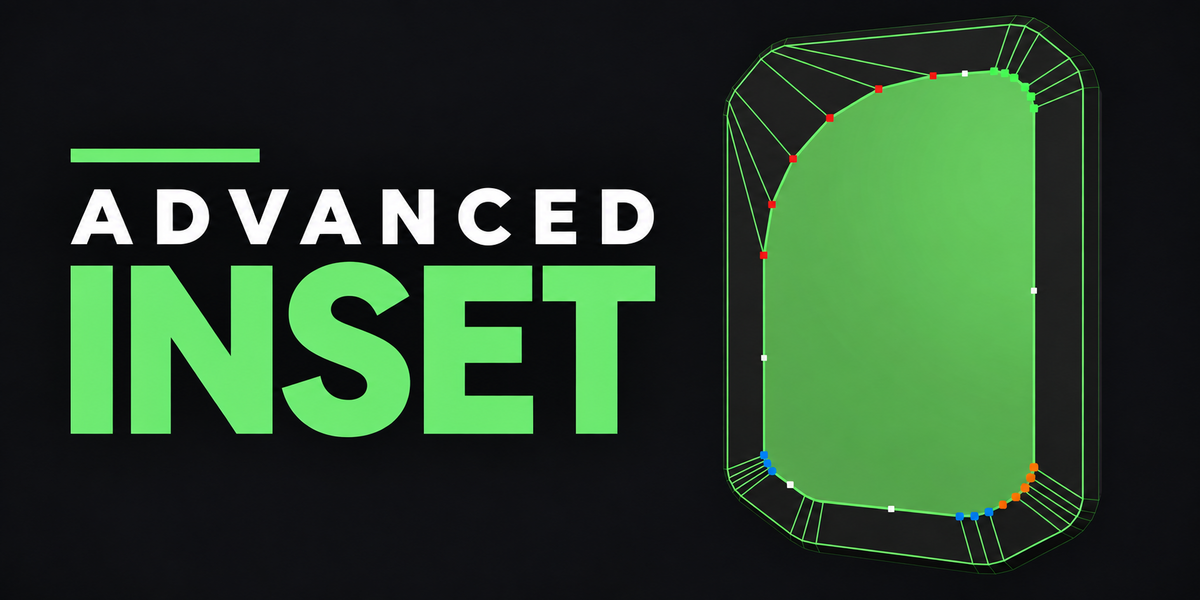
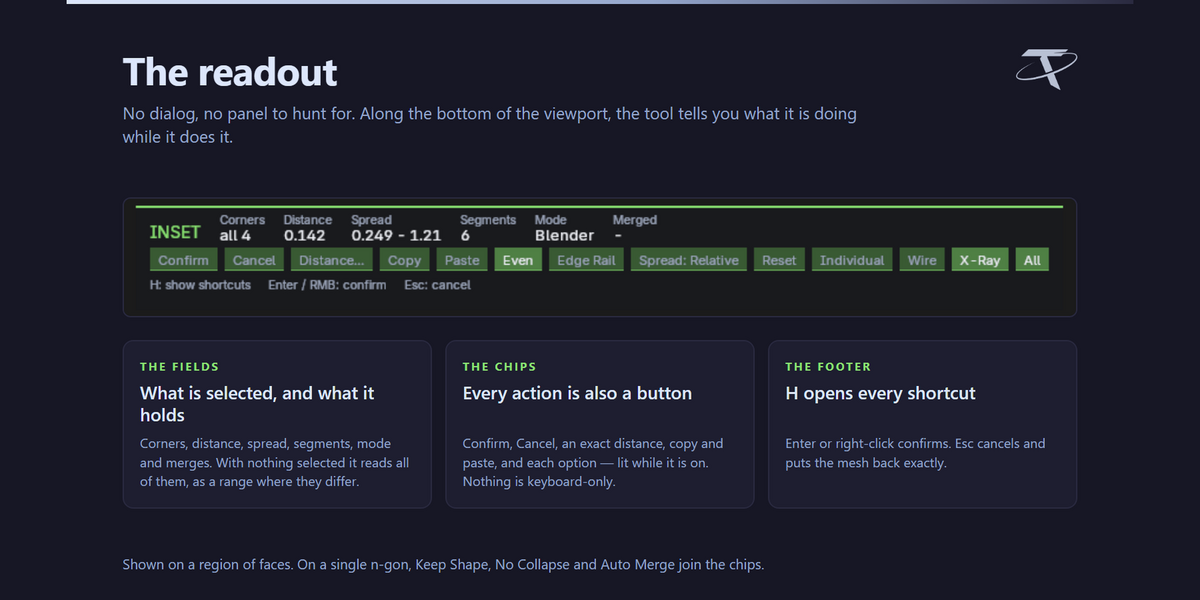

A reset point for your corners. Reset (the chip, or Z) used to put a corner back to plain defaults. Now it puts it back where it was when you started the tool. Click Set Reset Point (or Shift + Z) to make the current shape the one Reset returns to. It works per corner, so you can reset one corner while its neighbours keep their edits.

Set Reset Point and Reset on the inset's corners


A pasted spread is the same size on any corner. Spread is copied as a length, so 0.3 copied off a round corner is 0.3 on a sharp one.


Paste a vertex count. Copy a round corner and paste its vertex count onto another. A corner that is still a single vertex takes it too. The row is labelled N vertices.

The shortcuts panel sits on the left, clear of the toolbar and the sidebar. The new Shortcuts panel preference puts it on the right instead.

The first drag grows outward. The First drag preference changes it back.

Advanced Bevel 1.1.0

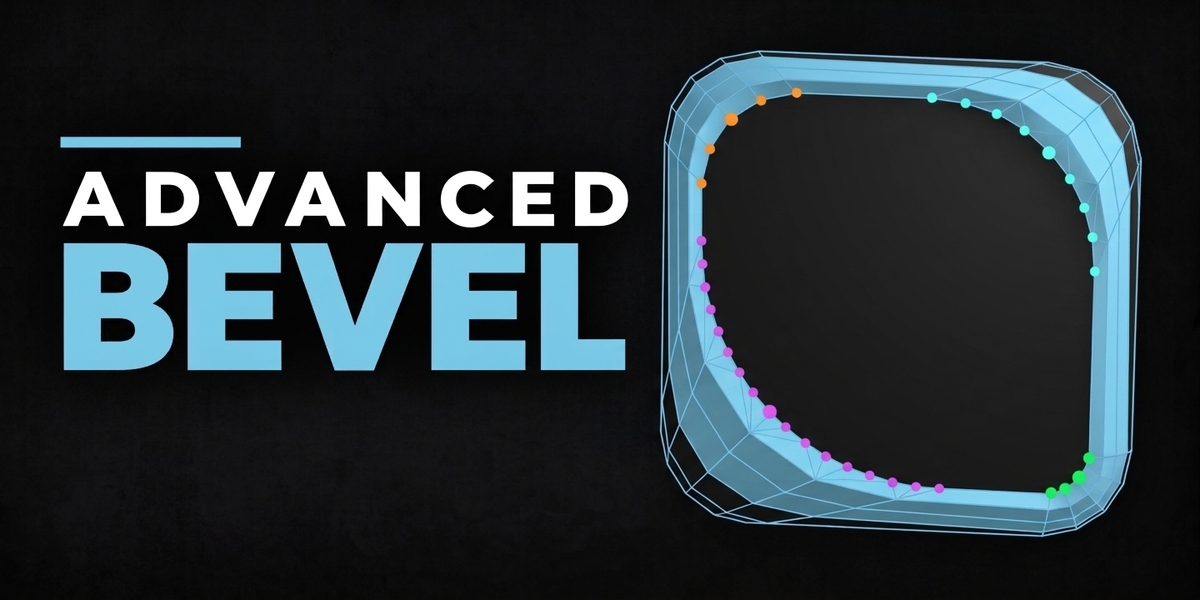

Structural edges. Bevel edges where three or more bevelled edges meet (the corner of a box, or a whole rounded strip) instead of being turned away. Where the edges meet, the geometry is exactly Blender's own bevel. Every corner around it is still a handle.

Bevelling structural edges and adjusting the corners around them


The foot of an extrusion is one outline. The ring of edges around the base of an extruded shape comes up as one outline with its own corners. A round corner grows around its own centre, and its first and last vertices go out square to the straight sides. On the wall above it, the matching round is one corner too, and spreading it slides it along the wall.

Perpendicular bevelling around the foot of an extrusion


Clamp Overlap stops a bevel that runs into other geometry, and with Clamp Overlap on, Auto Merge now starts on too, so the bevel joins what it runs into when you confirm. M still turns Auto Merge off.

Clamp Overlap holding a bevel at the structure it runs into

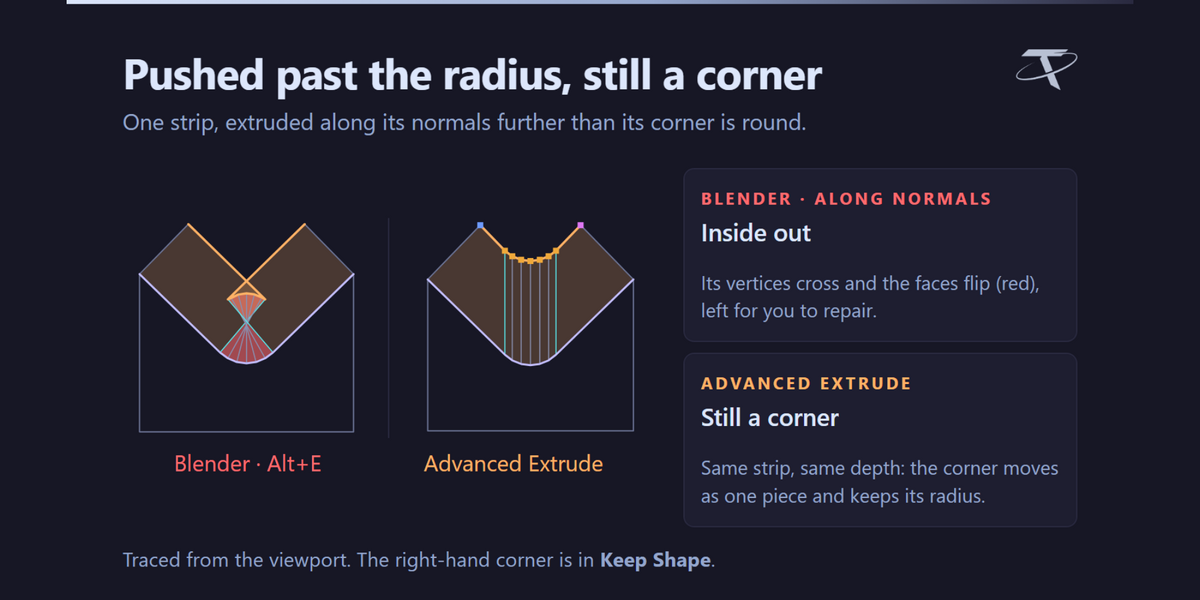

Merging corners is stable. A merged corner keeps one clean arc between its sides, with Auto Merge on or off, where it could slide down its sides before. A single round that turns further than about 140 degrees holds the bevel's width all the way round.

Merging corners that stay in shape


The Bevel's own reset point, the same as the Inset's.

Set Reset Point and Reset on the bevel's corners

Also in the Bevel:

  • Edit Corners (Shift + Alt + C) is in the Bevel too.
  • Round corners on a partly bevelled face keep their shape from the start.
  • A round made of many small faces is one corner.
  • Faces cut into a fan of triangles bevel cleanly.

Advanced Extrude 1.1.0

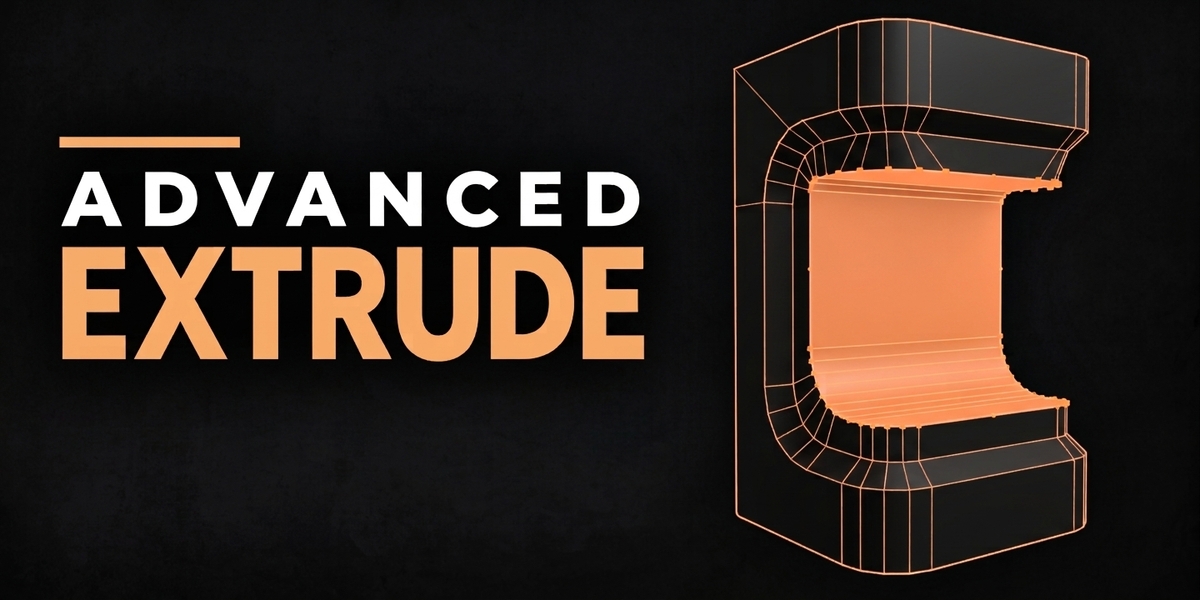

The edges between corners follow a spread. On a wide selection the edges in the middle now move with the corners either side. The new Interpolate chip picks how. On (the default), they ease from one corner to the next. Off, each moves with the nearest corner, so the loops between two merged corners stay straight lines while you spread them.

In-between edges easing with a spread, then held straight

Reach. While you drag a corner, roll the mouse wheel to take the next loop behind it along with the drag.

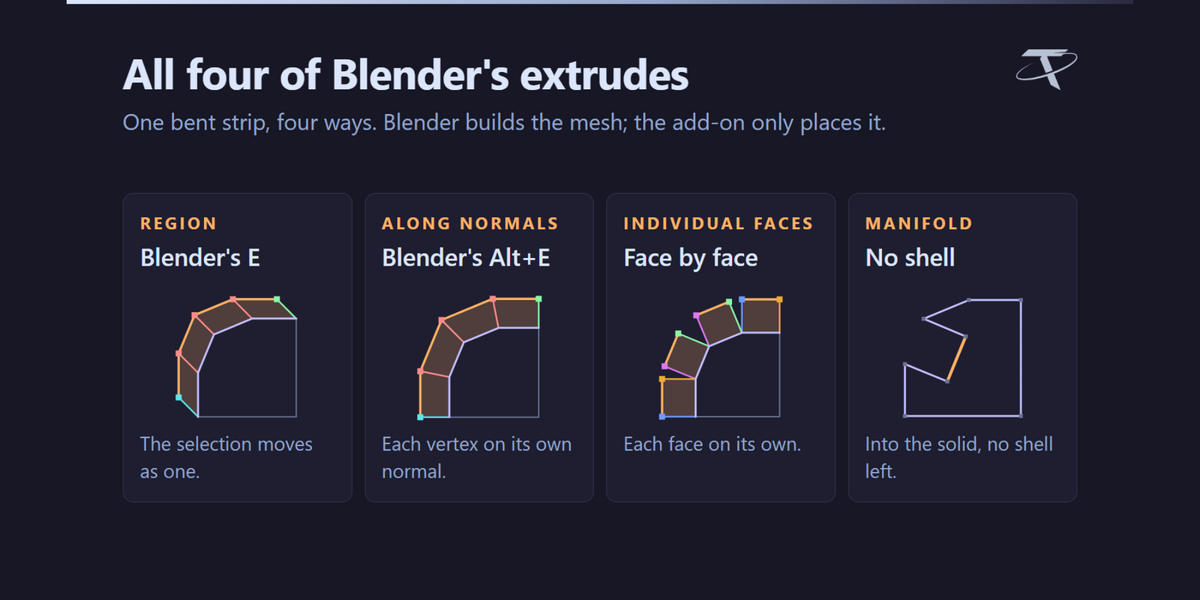
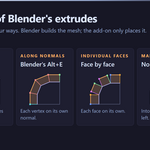
Every Blender extrude on the menu. The menu (Shift + Alt + T) used to offer two of Blender's own extrudes. It now offers all of them, the same list Blender's Extrude menu (Alt + E) shows for your selection: faces, edges and vertices, Extrude Repeat and Spin. They sit below this add-on's four, under a Vanilla Blender Extrude heading, so it's clear which are which. On the pie they share one slot. One checkbox in the preferences shows or hides the whole section.

Advanced Inset 1.0.2


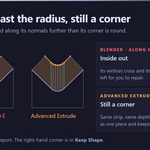
Very wide rounds keep the inset's width. A round that turns further than about 140 degrees takes the parallel offset, so its ends come in from the sides instead of sliding along them. A merged corner in Keep Shape keeps its arc with Auto Merge on.


1.0.1 — 21 September 2026

Fixed

The corner handles are visible again on the Vulkan backend, in all three add-ons. With Blender set to Vulkan (Preferences ▸ System ▸ Backend), the coloured dots marking each corner did not appear, while OpenGL showed them normally. They are now drawn with Blender's own point shader, which works on both backends. Nothing changes on OpenGL.


1.0.0 — First release



Advanced Inset, Advanced Bevel and Advanced Extrude: Blender's inset, bevel and extrude, held open for editing. A rounded corner is found as a corner and moved as one piece, so it never collapses or turns inside out. Click once and every corner becomes a handle you can push, widen or give more vertices, all before you confirm.

GPL-3.0-or-later · Copyright 2026 Tachyon Studio

No versions found for this variant.
CHANGELOG

Advanced Modeling Bundle

What's new in the three add-ons

Bevel 1.1.1, Extrude 1.1.1, Inset 1.0.3 — 25 September 2026

In all three, every shortcut in the editor can now be changed, and any of them can take Ctrl, Shift or Alt (or Cmd on a Mac).

All three

Every shortcut is yours to set. In the add-on preferences, under Keys in the editor, each action has Ctrl, Shift and Alt toggles and a key. Click the round button beside one and press the shortcut you want (Esc cancels). Any combination works, so Ctrl + Shift + D is as good as a plain letter. Two actions on the same shortcut get a warning, and the first one keeps it.

The shortcut preferences; the Cmd column only appears on a Mac

Anything that goes up and down can use the wheel or two keys. Distance, spread, corner vertices and corner sensitivity (and on the Bevel the profile segments and profile shape, on the Extrude Reach) can each be the wheel with your own modifiers, or a pair of keys, one for up and one for down: letters, numbers, arrows, the numpad or the side mouse buttons. The old Spread on and Segments on only chose between Ctrl and Alt; spread and vertex count now take any modifiers you like. Shift still gives finer steps on the spread and the corner sensitivity.

The shortcuts that rode on another key have rows of their own: Select none (Alt + A), Split corners (Shift + J), Set the reset point (Shift + Z), and on the Bevel profile segments down (Shift + S) and profile shape flatter (Shift + P).

On a Mac, Cmd works too. Every shortcut gets a Cmd toggle as well, and Alt is shown as Option, the way the keyboard reads.

Nothing changes until you change it: every default is what it was, and a key you had already changed, or your Spread on and Segments on choice, carries over. The shortcut panel (H) shows whatever you set.

Advanced Extrude 1.1.1

Reach can be moved too, and still only works while you hold a handle. The shortcut panel no longer lists Auto Merge, which the extrude doesn't have.

GPL-3.0-or-later · Copyright 2026 Tachyon Studio
CHANGELOG

Advanced Modeling Bundle

Every release of the three add-ons, newest first

Every release of the three add-ons in the bundle (Advanced Inset, Advanced Bevel and Advanced Extrude), newest first. They are released together, each with its own version number. Each is one package covering Blender 3.3 – 5.2: a modern extension on 4.2+, a classic add-on on 3.3 – 4.1.

Current version:  Advanced Bevel 1.1.0, Advanced Extrude 1.1.0, Advanced Inset 1.0.2

Released:  24 September 2026

Blender:  3.3 – 5.2

Licence:  GPL-3.0-or-later


Bevel 1.1.0, Extrude 1.1.0, Inset 1.0.2 — 24 September 2026

In all three, corners get a reset point you choose, and a copied corner pastes as the same size anywhere. The Bevel handles structural edges and keeps merged corners in shape. In the Extrude, the edges between corners follow a spread.

All three

A reset point for your corners. Reset (the chip, or Z) used to put a corner back to plain defaults. Now it puts it back where it was when you started the tool. Click Set Reset Point (or Shift + Z) to make the current shape the one Reset returns to. It works per corner, so you can reset one corner while its neighbours keep their edits.

Set Reset Point and Reset on the inset's corners

A pasted spread is the same size on any corner. Spread is copied as a length, so 0.3 copied off a round corner is 0.3 on a sharp one.

Paste a vertex count. Copy a round corner and paste its vertex count onto another. A corner that is still a single vertex takes it too. The row is labelled N vertices.

The shortcuts panel sits on the left, clear of the toolbar and the sidebar. The new Shortcuts panel preference puts it on the right instead.

The first drag grows outward. The First drag preference changes it back.

Advanced Bevel 1.1.0



Structural edges. Bevel edges where three or more bevelled edges meet (the corner of a box, or a whole rounded strip) instead of being turned away. Where the edges meet, the geometry is exactly Blender's own bevel. Every corner around it is still a handle.

Bevelling structural edges and adjusting the corners around them

The foot of an extrusion is one outline. The ring of edges around the base of an extruded shape comes up as one outline with its own corners. A round corner grows around its own centre, and its first and last vertices go out square to the straight sides. On the wall above it, the matching round is one corner too, and spreading it slides it along the wall.

Perpendicular bevelling around the foot of an extrusion

Clamp Overlap stops a bevel that runs into other geometry, and with Clamp Overlap on, Auto Merge now starts on too, so the bevel joins what it runs into when you confirm. M still turns Auto Merge off.

Clamp Overlap holding a bevel at the structure it runs into

Merging corners is stable. A merged corner keeps one clean arc between its sides, with Auto Merge on or off, where it could slide down its sides before. A single round that turns further than about 140 degrees holds the bevel's width all the way round.

Merging corners that stay in shape

The Bevel's own reset point, the same as the Inset's.

Set Reset Point and Reset on the bevel's corners

Also in the Bevel:

  • Edit Corners (Shift + Alt + C) is in the Bevel too.
  • Round corners on a partly bevelled face keep their shape from the start.
  • A round made of many small faces is one corner.
  • Faces cut into a fan of triangles bevel cleanly.

Advanced Extrude 1.1.0

The edges between corners follow a spread. On a wide selection the edges in the middle now move with the corners either side. The new Interpolate chip picks how. On (the default), they ease from one corner to the next. Off, each moves with the nearest corner, so the loops between two merged corners stay straight lines while you spread them.

In-between edges easing with a spread, then held straight

Reach. While you drag a corner, roll the mouse wheel to take the next loop behind it along with the drag.

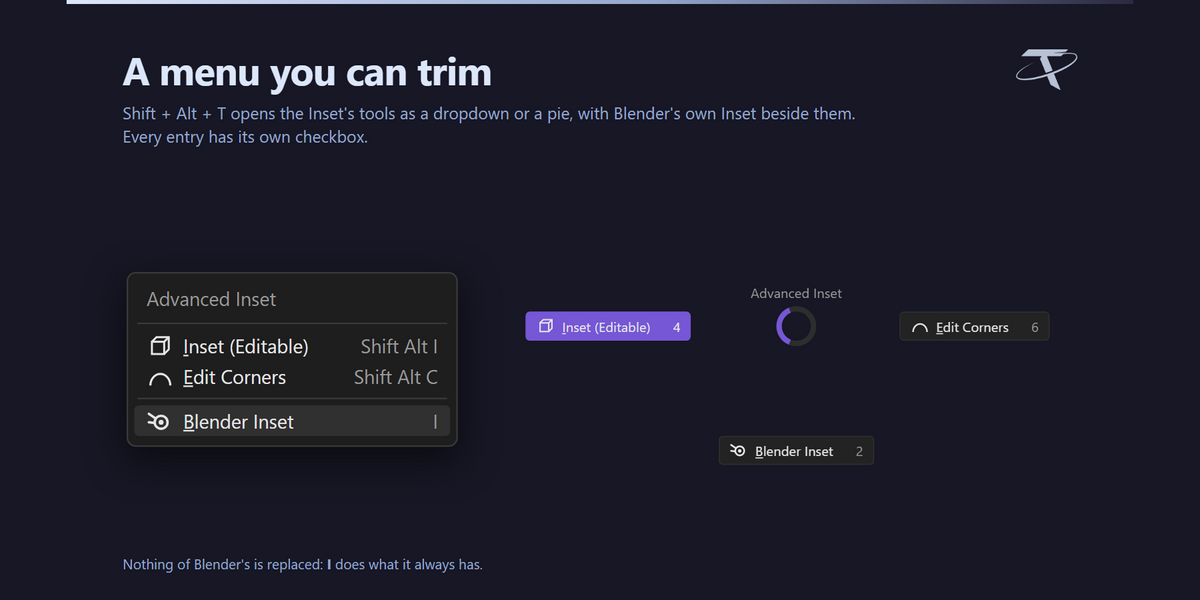
Every Blender extrude on the menu. The menu (Shift + Alt + T) used to offer two of Blender's own extrudes. It now offers all of them, the same list Blender's Extrude menu (Alt + E) shows for your selection: faces, edges and vertices, Extrude Repeat and Spin. They sit below this add-on's four, under a Vanilla Blender Extrude heading, so it's clear which are which. On the pie they share one slot. One checkbox in the preferences shows or hides the whole section.

Advanced Inset 1.0.2

Very wide rounds keep the inset's width. A round that turns further than about 140 degrees takes the parallel offset, so its ends come in from the sides instead of sliding along them. A merged corner in Keep Shape keeps its arc with Auto Merge on.


1.0.1 — 21 September 2026

Fixed

The corner handles are visible again on the Vulkan backend, in all three add-ons. With Blender set to Vulkan (Preferences ▸ System ▸ Backend), the coloured dots marking each corner did not appear, while OpenGL showed them normally. They are now drawn with Blender's own point shader, which works on both backends. Nothing changes on OpenGL.


1.0.0 — First release

Advanced Inset, Advanced Bevel and Advanced Extrude: Blender's inset, bevel and extrude, held open for editing. A rounded corner is found as a corner and moved as one piece, so it never collapses or turns inside out. Click once and every corner becomes a handle you can push, widen or give more vertices, all before you confirm.

GPL-3.0-or-later · Copyright 2026 Tachyon Studio
  • For 1 person (1 seat). Commercial use included.

    $21.99
  • For a team of up to 6 people (6 seats). Commercial use included.

    $87.96
  • For a studio of up to 20 people (20 seats). Commercial use included. Need more than 20 seats? Contact us directly.

    $219.90
$21.99

Support Period Included

Includes 12 months of

Extend this product’s Support Period +12 months: 50% of product price

Have questions before purchasing?
Login to message

Details
Blender Extension Compatible Yes
Rating
1 ratings
Published 4 days ago
Blender Version 3.3 - 5.2
Extension Type Add-on
License GPL