 3D Tudor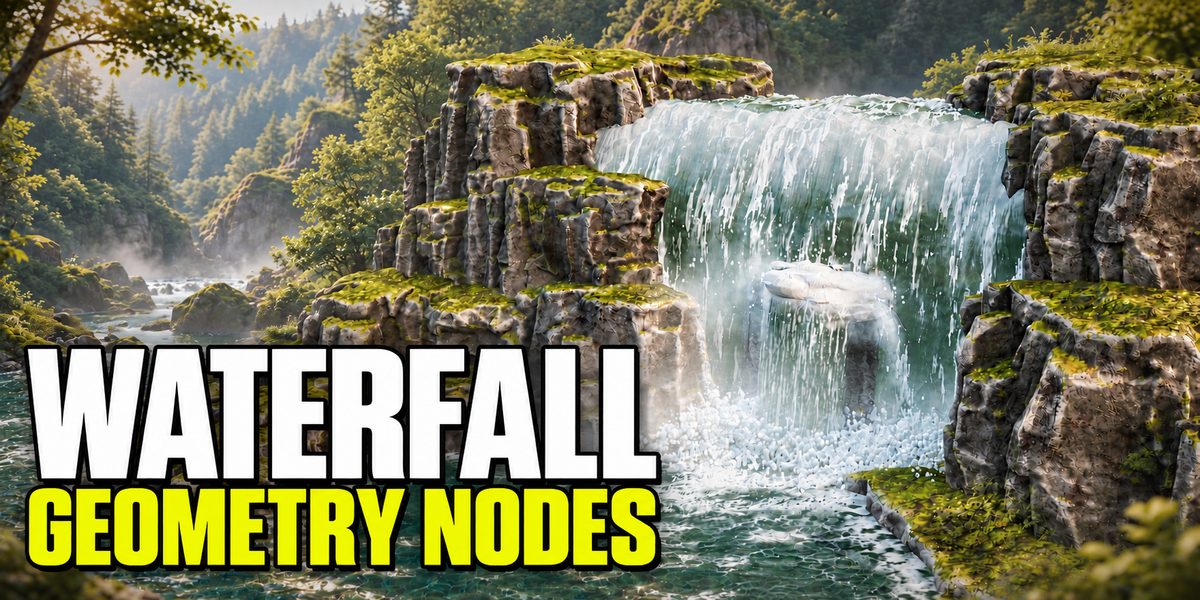
3D TUDOR · ADVANCED WATERFALL
From the upper lip to the landing pool
Curve-directed water. Separate pool shading. Editable foam, splash and mist.
4 main systems · Native Blender project · 6 silent videos
Direct the whole waterfall scene
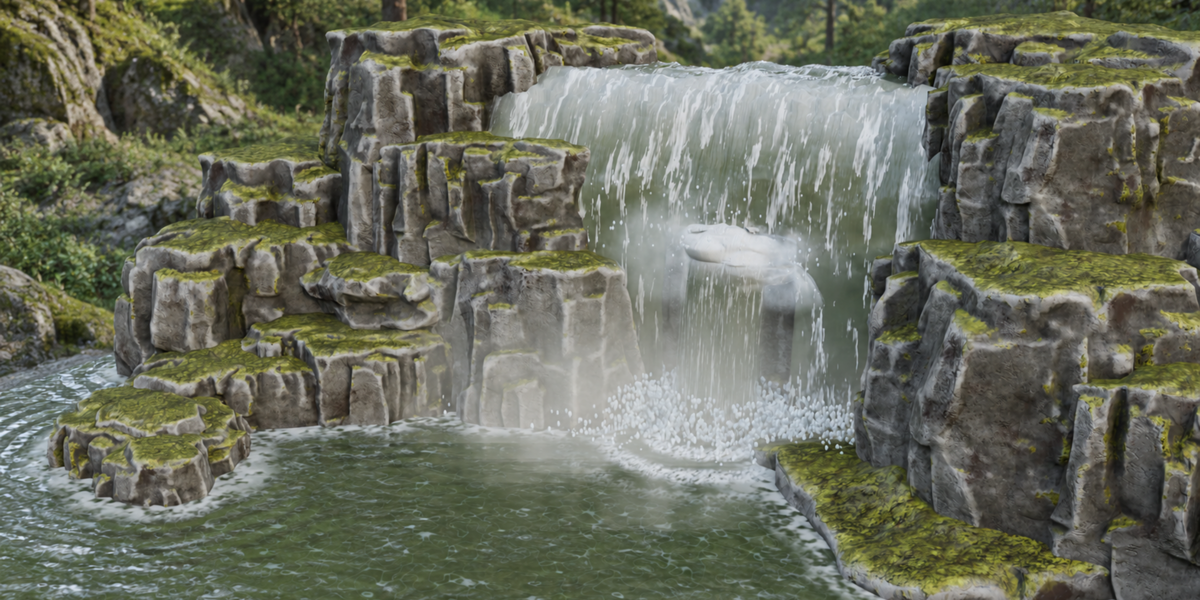
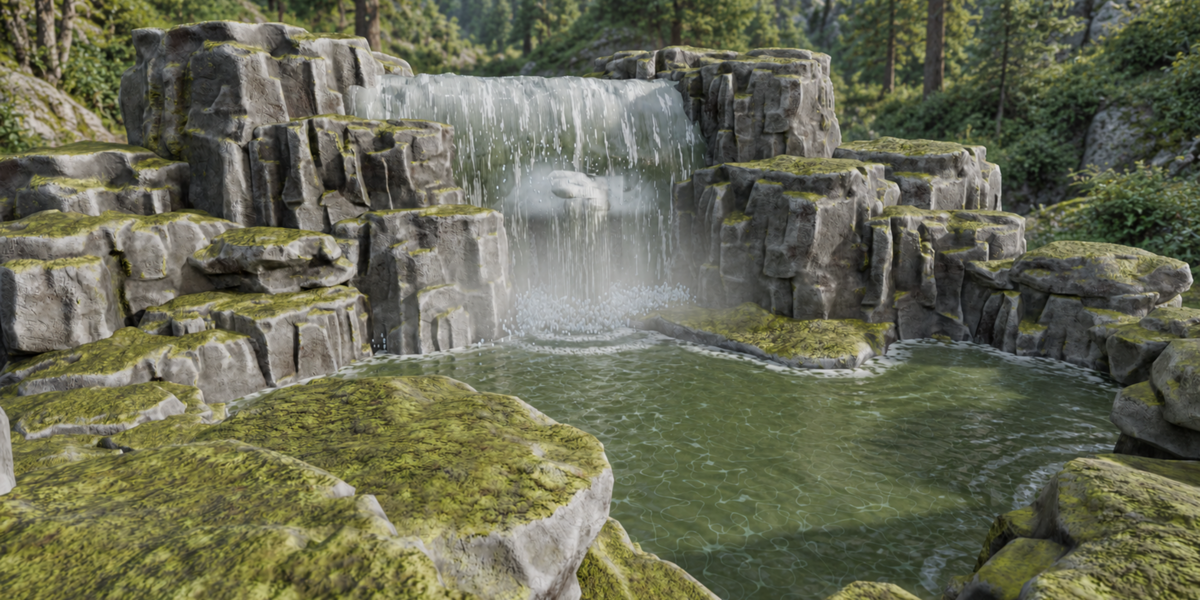
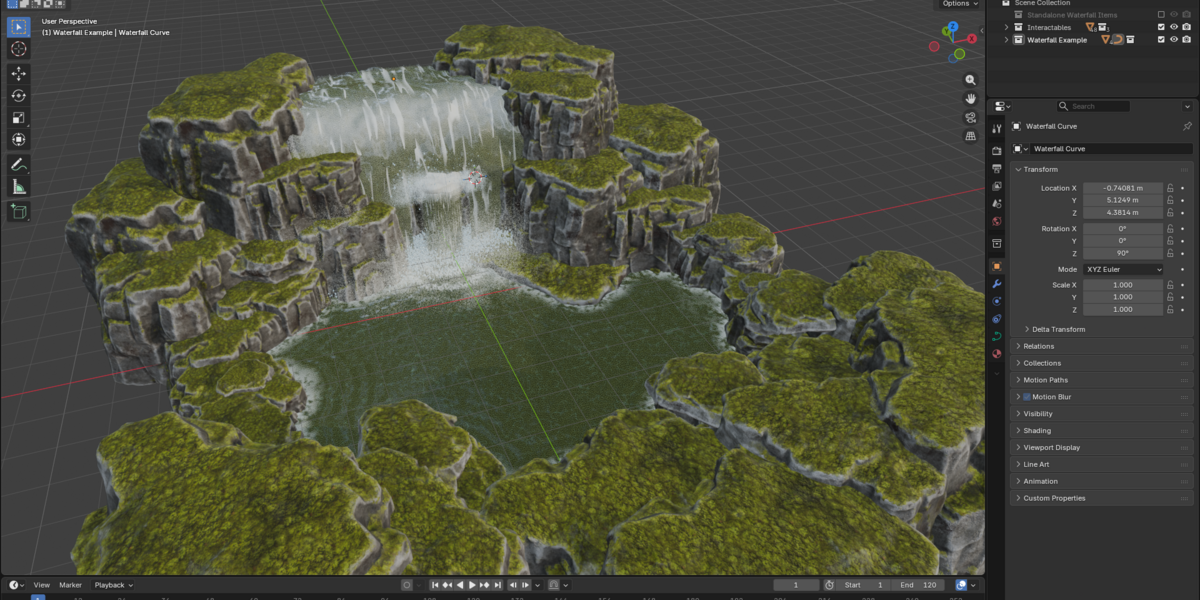
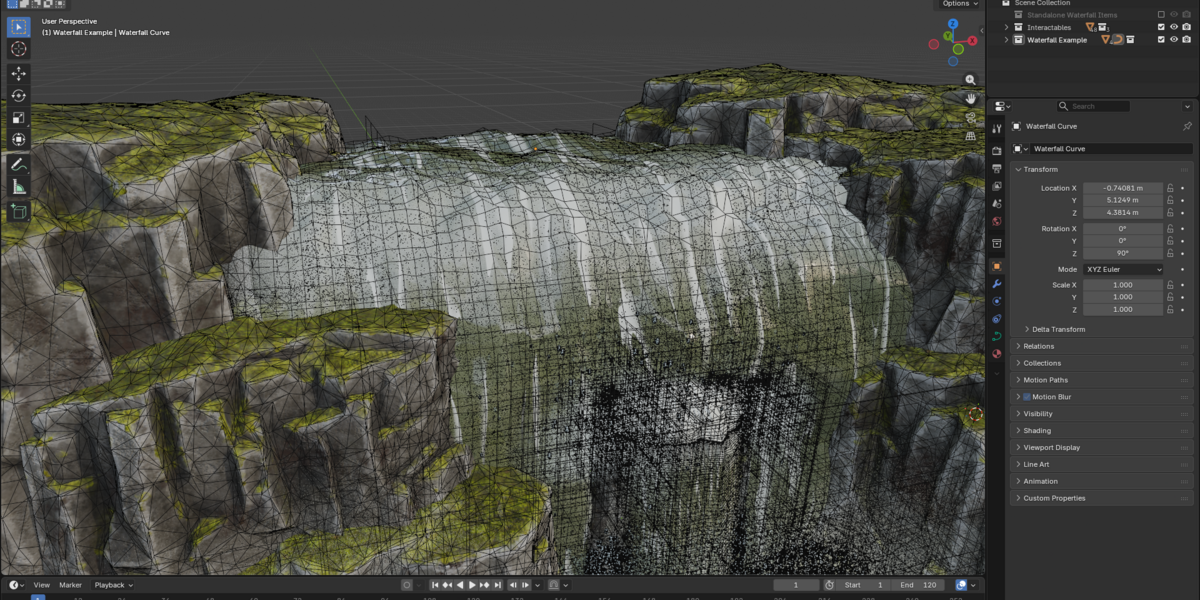
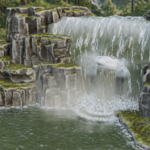
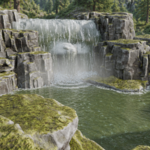
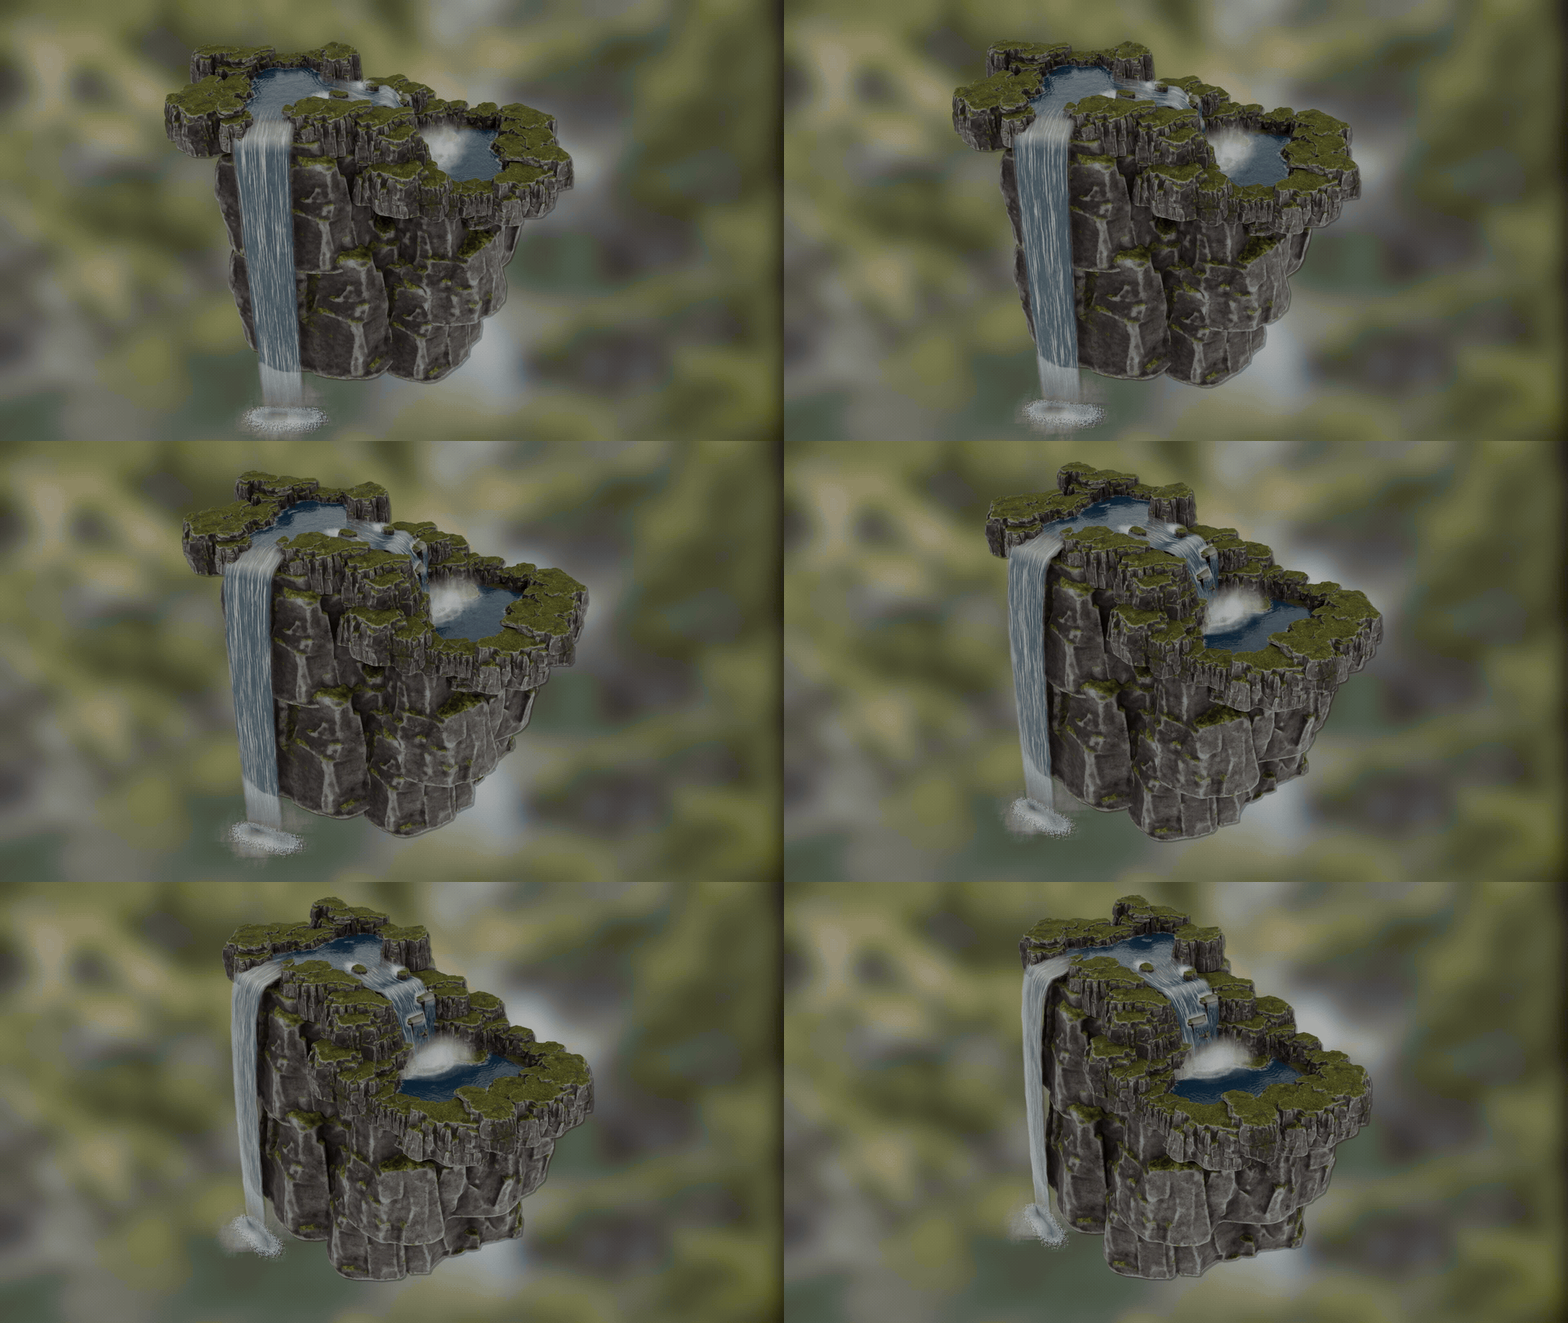
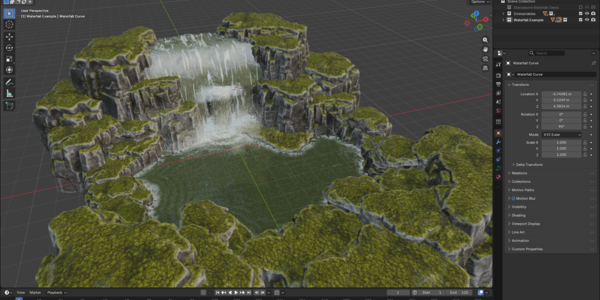
Advanced Waterfall Geometry Nodes for Blender connects four editable systems: the falling water, the receiving surface, splash rings, and splash with fog. Shape the route with a curve, decide how the flow meets your scene, then tune the foam and mist around the impact. The included example shows those pieces working together; standalone objects give you a starting point for another environment.
Start with the route, then refine the contact
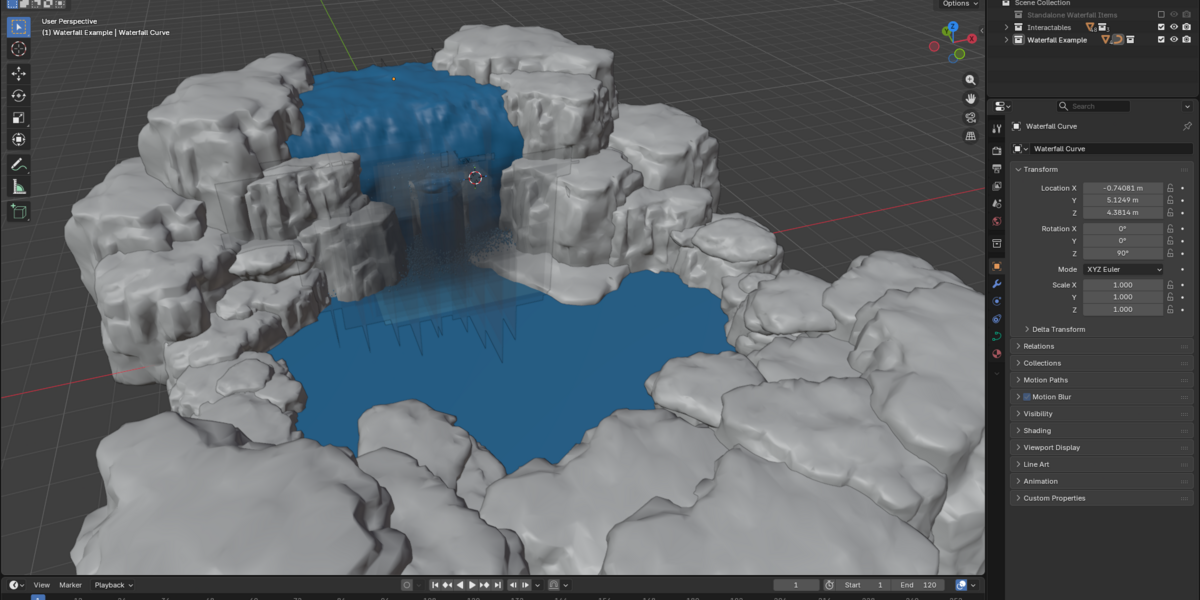
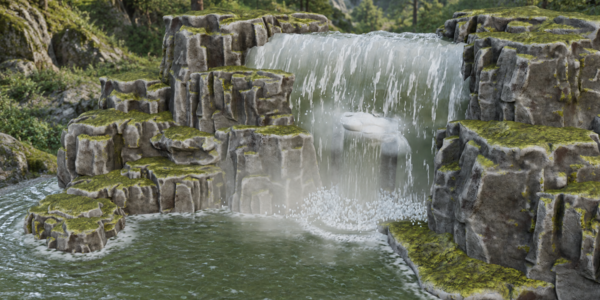
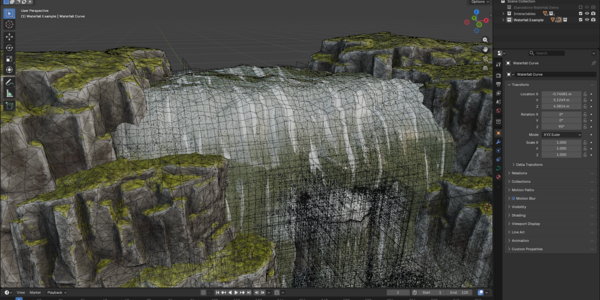
A narrow fall against a cliff needs different decisions from a broad curtain landing in an open pool. Edit the waterfall curve to establish the route and use Overall Width to set the main scale. Curve-point radius gives you local width changes along that route. Reverse Direction, rounded-lip settings, waviness, surface noise, and edge or endpoint fading help refine the transition from the upper lip to the landing point.
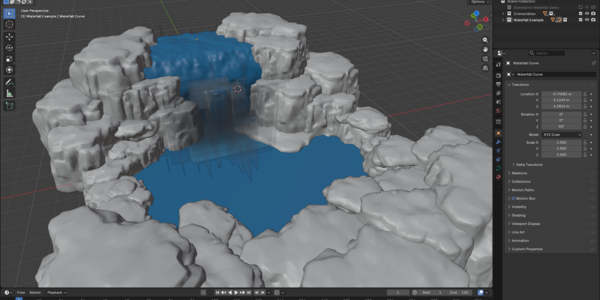
Choose the objects that influence the flow
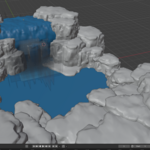
Surface interaction controls let you work with surface-following, spills and cutouts around selected geometry. Explicit target collections keep those decisions manageable as an environment grows. Use the supplied arrangement as a reference, then assign the objects needed for your scene. Keep water and effect emitters out of their own interaction collections to avoid unwanted self-interaction.
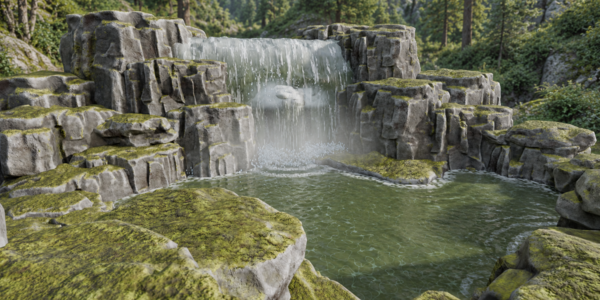
Give the receiving pool its own treatment
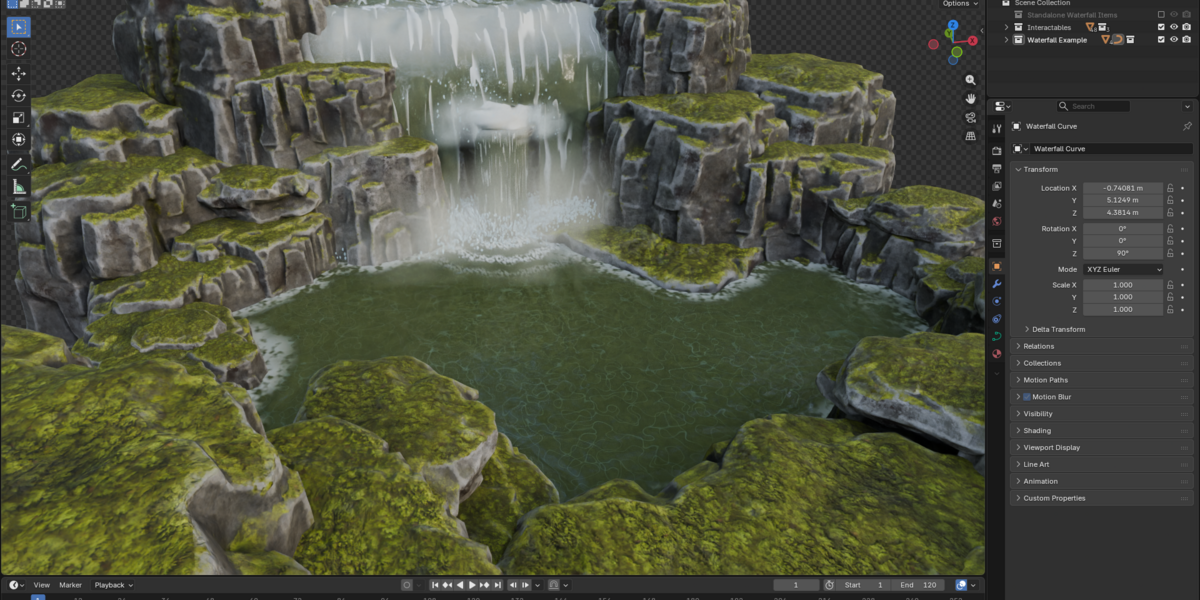
The Water Surface system is separate from the waterfall, so its colour, opacity and animated wave shading can be adjusted without reshaping the drop. Layered normal waves add smaller surface motion; shallow and deep settings help define the look of the pool. Contact and shoreline foam connect the water to surrounding objects. Automatic detection and collection-based targeting provide different ways to manage the relationships between the surface and nearby geometry.
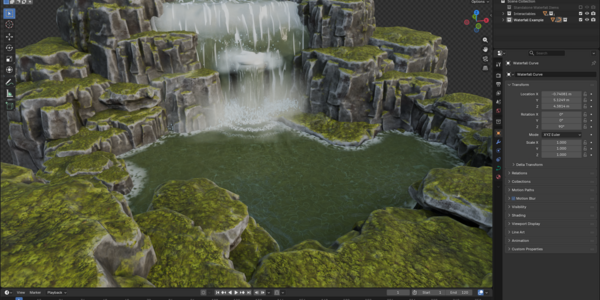
Build the landing point with rings, spray and mist
Standalone Splash Rings and Splash and Fog objects allow extra impact effects to be positioned where the composition needs them. Tune the emitter placement and the effect settings separately. The mist uses flat cards with waterline and contact fading, which helps control how it meets the pool. It is not a volumetric fog simulation. The caustic patterns on the surface are an artistic shading effect rather than physically projected caustics.
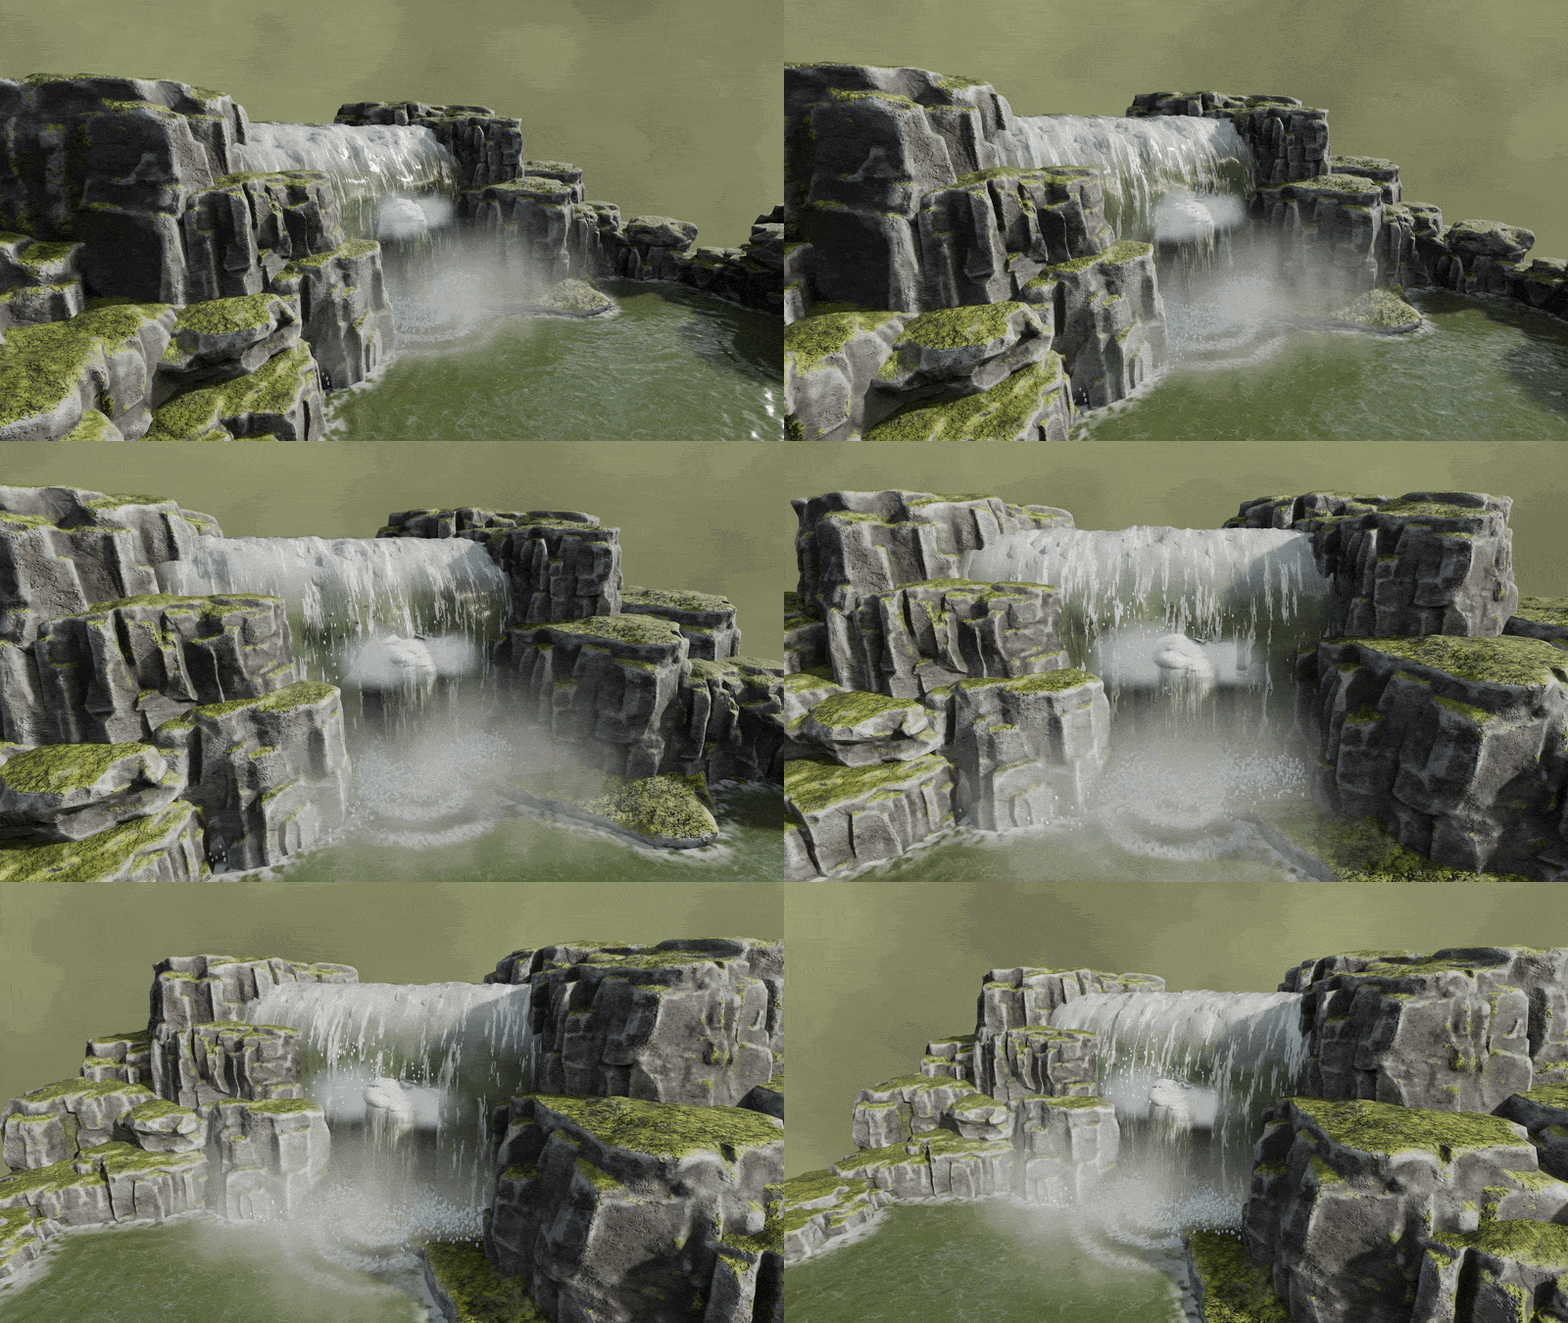
What arrives in the download
The Blender and Guide ZIP contains the native project and a written getting-started guide. The project includes the example scene, reusable standalone objects, four main systems, and packed image resources. The Silent Demonstrations ZIP contains four control recordings—Waterfall, Water Surface, Standalone Fog and Standalone Splash Ring—plus two short animated previews. The four control recordings run for approximately 21 minutes 46 seconds. All six videos are silent.
Move the systems into your own project
Open the supplied file in Blender 5.2.2 LTS and save a working copy. Inspect an example object and its modifier before changing the arrangement. For clean imports, make the Standalone Waterfall Items collection available in the Outliner and copy or append the required object into your scene. Its native node and material dependencies accompany it. This is a Geometry Nodes and shader project; no product addon installation is required.
Plan animation before the final render
The components expose animation and loop controls. Match Loop Frames where a shared cycle is needed, and choose the output frame range deliberately. The documented default loop is 240 frames, while the supplied example timeline ends at 120. Review the complete intended sequence before delivery. When arranging a heavier scene, work in solid view, lower viewport detail where appropriate, and review interaction targets around transparent third-party objects.
Made for directed environment shots
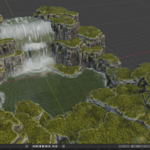
Use this workflow when a waterfall needs to serve a composition: a focal drop framed by rocks, a receiving pool in the foreground, or separate mist and splash details around a landing point. The systems remain editable in Blender, letting you revisit shape, contact and surface appearance. The cliff scene and forest backdrop in the presentation show a composed example; this is not a forest mesh pack or a procedural landscape generator.
Compatibility and licence choice
Use Blender 5.2.2 LTS for this release. Earlier Blender versions have not been verified. The complete appearance depends on Blender geometry and shaders; an FBX or OBJ export does not preserve the animated water effect or the editable systems. Both Standard and Commercial options include the same project, guide and demonstrations. Choose the licence for your intended use and review the displayed terms before buying.
Is this a fluid simulator?
No. Advanced Waterfall is a procedural geometry and shader workflow for directing appearance, placement and animation. If a shot needs physically simulated liquid behaviour, use a fluid-simulation workflow for that requirement.
Can I change the width along the fall?
Yes. Overall Width establishes the main width, while the radius of individual curve points allows local narrowing and widening. The local recordings show the controls in context.
Is there a narrated course or an addon to install?
No. The product includes silent demonstrations and a written guide alongside the native Blender project. Copy or append the supplied objects rather than installing it as an addon.
Can I take the complete effect into a game engine?
The supplied systems are designed for Blender. Static mesh interchange does not carry over their full animation, materials, contacts or controls; another engine would require its own effect and material setup.
Shape the flow. Connect the scene.
Start with the supplied arrangement, learn each system through the recordings, then adapt the route, receiving surface and impact effects to your environment. Advanced Waterfall brings those decisions into one native Blender project. Created by 3D Tudor.
Join the 3D Tudor Community
For support, inspiration, updates, giveaways, feedback threads and community builds, join the 3D Tudor spaces below.