 Cgi Lab
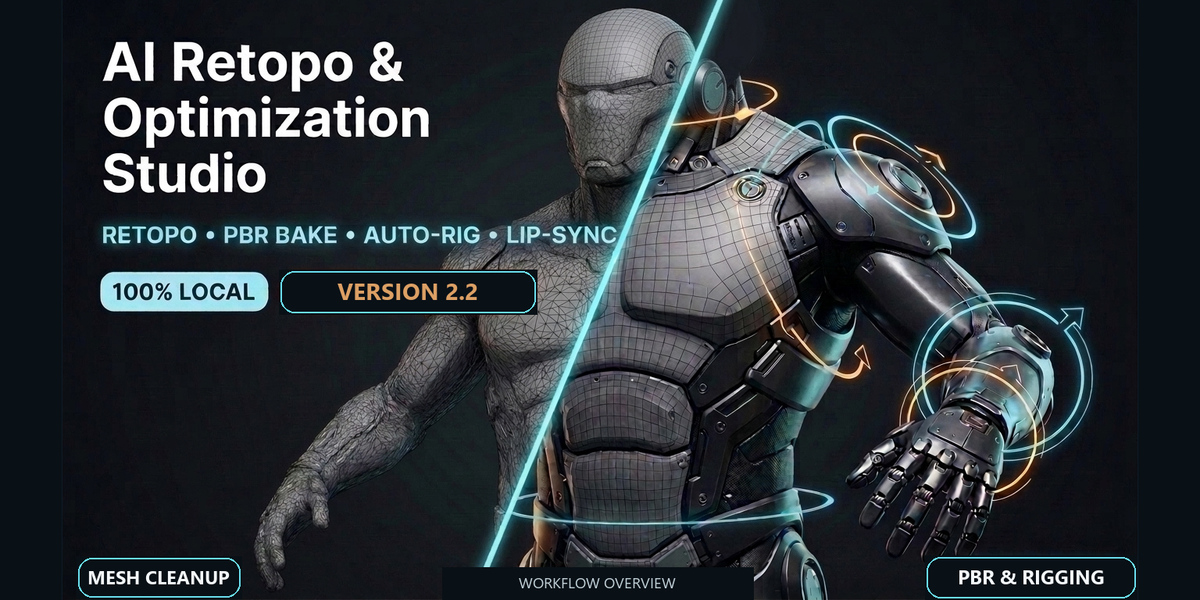
AI Retopo & Optimization Studio 2.2 — Quick Start
Compatibility: Blender 5.2 on Windows. Tested in Blender 5.2.1 LTS. Other versions and operating systems have not been validated for this release.
1. Installation
- Open Blender 5.2 and go to Edit → Preferences → Add-ons.
- Open the dropdown menu, choose Install from Disk..., select
AI_Retopo_Studio_v2.2.0.zipand enable the add-on. Select the ZIP itself. - In the 3D Viewport press N and open AI Retopo. Alt + Shift + R opens the Quick Studio Popup.
- Choose UI Language → Auto / EN / ES.
Save a separate copy of your .blend before processing. Some tools change geometry, modifiers, shape keys or animation. Begin with one selected mesh.
2. Mesh & UV
- Import your mesh with Blender's GLB, FBX or OBJ importer and select it.
- Choose a Macro-Preset or set the target face budget. Presets are settings, not guarantees of a final production-ready asset.
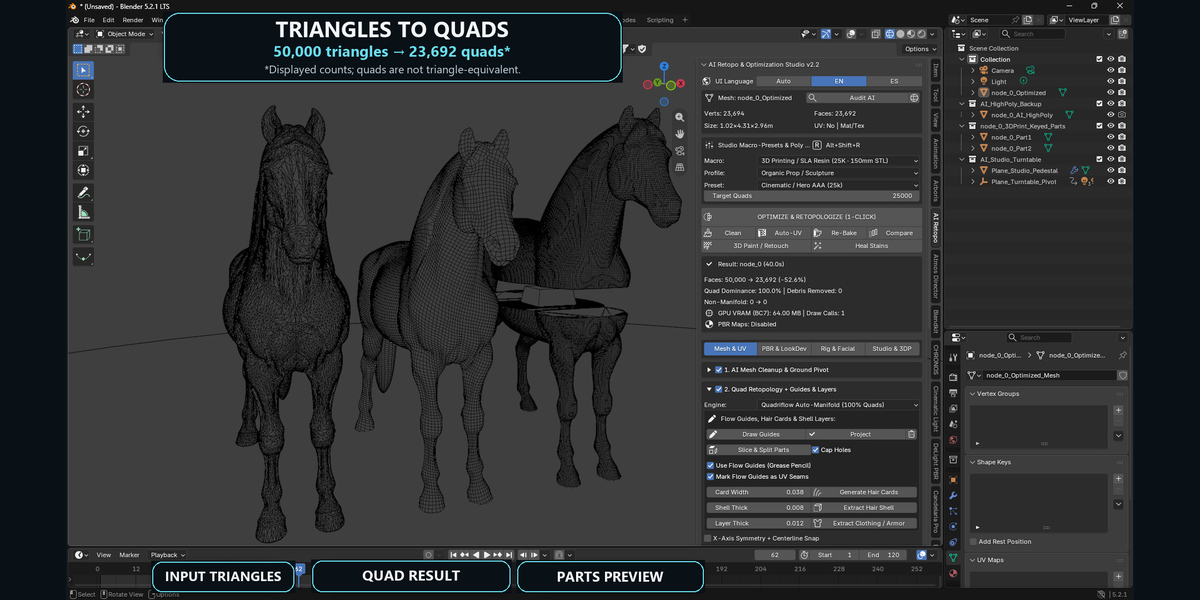
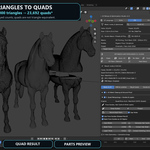
- Choose Quadriflow, Hard-Surface Planar, Voxel + Quads or Adaptive Decimate.
- Run OPTIMIZE & RETOPOLOGIZE (1-CLICK). Enabled settings control cleanup, remeshing, UV preparation and baking.
- Inspect the silhouette, thin parts, holes, face density, seams and UV overlap before proceeding.
Cleanup merges nearby vertices, removes small detached pieces and attempts to repair openings. Quadriflow can retry after voxel sealing and fall back to adaptive decimation. It does not guarantee all-quads or deformation-specific edge flow. Optional Grease Pencil guides mark nearby flow edges and seams. Face-focused UV allocation and a two-tile UDIM option are included; inspect UVs and texture assignment.
3. PBR & LookDev
- Set an output directory and texture resolution. Start at a modest resolution to check projection.
- Bake the selected maps and inspect both saved images and the material in Blender. Outputs include base color, normal, roughness, metallic, AO, packed ORM and utility maps.
- Use 1-Click Auto-Heal Stains for projection artifacts; check that the repair preserves useful detail.
- For manual corrections enter 3D Paint / Retouch. Press S to sample a color. Finish through the same tool to save PNG output.
Texture padding helps reduce sampling seams. De-lighting adjusts shadows and highlights; it cannot recover exact physical reflectance from every image. Some roughness detail is synthesized from albedo/AO. Check normal orientation and packed channels in your destination renderer.
4. Rig & Facial
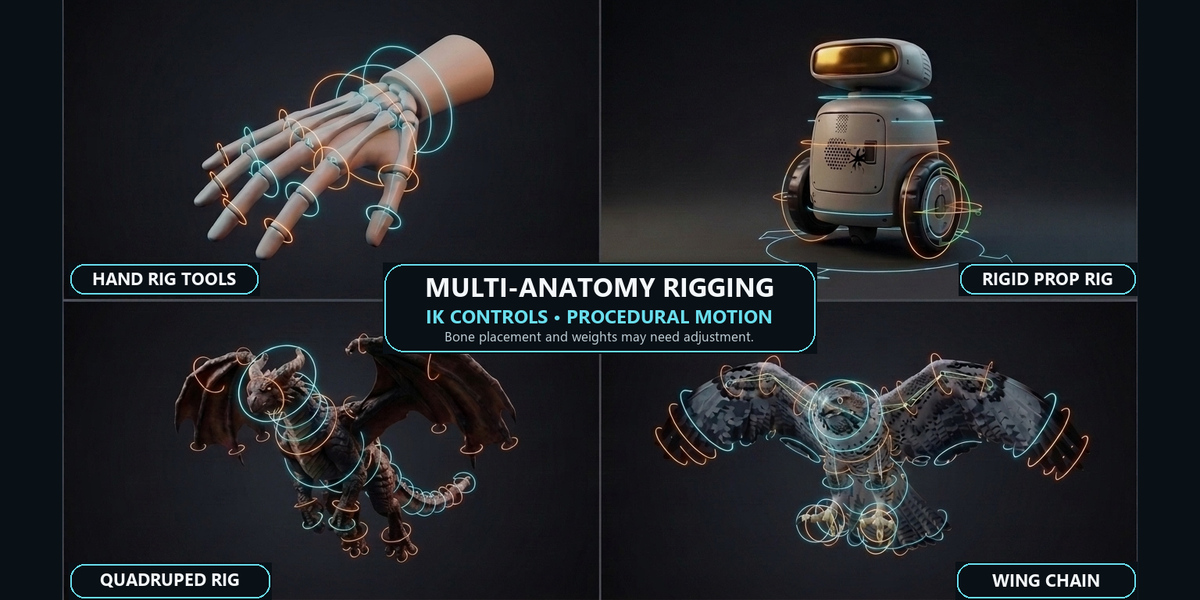
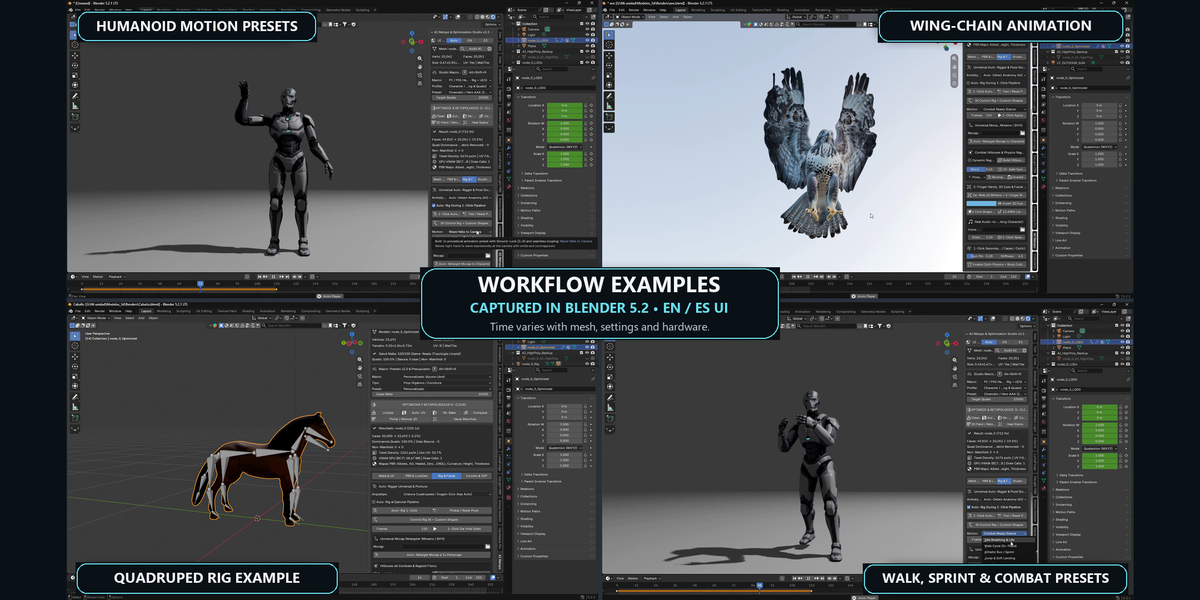
Choose Biped Humanoid, Quadruped / Equine / Winged Dragon, Rigid Droid / Robot or Weapon / Mechanical Prop for the source anatomy.
- For suitable humanoid meshes, optionally use Normalize Arms (T-Pose 0° or A-Pose -30°) and Unweld Armpits. Inspect the anatomy.
- Run 1-Click Auto-Rig and inspect bone placement, weights and deformation.
- Add IK Control Rig + Custom Shapes when needed; check controls and pole targets in several poses.
- Select a Motion and use 1-Click Apply Motion. Included presets cover idle, walk, run, jump, look around, wave and combat guard. Check foot contact on your model.
- For external mocap, use the retargeting tools and check the rest pose and scale of both rigs.
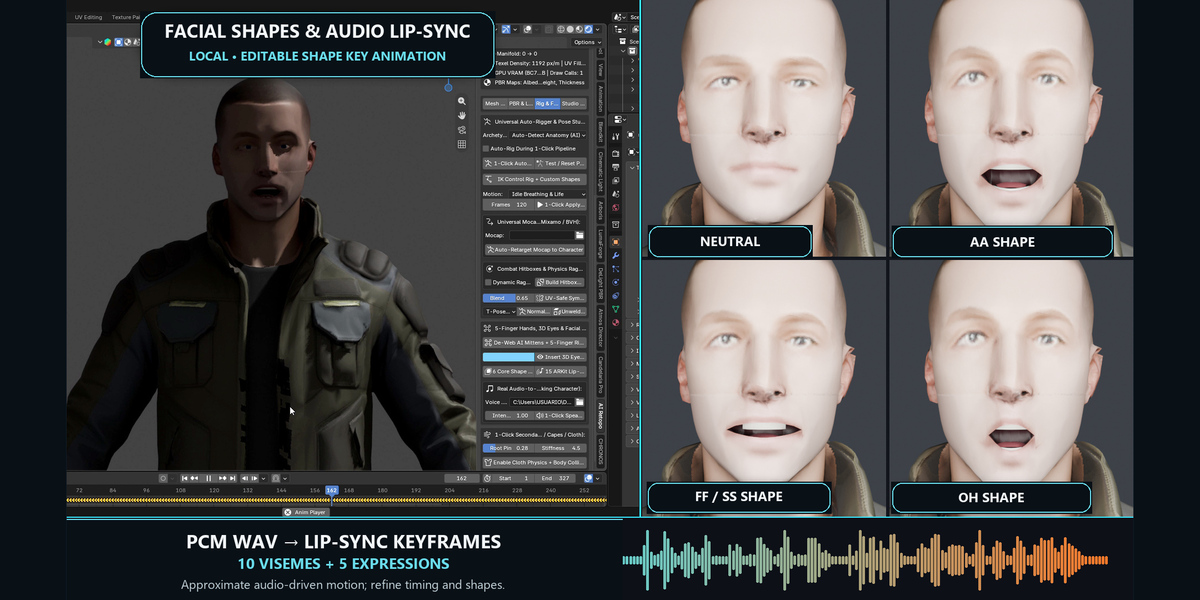
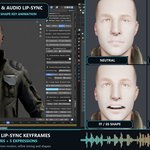
Facial tools create 10 viseme shapes including silence, plus 5 expression shapes. This is not a complete Apple ARKit blendshape implementation. Eye, mouth and shape placement depend on the source geometry and may need refinement.
Choose a real PCM WAV file in Voice .WAV, then run Audio-to-LipSync. Integer PCM at 8, 16, 24 or 32 bits is supported. Convert MP3 to PCM WAV first. Use clear voice audio. An empty or missing file path generates a synthetic demo sound, so verify the path. The tool creates approximate mouth motion from acoustic features, not a transcript or precise phoneme recognition. Refine the keyframes before delivery.
5. Studio & 3DP
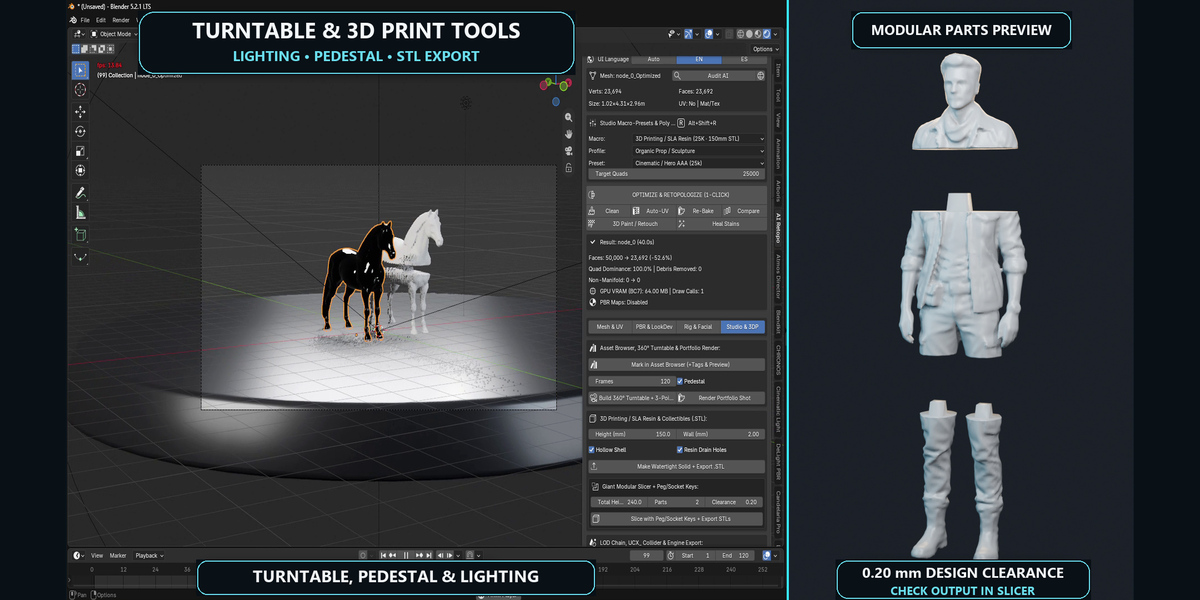
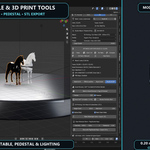
Presentation: Use Mark in Asset Browser (+Tags & Preview) to mark model/material assets. Build 360° Turntable + 3-Point Lights creates the camera and lights, with an optional pedestal. Adjust framing, materials and lighting before Render Portfolio Shot.
Export: Choose GLB or FBX for your destination. Optional tools include LODs, UCX convex colliders, engine helper files and an HTML QA datasheet. Inspect scale, materials, rig, animation and collisions after import into the destination application.
- For printing, set Total Height (mm) and use Make Watertight Solid + Export .STL.
- Optionally enable Hollow Shell, choose Wall (mm) and enable Resin Drain Holes. The tool checks mesh and STL topology and cancels on invalid output. Inspect the actual walls and drainage of every cavity in your slicer.
- For modular parts choose Slice with Peg/Socket Keys + Export STLs, select 2 or 3 sections and set Clearance (mm). The default 0.20 mm is a design clearance; adjust it after a test fit for your printer and material.
- Inspect each numbered STL and the exploded preview. Check self-intersections, thin walls, supports and mating surfaces. Topology checks do not certify physical printability or exact wall thickness.
6. Troubleshooting and support
- Panel missing: confirm the add-on is enabled, use the 3D Viewport and press N.
- Poor topology or fused anatomy: simplify the source, inspect separate parts and try another retopology method. Demanding assets can need manual cleanup.
- Dark spots or seams: inspect source textures, UVs, projection and map orientation. Try a small bake before a full-resolution one.
- No intended speech: verify the WAV path, PCM format and selected character; inspect the generated keyframes.
- STL export cancelled: read the reported geometry error, repair the mesh and retry. A previous valid output is preserved if validation fails.
For support, use Superhive's creator contact and include your Blender version, operating system, selected tool, error message and a reproducible example you are permitted to share. Processing is local. Showcase models are not included.
Have questions about this product?
Login to message
| Blender Extension Compatible | Yes |
| Published | about 23 hours ago |
| Blender Version | 5.2 |
| Extension Type | Add-on |
| Render Engine Used | Cycles |
| License | GPL |
Discover more products like this
auto-rig retopology lip sync mesh cleanup uv ai meshes quadriflow 3d printing pbr-baking LOD