Assemblynx (Early Access)
 Frederik Vollbrecht
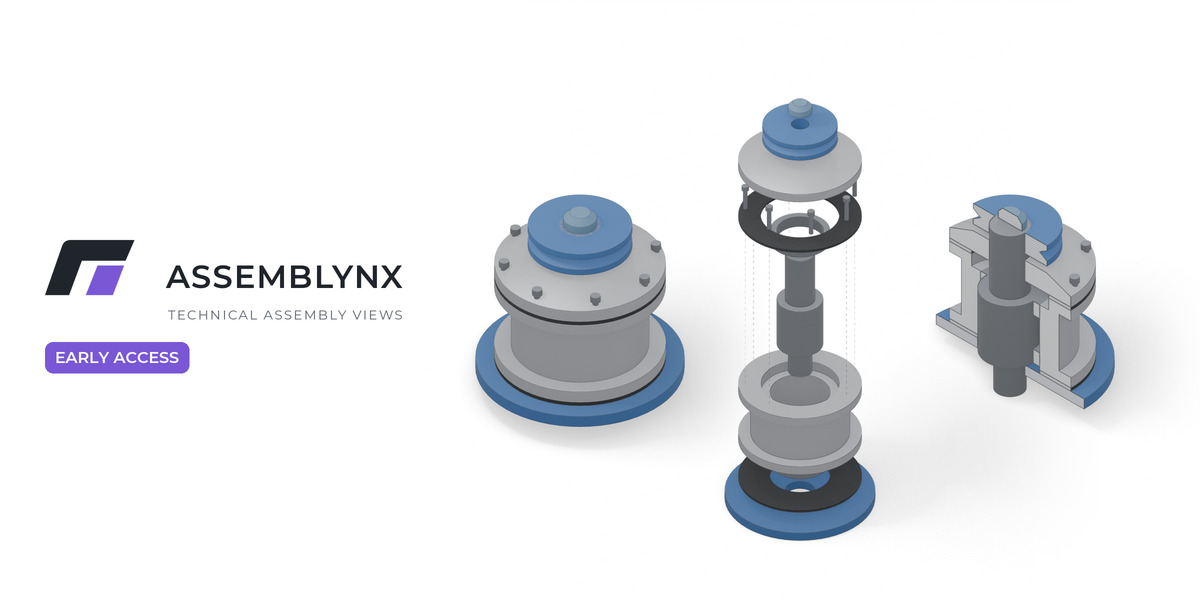
Requirements
Blender 4.5 or newer. Your assembly should be mesh objects in one scene, with one object per part. Closed meshes give the best section caps.
Installation
- Download the ZIP. Do not unpack it.
- In Blender, open Edit > Preferences > Get Extensions.
- Open the menu at the top right, choose "Install from Disk..." and select the ZIP.
- Open the sidebar of the 3D viewport with N and go to the FORMLYNX tab.
To update, install the new ZIP the same way. It replaces the old version.
Quick start
- Open your assembly and save the .blend file. Figures are written to a folder next to it by default.
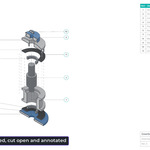
- Click Start Presentation in the sidebar, or press P and choose Start. Camera, light, outlines and a white background are set up.
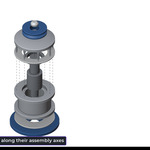
- Turn on Exploded. Use the Explode slider to set the distance.
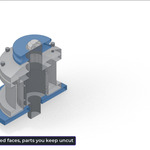
- Turn on Section. Choose the plane and move Position.
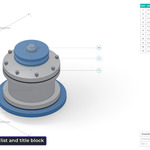
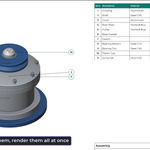
- Turn on Documentation and click Auto Balloons. Parts list and title block appear.
- In Figures, add a Figure for each view you want, then click Render All Figures.
- When you are done, click Reset Scene. Your scene is back as it was.
Viewport and camera
The viewport runs in Solid by default, which stays fast. Switch to Final to see the full style with EEVEE, including section hatching. Rendered images always use the full style. While you navigate, the camera moves with you and the annotations stay on the image. Use Fit to Frame if parts leave the frame, and Camera from Viewport to take over your current view. Render Image renders the current state.
Exploded
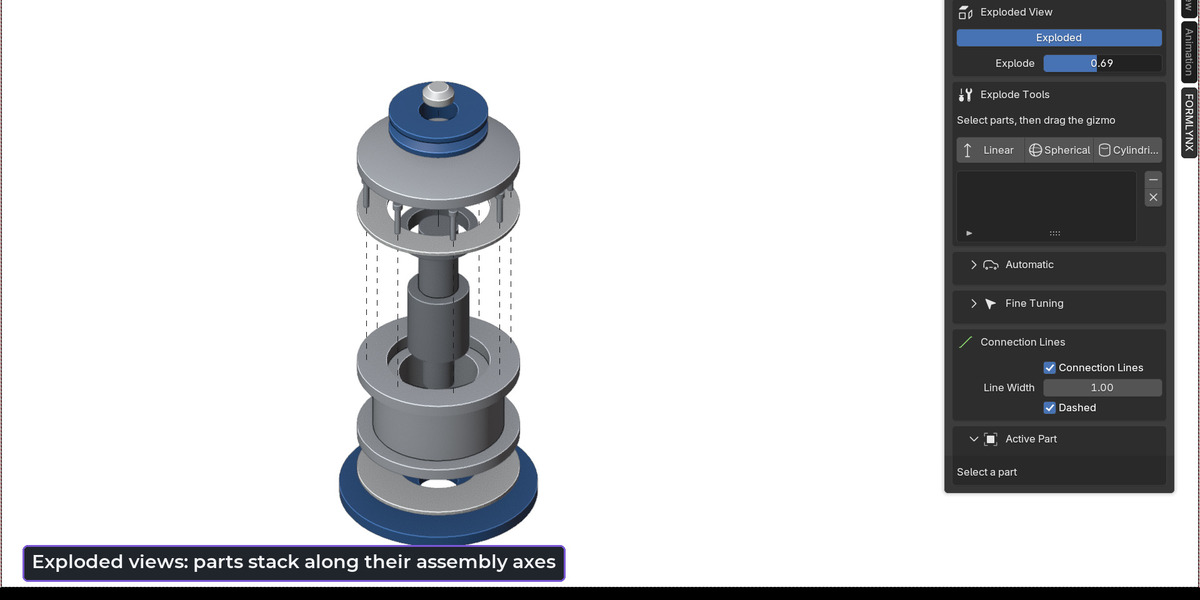
The largest part stays in place and the others stack along their assembly axes. Set the main axis, method and gap under Automatic. Mark a part as Fixed to keep it still, or give it its own axis or Stay under Active Part.
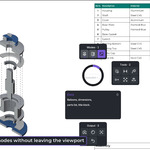
For control by hand, select parts, choose Linear, Spherical or Cylindrical under Explode Tools and drag the gizmo in the viewport. Each move is stored as a step that you can change or remove. Arrange lets you drag single parts along their axis.
Section
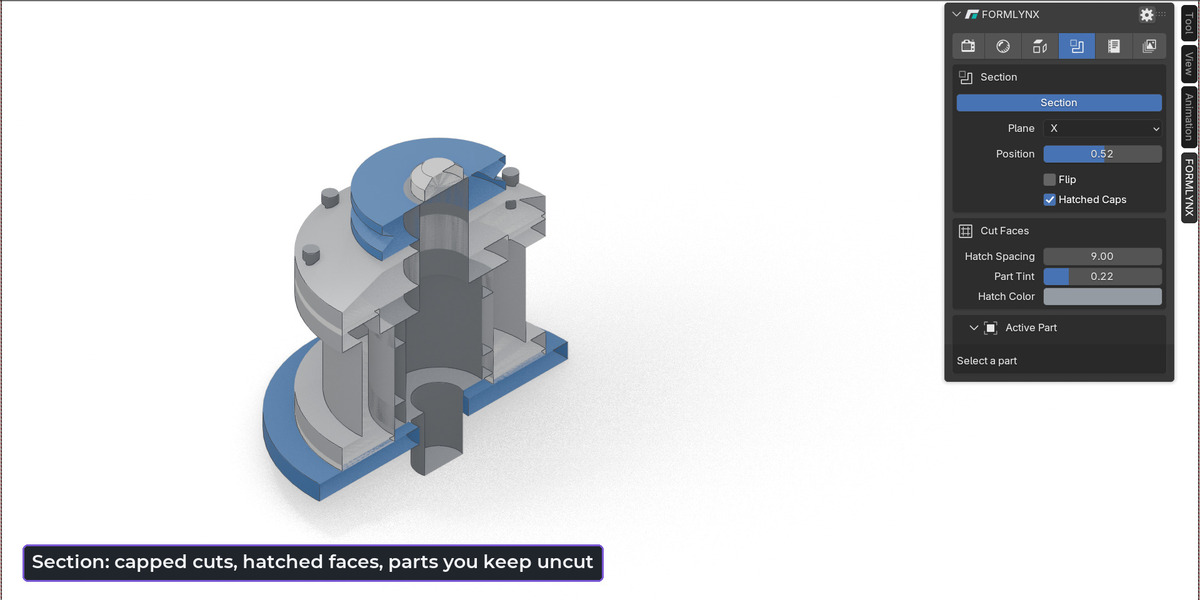
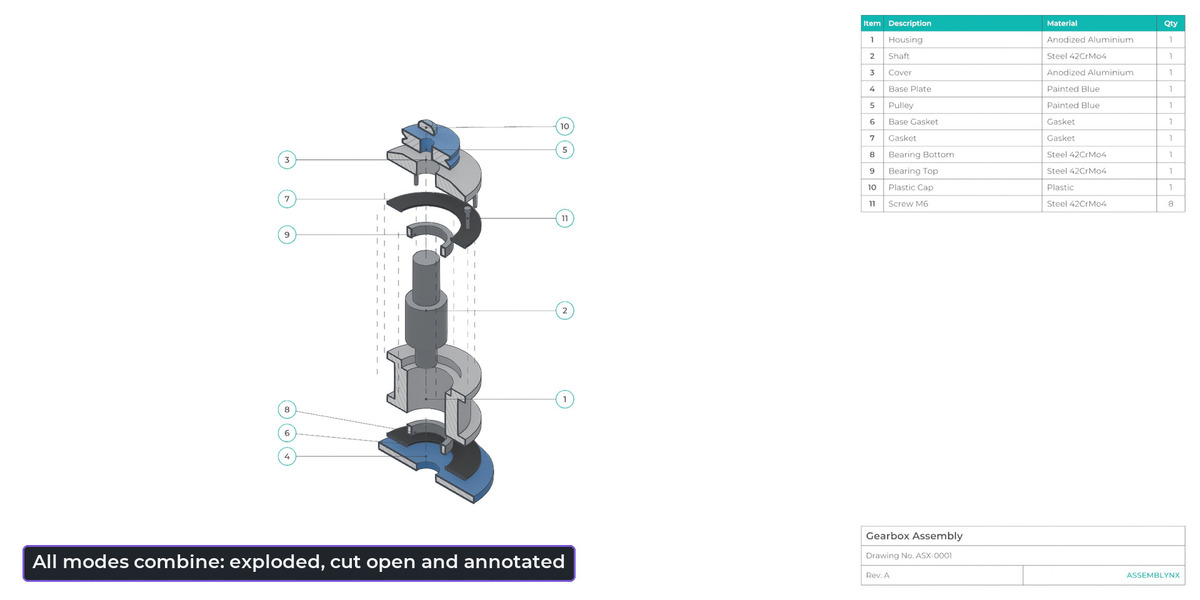
Choose the plane (X, Y or Z), then set Position and Flip. Hatched Caps closes the cut faces, and Hatch Spacing, Part Tint and Hatch Color set their look. To keep a part such as a shaft or a screw uncut, select it and enable Keep Uncut under Active Part. The cut works on temporary copies, so your meshes stay unchanged. Section also combines with Exploded.
Documentation
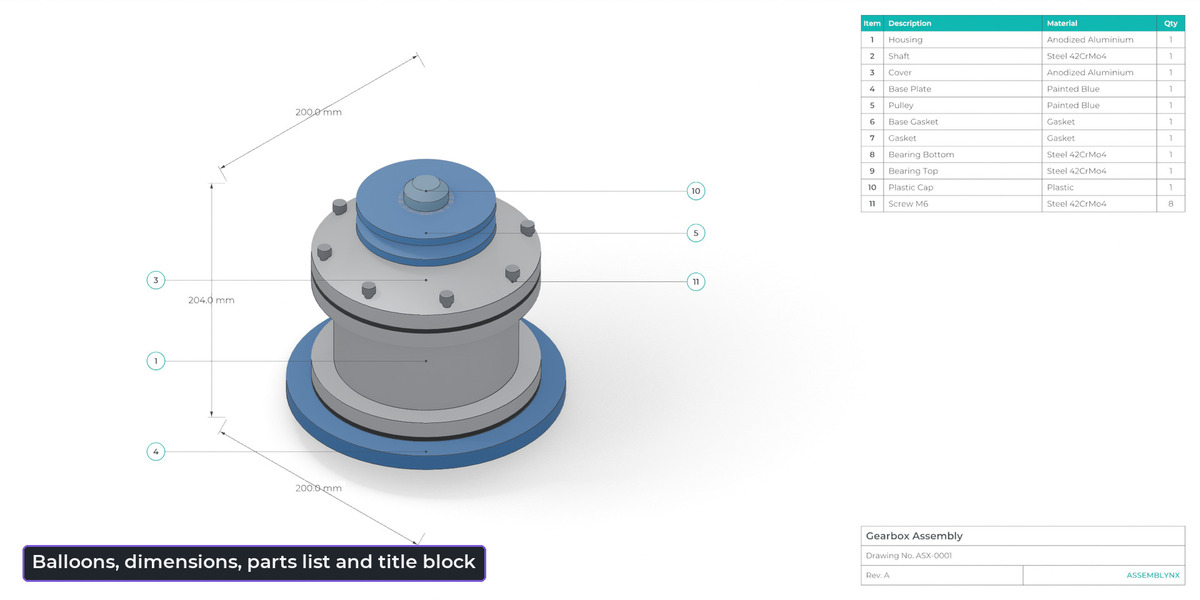
Switch Balloons, Parts List, Title Block and Overall Dimensions on or off. Auto Balloons adds one balloon per visible item. Renumber Items makes the numbers consecutive. Arrange by Dragging lets you move balloons and leaders, and Auto Layout sorts them again. Dimension, Callout and Label are placed by clicking on the model. Under Title Block, enter title, drawing number and revision. Identical parts are counted as one item. Use Export Parts List to save a CSV file.
Figures
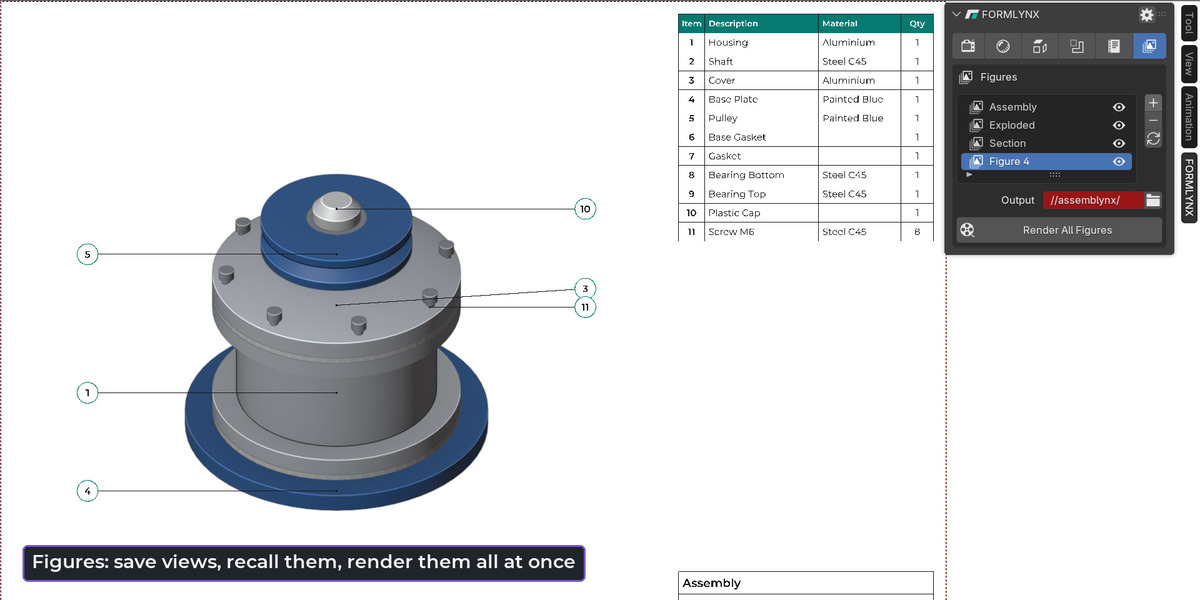
A Figure stores camera and modes. Add one with +, show it with the eye icon, and update it after a change. Render All Figures writes one PNG per Figure to the Output folder. With a relative output folder, save the .blend first, or choose an absolute folder.
Materials and look
Per object, a Material Class can override the look without changing the mesh's own material. Highlight shows a part in cyan. The style panel controls colors, light, outlines and contact shadows.
Radial menu and shortcut
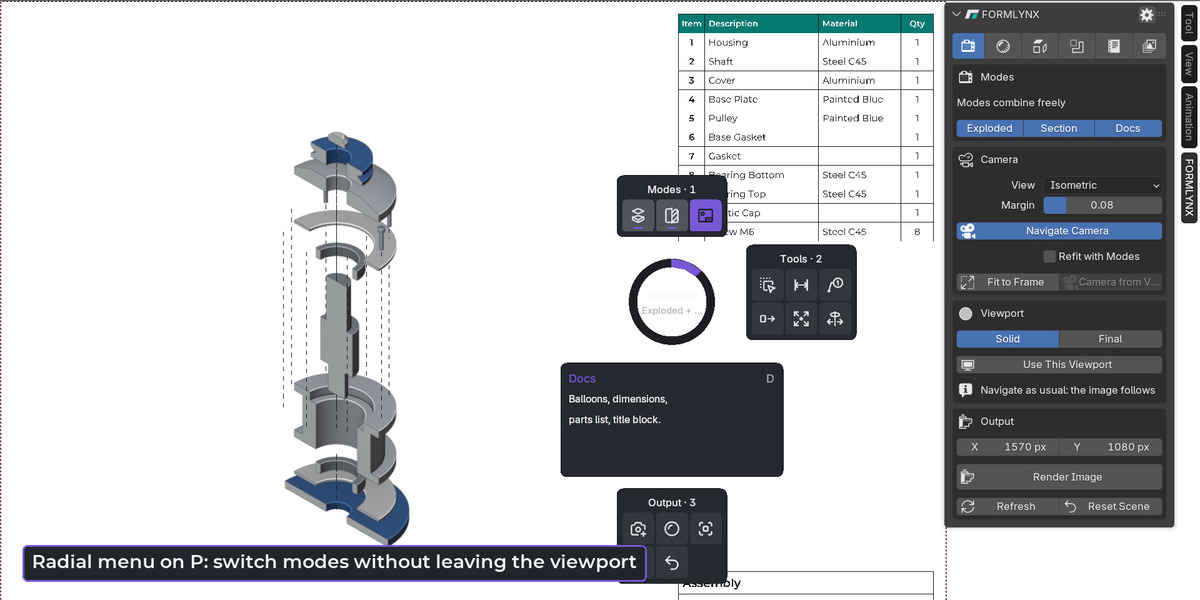
P opens the ASSEMBLYNX radial menu in Object Mode. Tap P to keep it open, or hold P to choose and release. Number keys jump to a group and letters start a tool. If several FORMLYNX add-ons are installed, they share one menu with a tab per product, and Tab switches between them. If another add-on uses P, change the shortcut under Edit > Preferences > Keymap by searching for "ASSEMBLYNX Menu".
Reset
Reset Scene removes everything ASSEMBLYNX added and restores your engine, world, camera, materials, compositing, passes and object positions. Run it before you continue normal work on the file.
Have questions about this product?
Login to message
| Blender Extension Compatible | Yes |
| Published | about 24 hours ago |
| Blender Version | 4.5 - 5.2 |
| Extension Type | Add-on |
| Render Engine Used | Eevee |
| License | GPL |

Discover more products like this
exploded view technical illustration balloons section view product-visualization documentation cutaway assembly annotation bill of materials