 Rekanyx





Install
- Download the zip. Don't unzip it.
- Blender → Edit → Preferences → Add-ons → Install from Disk → pick the zip.
- Turn it on. The panel is in the 3D View sidebar (press N) → Asset Prep tab.
Quick start
- Select your models.
- Pick your engine at the top of the panel.
- Tick the steps you want (names, transforms, normals, origin, UVs, LODs, collision).
- Click Make Game-Ready.
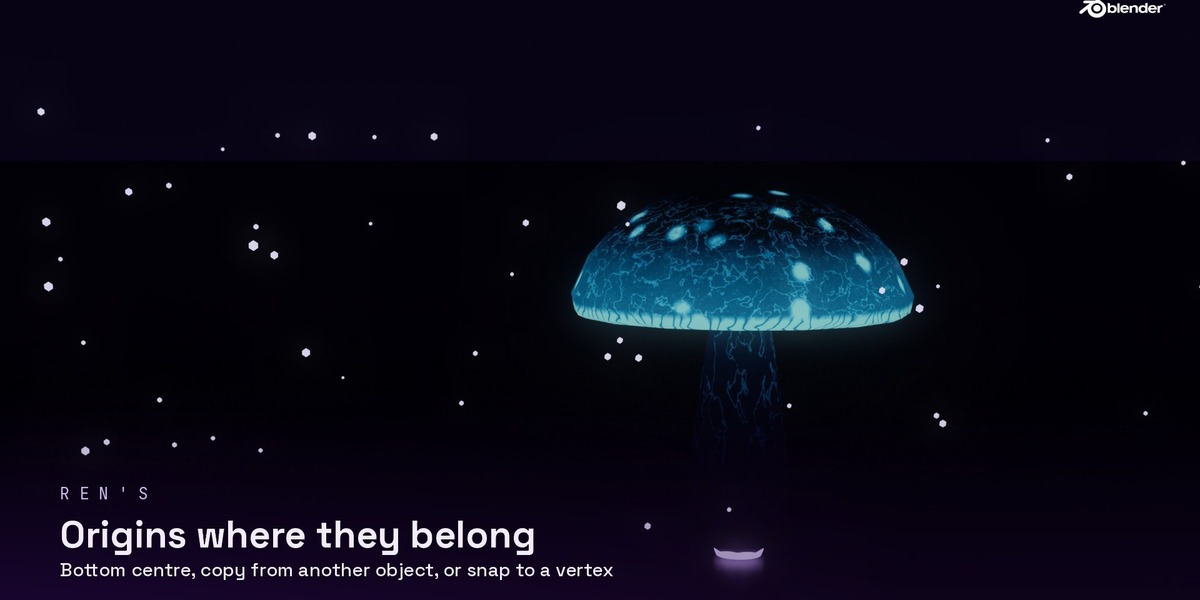
Origins
- Click a preset button (Bottom Center is best for props).
- Copy Origin from Active: select the objects to change, then the object to copy from last, and click.
- Origin to Selected Verts: in Edit Mode, select a vertex and click.
LODs
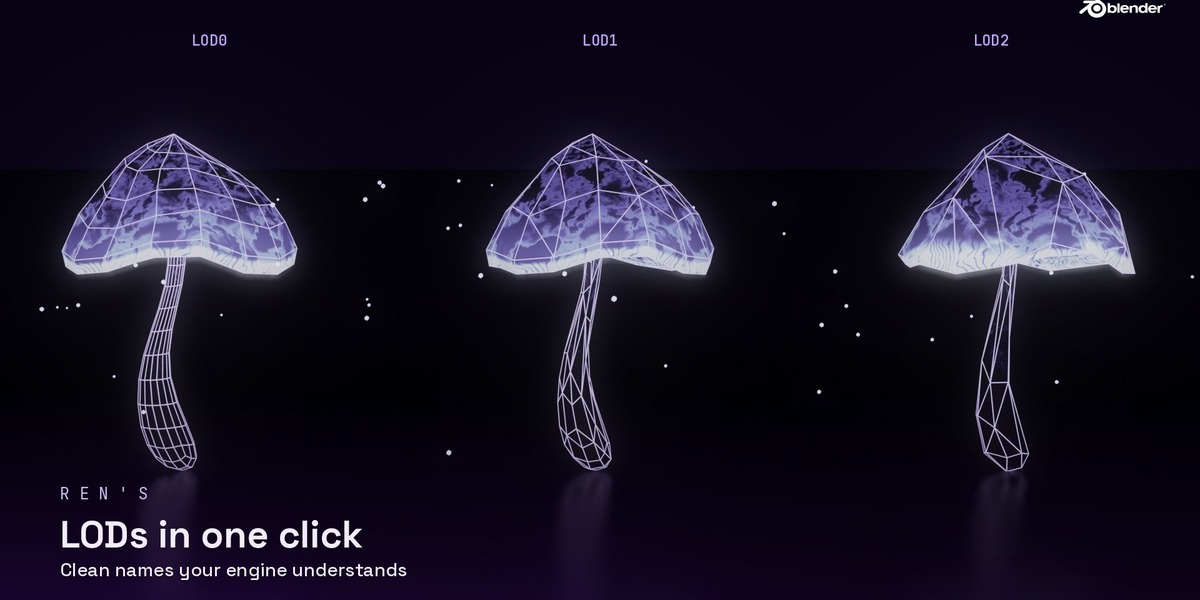
Set LOD Levels and Keep per Level, then click Generate LODs. Run it again to replace them.
Collision
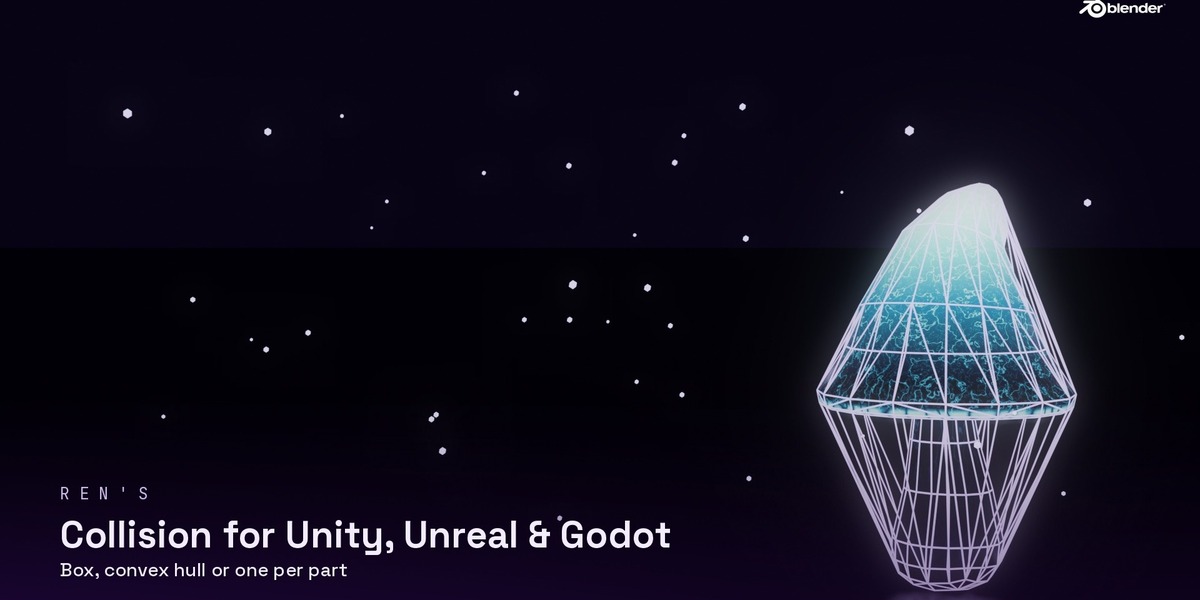
Pick Box, Convex Hull or Per Part, then click Generate Collision. Names match your chosen engine. Remove LODs & Collision deletes them again.
Health check
In the Health Check panel, click Check Selected. Each problem has a Select button so you can find it fast.
Have questions about this product?
Login to message
| Published | 3 days ago |
| Blender Version | 4.2 - 5.2 |
| Extension Type | N/A |
| License | Mit |