Atlas Bake
 John Deligiannis


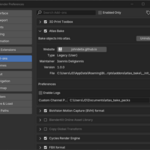
Installation
- Download the packaged
.zip. - In Blender: Edit → Preferences → Add-ons → Install… and select the file.
- Enable Atlas Bake.
- Find it in 3D View → N-Panel → Atlas Bake.
Add-on Preferences
-
Enable Logs: write detailed bake logs (e.g.,
logs.txt) into the output folder. -
Custom Channel Pack Folder: where your pack definitions live (absolute or
//relative to the current.blend).
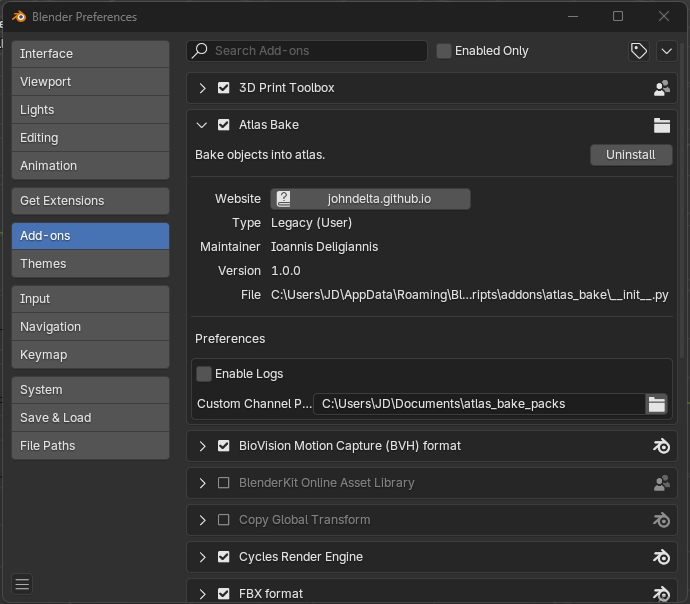 Add-On Preferences.
 Quick Start - Simple model baking
- Select one source mesh.
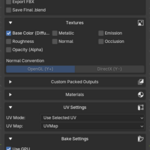
- In Textures, enable the maps you want.
- Choose UV Mode:
- MANUAL → pick your UV map, or
- SMART → set UV Angle Limit & UV Island Margin.
- In Materials to Include, check materials to process (default: all).
- Pick Normal Convention (OpenGL vs DirectX); optionally Flip Normal Y.
- Set Resolution, Samples, Bake Margin (px), and optionally Use GPU.
- (Optional) Add Custom Packs (or use the presets: MS/HDRP/ORM.)
- Choose a valid Output Folder.
- (Optional) Enable Export FBX / Keep Final .blend.
- Click Bake and watch the status/progress as your open file stays safe.
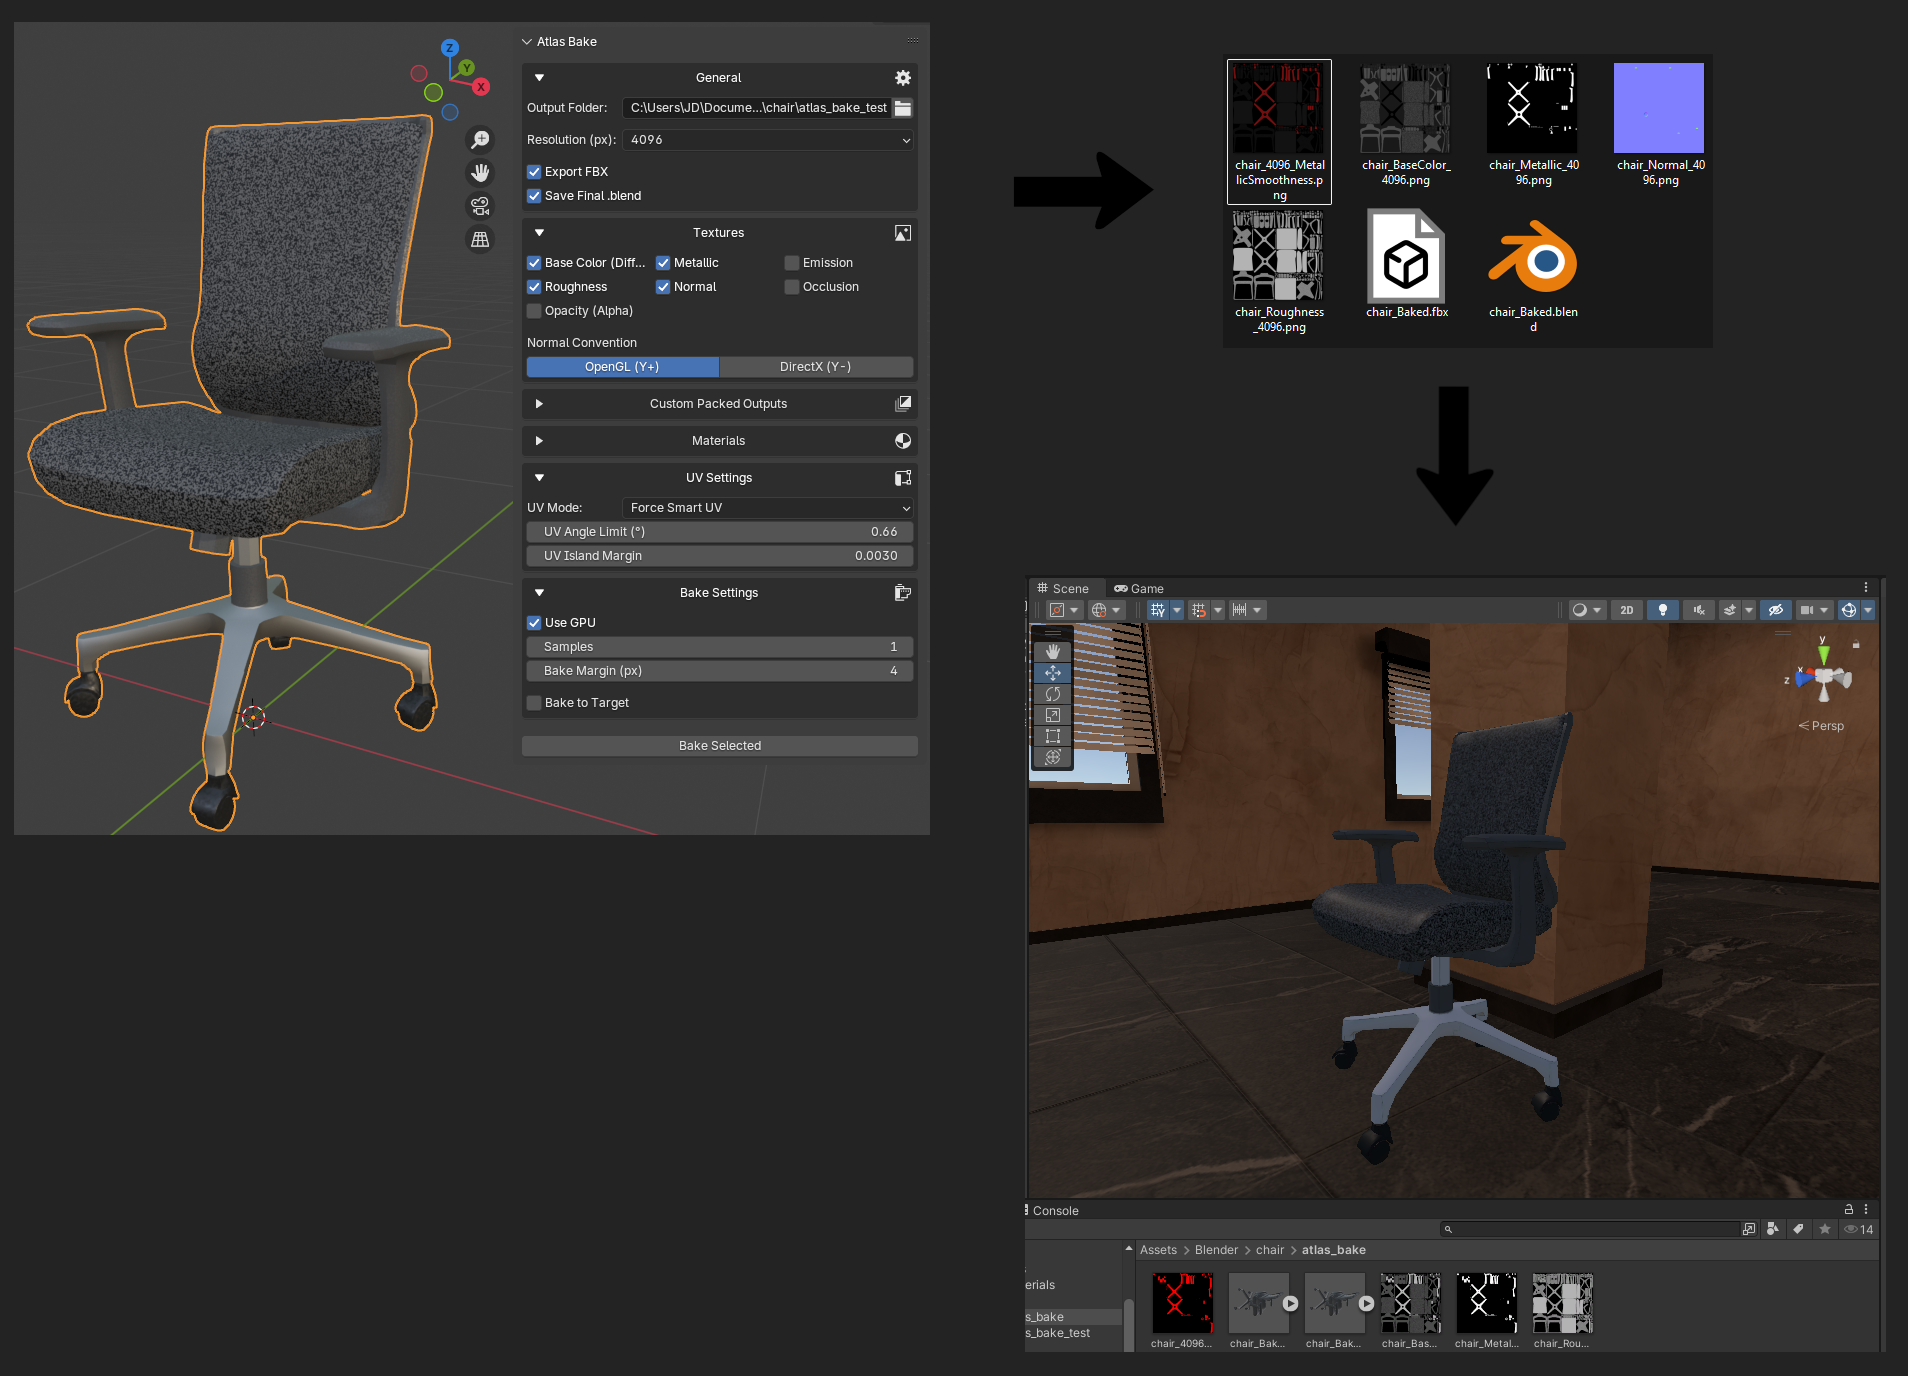 Result: Game ready asset packed with the selected basic textures.
Custom Channel Packing, a Metallic–Smoothness example
Why pack channels? Engines often require packed maps to reduce sampler count and bandwidth, and to match expected inputs: Unity Standard/URP uses Metallic + Smoothness (A), glTF/Unreal use ORM (R=AO, G=Roughness, B=Metallic), and Unity HDRP uses a Mask Map (typically R=Metallic, G=AO, B=Detail, A=Smoothness).
Key concept: Metallic–Smoothness means R = Metallic, A = 1 − Roughness (Smoothness). ORM means R = AO, G = Roughness, B = Metallic.
- Follow the Quick Start steps to set up your bake.
- Open Custom Packs → New Pack, name it
MetallicSmoothness_Unity, set Output Format = RGBA (8-bit). - Map channels:
- R → Metallic
- G → None (0)
- B → None (0)
- A → Roughness with Invert (Smoothness)
- Click Bake to generate the packed texture.
- Assign in-engine (Unity): set Base Map = BaseColor; Metallic Map = the packed Metallic–Smoothness (A channel drives Smoothness).
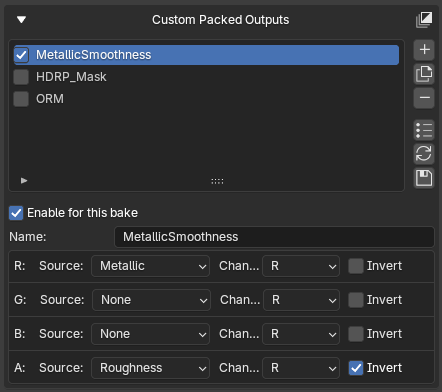 Custom pack settings for Metallic–Smoothness.
 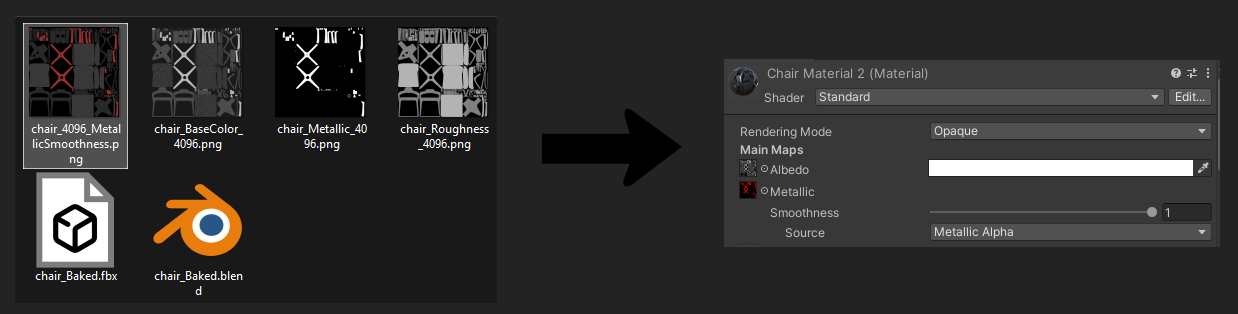 Result: one RGBA packed map driving Metallic (R) and Smoothness (A).
High → Low poly baking, a keyboard / keys scenario
Goal: Bake the High keyboard (with text meshes) into the Low keyboard (no text meshes) so the low-poly keycaps get textures containing the legends.
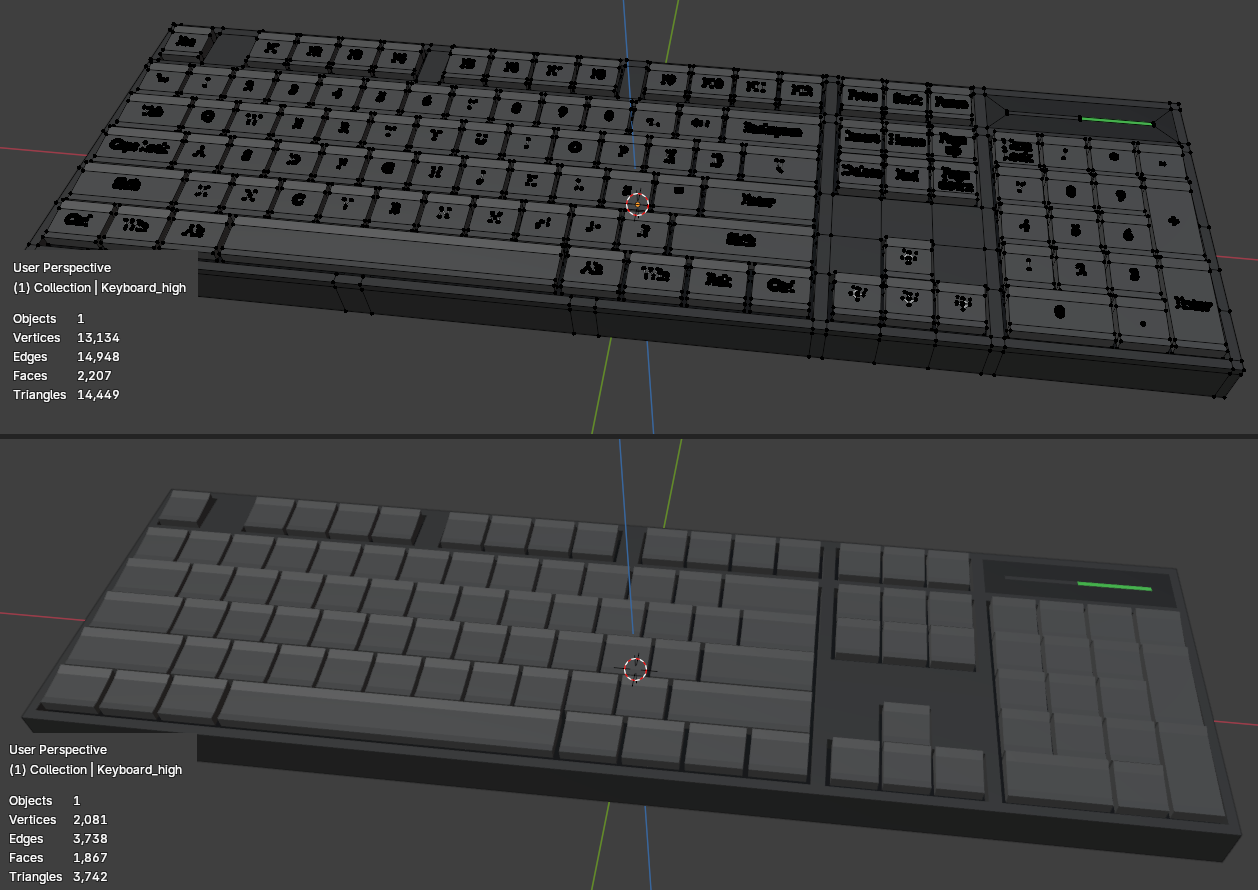
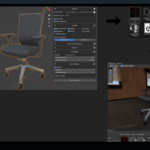
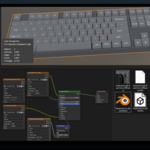
The high-poly and low-poly models.
- Follow Quick Start to prepare your settings.
- Select Source & Target: Select High (source), enable Bake to Target, set Target = Low (receiver). Keep both objects aligned with identical origins.
-
Projection control:
- Start with Max Ray Distance ≈
0.2–0.5%of model size. - For tight gaps/decals, use a Cage or Cage Extrusion (~
0.2–0.5%outward). - Thin legends: add slight thickness on High (e.g., 0.2–0.5 mm) or rely on a cage to capture shallow relief.
- Start with Max Ray Distance ≈
- Click Bake and monitor the progress UI.
- Assign the baked textures to the Low model and verify the result.
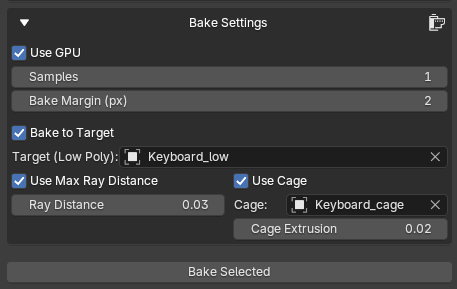 High→Low bake settings.
 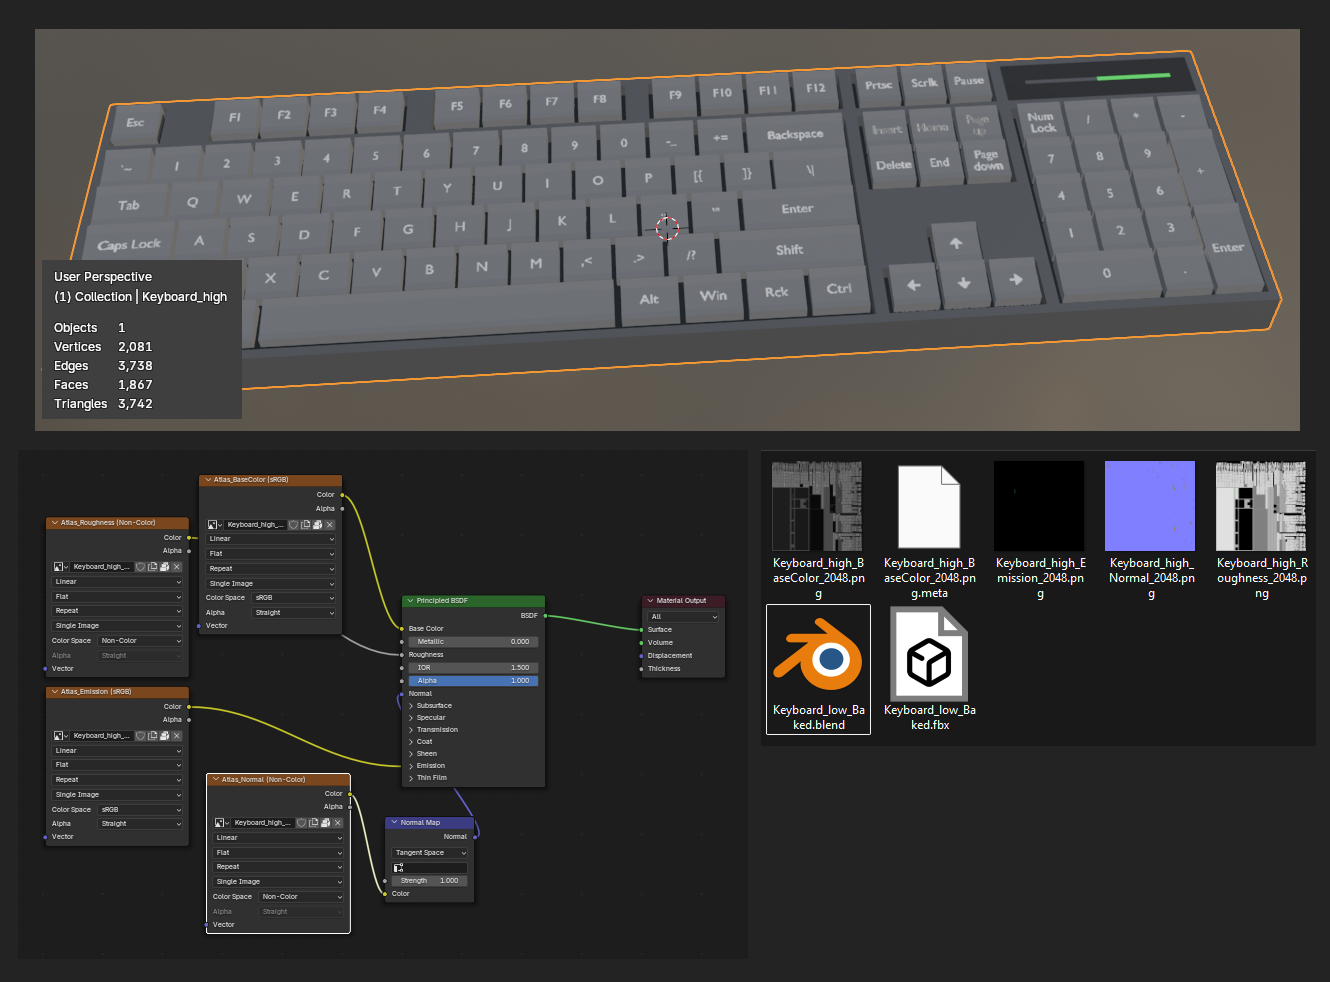 Bake completed - Low-poly with assigned textures.
Output & naming
Textures are saved into your chosen Output Folder. Typical names:

Packed outputs follow their pack name:

Have questions about this product?
Login to message
| Blender Extension Compatible | Yes |
| Sales | 30+ |
| Published | about 1 year ago |
| Blender Version | 4.2 - 5.0 |
| Extension Type | Add-on |
| Render Engine Used | Cycles |
| License | GPL |
Discover more products like this
baking settings unity game engine atlas-bake Channel Packing bake normals texture-baking high poly to low poly fbx bake material-baking Unreal Engine Cycles baking