Atlasflow – Ultimate Color Atlasing
 Baltha Studio
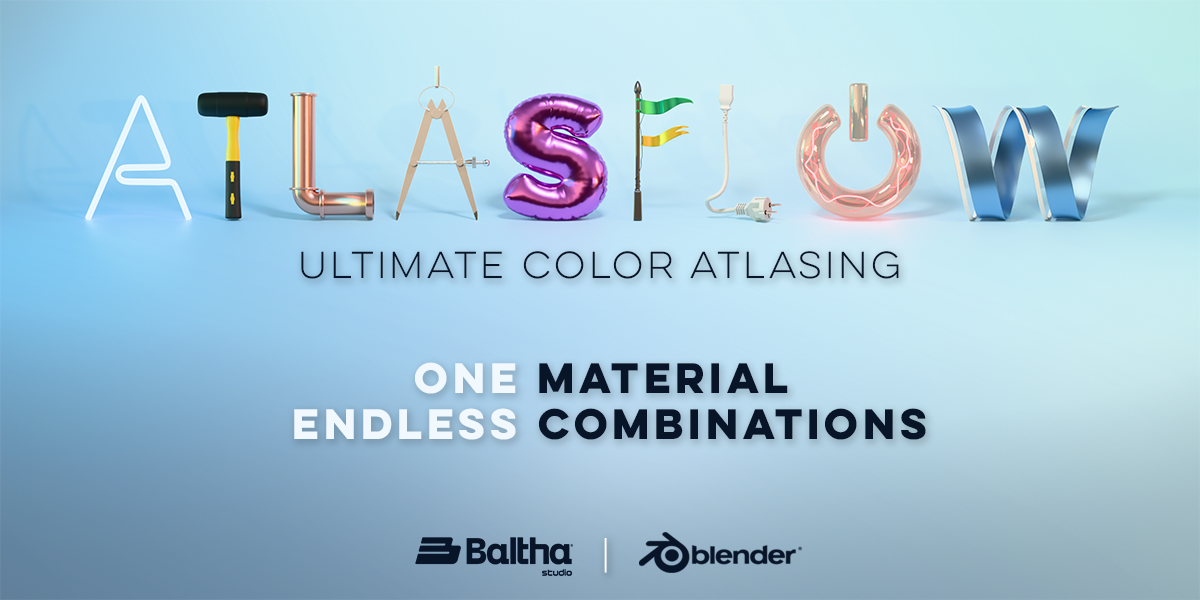

Installation:
It's no different than the standard add-on installation process. Download the Atlasflow .zip file and load it in Blender > Edit > Preferences > Add-ons > Install from Disk...
How to use:
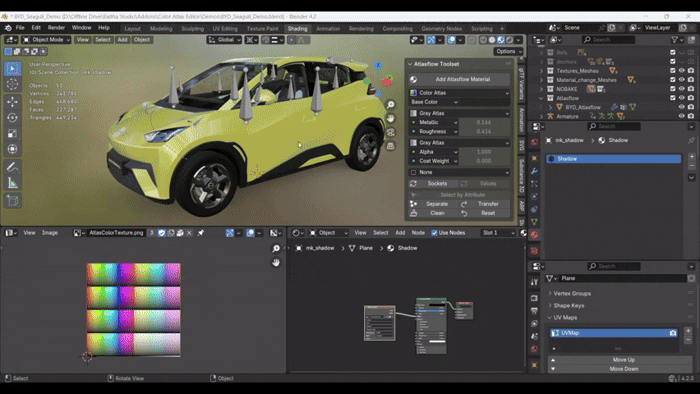
Add an Atlasflow material: Select a mesh object and click Add Atlasflow Material. It will also create UV channels and automatically capture the default PBR values of the object's existing materials and transfer them to the corresponding UV channels, maintaing the object's original look. It will keep the original materials and original UV channels, in case you still want to use them after. If you wish to clean your model from these data, use the "Clean" operation (explained in item 7).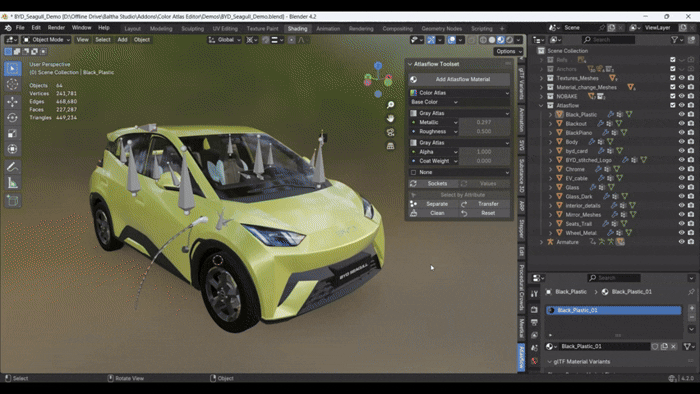
You can also add the Atlasflow material to a mesh object without any previous material and start editing its properties from scratch.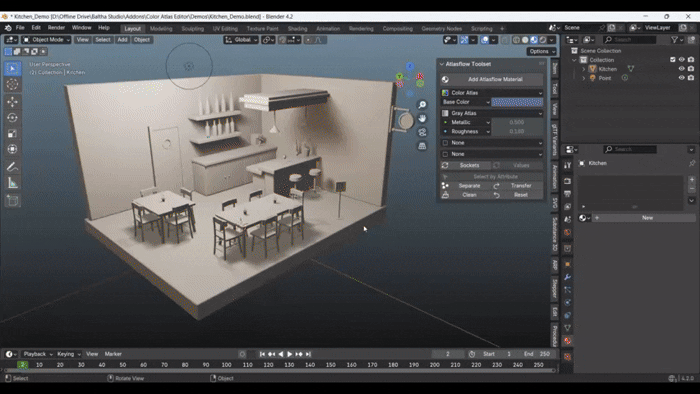
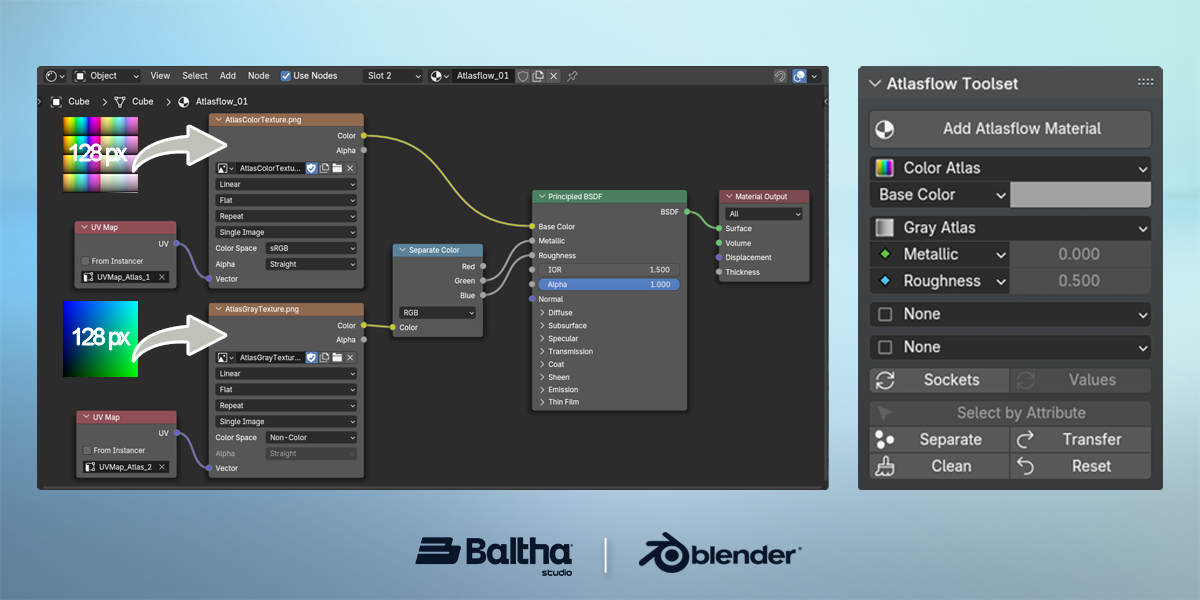
Change PBR properties: By default, Atlasflow is set to use Base Color, Metallic and Roughness. You can set a maximum of 4 atlas textures in the same Atlasflow material, combining between Color and Gray atlases. For each atlas type you can set specific PBR properties:
Color Atlas: Base Color – Emission Color – Specular Tint – Sheen Tint – Coat Tint – None
Gray Atlas: Metallic – Roughness – Alpha – Specular IOR Level – Transmission Weight – Coat Weight – Coat Roughness – Sheen Weight – Sheen Roughness – None
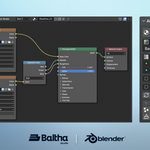
When adding/removing an atlas in the UI panel, what the add-on is effectively doing is adding/removing the corresponding UV channel for that atlas and also adding/removing the corresponding shader nodes in the Atlasflow material. And by updating the PBR properties of that atlas in the UI panel, the add-on updates the material's shader nodes by linking the atlas texture to the corresponding BSDF socket of the selected property.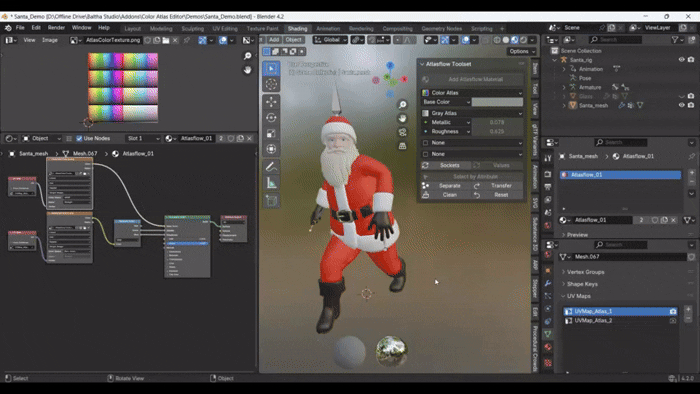
Change PBR values (Edit Mode): In Edit Mode you are able to tweak the values of all the PBR properties of your Atlasflow material per face selection. Simply select a face or group of faces and adjust the property values you want to change.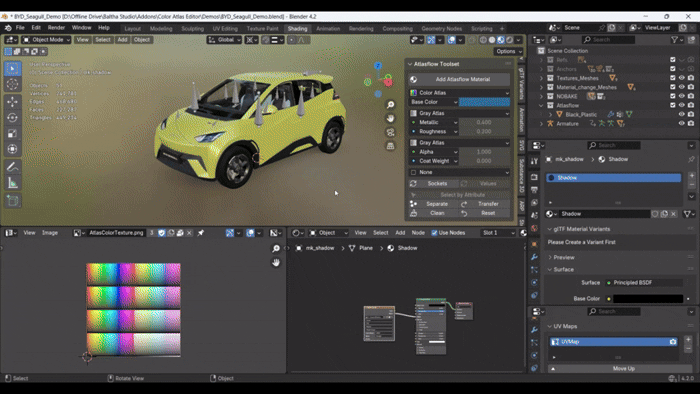
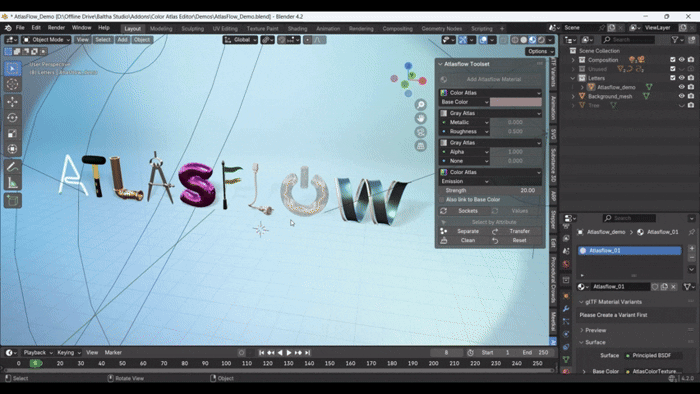
In the specific case of Emission, you are given the option to also link the atlas to the Base Color. The Emission Strength is also exposed so that it's easier to access it, but beware that the Emission Strength value is global to the entire object and not per face as the others. In this case, adjusting the darkness of the color values works as an Emission Strength control. This approach is particularly useful when your mesh object is exclusively emissive and you don't need separate control of the Base Color and Emission Color properties.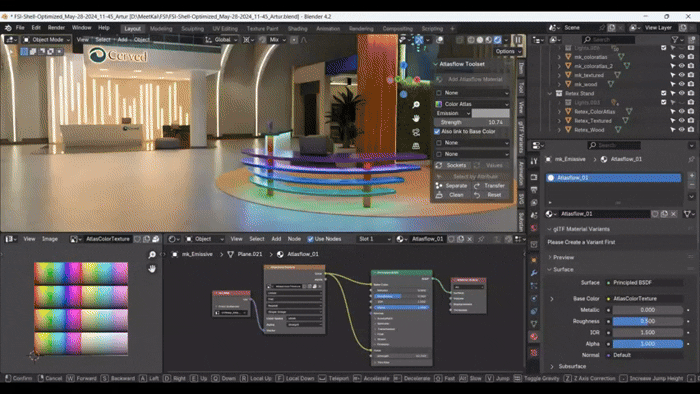
Select by Attribute: If you want to select every face sharing the same PBR attributes, select a face and click Select by Attribute, that will select every other face sharing the exact same attributes of the active selected face, effectively mimicking Blender's built-in operation Select by material.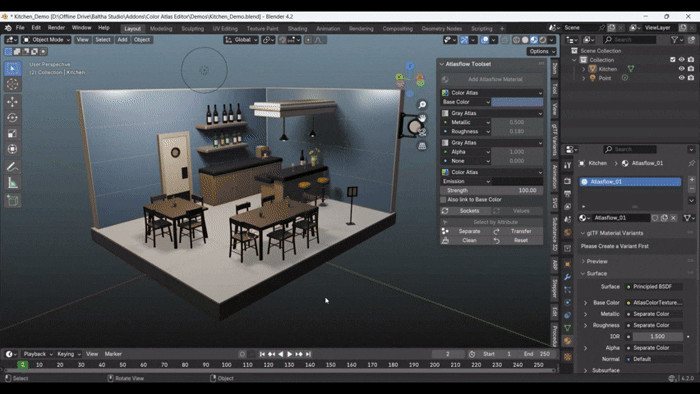
Separate by Attribute: Similarly to Blender's built-in Separate by Material, this operation separates the current object into multiple objects by atlas PBR attributes.
Transfer Attributes: If you have an object using an Atlasflow material and you want to join it with another object using traditional PBR materials, you can do that and then click Transfer, that will transfer the values of the materials of the new object to the atlas and then you can get rid of those materials to keep only the Atlasflow material.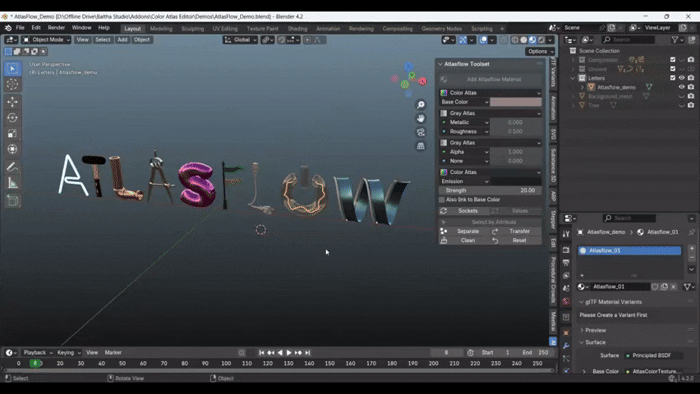
Clean Object: If your object is using Atlasflow, but it has extra materials in it or extra UV channels and you want to get rid of those, click Clean. It will not only delete every other material from your object, but also completely remove them from your Blender file in case they are not being used by anything else, and then it will also delete every other UV channel and keep only the ones used by the atlas material.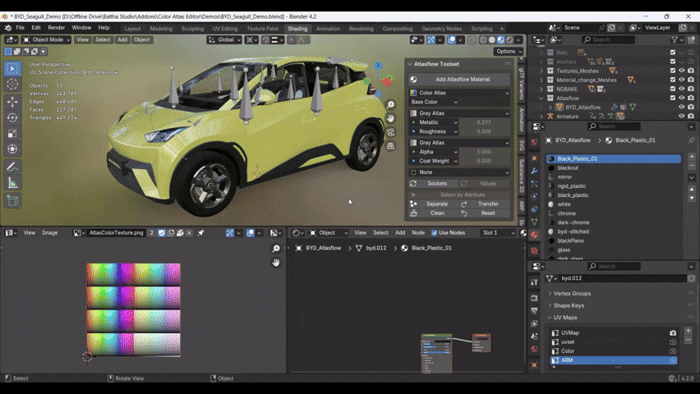
Reset Object: Opposed to the Clean operation, clicking Reset will completely remove the Atlasflow material, its corresponding UV channels and will add back traditional PBR materials, maintaining the current look of the object.
Limitations:
-
UV Channel Constraints: Atlasflow requires dedicated UV channels for each atlas it uses. Different engines have varying limits on the number of supported UV channels—some can handle up to eight, while others may only allow one or two. Additionally, one UV channel is often reserved for lightmapping. In most scenarios, two UV channels are sufficient to handle the typical atlas combination of Base Color, Metallic, and Roughness. A third channel can be used for properties like Emission, or any other feature you may need, and it would generally still fit within the engine's UV channels contrainsts.
- .glb/gltf Export using Alpha: This is specifically a limitation of the glTF 2.0 format. It requires alpha information to be merged into the alpha channel of the RGBA Base Color texture, forcing the alpha map to share the same UV mapping as the Base Color. As a result, transparency is baked into the Base Color texture, causing the exported model to appear differently than it does in Blender. Ideally, glTF should support separate alpha textures rather than embedding transparency in the Base Color, and hopefully, a future update to the format will address this shortcoming. Until then, objects using alpha should be exported separately from those that are fully opaque.
Have questions about this product?
Login to message
Discover more products like this
Atlas uv mapping engine color gltf low poly efficient RGB low-end devices unreal simple PBR Game color-atlas pbr-texture light-weight Workflow rgba uv optimized unity webgl game ready atlasing glb color-texture easy low-end stylized fbx per-face Material texture performance pbr-atlas babylon draw-call