 Joris
Joris
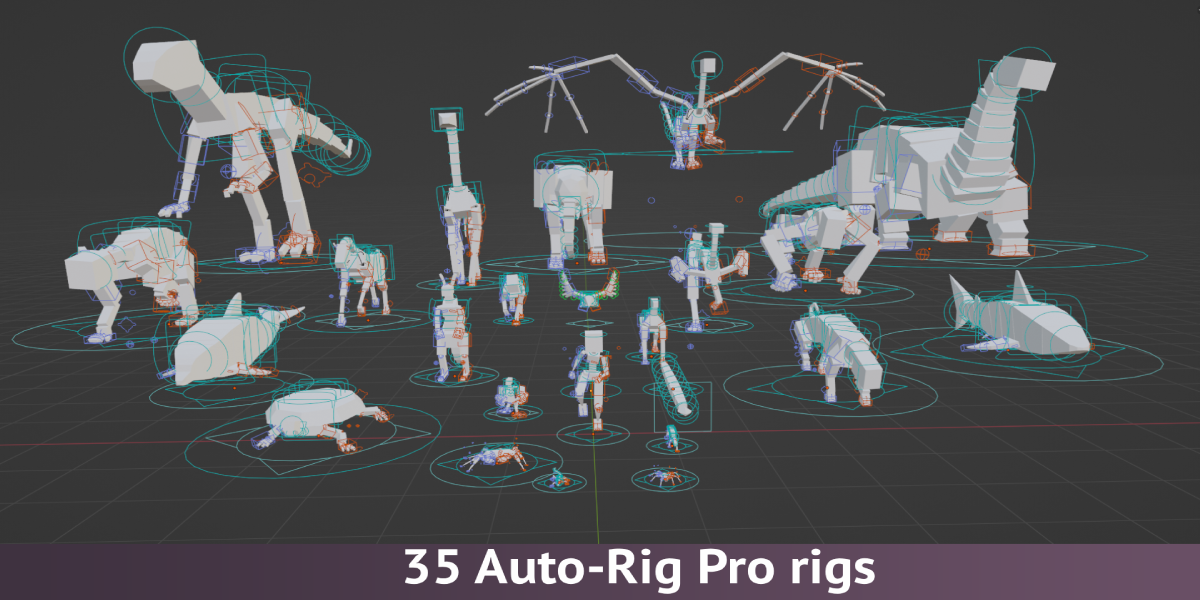
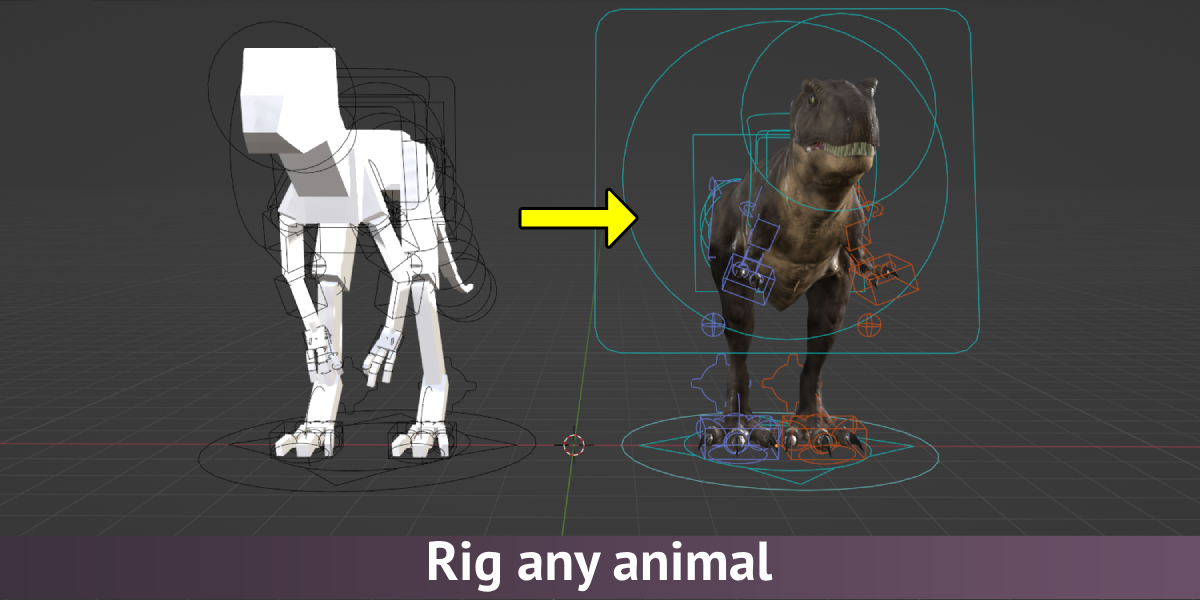
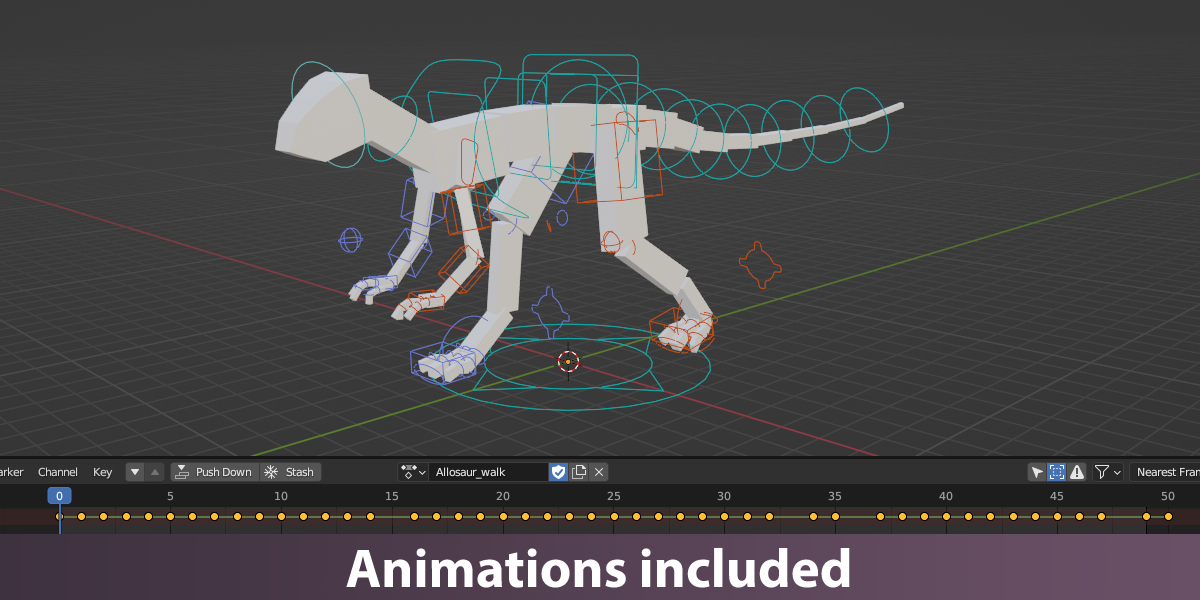
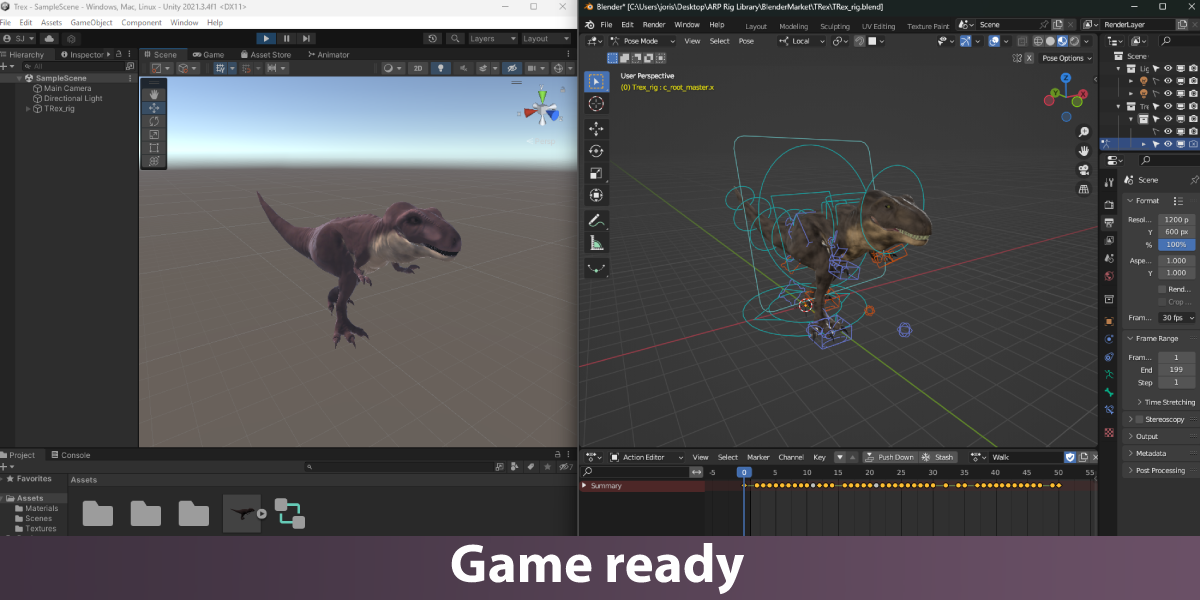
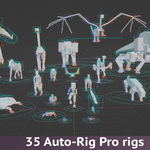
If the automatic installation fails, you can always do a manual installation:
- Make sure you have installed Auto-Rig Pro
- Check the changelog on the Version History page, to see which version of Auto-Rig Pro and Auto-Rig Pro: Rig Library to use for your Blender version.
- Go to your Superhive orders
- Click on the "Downloads" button
- Download the .zip file to your computer
- Extract the .zip file -> open the armature_presets folder -> select all the .blend files and copy them
- In Blender go to: Edit -> Preferences -> Add-ons -> Auto-Rig Pro -> Paths ->"Armatures" file path
- Navigate to this file path on your computer -> paste all the .blend files on this location
- Restart Blender
- Go to the Auto-Rig Pro addon -> open the "Add Armature" dropdown menu -> notice the rigs have been added
Make sure to turn on the Fake User shield for all the actions of a rig.
When you don't turn on Fake User for the actions, it can happen that Blender will remove them when re-opening the .blend file.
- Allosaur - walk
- Ant - walk
- Apatosaurus - walk
- Bear - walk
- Bee - fly
- Bird - fly
- Butterfly - fly
- Cat - walk
- Chicken - walk
- Cow - walk
- Crab - walk
- Deer - walk
- Dog - idle, trot, run, dig
- Dolphin - swim
- Dragon - fly
- Duck - walk
- Elephant - walk
- Fish - swim, swim fast
- Frog - jump
- Giraffe - walk
- Gorilla - walk
- Horse - gallop
- Human - walk, run
- Kangaroo - jump
- Lizard - walk
- Mouse - run
- Ostrich - run
- Pig - trot
- Rabbit - hop
- Shark - swim
- Snake - slither
- Spider - walk
- Squirrel - jump
- Tiger - walk
- Turtle - walk
Please have a look at this YouTube tutorial I made.
This happens when you change the amount of bones in a limb to a SMALLER amount of bones. The channels of the bones that have been removed will still be present in the Graph Editor and give an error. You can simply select all these channels and delete them.
Stretchy arms/legs are turned off by default in order for the rigs to be game engine compatible.
But these are the steps to turn on stretchy arms/legs:
-
Stretchy FK arms/legs
Pose Mode > select the hand/foot controller > Tool tab > adjust the Stretch Length (FK) value.
-
Stretchy IK arms/legs
Pose Mode > select the hand/foot controller > Tool tab > adjust the Stretch Length (IK) value.
Alternatively, you can turn on the Auto Stretch property. When you move the hand/foot IK controller, the arm/leg will automatically stretch.
First of all, for both methods make sure that in the Outliner your model is placed within the root collection of your rig.
-
Appending (creating a copy of the rig):
File > Append > browse to the rig file on your computer and double-click it > Collection > select the root collection of the rig (the one with only the name of the rig, so NOT the collections rigname_cs and rigname_grp_rig) > Append.
-
Linking (creating a reference to the rig source
file):
- File > Link > browse to the rig file on your computer and double-click it > Collection > select the root collection of the rig (the one with only the name of the rig, so NOT the collections rigname_cs and rigname_grp_rig) > Link
- Object Mode > Object > Relations > Make Library Override
- Note that you can’t edit a linked rig. You will need to do that in the rig source file.
Please be aware that in
Blender a rig can reference only one action. So when you bring in a rig
(through appending or linking) that contains multiple animations, it will
only contain the action that is active in the original rig file.
Because all the rigs have been setup with export to a game engine (Unreal/Unity) in mind. A frame rate of 30fps is the standard for game animation.
-
$35
35 rigs + 40 animations
-
$100
5 seats
Have questions about this product?
Login to message
| Blender Extension Compatible | Yes |
| Sales | 2800+ |
| Rating | 19 ratings |
| Published | over 3 years ago |
| Blender Version | 4.2 - 5.2 |
| Extension Type | Add-on |
| License | GPL |
Discover more products like this
auto-rig auto autorig pro animals auto-rig pro PRO rigs autorig presets Library rig autorigpro