AutoAnime : Build & Customize Anime Characters in Blender
 DanilGOE
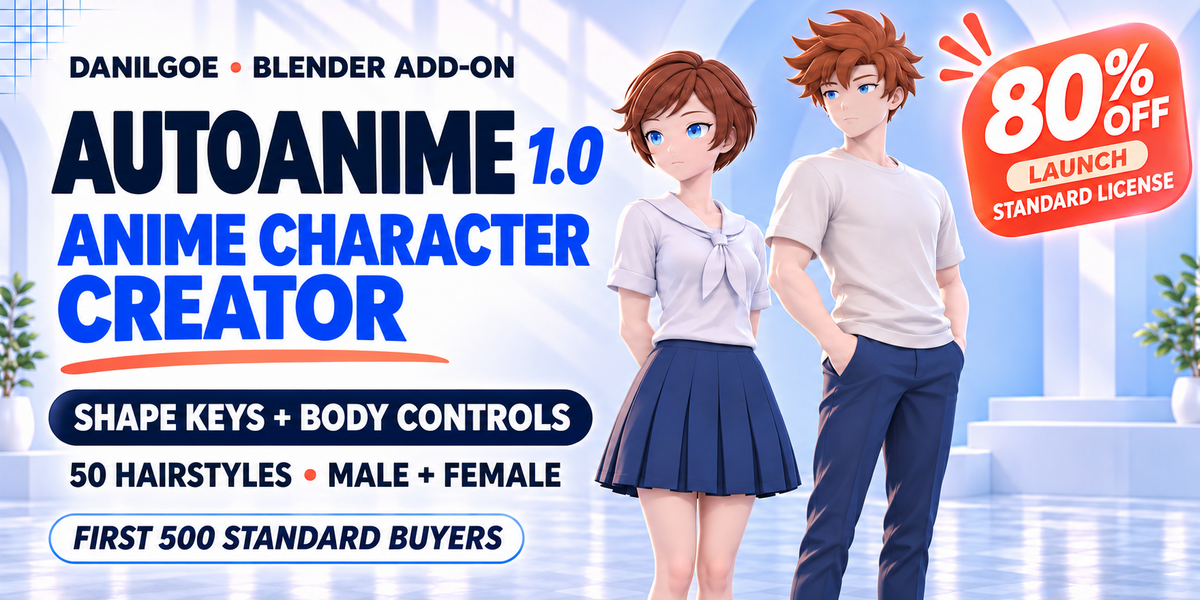
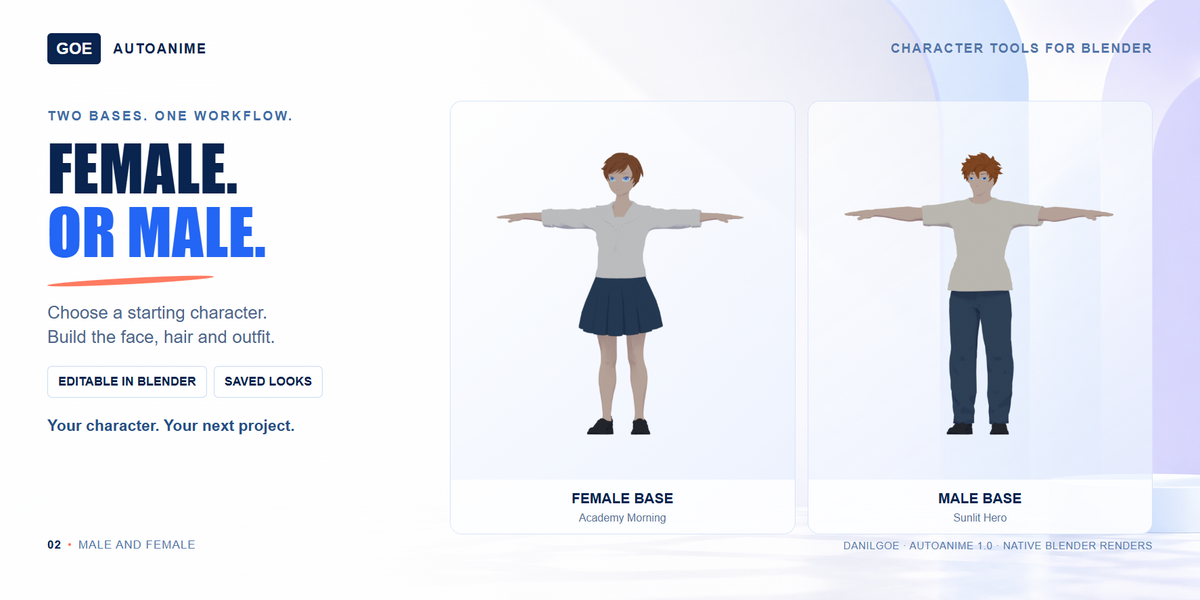
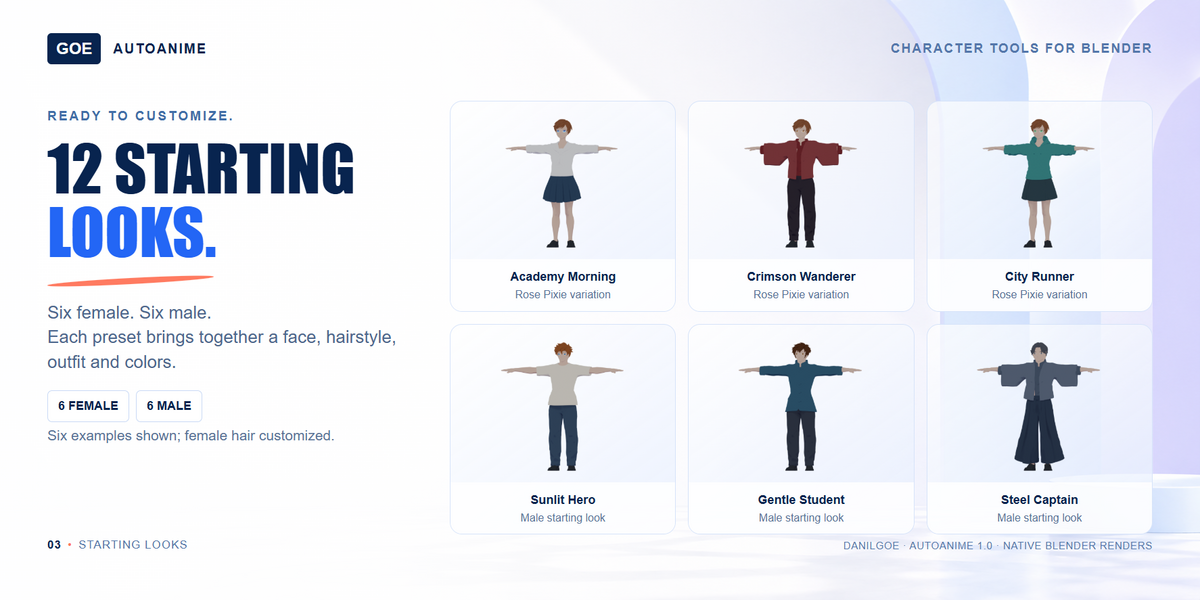
AutoAnime 1.0 — Getting Started
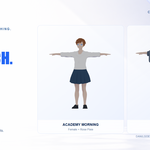
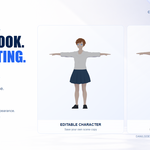
Build and customize male and female anime characters in Blender. Choose a starting look, adjust the body and face, change the hair and outfit, then save your editable character.
Requirements: Blender 5.2. Keep both AutoAnime_Addon_1.0.zip and AutoAnime_1.0.blend. The ZIP provides the controls and previews; the main BLEND contains the models, asset library and packed textures. AutoCharacters and AutoCreatures are not required.
1. Install and open the ready scene
- Open Blender and go to Edit → Preferences → Add-ons. Open the menu and choose Install from Disk.
- Select
AutoAnime_Addon_1.0.zipwithout extracting it, then enable AutoAnime. Restart Blender after updating an existing installation. - Open
AutoAnime_1.0.blend. Use Save As to create your own working copy. - In the 3D View, press N and select the Auto Anime tab. If needed, click Open Character Studio.
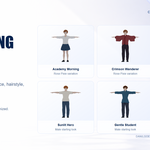
- Work in Object Mode. Choose Female or Male, then select a card under Character → Starting Looks.
Starting in another scene? Use Choose Product BLEND to select the supplied AutoAnime_1.0.blend, then choose Female or Male. The same path is available as Product BLEND in the add-on preferences. Select the file again if you move it. Open Product BLEND opens the supplied ready scene.
2. Shape the body and face
- Character → Proportions: adjust Height, Build, Muscle, Shoulders, Chest, Arms, Hips and Legs. Use Advanced Body Controls for detailed body shape-key controls.
- Character → Extras: choose optional ears and horns.
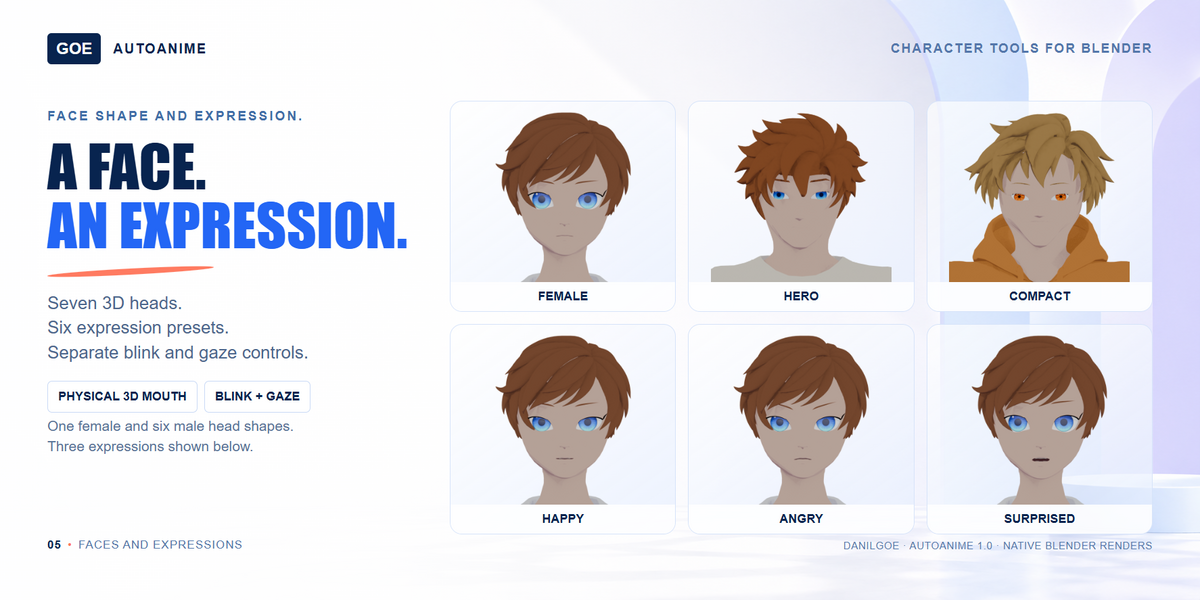
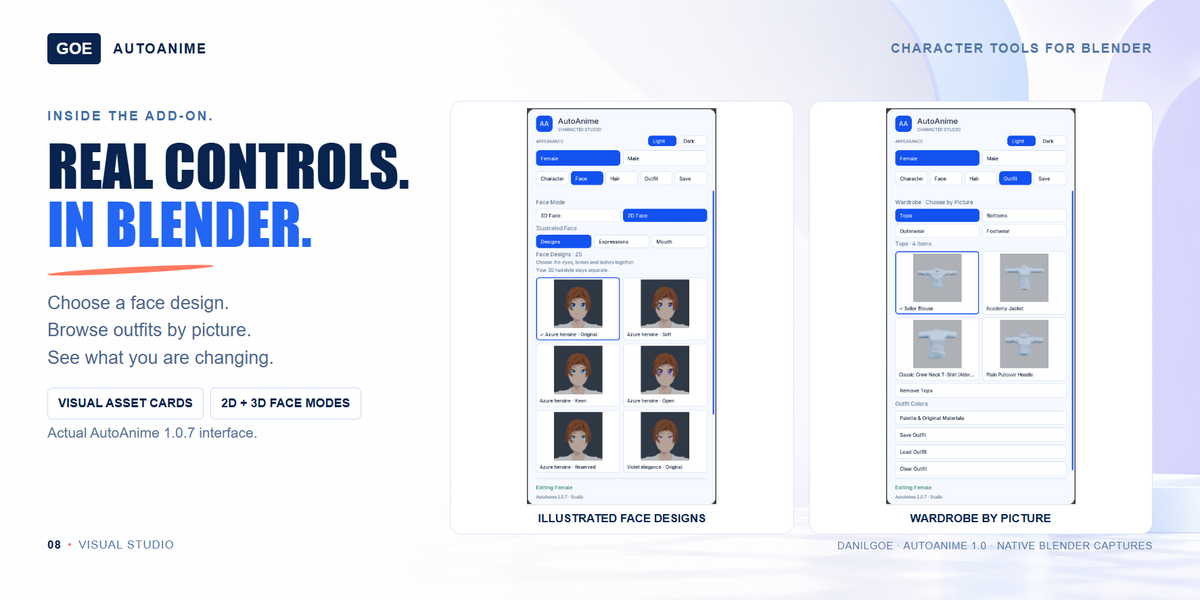
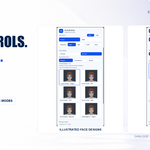
- Face → Shape & Expression: adjust eye size, width and tilt, jaw width, chin length, nose size and mouth curve. The 3D face also provides mouth, blink, gaze and iris-size controls.
Drag a slider, hold Shift for finer adjustments, or click its number for precise input. Press Escape to cancel a drag. Individual reset buttons restore their controls. Stop animation playback before editing proportions. If the panel requests a rig update, click Update Rig.
3. Choose hair, eyes and clothing
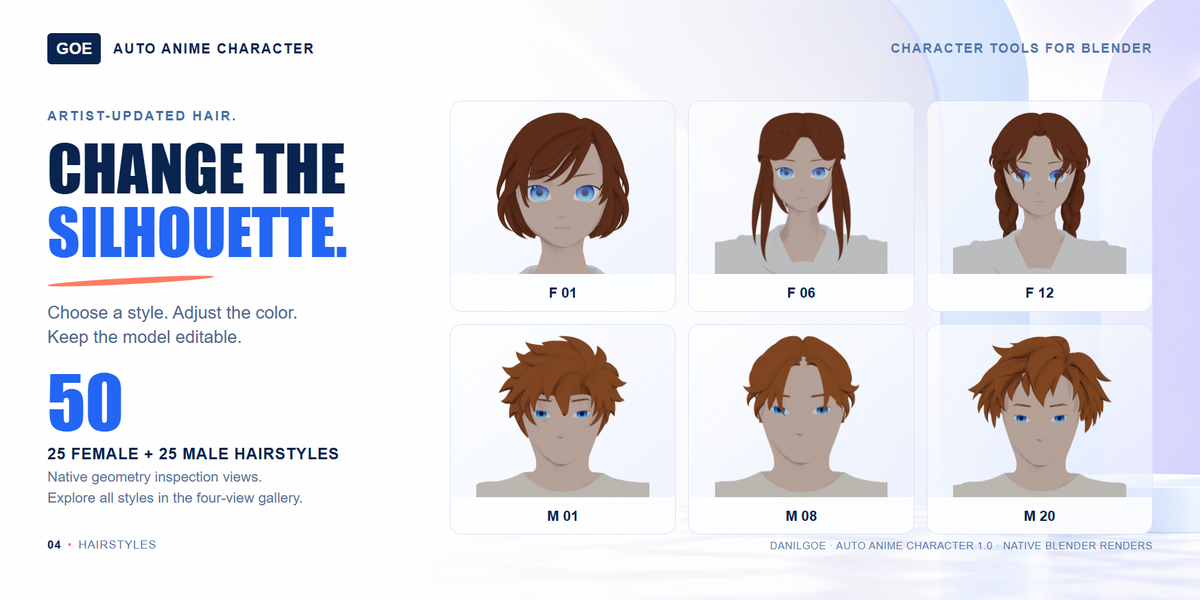
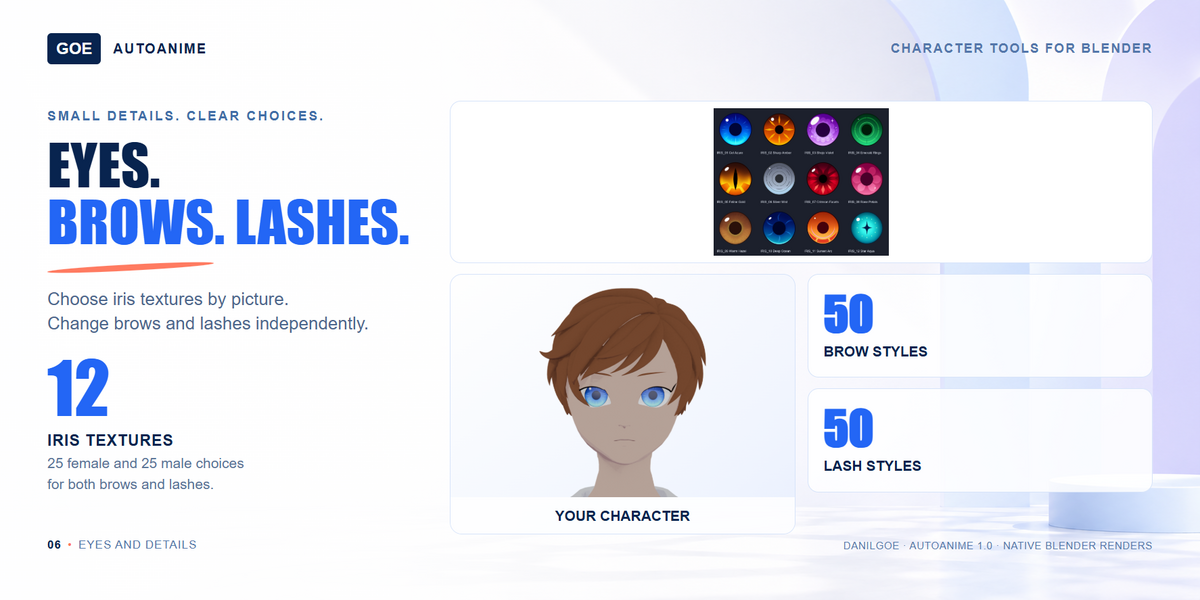
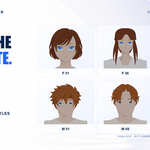
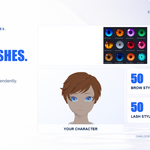
- Hair: click a hairstyle card. Use Previous and Next to browse. The Brows and Lashes tabs provide separate mesh styles for 3D faces.
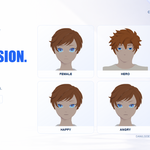
- Face → Appearance: choose a head, iris, expression and skin color. Separate iris selection is available in 3D Face mode.
- 2D Face: eyes, brows and lashes belong to the illustrated face design. Change them through the Designs gallery; separate iris and mesh-style selectors belong to 3D mode.
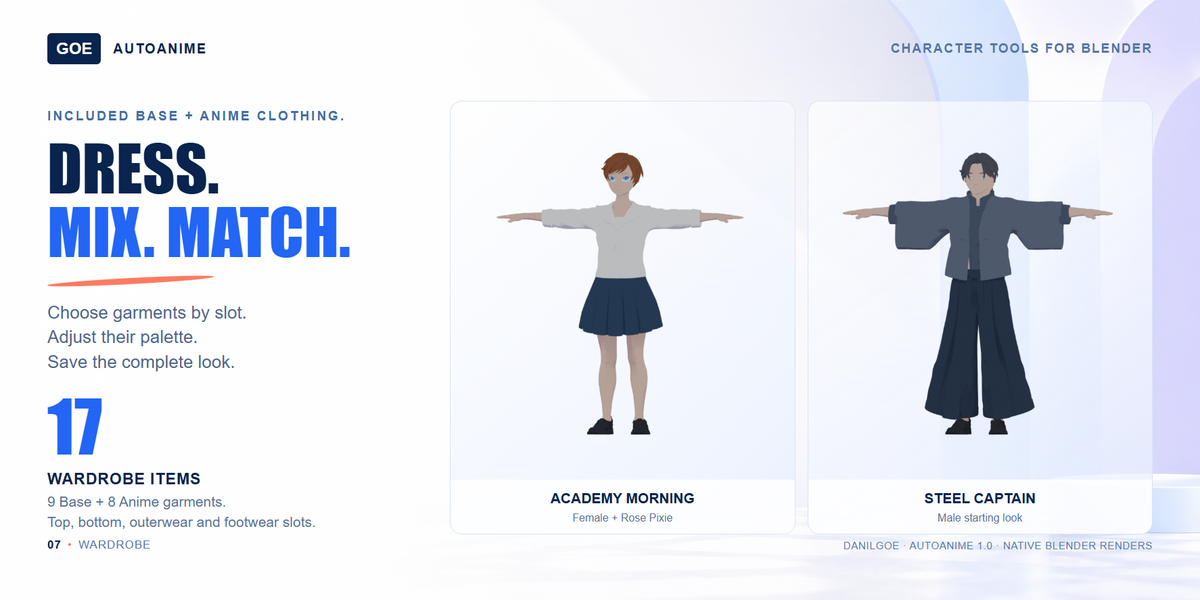
- Outfit: browse tops, bottoms, outerwear and footwear by picture. Use Palette & Original Materials to adjust garment colors.
For independent eyebrow color, turn off Match Hair Color in Hair → Brows. Some mesh changes take a few seconds; wait for the current operation to finish.
4. Materials and viewport lighting
Use Face Shading & Materials or Shader & Surface Settings to access the material options, including Soft Anime and Anime Cel.
For scene lighting, click Match Eevee Render. This switches the viewport to Eevee rendered shading with the scene lights and World. Material Preview can use a different studio light. Follow any warning about hidden light collections; final render settings can still affect the result.
5. Save and export
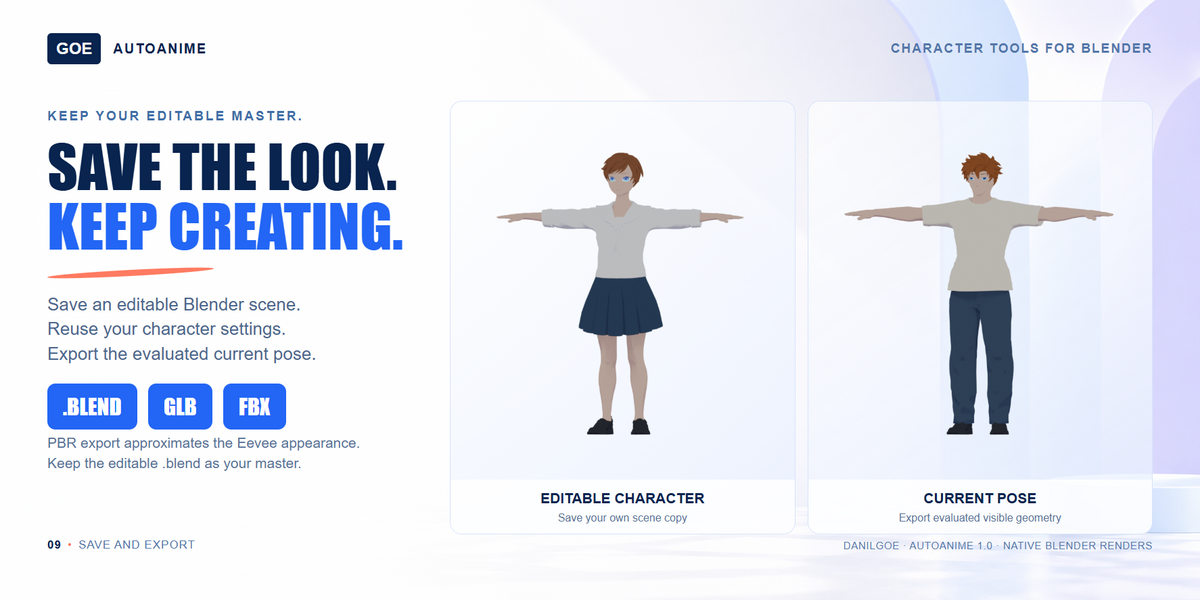
- Save Editable .blend: keep the editable scene, materials and character setup. This is your main working file.
- Save / Load Character Settings: store reusable settings as JSON. JSON presets do not replace the main BLEND asset library.
- Export Character · FBX / GLB: choose Current Pose to export the evaluated character at its current shape and pose. Keep the BLEND for further editing.
Current Pose export does not transfer the AutoAnime sliders or their animation. Portable PBR materials approximate the Eevee appearance and may need adjustment in another application.
6. Useful notes and support
The meshes use mixed topology. Extreme proportions, complex poses and layered clothing may need manual fitting or weight adjustment. Check the face, hairstyle and outfit after substantial changes.
Cannot find the panel? Make sure AutoAnime is enabled, place the pointer over the 3D View and press N. You can also press F3 and search for Open AutoAnime Studio.
Missing library? Use Choose Product BLEND and point it to the supplied main file. Installing only the add-on ZIP does not install the models.
Full guide: AutoAnime_User_Guide_1.0.pdf is included with your download.
Free bonus: Anime Shader Studio is included as a separate bonus ZIP. Gift.txt contains the coupon and redemption instructions. The bonus is optional; AutoAnime works without installing it.
Need help? Email [email protected] with your Blender version, steps to reproduce the issue and a screenshot or error message.
 Included
Includes 12 months of
- Support from DanilGOE
- Product updates
Extend this product’s Support Period +12 months: 100% of product price
Have questions before purchasing?
Login to message
| Dev Fund Contributor | |
| Published | about 11 hours ago |
| Blender Version | 4.2 - 5.3 |
| Render Engine Used | Cycles |
| Misc Data | Uvs-Unwrapped, Manifold-Mesh, Rigged, Normal-Mapped, Textured |
| License | GPL |
Discover more products like this
blender addon Character Creator male character outfits cel-shading Character Customization female character shape keys anime hairstyles facial-expressions Rigged characters