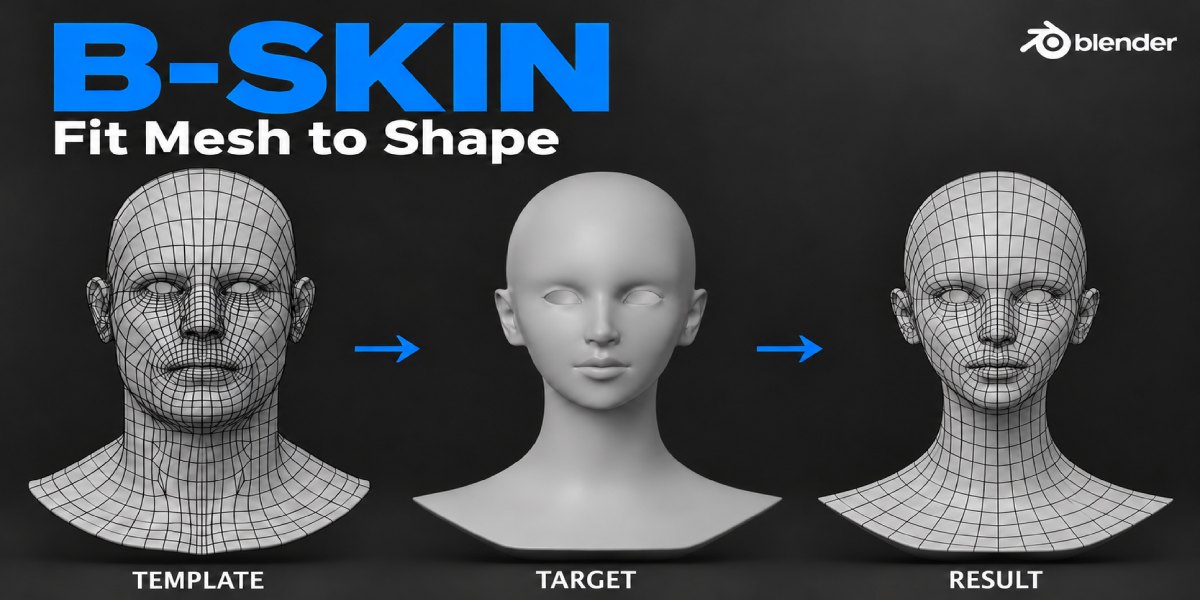
B-Skin: Wrap Base Mesh Topology Onto Scans and Sculpts
 blenderustad
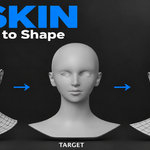
Requirements
Blender 4.2 or newer. A Template mesh (the topology you want to keep) and a Target mesh (the shape to follow). Texture transfer needs UVs on the Template, and for image textures also on the Target.
Install
- Download
B-Skin-1.5.0-BlenderUstad.zip. Do not unzip it. - In Blender open Edit > Preferences > Get Extensions, open the menu at the top right and choose Install from Disk.
- Select the ZIP and enable B-Skin.
- In the 3D Viewport press N and open the B-Skin tab. When updating, disable the old version and restart Blender after installing.
First use
- Put the Template in a neutral state: expression shape keys at zero, armatures in Rest Position, other Template modifiers disabled.
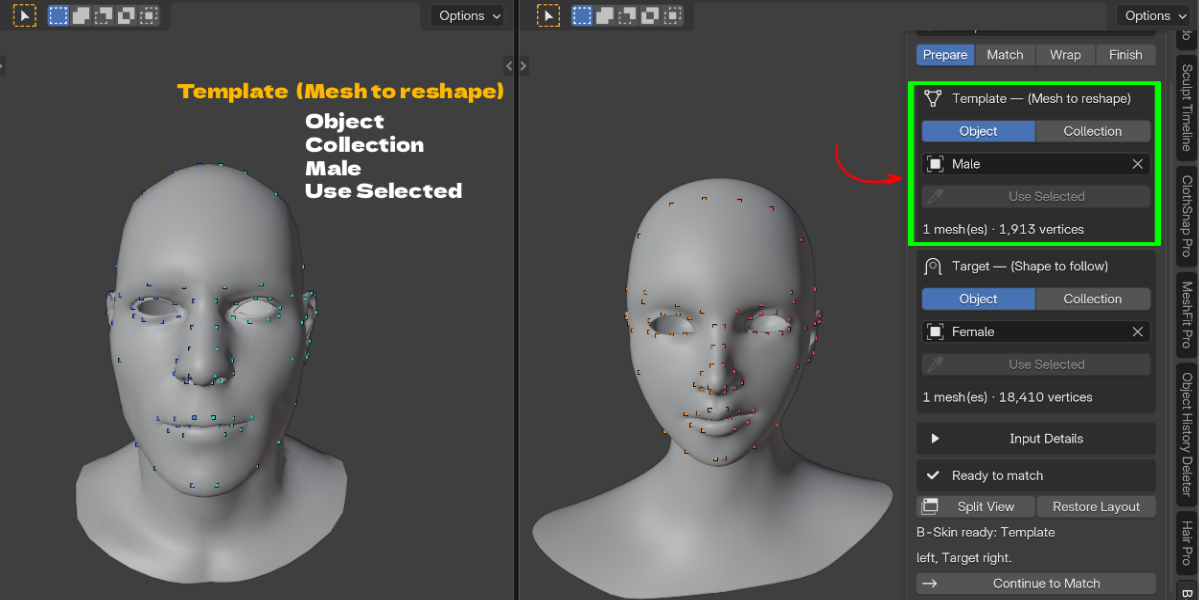
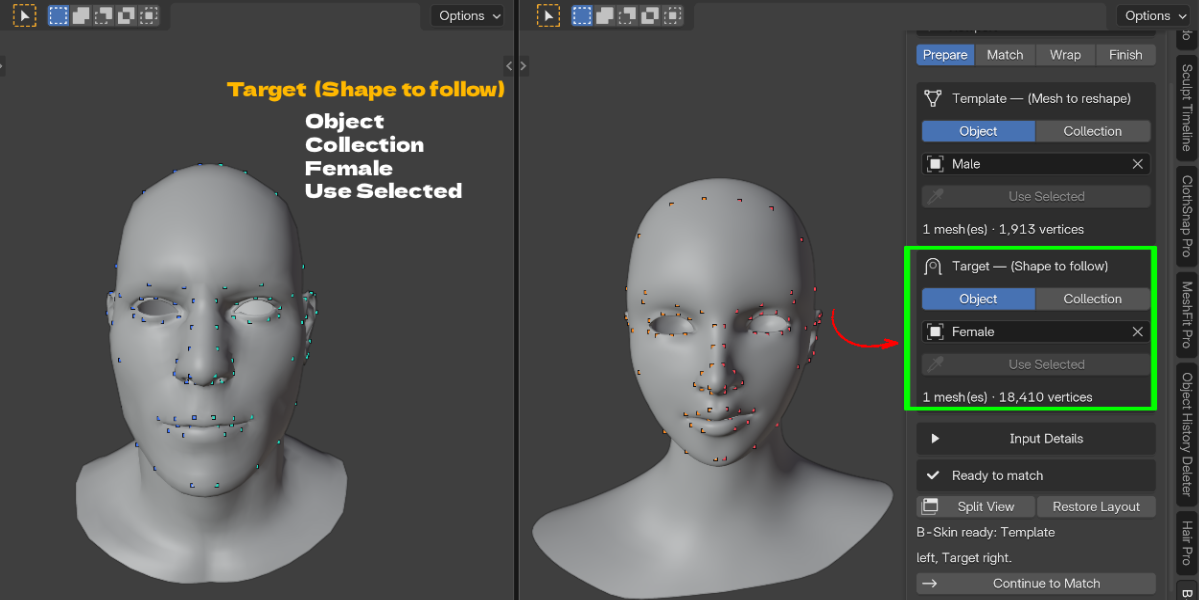
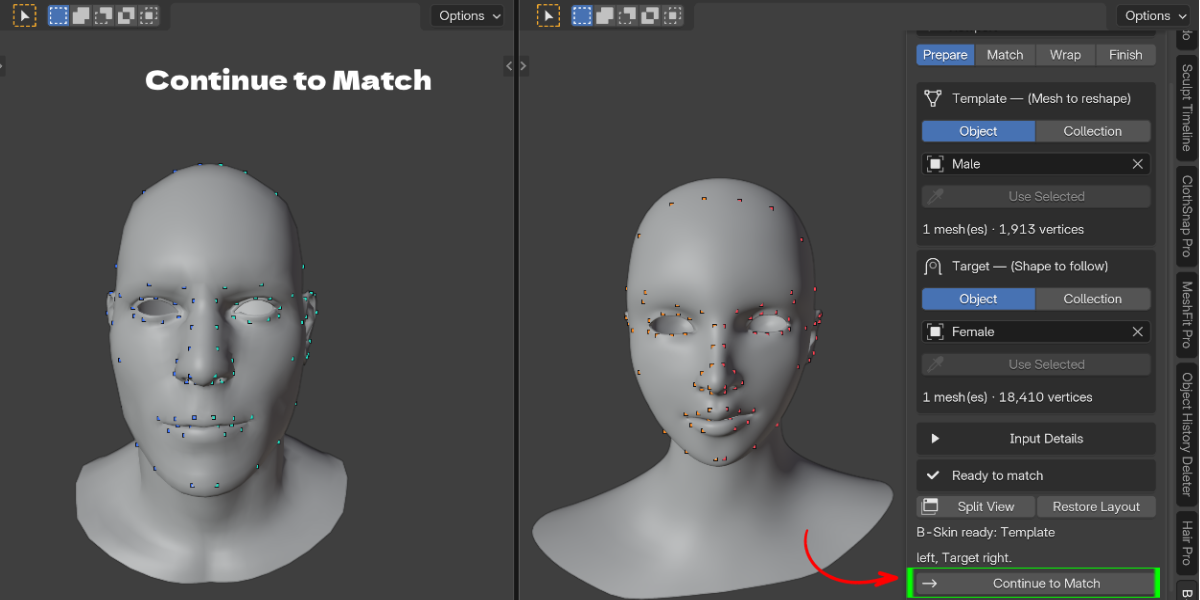
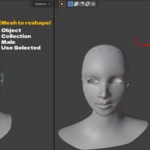
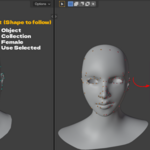
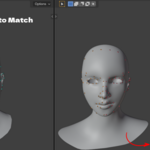
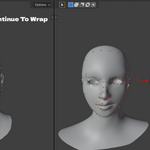
- Prepare: under Template choose Object, select the mesh and click Use Selected. Do the same for Target. Wait for Ready to match, then Continue to Match.
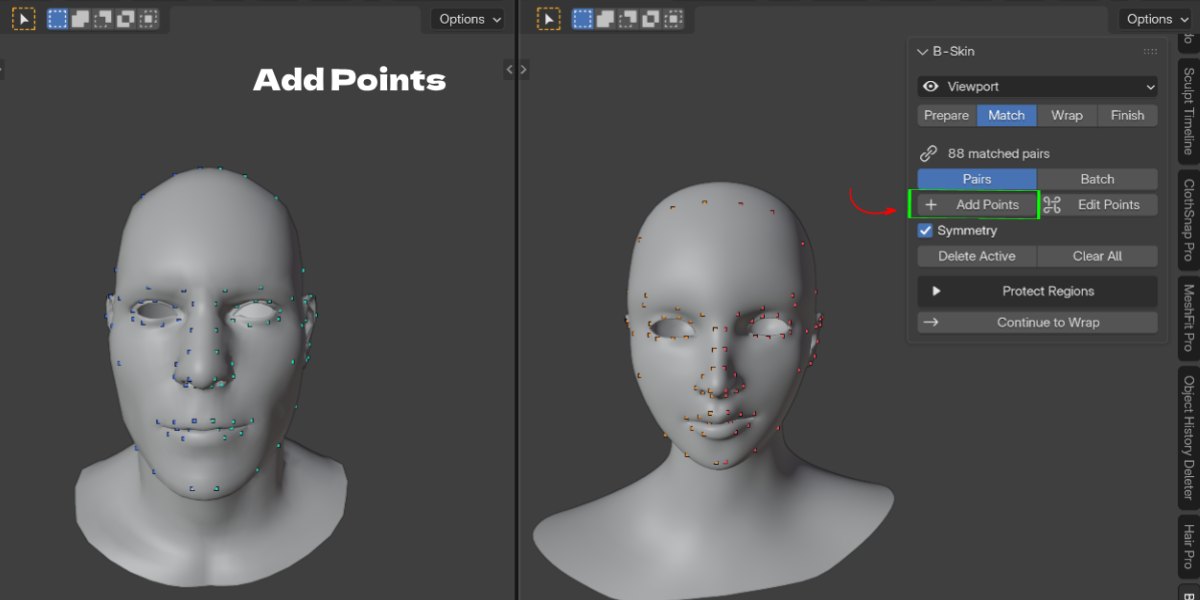
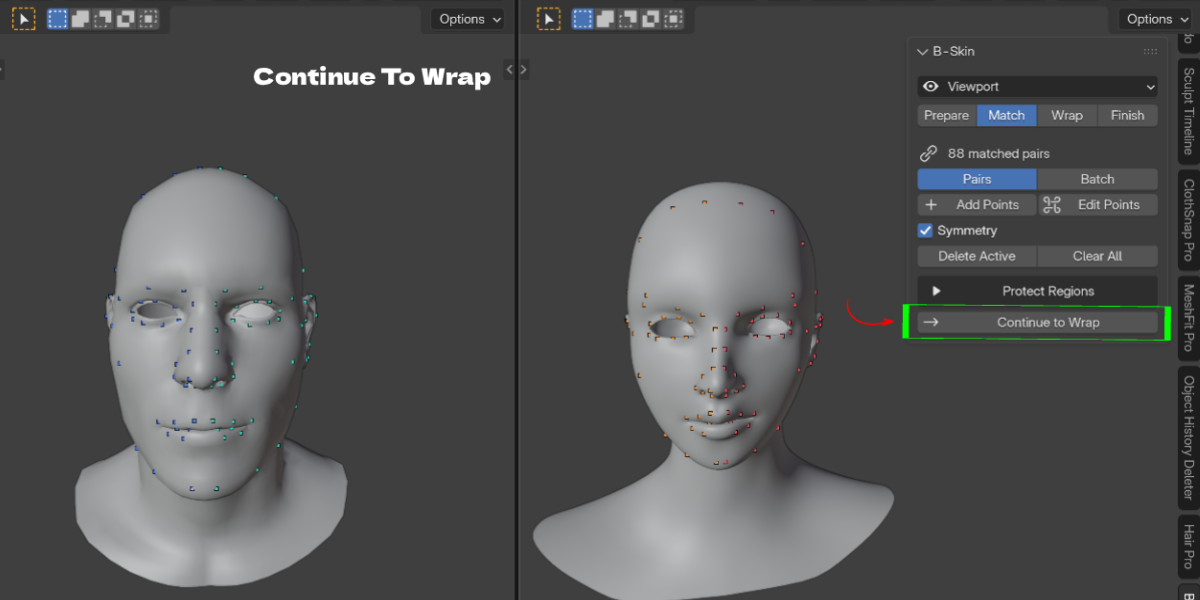
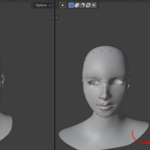
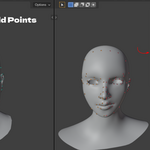
- Match: click Add Points, click a feature on one mesh and the same feature on the other. Place at least three spread out pairs. Press Enter or Done.
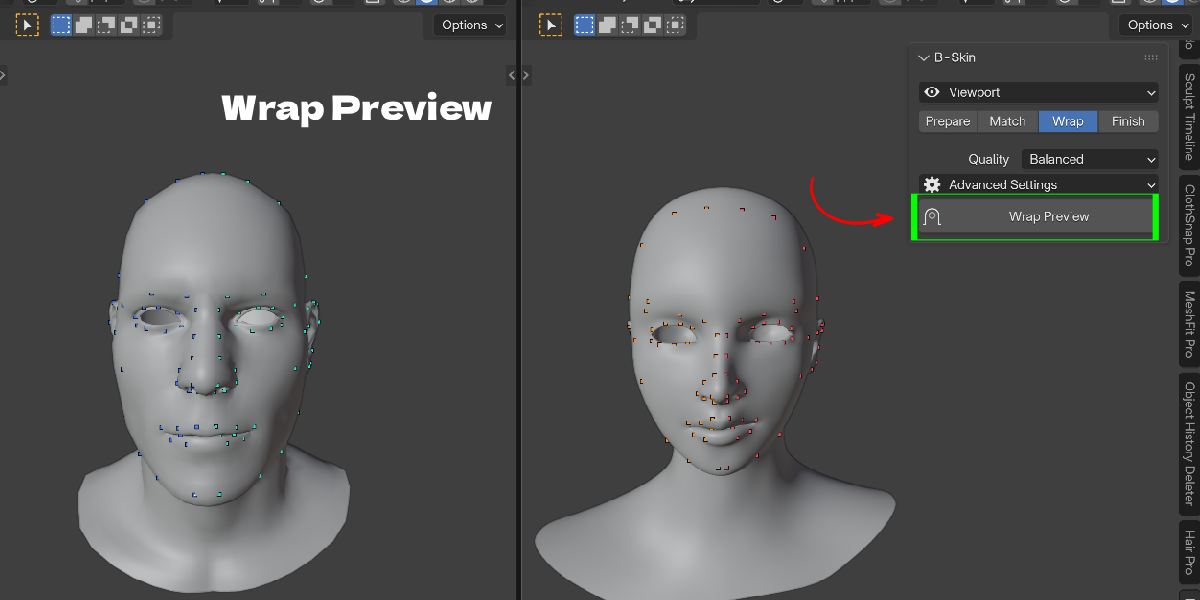
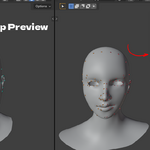
- Wrap: choose Balanced and click Wrap Preview. Use Result Blend to compare.
- Finish: optionally bake textures, then choose Create Copy, Keep Editable Result or Apply to Template.
Prepare page
- Template / Target, Object or Collection: each side can be a single mesh or a collection. Use Active Collection takes the collection active in the Outliner.
- Input Details: member list, Include Child Collections, Keep Seams Together, Seam Distance, Seam Group and per part Restrict Target.
- Apply Input Transforms: optional; different origins and transforms are supported without it.
- Make Template Single User: offered when the Template mesh data is shared.
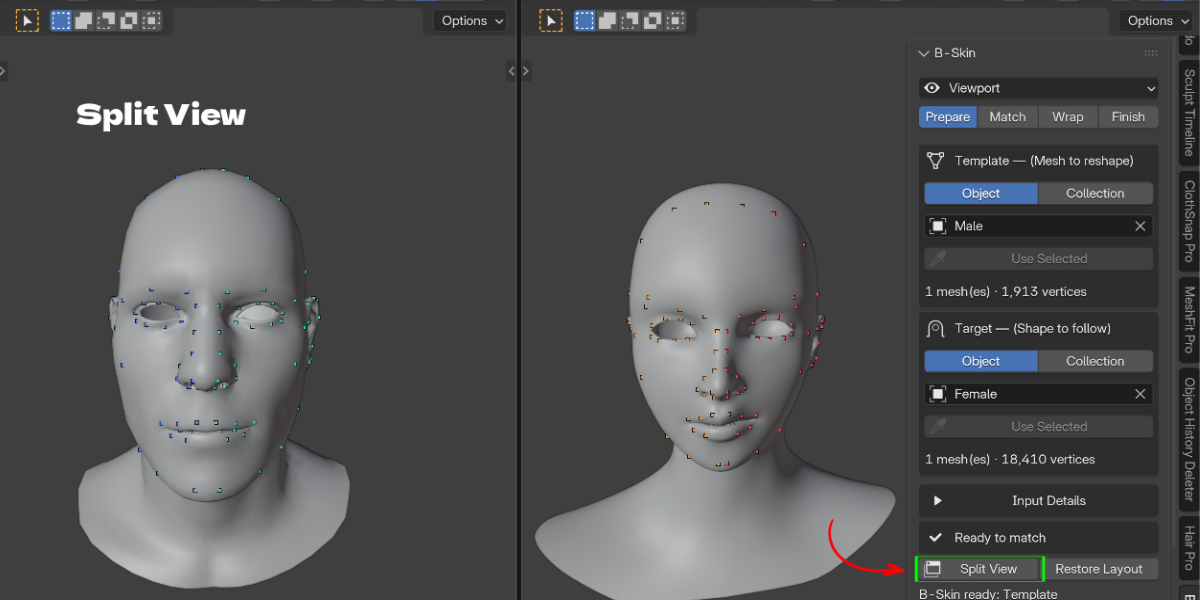
- Split View / Restore Layout: opens a workspace with separate Template and Target views and returns to your previous layout.
Match page
- Pairs / Batch: Pairs alternates between meshes. Batch places several points first, then matches them in order. Tab switches a batch to matching.
- Add Points / Edit Points: place or drag points. Shift click selects more pairs.
- Symmetry: creates mirrored pairs automatically.
- Manage Points: Mirror Selected or All, Center Selected, Snap to Symmetry Plane, Weld Distance, Delete Active, Clear All, Save Points, Load Points, Start On.
- Guides: New Guide, Select Template Loop, Capture, Done, then the same on the Target. Set Samples and click Generate / Update Landmarks. Guide Options: Flip Direction, Start Offset, Find Start Automatically, Auto Symmetry.
- Protect Regions: Keep in Place, Preserve Local Shape and Ignore Target Surface, each with Paint. Detect Interior to Ignore builds an Ignore mask. Save and Load Ignore Mask handle the Ignore mask only.
Wrap page
- Quality: Fast, Balanced, Best. Custom appears when settings differ from a preset.
- Wrap Preview / Wrap Again / Cancel: run, rerun or stop and restore the previous preview.
- Result Blend: 0 shows the original, 1 the full wrap.
- Refine: Move Surface, Smooth, Move Landmarks, with Radius, Strength and X Symmetry.
- Advanced Wrap Settings: Alignment (Align First, Point Warp, Point Weight, Keep Points Pinned), Surface Matching (Conform Strength, Normal Limit, Distance Reject), Detail Preservation (Stiffness Start and End, Relax Iterations, Progressive Elasticity, Symmetrize for single meshes), Performance (Steps, Iterations per Step, Refine Steps, Target samples, Live Preview).
Finish page
- Textures: Source (Texture, Vertex Color, Normal Map, Cavity), Resolution 256 to 8192, Quality (Draft, Good, Best), Margin, Extrapolate, 32-bit Float, Output Name. Cavity has Strength, Smoothing and Invert.
- Baked Images: Preview, Save and Save All Images. Float images save as EXR, others as PNG.
- Result: Create Copy (default), Keep Editable Result, Apply to Template, or Discard Preview.
Shortcuts
| Key | Action |
|---|---|
| Enter / Done | Keep changes and leave the tool |
| Esc / right click / Cancel | Restore the state from tool entry |
| Ctrl+Z / Undo Last Edit | Undo the last placement or stroke |
| Shift drag (Move Surface) | Smooth |
| Ctrl + mouse wheel | Change brush radius |
| Tab (Batch) | Switch to matching |
Limits
- Wrapping does not retarget skeletons, expressions, facial rig data, LODs or game engine exports. It fits the neutral mesh.
- Point files depend on object names and Template topology.
- Stroke history keeps up to 32 edit snapshots.
- Surface refinement does not guarantee removal of self intersections.
- Blender 4.2, manual mouse interaction and very large meshes have not been verified by the automated tests.
Performance tips
- Start with Fast to check your points, then switch to Balanced or Best.
- Lower Target samples and Steps for very dense scans while testing.
- Turn off Live Preview for heavy meshes.
Troubleshooting
- Shrinkwrap style sliding, eyes or lips in the wrong place: add more landmark pairs around those features, or use a Loop Guide around the eye and mouth rims.
- Inner mouth or eye sockets stick to the scan: paint them into Ignore Target Surface, or use Detect Interior to Ignore.
- Neck border or edges move when they should not: paint them into Keep in Place.
- Separate parts split apart at seams: enable Keep Seams Together and use Find Seam Connections to check the links.
- Use Selected is greyed out: select the mesh again so it is both selected and active.
- Wrap Preview is disabled or Inputs need attention: read the message on the Prepare page; shared mesh data, excluded objects or active Template modifiers must be fixed first.
- Viewport is slow during wrapping: use Fast quality, lower Target samples and turn off Live Preview.
- Pink or missing baked texture: check that the Template has UVs, the Target has UVs and the source image is assigned, then use Save All Images.
- Loaded points do not match: point files need the same object names and Template topology they were saved with.
Have questions about this product?
Login to message
| Blender Extension Compatible | Yes |
| Published | about 3 hours ago |
| Blender Version | 4.2 - 5.2 |
| Extension Type | Add-on |
| Render Engine Used | Cycles, Eevee |
| License | GPL |

Discover more products like this
3D Scan fit mesh to sculpt retopology base mesh wrap base mesh to scan mesh-wrap texture transfer topology transfer character Head landmarks photogrammetry