blenderustad
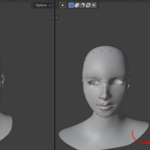
The problem: every new sculpt or scan needs new topology
You have a clean head or body with good edge loops, UVs and vertex groups. Then a new sculpt or 3D scan arrives, and you are back to retopology. Shrinkwrap pulls the mesh onto the surface, but eyes, lips and ears slide to the wrong place. Leaving Blender for a separate wrapping app means exporting, re-importing and fixing scale and names.
The solution: wrap your base mesh onto the new shape
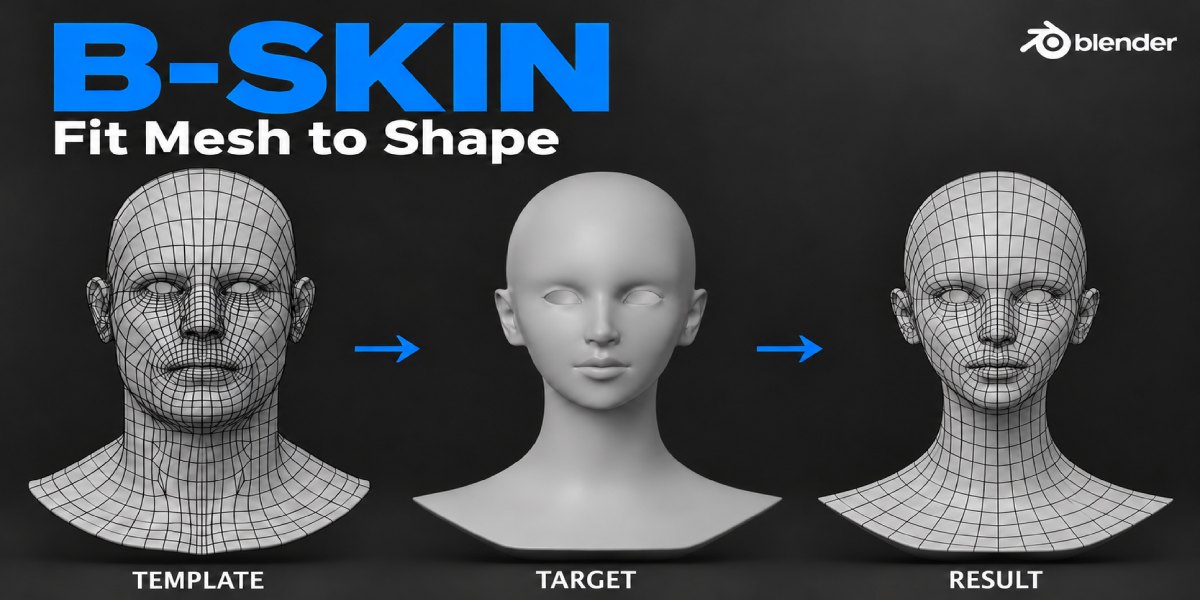
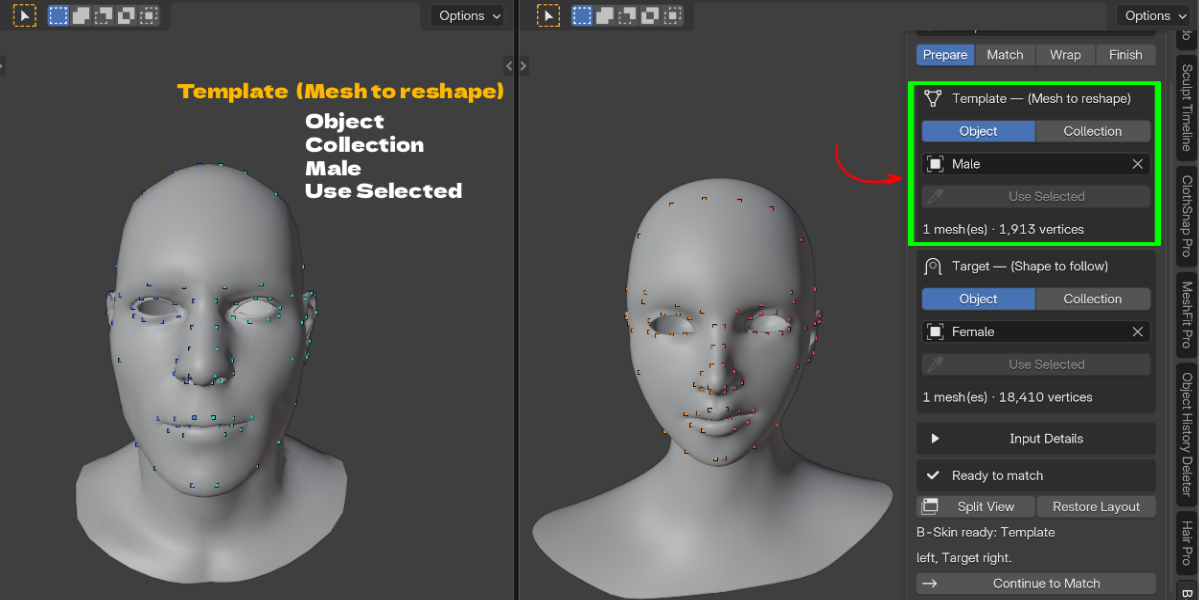
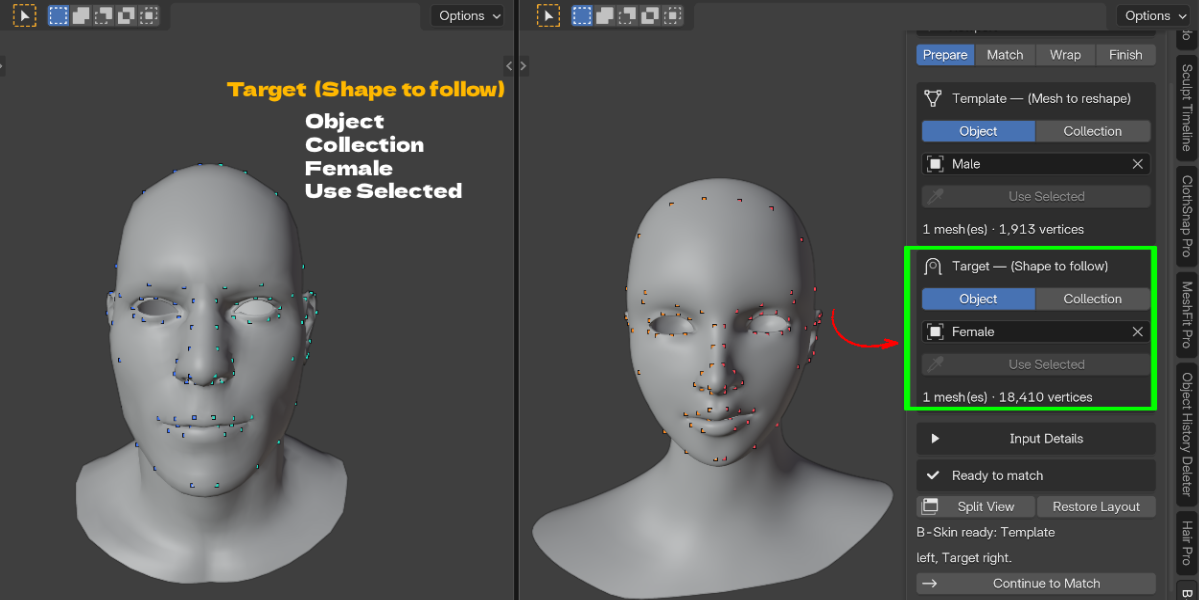
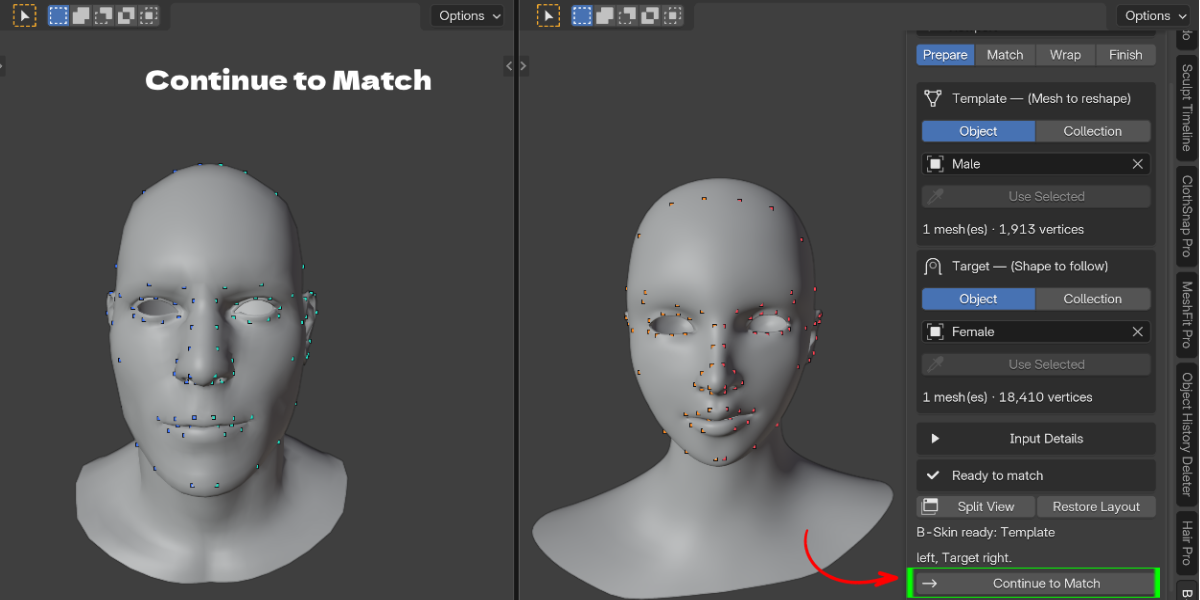
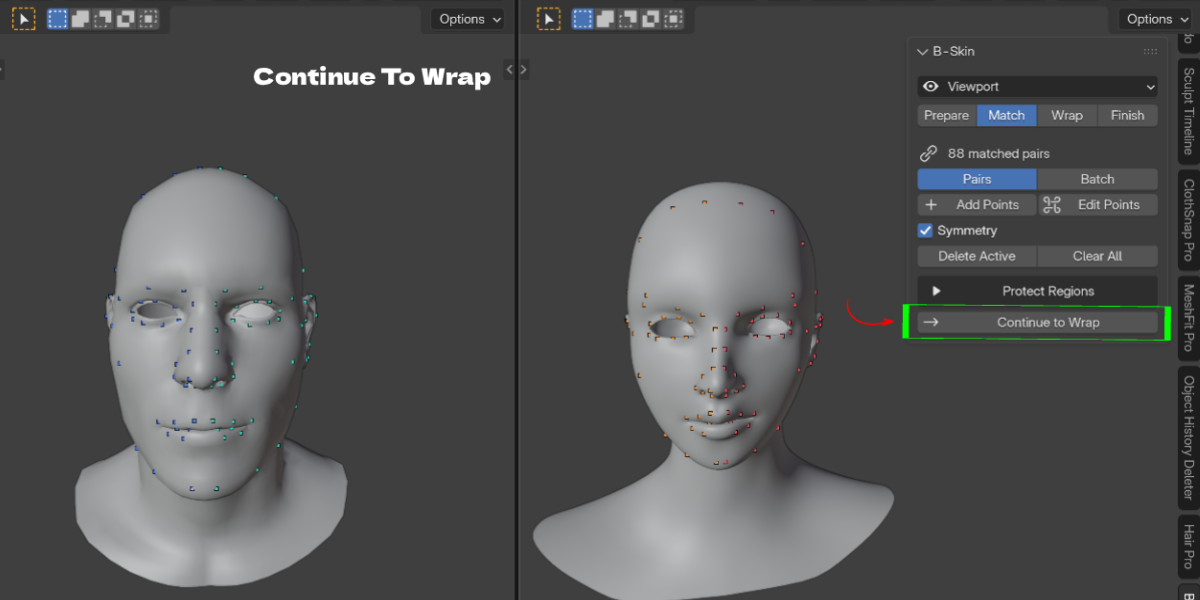
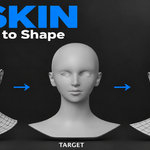
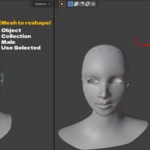
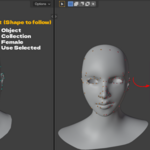
B-Skin reshapes your existing mesh (the Template) to follow another mesh (the Target). The Template keeps its vertex count, vertex order, UVs, vertex groups, materials and attributes. Only the shape changes. Everything happens in the 3D Viewport sidebar in four steps: Prepare, Match, Wrap, Finish.
Transfer topology to another mesh with landmark points
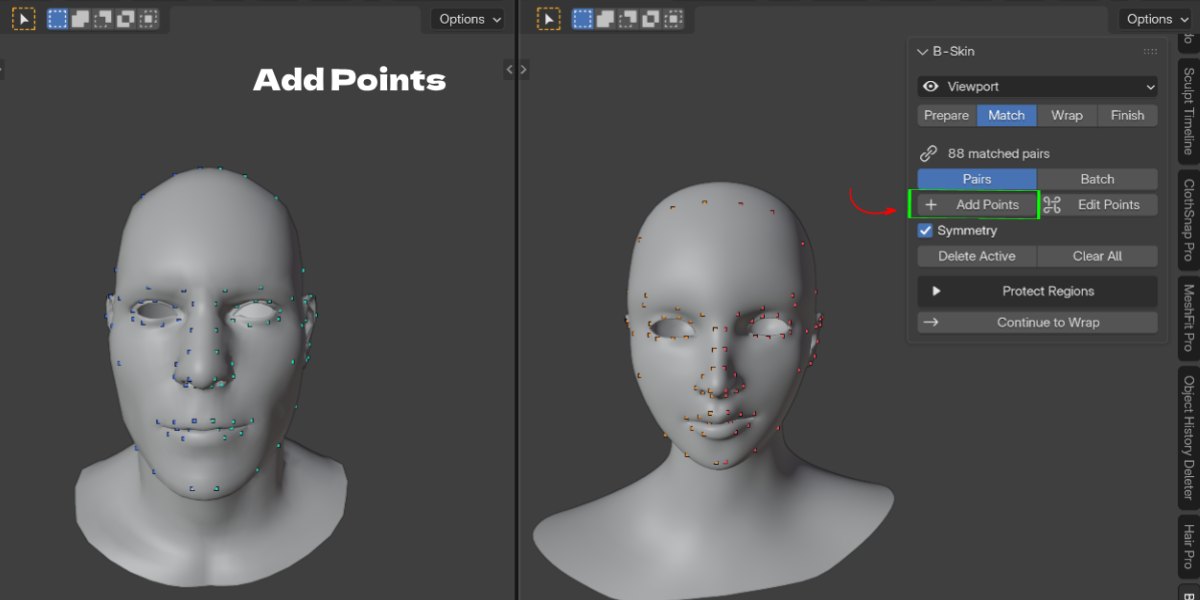
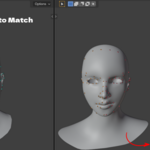
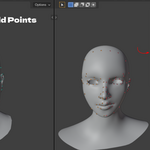
Click a feature on the Template, then the same feature on the Target: nose tip, mouth corners, eye corners, ear attachment. Three or more well spread pairs align, scale and pre-warp the Template before it fits the surface. Symmetry, Batch placement, Loop Guides and point presets make large point sets quick to build and reuse.
Fit base mesh to sculpt with an editable preview
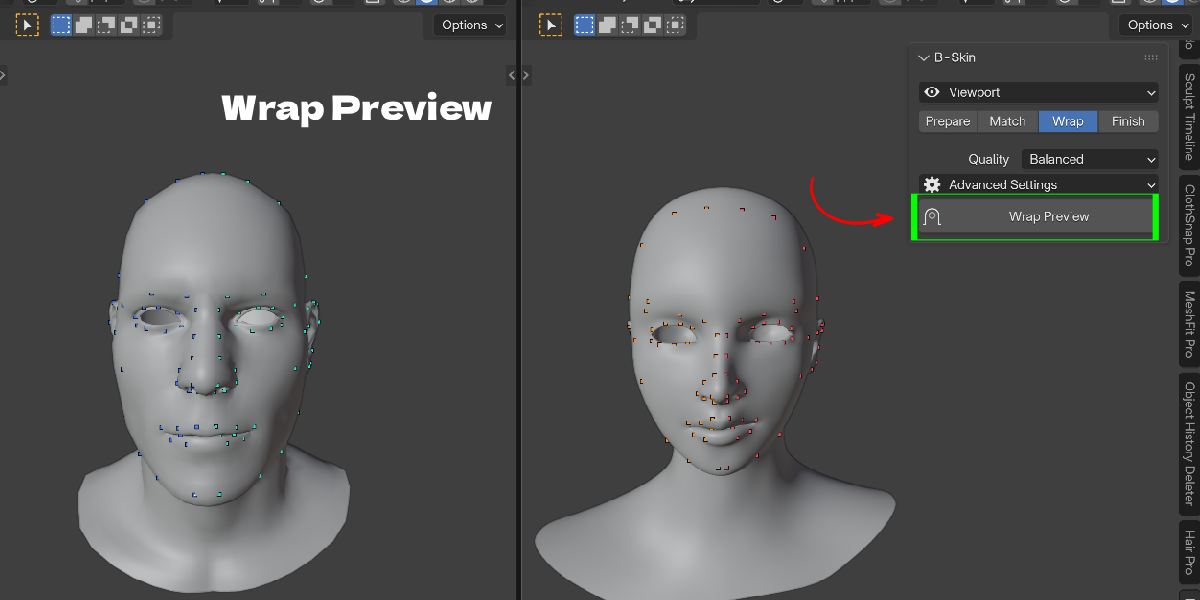
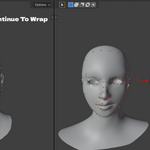
Wrap Preview creates a result you can inspect and blend, not a destructive edit. Slide Result Blend to compare before and after. Fix small areas with Move Surface, Smooth and Move Landmarks brushes, each with Done, Cancel and per stroke undo. When it looks right, create a copy, keep the editable result or apply it to the Template.
Bake scan texture to base mesh UVs
After wrapping, bake the Target's Texture, Vertex Color, Normal Map or Cavity onto the Template's UVs at 256 up to 8192 pixels. Every baked image is listed so you can preview and save it.
Key Features
- Prepare, Match, Wrap, Finish workflow: one sidebar guides each stage and checks your inputs. Benefit: you always know the next step, and problems are reported before you place a single point.
- Object or Collection inputs: Template and Target can each be a single mesh or a whole collection. Benefit: wrap heads with separate eyes, teeth or clothing parts without joining them.
- Keep Seams Together: matching boundary vertices on separate parts share one position. Benefit: multi part meshes do not split apart at the neck or seams.
- Landmark point pairs (Pairs and Batch modes): place matching points on both meshes, one pair at a time or in batches. Benefit: features land where they belong, not where Shrinkwrap pushes them.
- Symmetry, mirror and center tools: mirror points, center them on the symmetry plane and weld duplicates. Benefit: half the clicking on symmetrical characters.
- Loop Guides: capture an edge loop on each mesh and generate evenly spaced landmark pairs. Benefit: rims around eyes, mouth and openings match accurately.
- Save and load points and presets: store point sets as JSON and reuse them. Benefit: the second and third scan with the same Template need far less setup.
- Protect Regions: Keep in Place, Preserve Local Shape and Ignore Target Surface vertex groups, plus Detect Interior. Benefit: necklines stay put and mouth bags or eye sockets are not dragged onto the scan.
- Quality presets and advanced controls: Fast, Balanced and Best, with Alignment, Surface Matching, Detail Preservation and Performance settings. Benefit: quick tests first, a finer pass when you need it.
- Editable Wrap Preview with Result Blend: the wrap stays reversible until you finish. Benefit: no destructive guesswork; compare and cancel at any time.
- Refine brushes: Move Surface, Smooth and Move Landmarks with radius, strength, symmetry and undo. Benefit: fix a lip or ear by hand without leaving the tool.
- Texture transfer: bake Texture, Vertex Color, Normal Map or Cavity from the Target onto Template UVs, up to 8192, with PNG or EXR saving. Benefit: scan color and detail move onto your clean UV layout.
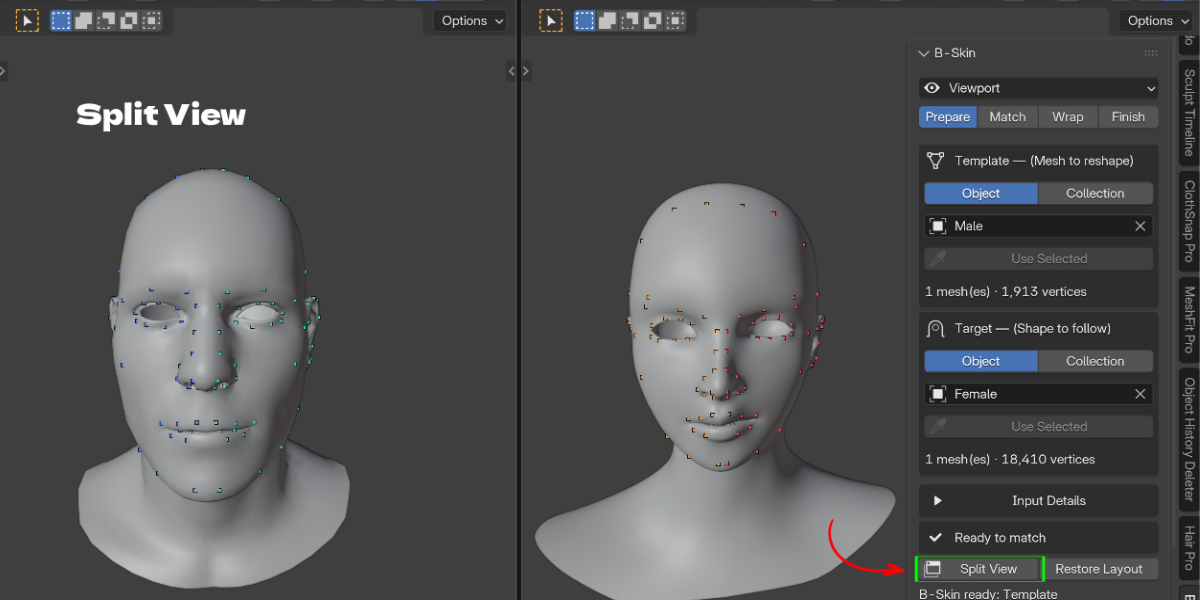
- Split View and Sync Views: Template and Target in separate viewports with mirrored navigation. Benefit: easier point placement on overlapping or very different shapes.
Workflow Benefits
- Before: retopologize each new sculpt by hand, or shrinkwrap and spend the rest of the session fixing eyes and lips. With B-Skin: pick Template and Target and get an input check.
- Before: features drift because nothing tells the mesh where the nose is. With B-Skin: a few landmark pairs drive alignment and warping first.
- Before: every adjustment is destructive and hard to undo. With B-Skin: the wrap is a preview with a blend slider, cancel and per stroke undo.
- Before: different topology for every character, so rigs, UVs and shape keys need redoing. With B-Skin: every result shares the Template's topology and UVs.
- Before: a separate bake setup to move scan color. With B-Skin: bake from the Finish page, then save all images at once.
Who It Is For
- Character artists fitting one production base mesh to many sculpts.
- Scan artists turning dense photogrammetry or phone scans into clean, animation ready topology.
- Game artists who need every head and body variant to share the same UVs and vertex order.
- Riggers who want new characters to keep existing vertex groups.
- Stylized and cartoon artists pushing a realistic base mesh into exaggerated shapes (Progressive Elasticity helps large shape changes).
Use cases: head and body scans, sculpted busts, creature variants, clothing parts fitted to a new body, and transferring scan texture onto a clean UV layout.