Batch Layer Render | Instant Isolated Collection Rendering With Viewport Preview
 Hugu's Works


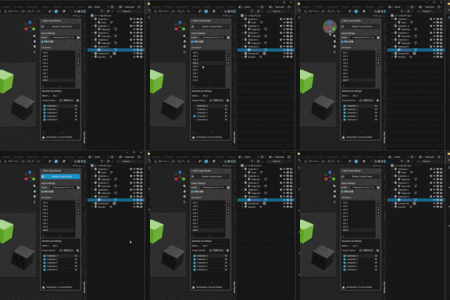
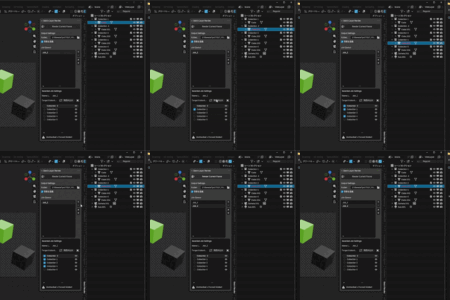

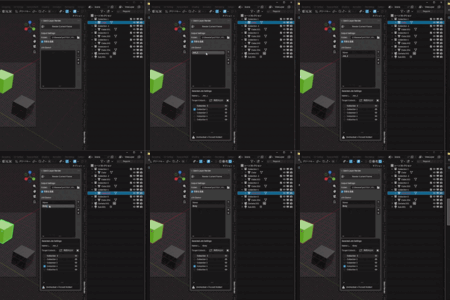

Batch Layer Render – Documentation
Overview
Batch Layer Render is a simple yet powerful add-on for rendering multiple collection setups in complete isolation. It is especially useful for artists who need clean, layered PNG outputs (e.g., background illustrators separating flat-color passes, architects creating material passes, or VFX artists preparing multi-layer composites).
The add-on works entirely within a single .blend file and automatically detects only collections linked to the current scene.
Installation
- Download the __init__.py file (or the .zip containing it).
- In Blender: Edit > Preferences > Add-ons > Install…
- Select the file and click Install Add-on.
- Enable the add-on by checking the box next to Render: Batch Layer Render.
The panel will appear in the 3D Viewport sidebar under the tab Batch Render.
User Interface
Main Button
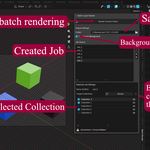
- Render Current Frame (large button at the top) Executes all jobs sequentially, rendering the current frame for each job.
Output Settings
- Folder – Output directory (relative or absolute path). Default: //Render/ (relative to the .blend file).
- Transparent Background – Uses the scene’s Film > Transparent setting.
Job Queue
- List of saved jobs.
- Buttons on the right: + (Add Job), – (Remove Job), ↑↓ (Reorder jobs).
Selected Job Settings (appears when a job is selected)
- Name (File Suffix) – Custom name used in the output filename.
-
Target Collections area
- Reload – Syncs the list with current scene collections (preserves existing active/viewport states).
- Select Obj Colls – Instantly enables all collections that contain currently selected objects in the 3D Viewport (Object Mode only).
-
Collection List (custom UI List)
- Left checkbox □/☑ – Render Active (checked = included in render).
- Collection name.
- Right eye icon 👁/👁̶ – Viewport Visibility toggle (instantly hides/shows the collection in the 3D Viewport).
- Info labels below the list explain the icons.
Workflow Example (Background Illustration)
- Organize your scene into collections (e.g., Sky, Mountains, Trees, Ground, Props).
- Open the Batch Render tab.
- Click + to create jobs (e.g., “Sky only”, “Ground + Props”, “Full scene”).
- For each job:
- Use the eye icons to quickly preview what you want to see.
- Check the boxes for collections you want to render.
- Optionally select objects in the viewport and click Select Obj Colls for fast setup.
- Set output folder and enable Transparent if needed.
- Click Render Current Frame.
Output files will be saved as: YYYYMMDD-HHMMSS_001_JobName.png (001 = job order)
Important Notes
- The add-on forces PNG format with RGBA during batch rendering for consistent layered output.
- All original collection visibility states (both render and viewport) are fully restored after rendering.
- Only collections directly linked to the active scene are shown (library or unlinked collections are ignored).
- Master Collection (scene root) is never hidden or excluded.
Troubleshooting
- No collections appear → Make sure collections are children (direct or indirect) of the scene’s master collection.
- Output folder not created → Use a valid path; relative paths (//) are resolved from the .blend file location.
- Viewport toggle feels slightly delayed → This is normal Blender behavior on complex scenes; the add-on applies changes instantly.
Enjoy cleaner, faster layered renders! If you encounter any issues or have feature suggestions, feel free to contact the author.
Author: Hugu Compatible with Blender 3.0+ (tested up to 4.x)
Have questions about this product?
Login to message
| Sales | 10+ |
| Published | 9 months ago |
| Blender Version | 3.0 - 5.0 |
| Extension Type | N/A |
| License | GPL |
Discover more products like this
collection management quick-preview viewport-visibility Render Automation transparent-png batch render layered-render collection-render isolation Workflow