Beam It In - Hologram, Scan & Build-Up Effects For Blender
 Rasheed's Edit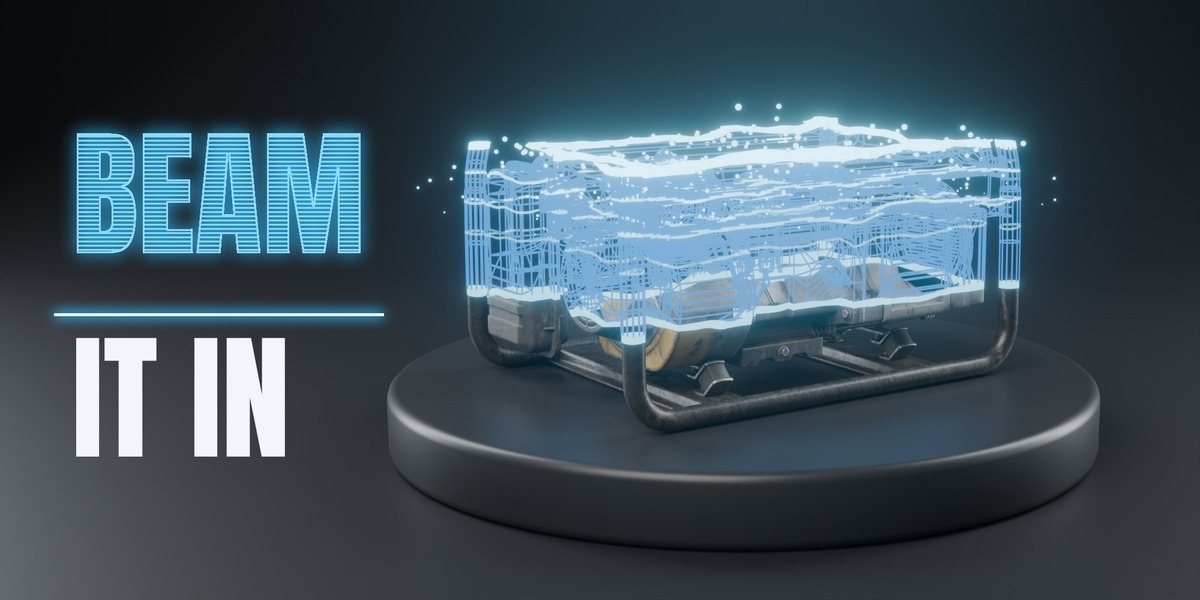
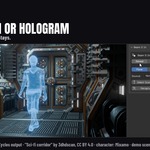
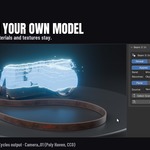
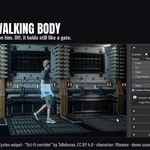
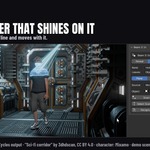

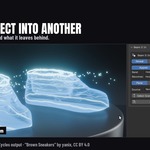
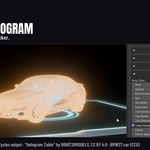
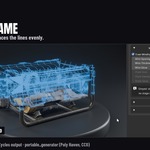

Beam It In: user manual
Scan it, build it up, or turn it into a hologram. Works on the object you already have, with its own materials and textures, and on a walking, rigged character. Blender 4.5, 5.1 and 5.2, Cycles and EEVEE.
Install
Edit > Preferences > Get Extensions > the arrow menu > Install from Disk, and pick the zip you downloaded (beam_it_in-1.0.0.zip). The panel is in the 3D Viewport sidebar (press N), on the FX tab, under Beam It In.
Quick start
- Select the objects you want the effect on. A character made of several parts (body, clothes, hair): select all of its parts before you press Add. They then share one scan and one set of settings. The panel reminds you: for a rigged character it counts the parts and tells you how many are selected, and if you added the effect to only some of them it says how many were left out.
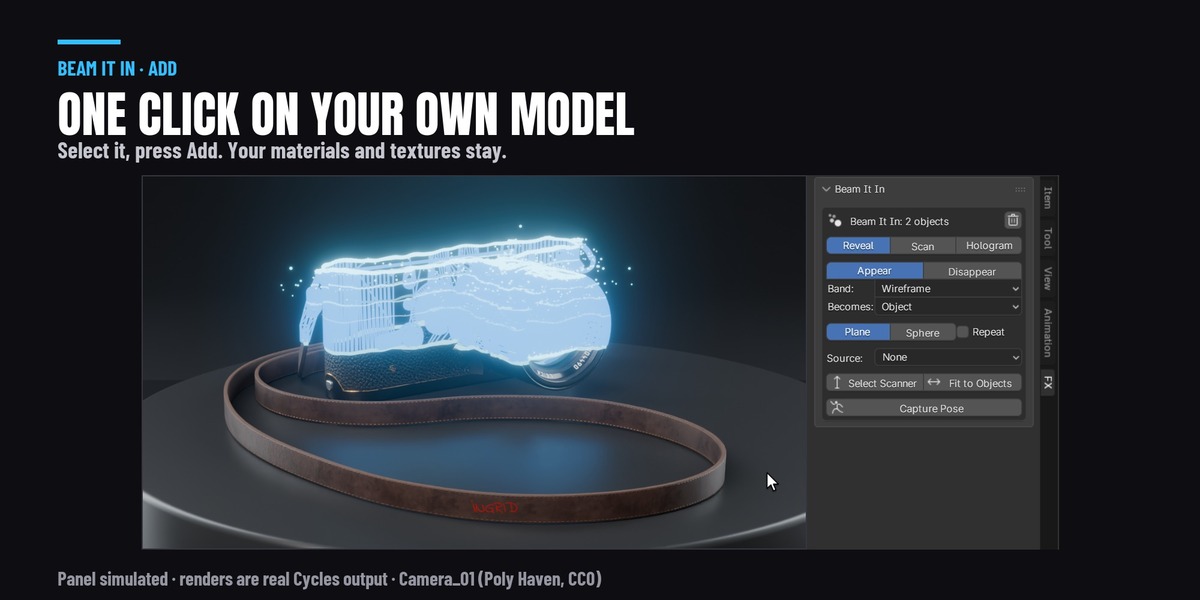
- In the FX tab, pick an Effect (Reveal, Scan or Hologram) and a Source (None, or a glowing scanner orb that shines rays onto the object), then press Add Effect to Selected.
- Play. The effect runs from Frame Start to Frame End (60 frames from your scene start unless you change them).
- Press Add Glow for the soft light around bright parts. You see it in renders, and in the viewport in Material Preview and Rendered mode.
The sizes start out matched to your object. The band, the lines, the wire, the points and the sparks all begin at a size that suits what you added the effect to, so a shoe or a camera looks right on the first click, the same as a character does. Objects around a person's size (roughly 1 to 4 metres) get the standard sizes. Every size is an ordinary setting: change any of them whenever you like and your change stays. Switching the Effect row (Reveal, Scan, Hologram) writes that effect's own sizes again, matched to the object again.
The three effects
| Effect | What happens |
|---|---|
| Reveal | The object is built up from the bottom: a glowing wireframe first, then the real thing. Sparks drift off the edge. |
| Scan | A band of hologram sweeps over the object and leaves it as it was. |
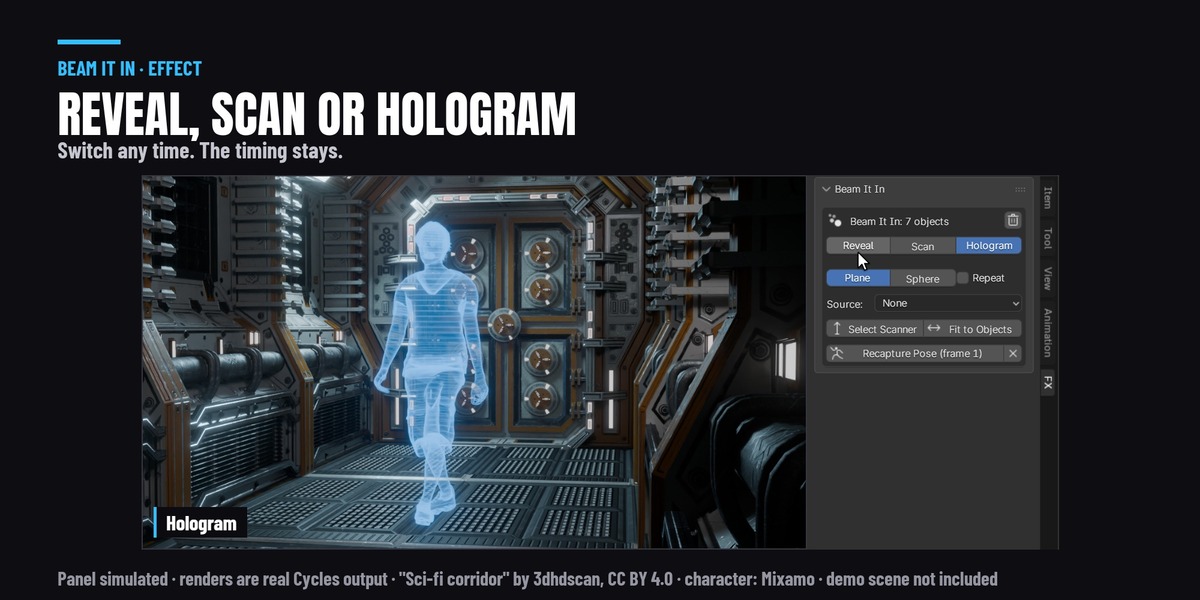
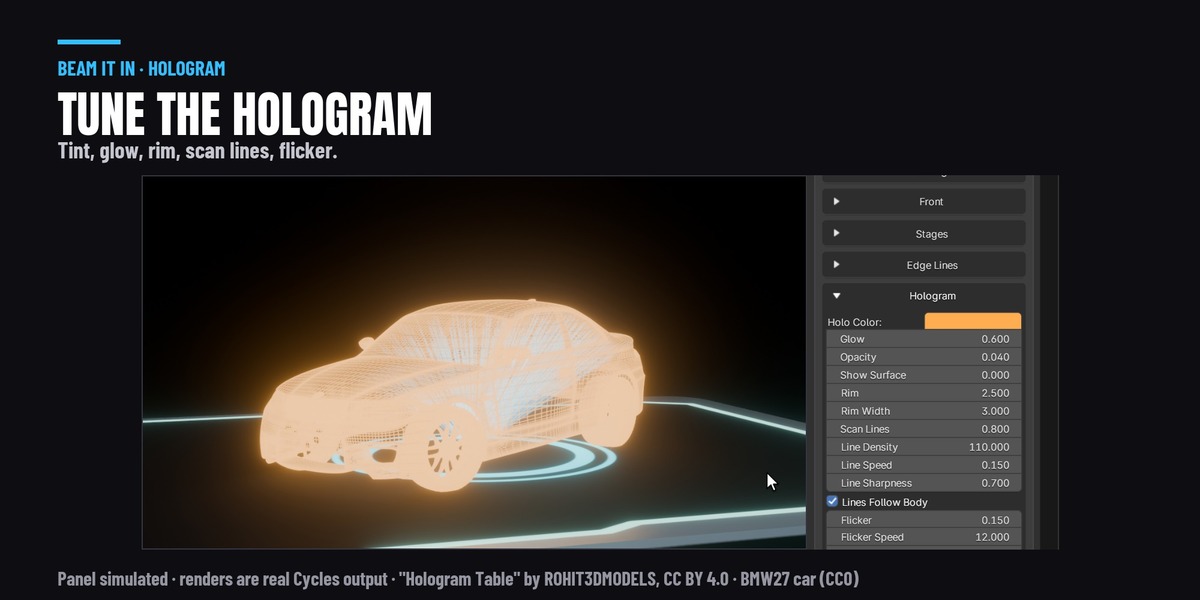
| Hologram | The whole object becomes a see-through, glowing hologram with scan lines and a little flicker. |
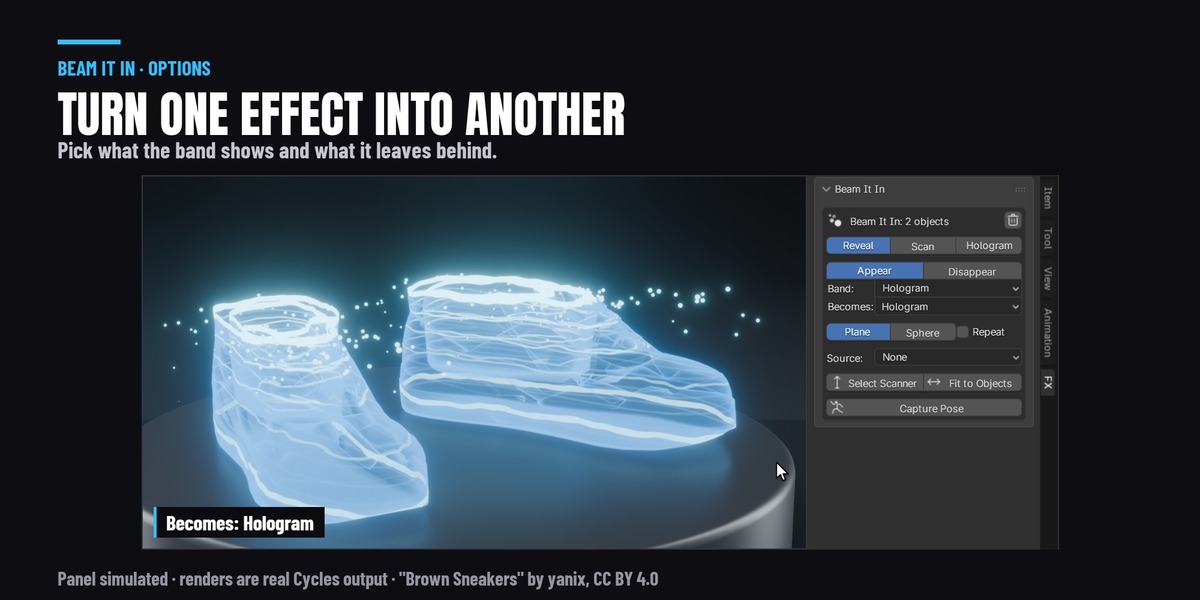
Switch between them any time from the row at the top of the panel: your timing and scanner are kept. Right under it are the options that turn one into another:
- Reveal: Appear or Disappear (the object is taken away instead), what the Band shows (Hologram, Wireframe or Points) and what the object Becomes once the front has passed (the Object itself, or a Hologram of it).
- Scan: what the Band shows, and what the scan Leaves behind (the Object, or a Hologram).
- Shape: a flat front, or a Sphere growing out from the scanner. Repeat sweeps again and again.
Some combinations to try:
| You want | Pick |
|---|---|
| Break down, the object disappears | Reveal, Disappear |
| Scan to hologram | Scan, Leaves: Hologram |
| Project a hologram through glowing points | Reveal, Band: Points, Becomes: Hologram |
| Teleport in | Reveal, Band: Points, Shape: Sphere |
| A pulse scan, ring after ring | Scan, Shape: Sphere, Repeat on, a thinner Band |
Greyed-out settings
Below the effect, the settings are in sections (Timing, Front, Stages, Edge Lines, Hologram, Wire and Points, Sparks, Source). A setting that does nothing with the effect as it is set up right now is greyed, and the bottom of its section says why: for example "no stage shows the Hologram" for the hologram settings in a Reveal, or "Sparks is 0" for the spark settings. A greyed setting still takes your changes, so you can set it up before you switch to the effect that uses it.
The source
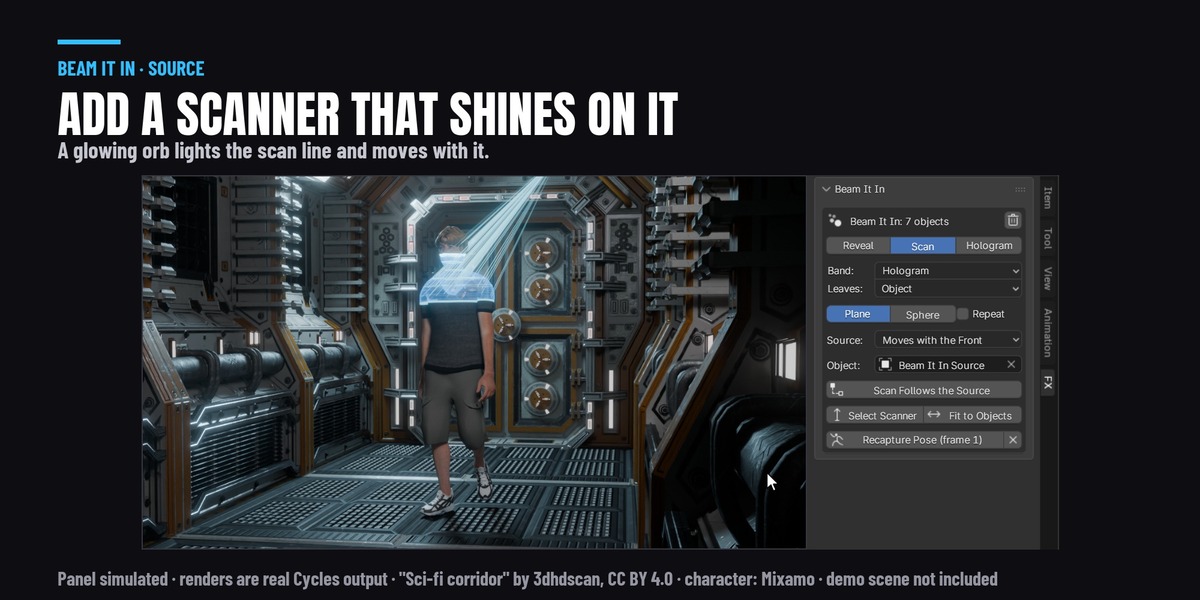
Source adds the thing the hologram is scanned from: by default a glowing orb that shines a fan of light rays onto the part of the object being scanned. The orb is an ordinary object, "Beam It In Source": select it, move it, rotate it, keyframe it or parent it like anything else, and the rays follow it.
- None: no source, just the effect.
- Moves with the Front: the source follows the scan line and turns to face it, so the rays always fan out onto the line from any camera angle. It starts where you put it (Add places the orb just outside your objects and a little ahead of the scan) and moves half as far as the scan line, so the line catches up with it and the rays go from shining down to shining across. Move it to change where it starts; keyframe its position and your animation is added on top. A source of your own turns so its -Z axis (the way a lamp or camera points in Blender) faces the scan line.
- Where You Put It: the source stays wherever you place or animate it, position and rotation. Use this when you want to keyframe the source yourself.
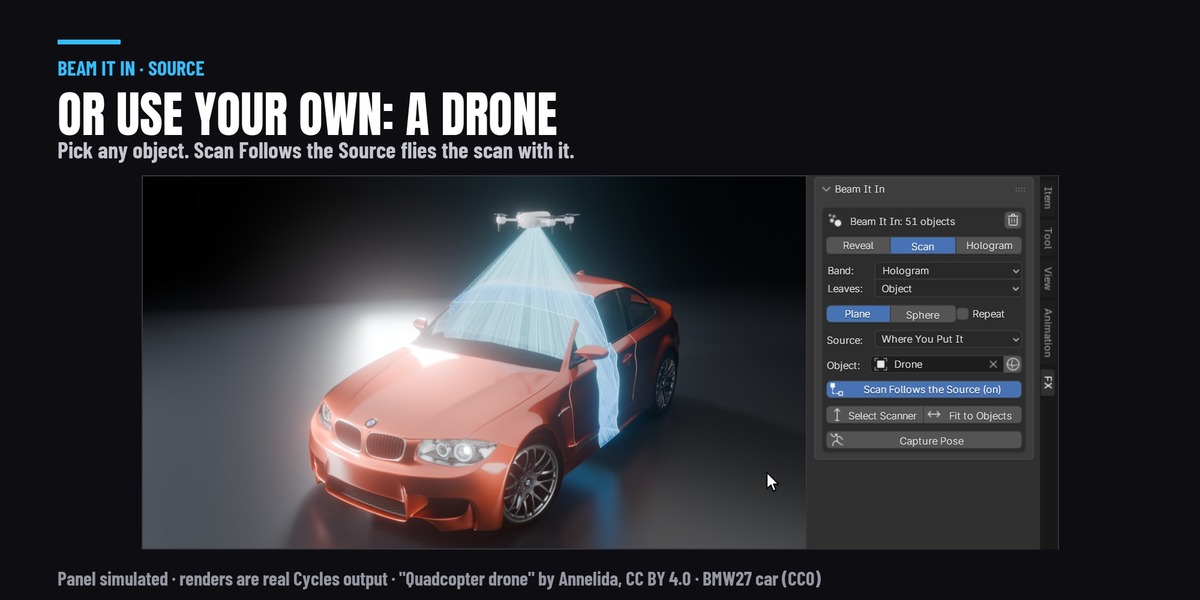
- Object: the object the rays shine from. Pick any object of yours (a drone model, a lamp, a projector) and the rays come from its origin; our orb is removed. The round button next to it brings our orb back. Your object is never changed, except for two constraints, "Beam It In Follow" and "Beam It In Follow Aim", while it moves with the front. They come off again when you switch or remove the effect, and your object goes back to its own position and rotation.
- Scan Follows the Source: puts the scanner on the source and parents it there, with From and To at 0, so the scan happens right where the source is. Animate the orb (or your object) flying around and the scan goes with it, like a scanner drone. Because the scanner rides on the source, rotating the source turns the scan with it. Press it again to free the scanner where it stands.
- Source Size, Rays (how many), Ray Width, Source Glow and Ray Glow are in the Source section. The rays take the Line Color.
- Selecting the source shows its effect in the panel. Our orb never gets an effect of its own.
- Deleting the orb (or your object) turns the source off.
The scanner
Every effect has a scanner: the arrow Empty placed under your objects. Select Scanner selects it.
- A flat front starts at the scanner and moves along its blue arrow. Rotate the scanner to scan sideways or from the top down.
- A sphere front (Shape: Sphere) grows out from the scanner.
- From and To are where the front starts and stops, in metres from the scanner. Fit to Objects sets them so the front starts just outside your objects and finishes just past them. Press it again after moving the scanner or your objects.
- The scanner stays where you put it. To make the front travel with an object that moves (a car driving), parent the scanner to that object.
Timing
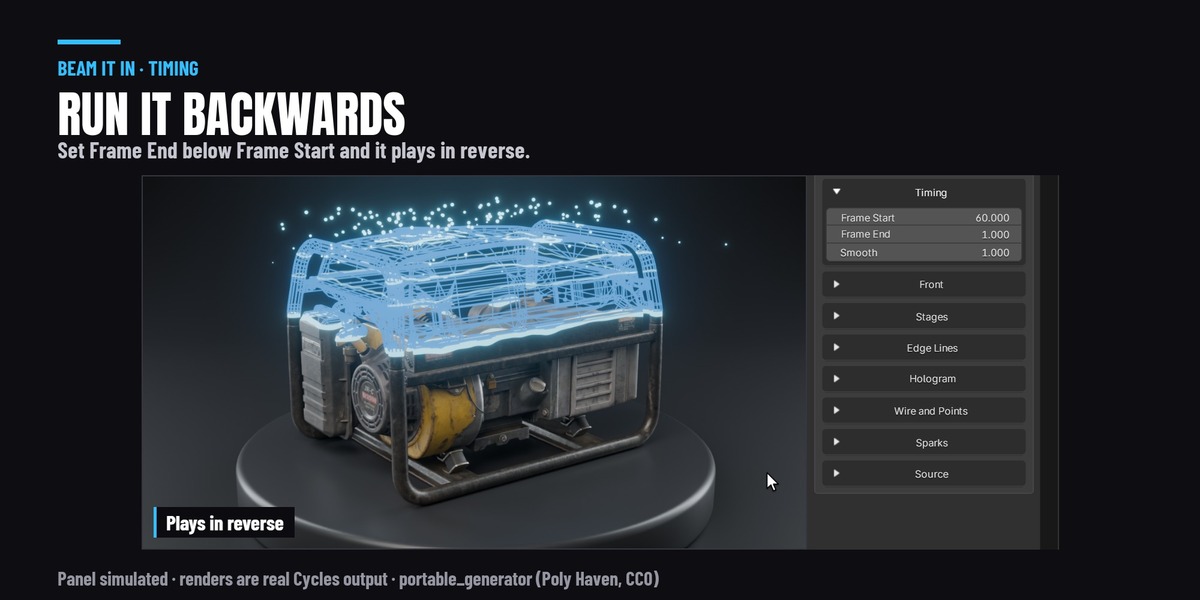
- Frame Start / Frame End: when the front moves. Set Frame End below Frame Start and the whole effect runs backwards (Build Up becomes a break down, and so on).
- Smooth: 1 eases the front in and out, 0 moves it at a steady speed.
- Repeat: sweep again every (End minus Start) frames.
- Everything can be scrubbed: jump to any frame and it is right. No baking.
Stages
The front splits the object into three parts, and each can have its own look:
- Before: the part the front has not reached yet.
- Between: a band just behind the front, Band metres deep.
- After: the part the front has passed.
Each can be Hidden, Original (your own material), Hologram, Wireframe or Points.
Characters and anything that moves
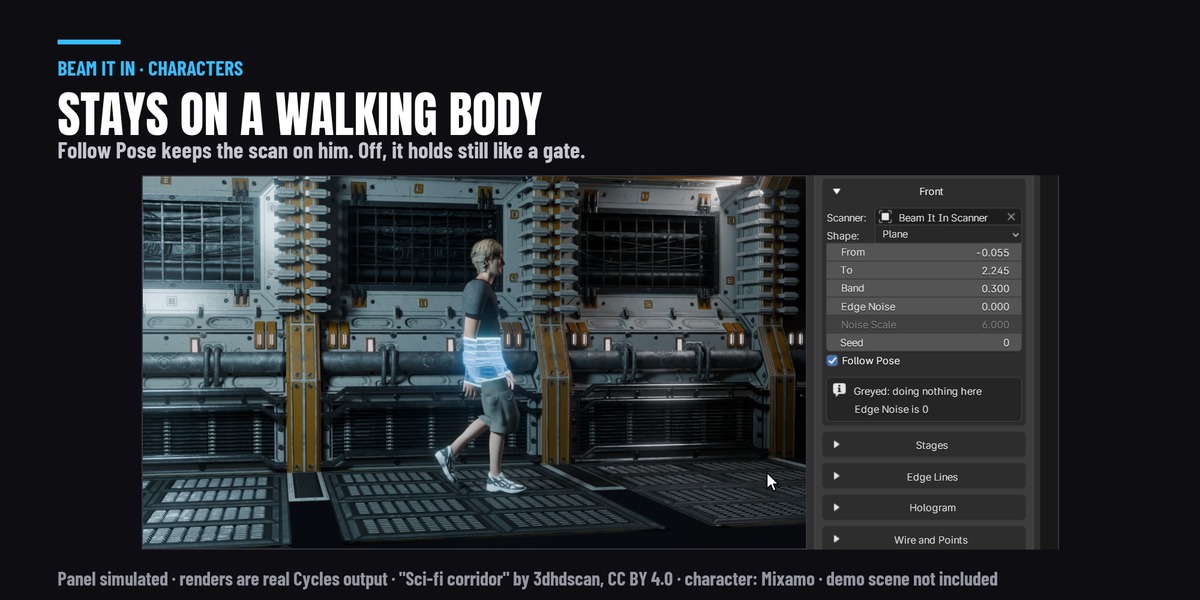
- Rigged characters: when you add the effect, the front is measured on the body as it stands on Frame Start, and it stays on the same part of the body while it walks. To measure it on another frame, go to that frame and press Recapture Pose. The small X next to it goes back to the rest pose.
- Follow Pose off keeps the front still in the world instead, like a fixed scanning gate the character walks through.
Edge lines
The glowing line at the front, the fainter lines trailing it, and an optional line where the band ends. Line colour, brightness, width, the number of trailing lines and their spacing are all in Edge Lines.
Hologram settings
Tint, Glow, Opacity, the rim glow on edges turning away from the camera, scan lines (strength, lines per metre, speed, sharpness, stuck to the body or level in the world), Flicker, Grain and Glitch. Show Surface lets your own material show through for a softer, textured hologram. Hologram Edges draws the mesh's own edges on the hologram: use it on boxes and hard surfaces, where the rim glow has nothing to catch. Holo Shadow is how much shadow the hologram casts (none by default: a hologram is light).
Wireframe, points and sparks
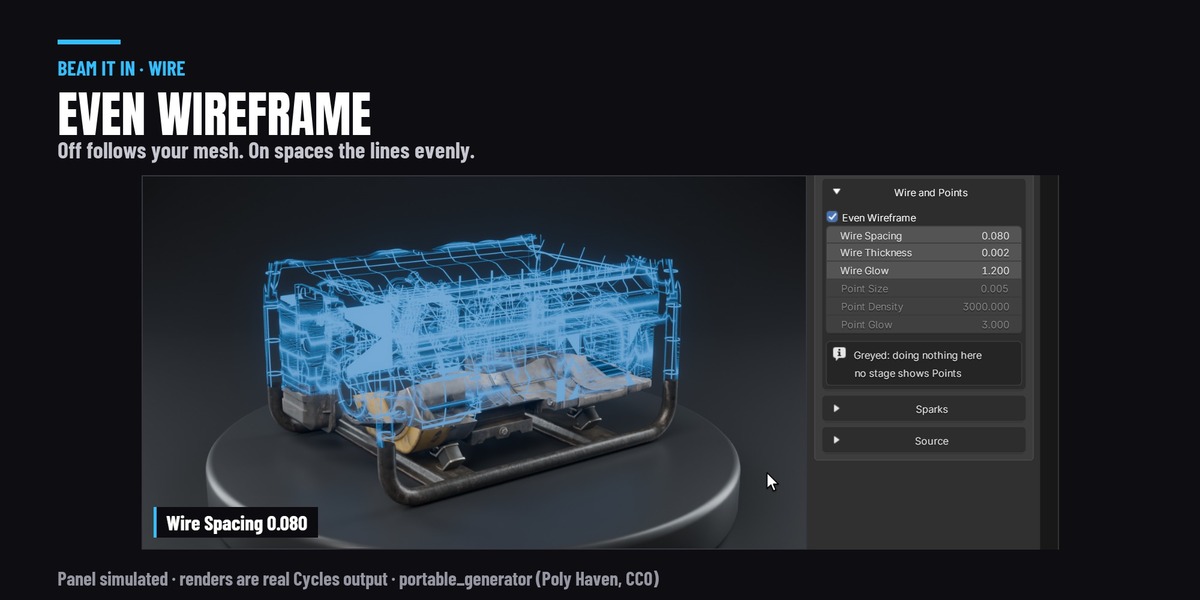
- Even Wireframe: by default the wireframe follows your model's own edges, so it is dense where the model is detailed (a face, hands, shoes) and sparse where its faces are big. Switch Even Wireframe on and the lines are spaced evenly over the whole object instead, however big or small its faces are. Wire Spacing is the distance between the lines, in metres. The lines run along the object's width, depth and height as it stands at the start of the effect, and move with it as it moves. It also changes Hologram Edges into the same even lines.
- Wire Thickness and Wire Glow: how thick and how bright the wireframe is.
- The points: their size, how many per square metre, and how bright.
- The sparks the front sheds: how many, their size, how far behind the front they live, and how far they drift out and float up.
Rendering
- Add Glow / Remove Glow puts a bloom in the compositor (Blender 4.5 and 5.x both). Glow Strength and Glow Size are right under the button.
- Smooth Transparency (EEVEE): the see-through parts are drawn smoothly instead of as fine grain, which is much cleaner at low sample counts. Good to know before you switch it on:
- each object shows only its nearest surface, so you do not see the back of a hologram through its front;
- EEVEE does not motion-blur these objects, and they skip EEVEE's raytraced reflections;
- it suits scans that move across the view (up, down, sideways). When the scan comes straight at the camera, small dark patches can show along the scan line: turn it off for that shot;
- hair and eyelashes are left out of it and drawn the normal way, so they still cover the face. The add-on finds them by their own see-through texture (hair cards, lashes) or by "hair" in the name of the object or material. In the Hologram look the hair is therefore a little grainier than the rest;
- it only helps EEVEE; leave it off for Cycles.
- In Cycles the add-on raises Transparent Bounces to 256 (and puts your value back when the last effect is removed): with fewer, layers of see-through material render black.
- Transparent background (Film > Transparent) works: the hologram and the lines keep their alpha.
Your materials
The effect adds one small node group, "Beam It In", right before each Material Output of your objects' materials. It changes nothing where the effect is not active: other objects using the same material render exactly as before. Remove Effect takes it out again and puts back every setting it touched.
- If two different effects use the same material, the second object gets its own copy of that material; Remove puts the original back.
- A material linked from another file cannot be changed: the add-on tells you and leaves it alone.
- An object with no material gets a plain grey one, removed again with the effect.
Several effects, copies, two add-ons
- Each Add makes a separate effect with its own scanner. Selecting an object (or its scanner) shows its effect in the panel.
- A copy made with Shift+D is its own effect: changing one does not change the other.
- Beam It In and Break It Any Way can be installed together and used on the same object.
Removing
Select an object with the effect (or its scanner) and press the bin icon. The modifier, the scanner, the source orb, the material changes and the captured pose are all undone, and Cycles' Transparent Bounces go back to your value once no effect is left. The glow belongs to the scene, not to one effect: it stays until you press Remove Glow.
-
$15
 Included
Includes 12 months of
- Support from Rasheed's Edit
- Product updates
Extend this product’s Support Period +12 months: 50% of product price
Have questions before purchasing?
Login to message
| Blender Extension Compatible | Yes |
| Published | 1 day ago |
| Blender Version | 4.5 - 5.2 |
| Extension Type | Add-on |
| Render Engine Used | Cycles, Eevee |
| License | GPL |
Discover more products like this
reveal effect scan effect hologram character VFX holographic build up scanner sci fi teleport materialize wireframe