Bed Fit Splitter
 Sonneblom Digitaal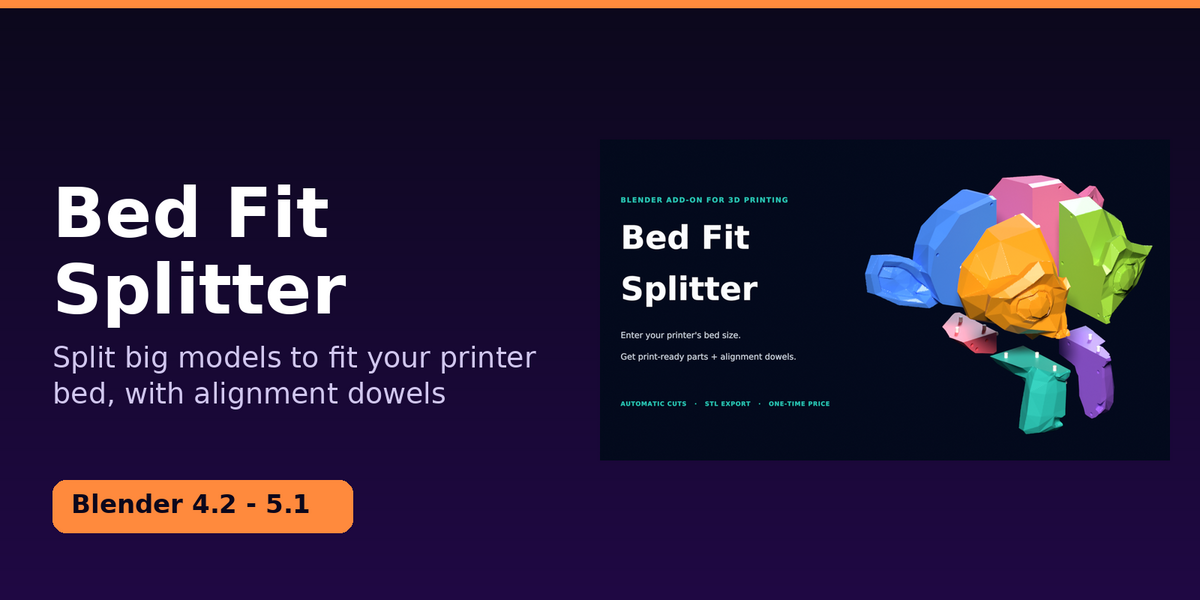

Version 1.0.0 · Blender 4.2 LTS and newer · Guide
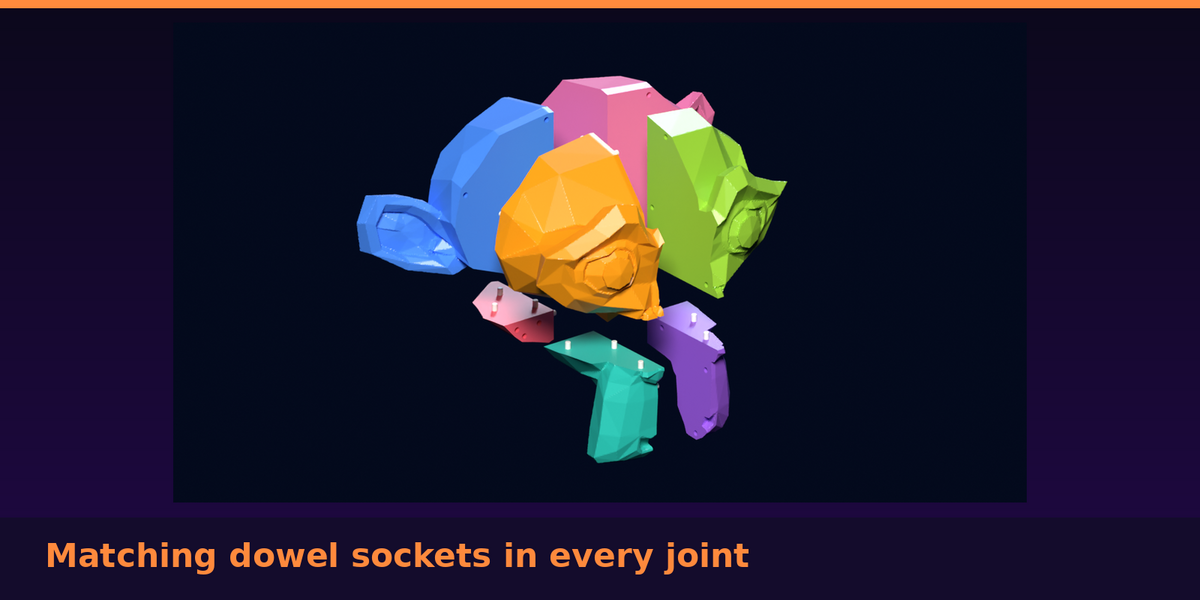
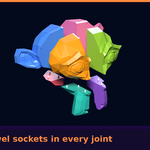
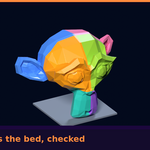
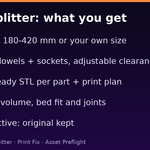
Bed Fit Splitter cuts a model that is too big for your 3D printer into parts that fit the bed, drills matching dowel sockets in both halves of every joint, and exports print-ready STL files plus a print plan. You enter your bed size once; it works out the cuts.
1. Install
- Unzip the Superhive download (
bed-fit-splitter-v1.0.0.zip). Inside are the add-on, this guide and the sample model. - Do not unzip
bedfit_splitter-1.0.0.zip. Blender installs it as a zip. - In Blender: Edit → Preferences → Get Extensions, open the small drop-down arrow at the top right, choose Install from Disk… and pick
bedfit_splitter-1.0.0.zip. - Make sure the add-on is enabled (tick box).
- In the 3D viewport press N and open the Bed Fit tab.
It has no dependencies to install: it only uses what ships with Blender.
2. Try it in two minutes
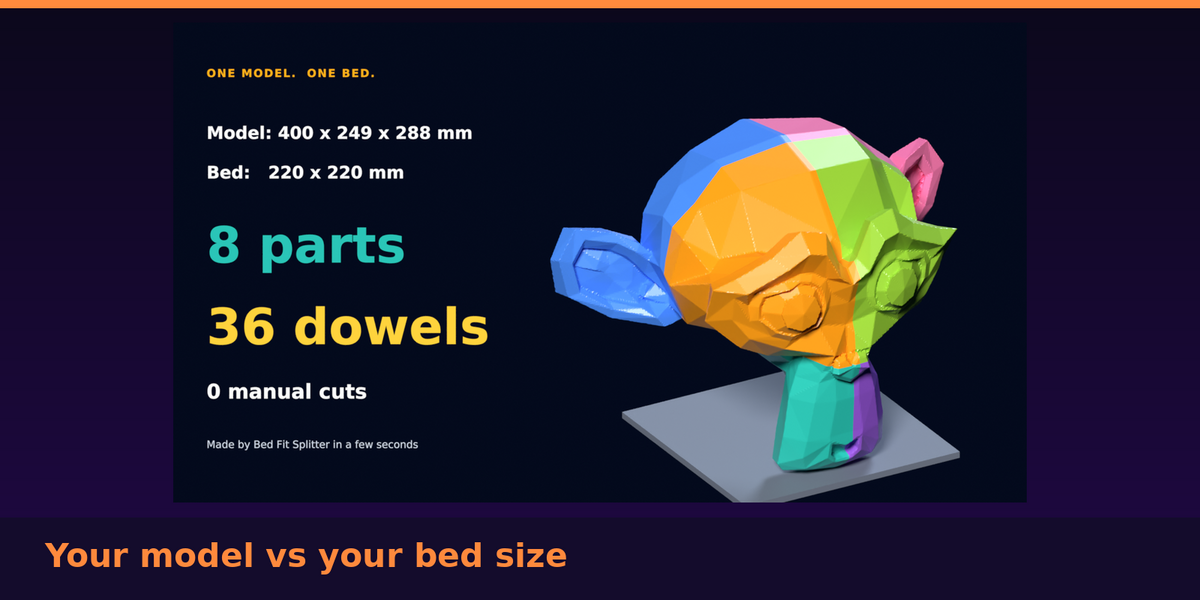
The download includes sample_models/suzanne_400mm.stl, a solid 400 mm Suzanne that does not fit a normal printer.
- File → Import → STL and choose the sample.
- With the model selected, open the Bed Fit tab and set 1 Blender unit = to 1 mm. Do this for every STL you import: an STL file has no units and is almost always in millimetres, but Blender's default scene counts one unit as one metre, so without this step a 400 mm model would look like 400 metres. (If you forget, the add-on notices and tells you.) The default bed is 220 × 220 × 250 mm.
- Click Check Model. It reports the size, whether the mesh is watertight, and how many parts the bed needs.
- Click Split to Fit Bed. Your original is hidden (not deleted) and a collection called parts appears with one object per part plus a sheet of dowels.
- Set Export folder and click Export Print Files.
With the default settings the sample comes out as 8 parts and 36 dowels.
3. What you get in the export folder
Suzanne_Px1y1z1.stl     one STL per part, already turned to its best print orientation
Suzanne_Px1y1z2.stl     (largest flat face down, sitting at 0,0,0, sizes in millimetres)
...
dowels_x36.stl          the loose dowels, laid out on a plate ready to print
                        (extra dowels_..._plateN.stl files if they do not fit on one bed)
print_plan.txt          sizes, volumes, dowel count and which parts join, with dowels per joint
Part names encode the grid position: Px2y1z2 is the 2nd part along X, 1st along Y, 2nd along Z. print_plan.txt lists every joint, so you can dry-fit the whole model before you glue.
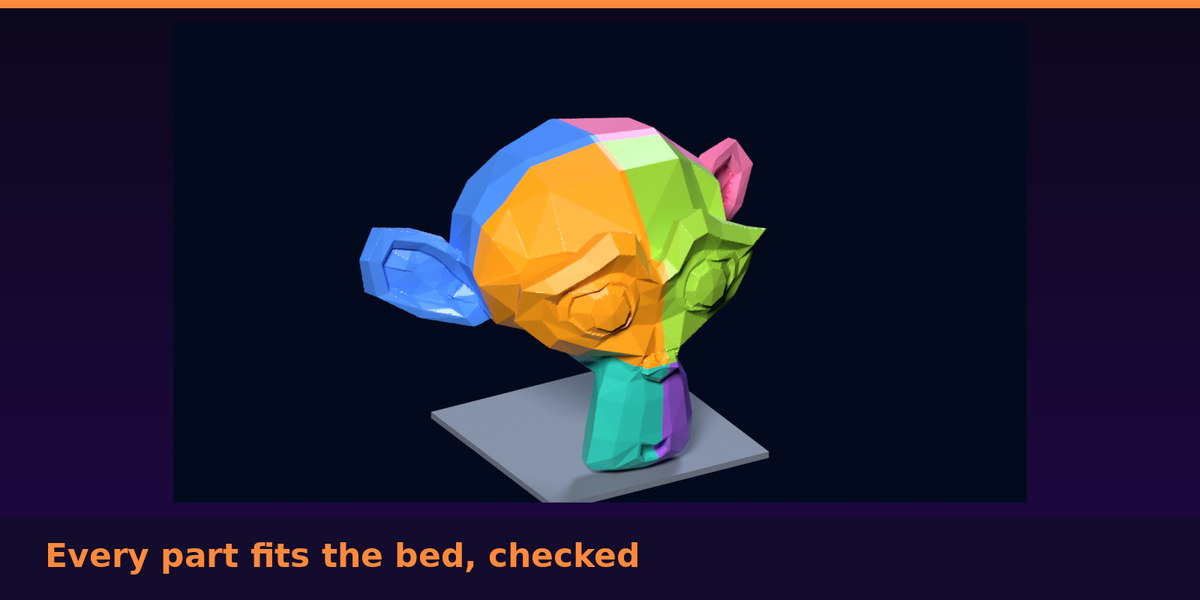
Every exported part is checked against your bed. If a part cannot fit in any orientation, the plan and the on-screen message say so.
4. Settings
| Setting | Default | What it does |
|---|---|---|
| Bed size | 220 × 220 × 250 | Presets from 180 mm to 420 mm, or Custom. Enter X, Y and max height in mm. Choosing a preset fills the three fields. |
| Safety margin | 2 mm | Kept free on every side so parts never touch the bed edge (0 to 50 mm). |
| 1 Blender unit = | Auto | Auto follows Scene → Units (in Blender's default scene, 1 unit = 1 metre). For STL imports choose 1 mm. You can also force cm, m or inch. The panel always shows the value in use. |
| Alignment dowels | On | Cuts matching sockets in both halves of every joint and makes loose dowels to print. Switch off to get plain cut parts. |
| Dowel diameter | 6 mm | 1 to 30 mm. |
| Socket depth | 8 mm | Depth of the socket in each part. The printed dowel is slightly shorter than two sockets (0.6 mm gap) so joints close fully. |
| Clearance | 0.2 mm | Extra socket radius so printed dowels slide in. Raise it if your printer is tight, lower it if dowels wobble. |
| Dowels per joint | 3 | 1 to 9. Fewer are used when a joint is too small. |
| Min wall | 1.5 mm | Material kept around every socket. A joint with no room for a dowel is reported in the warnings, not faked. |
| Export folder | //bedfit_export/ | Relative to the .blend file, so save the .blend first, or type an absolute folder. |
5. How it decides where to cut
- It uses the fewest cuts on each axis and makes the parts equal in size, so no part is a thin sliver. It tries every way of matching your bed's three dimensions to the model's three axes and keeps the one that needs the fewest parts.
- Cuts are nudged (only into slack your bed already has) so they do not run through mesh seams, poles or vertices, where cuts tend to go wrong.
- Cuts are flat planes on a grid. The cut faces are closed with proper caps, including hollow models and models made of separate pieces.
- After cutting, it checks that the parts' total volume matches the original minus the sockets, and stops with a message rather than giving you bad parts.
- Sockets are placed where there is solid wall on both sides of the joint, spaced out as far apart as room allows, and never collide with sockets on other faces.
6. Requirements and limits (please read)
- Closed meshes only. The model must be watertight (a solid). If it is not, Check Model tells you how many open edges there are and how to find them (Edit Mode → Select → All by Trait → Non Manifold). The add-on does not repair meshes; it refuses instead of guessing.
- Straight, grid-aligned cuts, chosen automatically. There are no hand-drawn, curved or angled cut lines and no manual cut placement. If you need to choose exactly where a statue is split (for example at the neck), use a manual cutting tool for that job.
- Dowel joints only. No other connector shapes.
- Print orientation picks the largest flat face down. It does not analyse overhangs or plan supports; your slicer still does that.
- STL files carry no colours or materials.
- Up to 200 parts per model. Tested on models up to about 1.3 million triangles (about 14 seconds on a 2-core CPU, 8 parts).
- Tested on Blender 4.2.9 LTS and 5.1.2 on Linux. It is plain Python on Blender's own libraries, so Windows and macOS should behave the same, but they have not been tested here.
7. Printing and assembling
- Print the parts as exported. Print one dowel plate first and test-fit a dowel in a socket on a small print of the same material.
- If dowels are too tight, increase Clearance by 0.05 to 0.1 mm and re-run (Clear Parts, then Split to Fit Bed, then export). If they are loose, reduce it.
- Dry-fit using
print_plan.txt, then glue. Dowels line the parts up; the strength comes from the glue.
8. Troubleshooting
| Message | What to do |
|---|---|
| The model is not watertight (N open or non-manifold edges) | Fix the mesh first: Edit Mode → Select → All by Trait → Non Manifold, then fill holes or delete stray faces. For a messy sculpt, a Voxel Remesh or a Boolean Union often produces a clean solid. |
| Parts already exist for this object | Press Clear Parts first. It restores the original. |
| Save the .blend file first, or choose an absolute export folder | The default export folder is relative to your .blend. Save the file or type a full path such as C:\prints\ or /home/you/prints/. |
| No room for a dowel between A and B | That joint is too thin for the dowel and wall settings. Glue it, or use a smaller dowel or wall. |
| That would need N parts (limit 200) | Use a bigger bed setting or scale the model down. |
| Could not fill a cut cleanly / the cut did not preserve the model's volume | The mesh probably has self-intersections or touching parts. Try Voxel Remesh or Boolean Union on it first. Nothing is created in this case, so you lose no work. |
| Model measures hundreds of metres / needs thousands of parts | Set 1 Blender unit = to 1 mm (see step 2). The message includes this hint automatically when a model looks that large. |
| Parts look the wrong size | Check the line "1 Blender unit = ... mm" in the panel. Set it explicitly if the scene units are not what you expect. |
9. Support and licence
Message us through Superhive or open an issue at https://github.com/RoseCompanion/bedfit-splitter/issues. If it does not work for your model, tell us what happened and send the model if you can.
Bed Fit Splitter is released under the GNU General Public License v3 or later, like other Blender add-ons that use Blender's Python API. See LICENSE.txt. You may use it commercially, for your own prints or for customers' models.
Have questions about this product?
Login to message
| Published | 5 days ago |
| Blender Version | 4.2 - 5.1 |
| Extension Type | N/A |
| Render Engine Used | Cycles |
| License | GPL |