Blender Face Picker
 SouthernShotty LLC
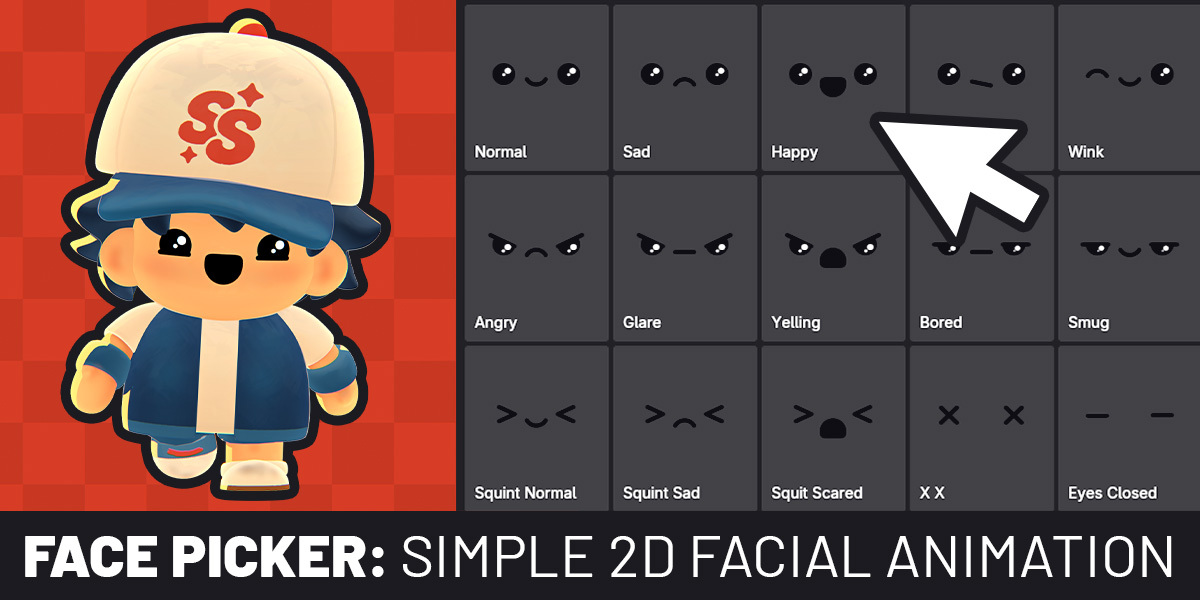
Blender Face Picker Manual
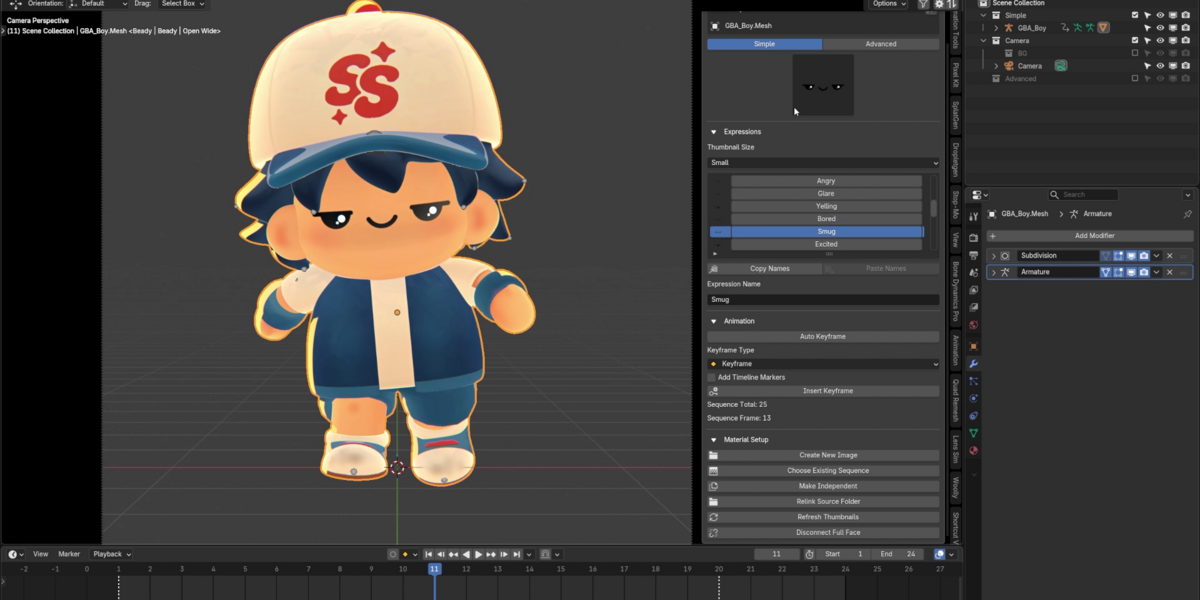
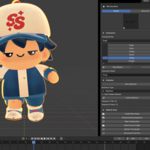
Face Picker turns numbered PNGs into a library of expressions you can browse and keyframe from the 3D Viewport. Use Simple for whole faces or Advanced for separate eyes and mouth. No facial rig is required.
Installation
- In Blender, open Edit → Preferences → Add-ons. Open the menu in the upper right and choose Install from Disk.
- Select the Face Picker add-on ZIP without extracting it. Search for Visual Face Animator in the Add-ons list and enable it if needed.
- Move your mouse over the 3D Viewport, press N, and open the Face Animator tab.
- Switch the viewport to Material Preview to see your image textures and transparency.
Try it: Normal to Happy
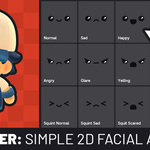
With nothing selected, click Create New Image and select all the numbered PNGs in the free Simple Face sequence. This creates a standalone face plane.
Go to timeline frame 1, pick Normal, and click Animation → Insert Keyframe. At frame 12, pick Happy and insert another key. Scrub between the two frames to see the face switch. If the thumbnails show filenames, use the first and third images.
Panel Reference
The sections below follow the panel from top to bottom. Controls that need a connected sequence appear after you set one up.
Active Object
Active Object. Shows which object Face Picker is controlling. The panel follows your selection unless it’s pinned. If nothing suitable is selected, you can use Create New Image to make a standalone face plane.
Pin. Keeps the current object’s face controls visible while you select other objects. Click again to follow your selection.
Go to Face Controls. Appears when the selected face plane is controlled by another object. Use it to return to that character’s controls.
Mode and Face Controls
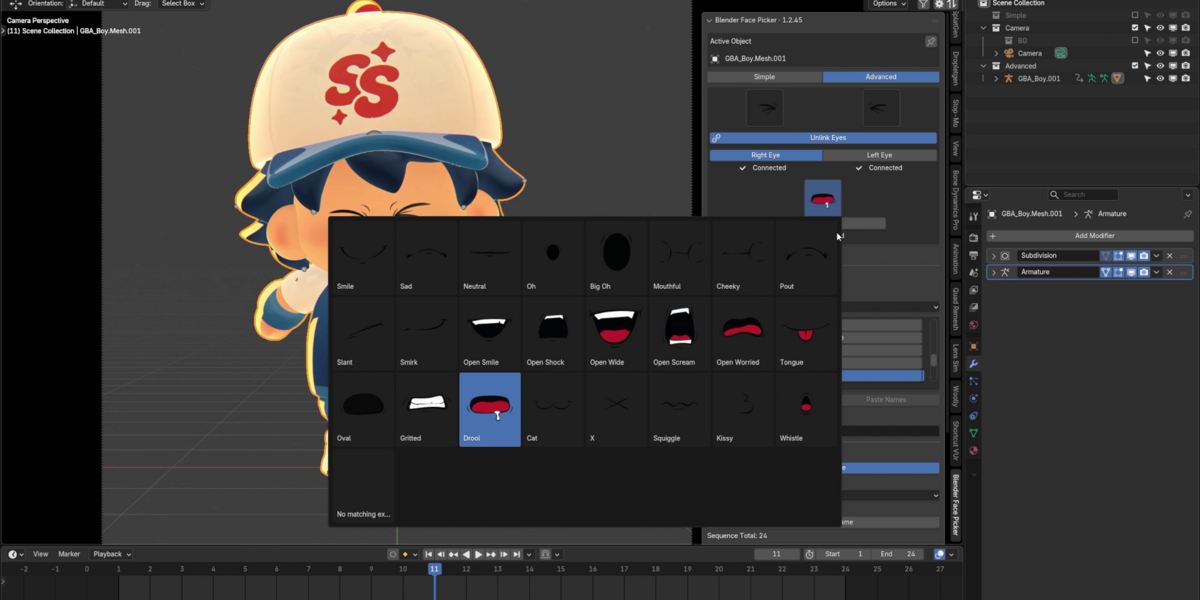
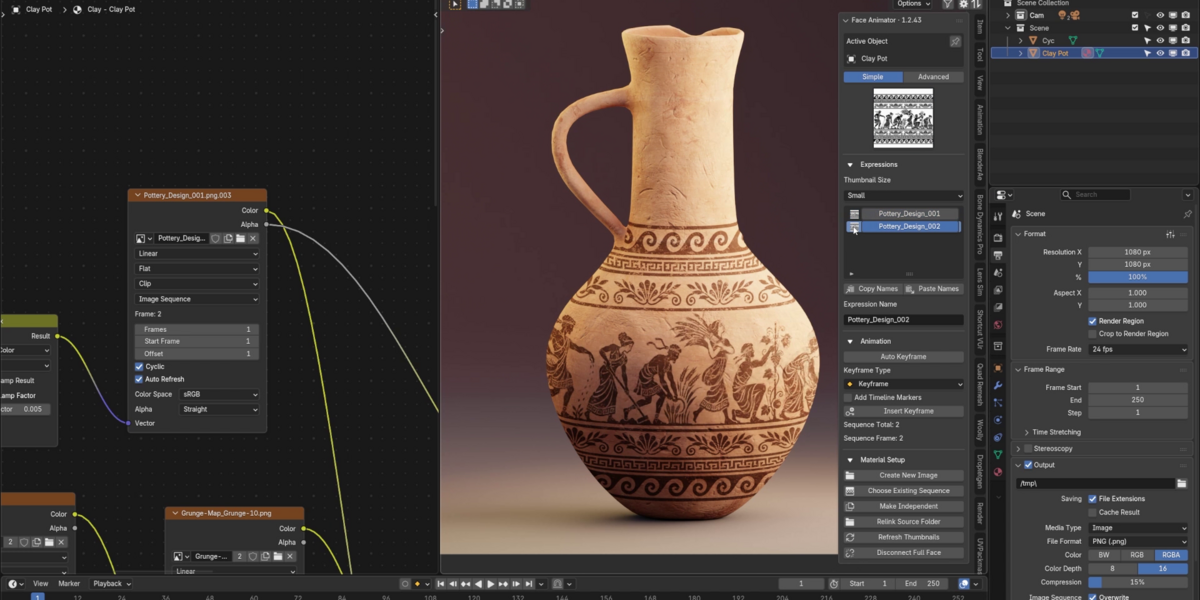
Simple. One image sequence controls the full face. The large thumbnail shows the current expression. Click it to open the picker and choose a different one.
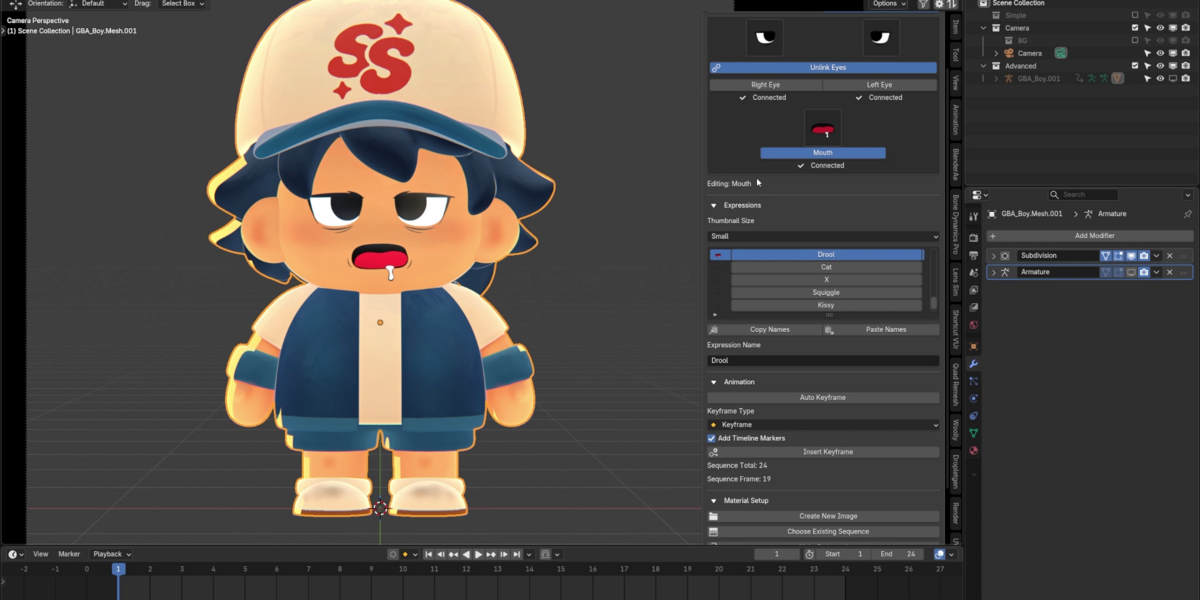
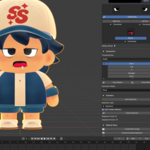
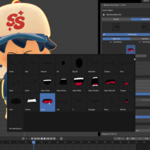
Advanced. The left eye, right eye, and mouth each have their own thumbnail and sequence. Click a thumbnail to change that part’s expression. Click its name to edit its settings without changing the expression. The Editing: line shows which part the sections below apply to.
Set Up. Appears in place of a missing part’s thumbnail. Selects that part so you can create an image plane or connect an existing sequence.
Link Eyes / Unlink Eyes. Linked eyes change and key together by list position. Both eye libraries need the same number of entries in matching order. Unlink them to animate either eye separately or use libraries of different lengths. Linking or unlinking doesn’t rewrite existing keys.
Page. Appears when a thumbnail picker spans multiple pages. Changes which group of thumbnails the popup shows. The scrollable Expressions list still contains the full library.
Tip: Left and right are the character’s. When you face the character, its Right Eye appears on the left of the panel. To key a blink followed by a wink, link the eyes for the blink, then unlink them before keying the wink.
Expressions
Thumbnail Size. Sets the list previews to Small, Medium, or Large. This setting is shared across parts and characters in the scene.
Expression list. Shows every expression in the active library. Click a name to apply that expression.
Copy Names / Paste Names. Copies labels from the active library to Face Picker’s own clipboard. Switch characters or parts and click Paste Names to apply them in list order. If you paste 24 names into a 10-entry list, only the first 10 are used. If the destination is longer, its remaining names stay as they were.
Expression Name. Renames the currently displayed expression. This changes the label in Face Picker; the PNG filename stays the same.
Animation
Auto Keyframe. Records an expression at the current timeline frame when you pick it. Leave this off to try expressions without recording them.
Keyframe Type. Sets the Blender keyframe type and its appearance in animation editors. Face Picker expressions still hold until the next keyed change.
Add Timeline Markers. Labels keyed frames with expression names, for both manual and automatic keys. In Advanced Mode, names for multiple parts keyed at the same frame can appear together in one marker.
Insert Keyframe. Records the current expression on the current timeline frame.
Sequence Total / Sequence Frame. Shows the number of expressions in the library and the current expression’s position in it. Sequence Frame is separate from your Blender timeline frame.
Tip: Move the playhead first. Existing animation can change the expression when you scrub. Go to the frame you want, pick the expression, then insert a key. With Auto Keyframe on, picking the expression is enough.
Material Setup
Surface. Names the separate object carrying the image, when one is assigned. The character can control an expression even when the image is on a separate plane.
Create New Image. Imports a numbered PNG sequence onto a transparent plane at the 3D Cursor. Plane Width sets the size of a new plane. If the part already uses a Face Picker plane, replacing its library can reuse that plane and its placement, but resets that part’s expression keys.
Choose Existing Sequence. Connects an Image Texture node already set to Image Sequence. Use it when your images are already mapped onto a character or plane. In Advanced Mode, each part needs a separate Image Texture node, but the nodes can share one material.
Choose Existing Sequence options
- Sequence: The image sequence to connect to the active part.
- Sequence Total: The number of consecutive PNGs to include.
-
First Image Number: The number in the filename where the library starts. For
Face_005.png, enter 5. - Protect Shared Data: Copies shared materials or images when needed so setup on one character doesn’t change another.
Swapping artwork or changing the range?
- Replace Expression List: Allows you to use a different set of images. When you switch sequences, names carry over in list order; extra entries use their filenames. When ranges overlap, names stay with the matching images.
-
Keep Animation: Keeps compatible keys. A key for image
005still refers to image005after the swap. Keep both the numbering and expression order consistent if you want the same expressions to play at the same times. - Clear Animation: Choose Keyframes, Associated Markers, or both. This affects the selected part’s sequence animation or the Face Picker marker labels tied to its keys. Unrelated timeline markers remain in place.
Other Material Setup controls
Make Independent. Gives a character its own face data when its current setup is shared. Use this on a duplicate before animating it separately.
Relink Source Folder. Repairs paths after the original images move. Choose the folder that contains the PNGs, or select the first numbered PNG if there are several sequences in the folder. Relink expects the saved image numbers and preserves expression names and keyframes.
Refresh Thumbnails. Rebuilds the previews. Use it after editing the source artwork or if the thumbnails look out of date.
Disconnect Full Face / Disconnect [Part]. Removes that library and its connection from Face Picker. The object, material, images, and existing animation remain in Blender.
Using your own artwork
Use consecutive PNGs of the same dimensions with a shared prefix, such as Face_001.png, Face_002.png, and Face_003.png. Starting at 000 works too. Keep the artwork aligned across frames and leave transparent space where the character should show through.
Plane tip: New planes aren’t automatically parented. If a plane should follow a moving character, parent or attach it in Blender after positioning it.
Quick Troubleshooting
“No active sequence”
Check the active object, mode, and part. Create or connect a sequence under Material Setup.
“Expressions are offline” or a missing-image warning
Check that the PNGs are in the expected folder. If they moved, use Relink. If you intentionally switched artwork, use Choose Existing Sequence and enable Replace Expression List.
“My eyes won’t change together”
Check that both eyes are connected, their libraries have the same number of entries, and the PNGs are available. Unlink them if you want to animate them separately.
“My expression changes, but it doesn’t play back”
Picking an expression doesn’t record it when Auto Keyframe is off. Insert a key, then scrub the timeline to check it.
“My face turned purple”
Check the source PNGs first. If they’re still there, try stepping a frame forward and back or reloading the image in Blender before changing the setup.
Still stuck? Message me on Superhive with your Blender and Face Picker versions, what you expected to happen, and the steps to reproduce it. If the issue involves an image sequence, include a few example filenames.
Have questions about this product?
Login to message
| Sales | 10+ |
| Downloads | 200+ |
| Published | 1 day ago |
| Blender Version | 5.3 |
| Extension Type | N/A |
| Render Engine Used | Cycles, Eevee |
| License | GPL |
