 smice
smice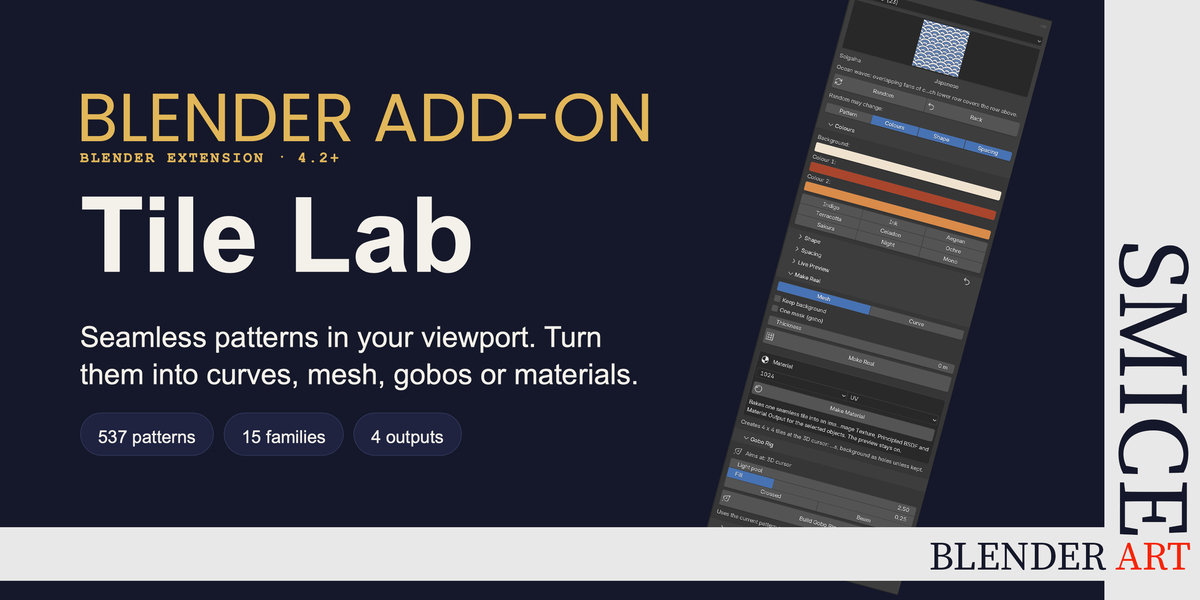
Tile Lab – N-Panel Guide
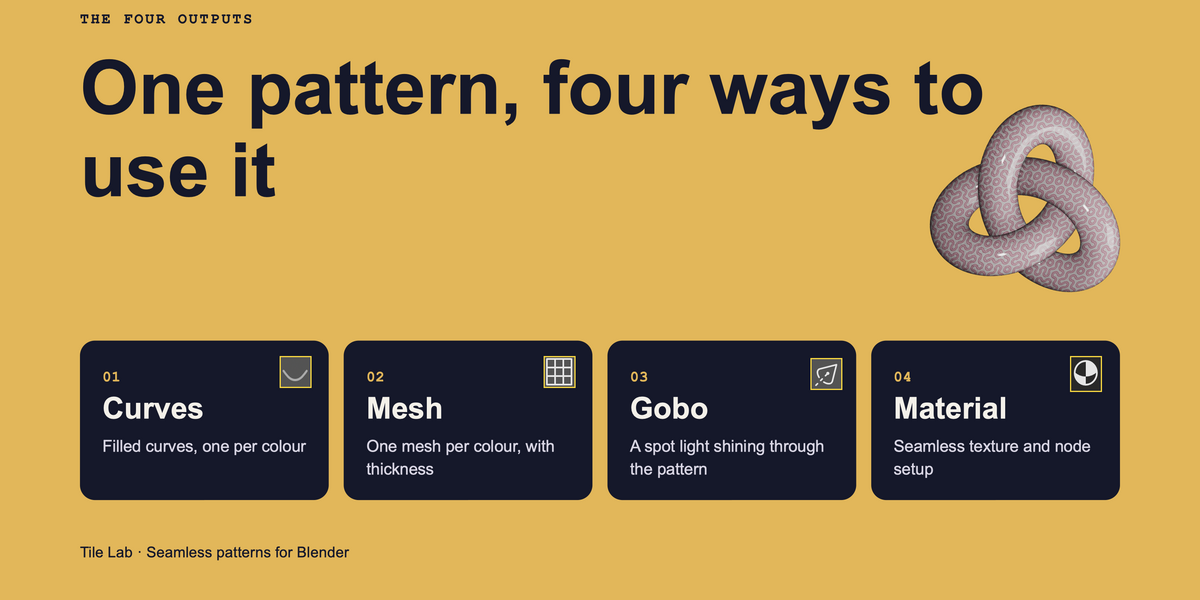
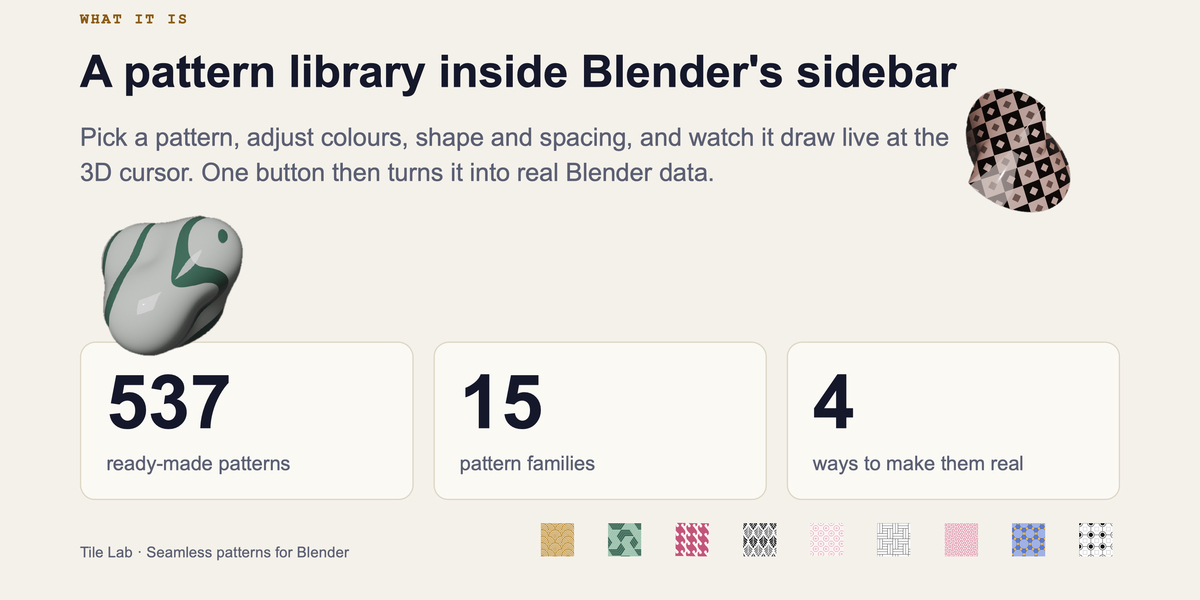
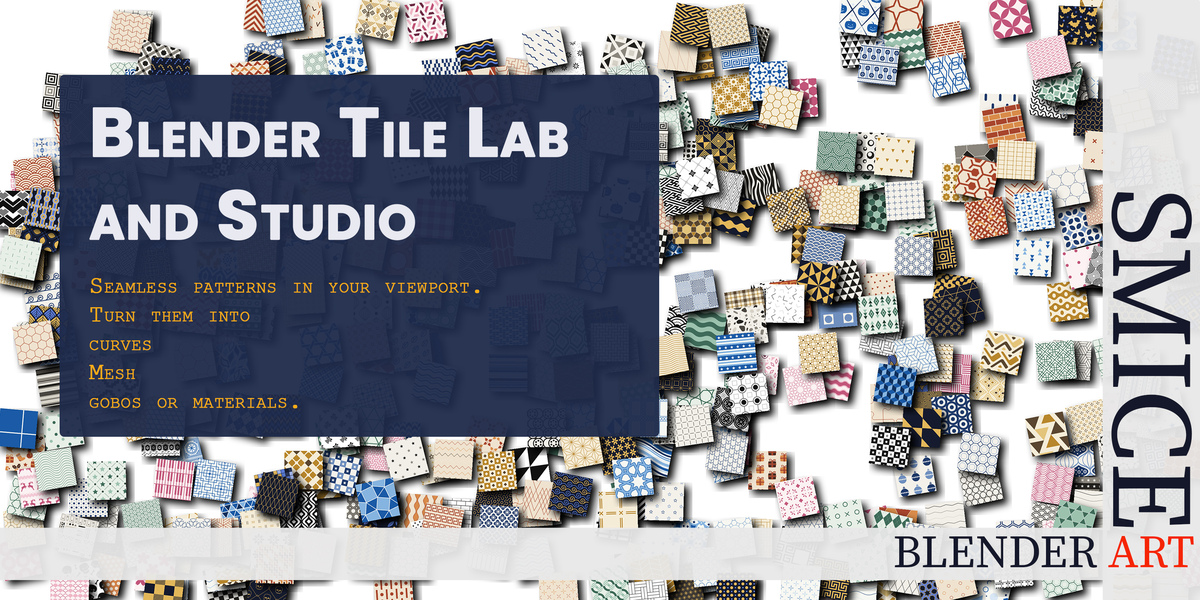
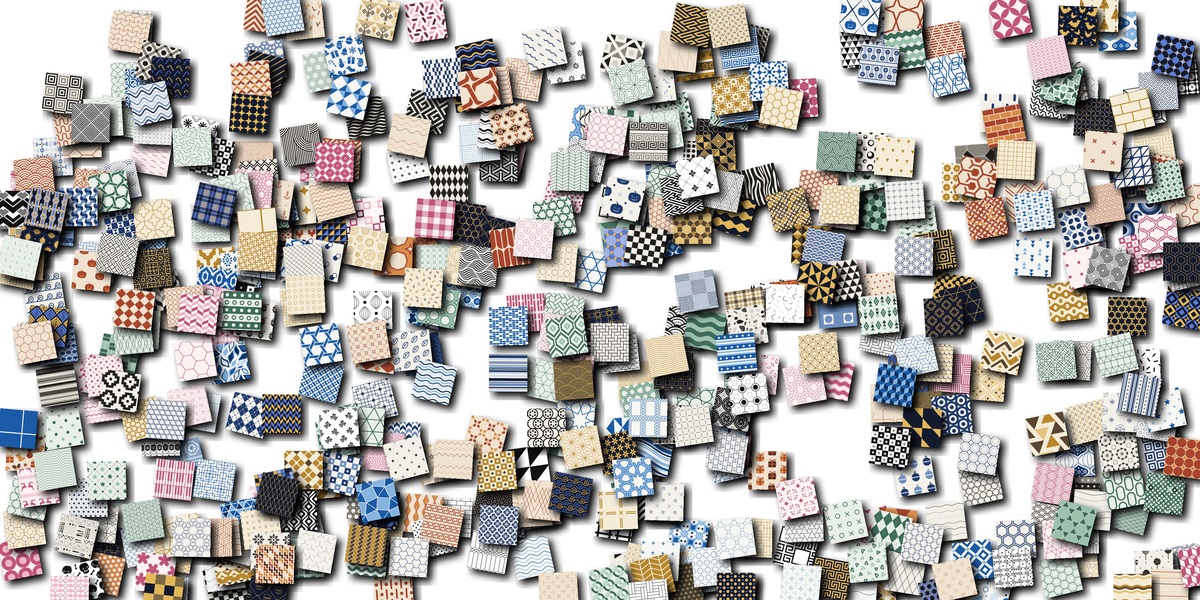
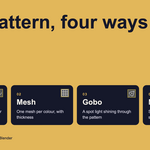
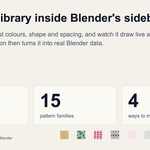
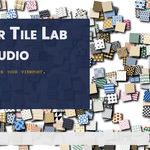
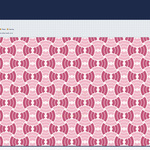
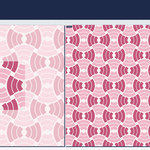
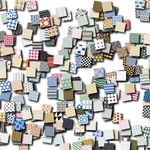
Tile Lab puts a library of seamless patterns into Blender's sidebar. You pick a pattern, tune it live in the viewport, then turn it into curves, mesh, a gobo light rig or a material with one button.
Requires: Blender 4.2 or newer.
Where to find it: 3D Viewport → press N → tab Tile Lab.
Quick start
1. Choose a category, then pick a pattern from the gallery.2. Switch on the eye icon in the panel header to see the pattern drawn live at the 3D cursor.
3. Adjust Colours, Shape and Spacing until you like it.
4. Press Make Real (curves or mesh), Make Material, or Build Gobo Rig.
The live preview starts switched off, so Blender opens quickly. Nothing is created in your scene until you press a Make or Build button.
The panels at a glance
Panel - What it does
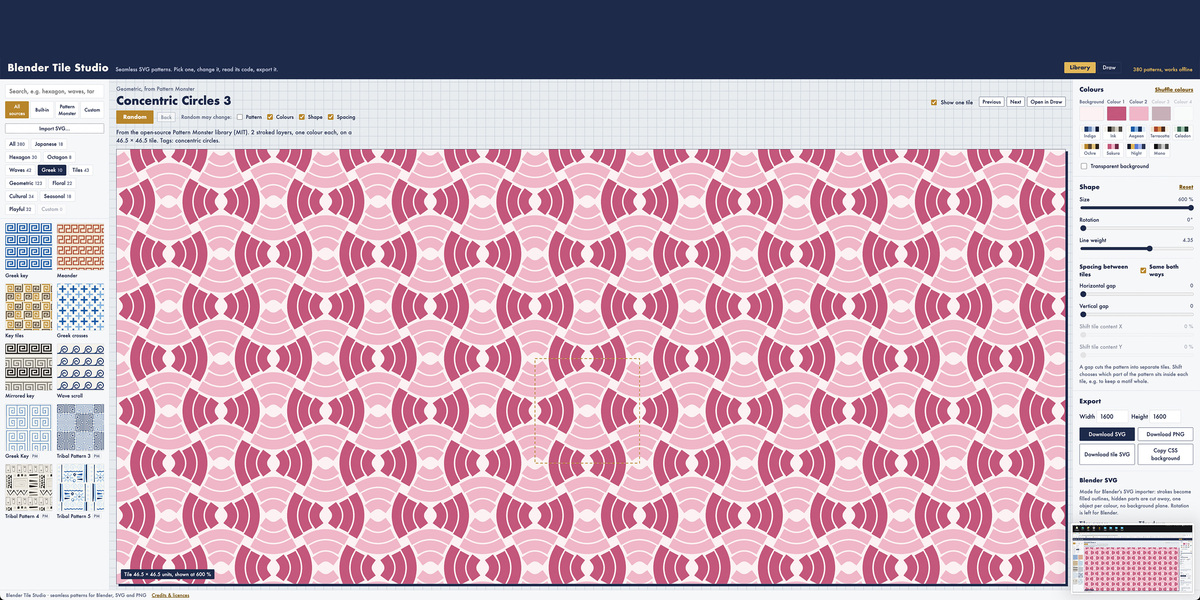
- Tile Lab (main) - Category, pattern gallery, Random and Back- Colours - Background and ink colours, nine palettes
- Shape - Tile size, rotation, line weight, pattern parameter
- Spacing - Gaps between tiles and the shift inside each tile
- Live Preview - Tiles across/down, top view, distant view
- Make Real - Mesh or curve output, plus Make Material
- Gobo Rig - Spot light shining through the pattern
- Custom Tiles - Your own tiles from Blender Tile Studio: Open Folder, Reload
- Credits & Licenses - Sources of the bundled patterns
Tile Lab (main panel)
- Eye icon (header): turns the live preview on or off.- Category: filters the gallery by pattern family.
- Gallery: click a pattern to select it. Its name, family and a short description appear underneath.
- Random: invents a new variation.
- Back: returns to the state before the last Random, palette or pattern change.
- Random may change: four toggles choose what Random is allowed to vary: Pattern, Colours, Shape, Spacing.
Colours
- Background and one to four ink colours (depending on the pattern).- Palette buttons: apply a ready-made palette in one click: Indigo, Ink, Aegean, Terracotta, Celadon, Ochre, Sakura, Night and Mono.
Shape
- Tile size: width of one repeat in the scene (Blender units).- Rotation: rotates the whole pattern.
- Line weight: thickness of the lines (only for line-based patterns).
- Parameter: a pattern-specific slider, for example the number of rings or the contact angle. Its label changes with the pattern.
- Reset icon (header): back to this pattern's default shape and spacing.
Spacing
- Same both ways: links the horizontal and vertical gap.- Gap / Horizontal gap / Vertical gap: space between tiles. A gap cuts the pattern into separate tiles.
- Shift X / Shift Y: choose which part of the pattern sits inside each tile. Active once a gap is set.
Live Preview
- Tiles across / Tiles down: how many tiles the preview, and later Make Real, covers.- Viewport preview: shows or hides the live pattern at the 3D cursor.
- Show background: shows or hides the background colour in the preview.
- Top view: looks straight down at the preview.
- Open Distant View: splits the viewport and shows a large repeat in an Image Editor.
- Distant view / Zoom: switches the distant view on or off, and sets its size in pixels per tile.
Make Real
Turns the preview into real Blender objects at the 3D cursor. You get one object per colour, with hidden parts removed and nothing overlapping, parented to an empty.- Make real as – Mesh: clean flat meshes, best for rendering, gobos and further modelling.
- Make real as – Curve: editable filled curves.
- Keep background: also creates the background as its own object. Off by default, so the background becomes holes.
- One mask (gobo): merges all colours into one object with holes.
- Thickness (Mesh) / Extrude (Curve): adds depth. For meshes this adds a Solidify modifier. `0` keeps it flat.
- Make Real: builds the objects. The number of tiles comes from Tiles across / Tiles down.
Make Material
Bakes one seamless tile into an image and builds a node setup for the selected objects: Texture Coordinate, Mapping, Image Texture, Principled BSDF and Material Output.- Texture size: 512, 1024, 2048 or 4096 pixels along the longer side of one tile.
- Coordinates – UV: uses the object's UV map. Tiles across sets how often the pattern repeats.
- Coordinates – Object: planar mapping in object space. Tile size sets the pattern size in metres.
Gobo Rig
Lights an object through the current pattern, like a gobo in front of a stage light. The rig is a spot light with a shadow-only pattern mask in front of it. After building, the sliders update the rig live. The key light comes from the camera’s side so the pattern faces the camera; without a camera, one is added. Other lights in the scene ignore the mask, so there’s no double shadow.1. Select the object you want to light. With nothing selected, the rig aims at the 3D cursor.
2. Choose Light pool, Fill, and optionally Crossed and Beam.
3. Press Build Gobo Rig.
Control and Effect
- Light distance - Distance from the light to the aim point- Spot angle - Width of the light cone
- Power - Light strength
- Light radius - Smaller values give crisper pattern edges
- Mask position - Where the mask sits between light (0) and object (1). Closer to the object is sharper, and the projected pattern size stays the same
- Fill - Soft light without pattern, so shadows don't go black (0 = off)
- Crossed - A second patterned spot from the side, for crossed patterns
- Beam - Visible light rays through a thin world volume (slower). Density sets how thick they are
- Pattern size on the object = Tile size (Shape panel).
- The panel shows the estimated edge blur on the object in centimetres.
- If the mask is too small to fill the light pool, a warning appears. Use a larger Tile size or a smaller spot angle, then press Use Current Pattern.
- Use Current Pattern: rebuilds the mask with the pattern currently set in Tile Lab.
- Light / Aim point: select that part of the rig to move it by hand.
- Remove Rig: deletes the lights, masks and aim point.
Custom Tiles
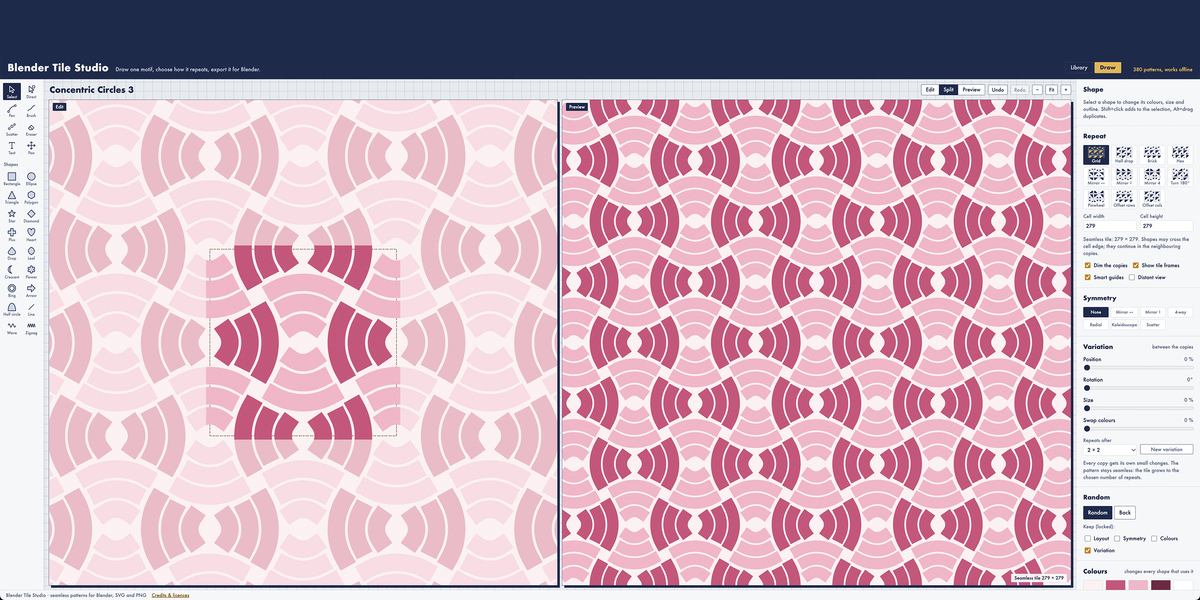
Your own tiles, made in Blender Tile Studio, appear in the category Custom, next to the built-in patterns.1. In Blender Tile Studio, choose Export → Format: Tile Lab → Download. This saves one `.tilelab.json` file per tile.
2. In Tile Lab, open Custom Tiles and press Open Folder.
3. Put the `.tilelab.json` file into that folder.
4. Press Reload. The tile now appears in the category Custom.
- Open Folder: opens the custom tiles folder in your file browser.
- Reload: reads the folder again after you add, change or delete files.
- The category Custom appears as soon as the folder holds at least one tile.
- Custom tiles start with their own colours from Blender Tile Studio, up to 8 colours. Palettes and Random still work.
- Everything else works as with built-in patterns: Make Real, Make Material and the Gobo Rig.
- Shapes and repeat layout are fixed in the file, and there is no Line weight slider.
Tips
- Start with Random and the Pattern toggle on to explore the library quickly.- Use a small Tiles across / Tiles down while designing. Increase it before Make Real.
- For clean gobo masks, use Mesh, switch on One mask (gobo), and add a little Thickness.
- For rendering, Make Material is lighter than thousands of tiles of real geometry.
Preferences
- Keep live preview on when opening files: when off (the default), Blender opens files without the pattern overlay. Switch the preview on in the Tile Lab panel when you need it.- Custom tiles folder: where Tile Lab looks for `.tilelab.json` files. Left empty, it uses Tile Lab's own folder in Blender's user data, which is kept when you update the add-on. Choose another folder, for example a shared cloud folder, to use the same tiles on several computers.
Credits
- Hero Patterns by Steve Schoger (heropatterns.com), licensed CC BY 4.0. 🩵- Pattern Monster library by Naveen CS, MIT License.🩵
- pyclipper (MIT) and Clipper by Angus Johnson (Boost License) do the polygon math.🩵
All other patterns and the add-on code were written for Blender Tile Lab. Full license texts are in `THIRD_PARTY.md`.
$19
Have questions about this product?
Login to message
| Blender Extension Compatible | Yes |
| Published | 1 day ago |
| Blender Version | 4.2 - 5.2 |
| Extension Type | Add-on |
| Render Engine Used | Cycles, Eevee |
| License | GPL |