Blender to Obs
 Bevel Graphics
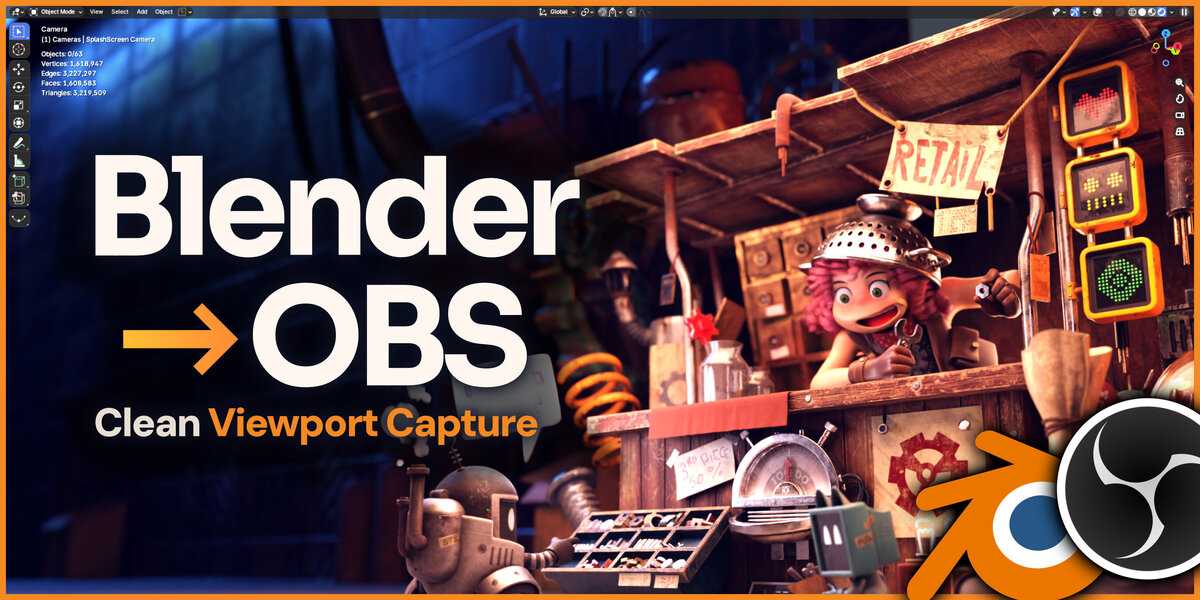

Blender to OBS · Windows guide · 0.12.1





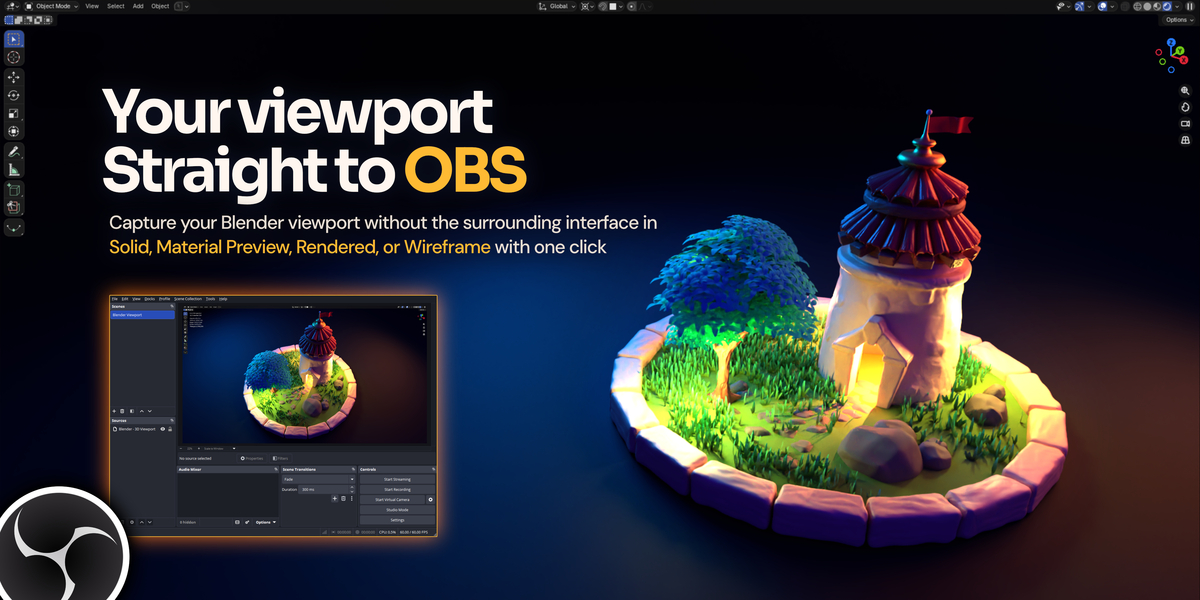
Setup, capture controls and practical answers for the Windows Vulkan build. In Blender, the add-on panel is named Clean View for OBS and lives in the viewport sidebar’s OBS tab.
Find what you need
Requirements / First setup / Daily workflow / Visibility controls / Formats & framing / Additional editors / Screencast keys / Shading & color / Troubleshooting / Compatibility & limits



| Platform | Windows x64 with a Vulkan-capable GPU. This guide and package are for Windows. |
|---|---|
| Blender | 4.5 or 5.0–5.3 version families. Recent capture checks: 4.5.14, 5.0.1, 5.2.3 and 5.3 beta. Blender 4.2–4.4 are not supported by this build. |
| OBS | OBS Studio installed locally. Tested with version 32.1.2. |
| GPU | Keep Blender and OBS on compatible GPU adapters. On a multi-GPU system, mismatched adapters can prevent sharing. |
| Startup | Run Blender normally. No custom launcher and no saved .blend file are required. Initial installation needs one Blender restart. |
The Apple Silicon preview uses Metal readback and a local Browser Source. It is a separate build, with fewer features; see Compatibility & limits below.


- In Blender, open Edit → Preferences → Add-ons → Install from Disk, choose the add-on ZIP and enable it.
- Select Vulkan in Blender’s System preferences if it is not already active. Save preferences if automatic saving is disabled.
- Restart Blender normally once. Save any unsaved work before closing; saving the file alone does not activate capture support.
- For first-time receiver installation, close OBS normally once. Reopen your scene in Blender and show the viewport sidebar with N.
- Open the OBS tab and click Open in OBS. The add-on installs its bundled receiver and sets up the local connection.
- Look for the Blender Viewport scene and Blender - 3D Viewport source. Set your recording options in OBS, then start recording there.
If OBS is already open without the required receiver or connection, follow the panel’s prompt to close it once and click again. If OBS cannot be found, choose its executable under Connection.
Setup enables an authenticated local OBS WebSocket connection when needed. Existing enabled connection settings are preserved. The add-on does not force-close OBS or start recording.



- Open Blender normally and work in the viewport you want to capture.
- Click Open in OBS to start capture and connect the source. Start Viewport Capture starts the capture itself.
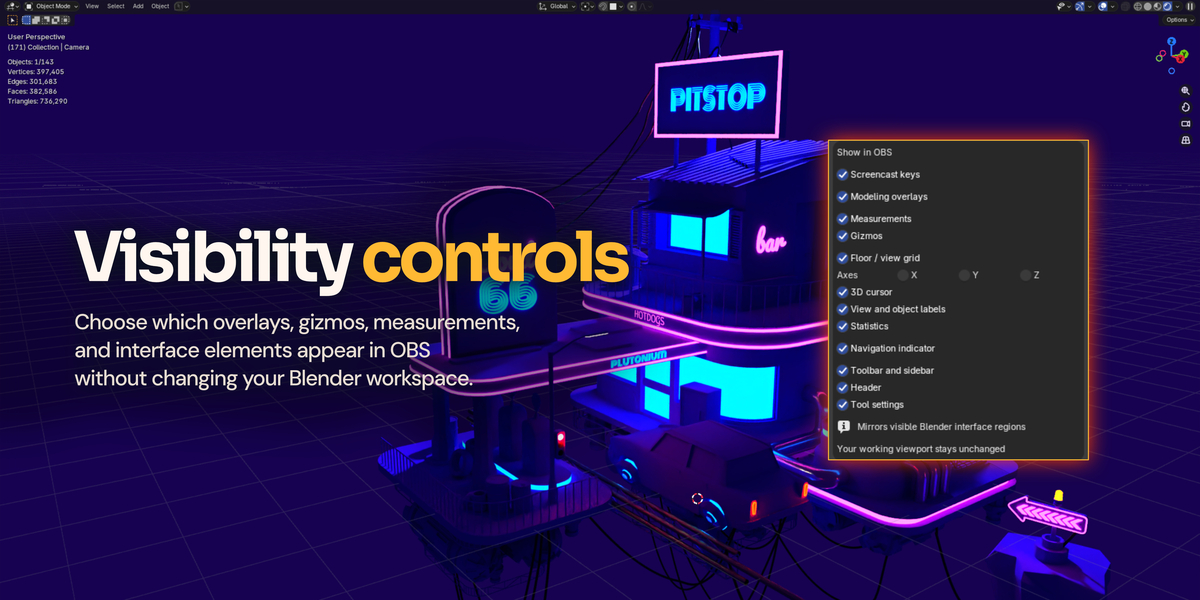
- Expand Show in OBS and enable only the elements you want viewers to see.
- Set resolution, FPS, recording quality and the canvas in OBS.
- Use Stop Viewport Capture when finished. After loading another .blend file, start capture again.
Keep the source viewport visible. A static viewport may stop drawing new frames; the output keeps its last completed frame. The FPS display reports viewport capture and OBS receiver activity, not a promise that every recording has the same FPS.
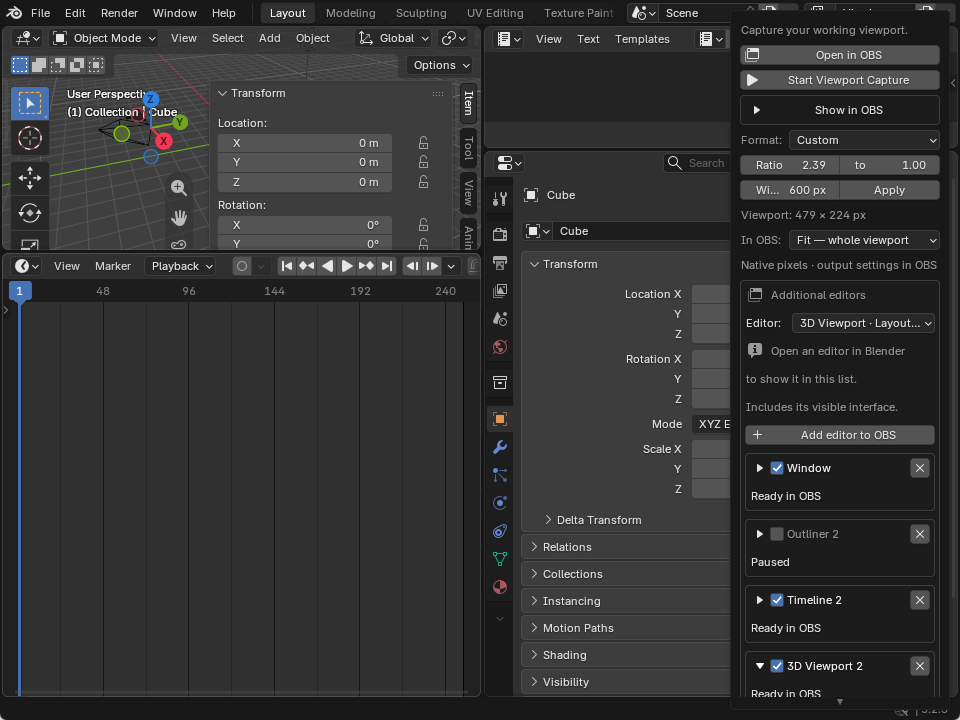
Interface example from the 0.12 workflow tests. Available editor names and sizes depend on your open workspace.



These switches are off by default and affect the clean viewport output. Your working viewport stays available. Additional editor/window sources include their visible interface instead.
| Screencast keys | Shows the built-in keyboard and mouse cards in the clean viewport output. |
|---|---|
| Modeling overlays | Selected vertices, edges and face tint, plus supported viewport right-click menus. Enable this if mesh selection is missing from OBS. |
| Measurements | Saved built-in ruler distances/angles and selected mesh edge lengths. In-progress ruler dragging is not fully reproduced. |
| Gizmos | Move, rotate and scale drawings following the supported active tool, orientation and pivot. |
| Floor / view grid | Perspective floor or orthographic grid. |
| Axes X / Y / Z | Individual world axes. |
| 3D cursor | Scene cursor location. |
| View and object labels | Viewing direction, frame, collection and active object information. |
| Statistics | Object and mesh counts. |
| Navigation indicator | Output-only orientation and navigation drawings; these are not interactive OBS controls. |
| Toolbar and sidebar | Visible toolbar, N sidebar and supported context menus opened there. |
| Header | Visible viewport header and supported shading menus, including the Z pie. |
| Tool settings | Visible Blender tool-settings row. |
Interface regions preserve their visible Blender theme. Hidden working-view regions cannot be included until you show them in Blender. Submenus follow their parent’s category and are clipped to the capture canvas.
Wireframe is an exception: it includes native viewport overlays because Blender draws the wire edges through that path. Individual overlay filtering is disabled there; interface switches remain available.



The Format controls change the real Blender editor. The In OBS controls change how its source is placed on the OBS canvas. They solve different parts of framing.
- Choose Free to leave the current editor size alone, or choose a preset such as 16:9, 9:16, 1:1 or 4:5.
- For Custom, enter the ratio width and height; decimals such as 2.39 to 1 are supported.
- Set the target editor width, then click Apply. The resulting pixel size is shown in the panel.
- If another border move changes the ratio, click Apply again. Formats are applied on request, not locked permanently.
| Fit — whole viewport/editor | Keeps the entire source visible. Different source/canvas ratios can leave margins. |
|---|---|
| Fill — crop edges | Fills the canvas by cropping the excess. |
| Stretch — no margins | Fills the canvas by changing proportions. |
| Manual in OBS | Leaves placement and transform adjustments to you. |
Blender’s tiled layout means resizing one editor may resize its neighbors. A helper area can be added if no movable border exists. Minimum editor sizes and available screen space can prevent a requested size. Exit Maximize Area or Fullscreen Area before applying a viewport format; clean-viewport format resizing requires single view.
A target editor width is a layout control, not an encoder setting. Recording resolution and FPS remain in OBS. Whole Window formats resize the Blender application window and restore it from maximized mode when needed.



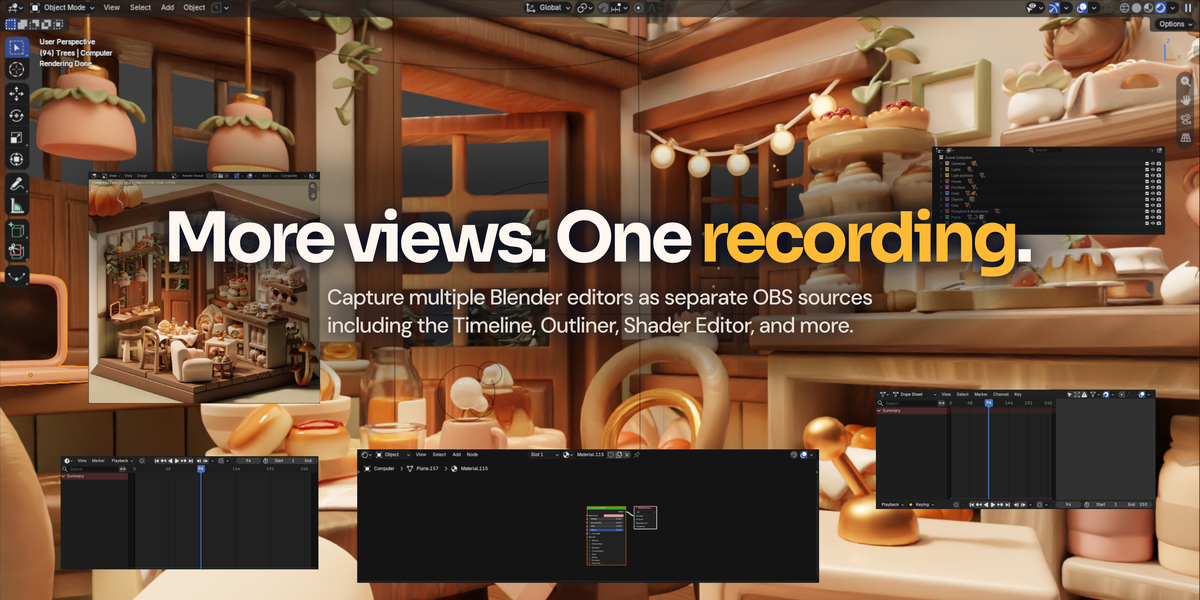
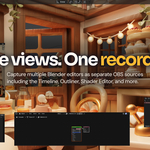
Capture an existing editor or the whole Blender window as a separate source. This path uses OBS’s native Windows GPU window capture and includes the editor’s visible themed interface.
- Open the editor you need in Blender. The dropdown lists only editors in the active workspaces of your open Blender windows.
- Under Additional editors, choose Timeline, Properties, Outliner, Shader Editor or another available entry. Choose Window for the complete Blender client area.
- Click Add editor to OBS. The source is added to the current OBS scene with a name such as Blender - Timeline.
- Expand its card for independent format, custom ratio, width and framing controls.
- Uncheck the card to pause. The X stops managing that capture and leaves its OBS source disabled, retaining its filters and placement.
Adding the same editor again reuses its source. Adding it to another scene creates a scene item using that input. Your custom source names are preserved.
Keep the selected workspace open and the Blender window restored. Closing or replacing the editor pauses its capture. Loading another file or restarting Blender requires selecting and adding the desired editors again; matching OBS sources are reused.
Changing the OBS scene collection requires an explicit Add in the new collection. Same-sized or identically titled Blender windows can be ambiguous; use a single window or distinguish the windows as the status message requests.


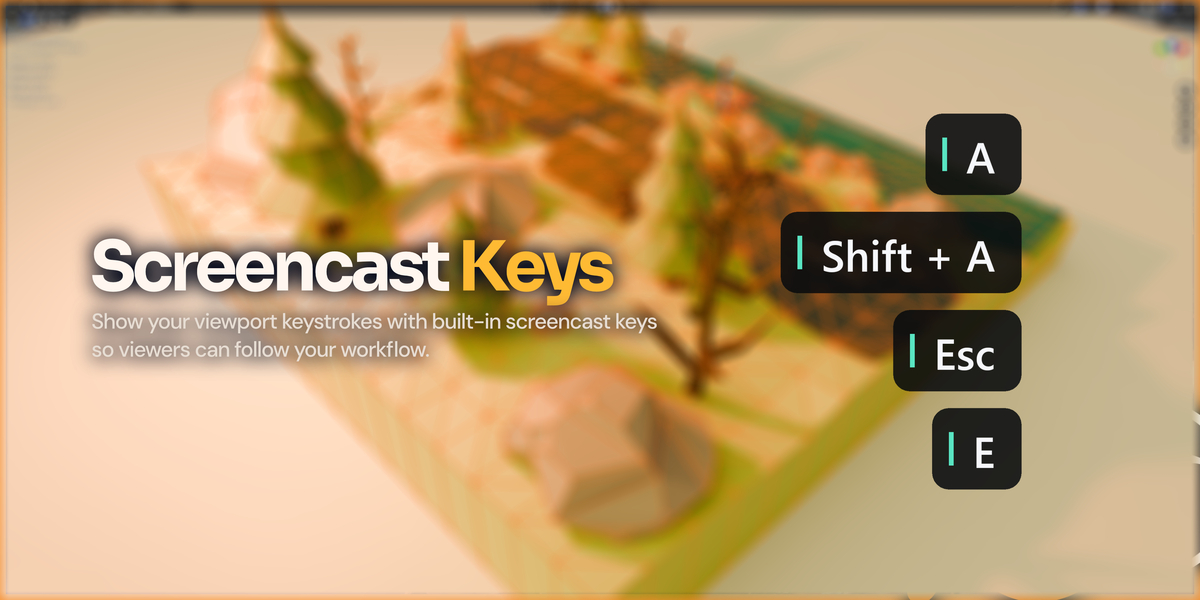
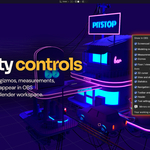
Under Show in OBS, enable Screencast keys. The built-in display observes viewport keyboard and mouse input, including keys consumed by modal tools, so G then X can appear.
Common keyboard keys, modifiers, numpad input, mouse buttons and wheel input are supported. The display belongs to the clean viewport output; it is not a system-wide keystroke recorder or a separate OBS editor source.
Third-party screencast/overlay add-ons are not guaranteed to appear in the clean capture. Use the built-in display for this workflow.


Solid, Material Preview and Rendered use the clean viewport path with optional output overlays. Wireframe captures the native composed viewport. Quad View combines the four actual pane draws into one source; its FPS counter counts complete combined frames.
The Windows path follows the supported viewport color transforms, including scene white balance and RGB/master curves. Named looks and 2D OCIO LUTs are supported. Shader or render-engine initialization can temporarily interrupt output.
The transfer is SDR. HDR, every custom OCIO configuration and all future Blender builds are not qualified. If colors differ, first compare Blender’s view transform, look, exposure and white balance with the OBS preview, and check OBS color/output settings.
OBS chooses recording FPS. Capture has a performance cost; scene complexity, overlays, GPU scheduling and encoding affect throughput. The earlier single-system benchmark observed roughly 4–7% lower viewport FPS with capture enabled. This is not a guarantee for other systems.


| Open in OBS cannot find OBS | Set the executable under Connection. If first setup needs receiver/connection installation, close OBS normally once and click again. |
|---|---|
| Startup support is missing | Restart Blender normally after enabling the add-on or updating its native bridge. Saving the .blend file is not a substitute. |
| Capture is black or frozen | Read the exact status message. Confirm Vulkan is active, keep the viewport visible and allow shading initialization to finish. Stop and restart capture if needed. Check compatible GPU adapters. |
| Vertices or selections are absent | Enable Modeling overlays under Show in OBS. It defaults to off. |
| Z/right-click menus are absent | Enable Header for Z/shading menus, Modeling overlays for viewport right-click menus, or Toolbar and sidebar for menus there. |
| There are black margins | Your source and canvas ratios differ. Apply a matching format, or choose Fill if cropping is acceptable. |
| Apply cannot reach the ratio | Exit maximized/fullscreen area mode, use single view, and allow enough room for neighboring panels. Blender minimum sizes still apply. |
| An editor is missing from the dropdown | Open it in the current Blender workspace first. The add-on does not create the content/editor for you. |
| An editor capture stops | Keep its workspace open and window restored. After replacing/closing it or loading another file, select and add it again. |
| Two identical source entries | Update to 0.12.1 and restart Blender. This fixes the delayed scene-list duplication bug. Existing intentional duplicate scene instances are not automatically deleted. |
| A source is smaller after resizing | Use Fit, Fill or Stretch if you want the add-on to refit it to the canvas. Manual in OBS retains manual placement. |
When reporting a problem, include the Blender version/build, OBS version, GPU and driver, shading mode, exact panel status, and whether the same issue occurs in a new General file.



- The native Vulkan bridge uses calibrated Blender internals. Tested versions and hardware are the reference; unsupported builds may be rejected.
- One active clean Vulkan sender is supported. Multiple simultaneous Blender processes and concurrent startup setup changes are not supported.
- Arbitrary third-party draw handlers, all paint/sculpt displays, modifier cages, hover highlights, Normal/Gimbal orientations and Individual Origins are not fully reproduced by independent output overlays.
- A visible editor/window capture includes the themed interface, but does not selectively filter its contents like the clean viewport source.
- The separate Apple Silicon preview requires Blender 5.2 or 5.3 and uses a slower CPU/browser path. It lacks the Windows native interface/menu capture, screencast keys, Wireframe, Quad View, GPU sharing and additional editor workflow.
- No unconditional viewport-FPS, color-parity or future-version guarantee is claimed.
To remove startup integration, use Connection → Remove Vulkan Startup Support, then disable the add-on to keep it removed. Normal disabling also removes the startup configuration; a normal Blender exit preserves it for the next launch.
Guide for 0.12.1 · Windows x64 · Updated 8 November 2026. Recent editor checks covered Blender 4.5.14, 5.0.1, 5.2.3 and 5.3 beta with OBS 32.1.2.
 Included
Includes 12 months of
- Support from Bevel Graphics
- Product updates
Extend this product’s Support Period +12 months: 100% of product price
Have questions before purchasing?
Login to message
| Blender Extension Compatible | Yes |
| Published | 41 minutes ago |
| Blender Version | 4.2 - 5.2 |
| Extension Type | Add-on |
| Render Engine Used | Cycles, Eevee |
| License | GPL |
Discover more products like this
recording screenrecording blender Screencast OBSSTUDIO obs streaming tutorials Blender content creation capture viewport screencast keys