 Bevel Graphics
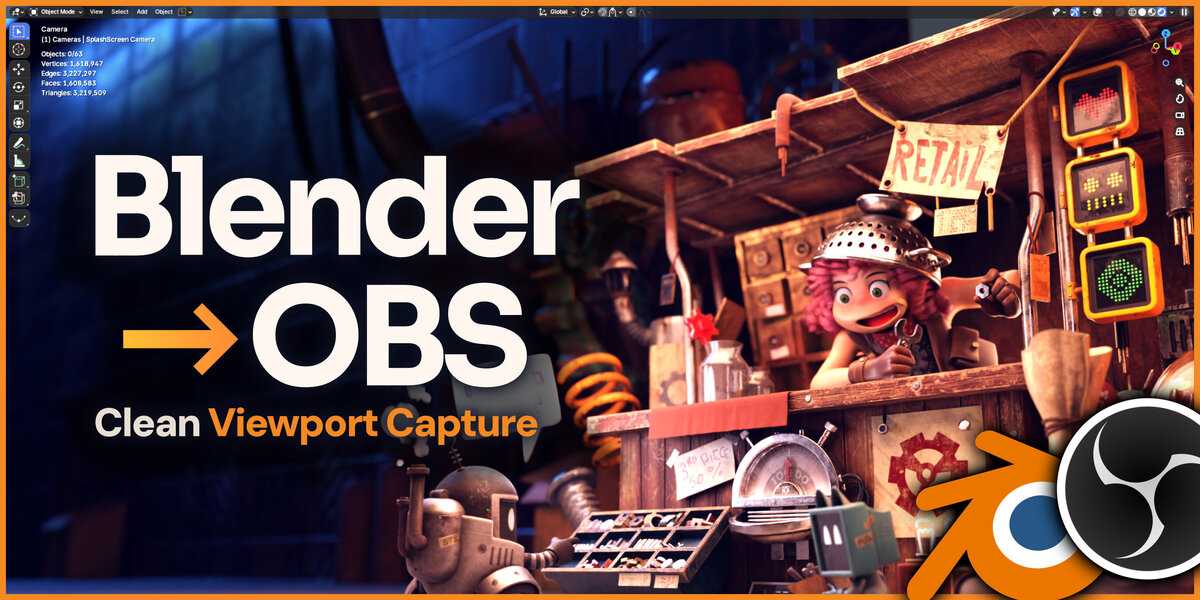

Blender to OBS





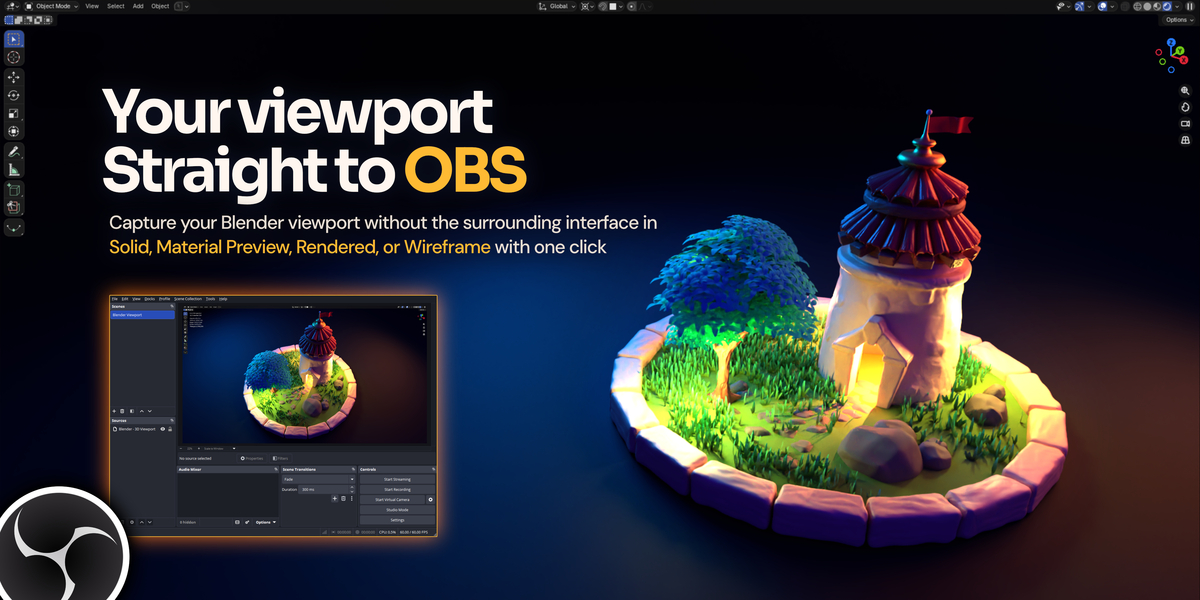
Record the viewport you work in. Choose what your viewers see. Keep creating in Blender.
Windows · Vulkan viewport capture · OBS Studio
The view you are already using





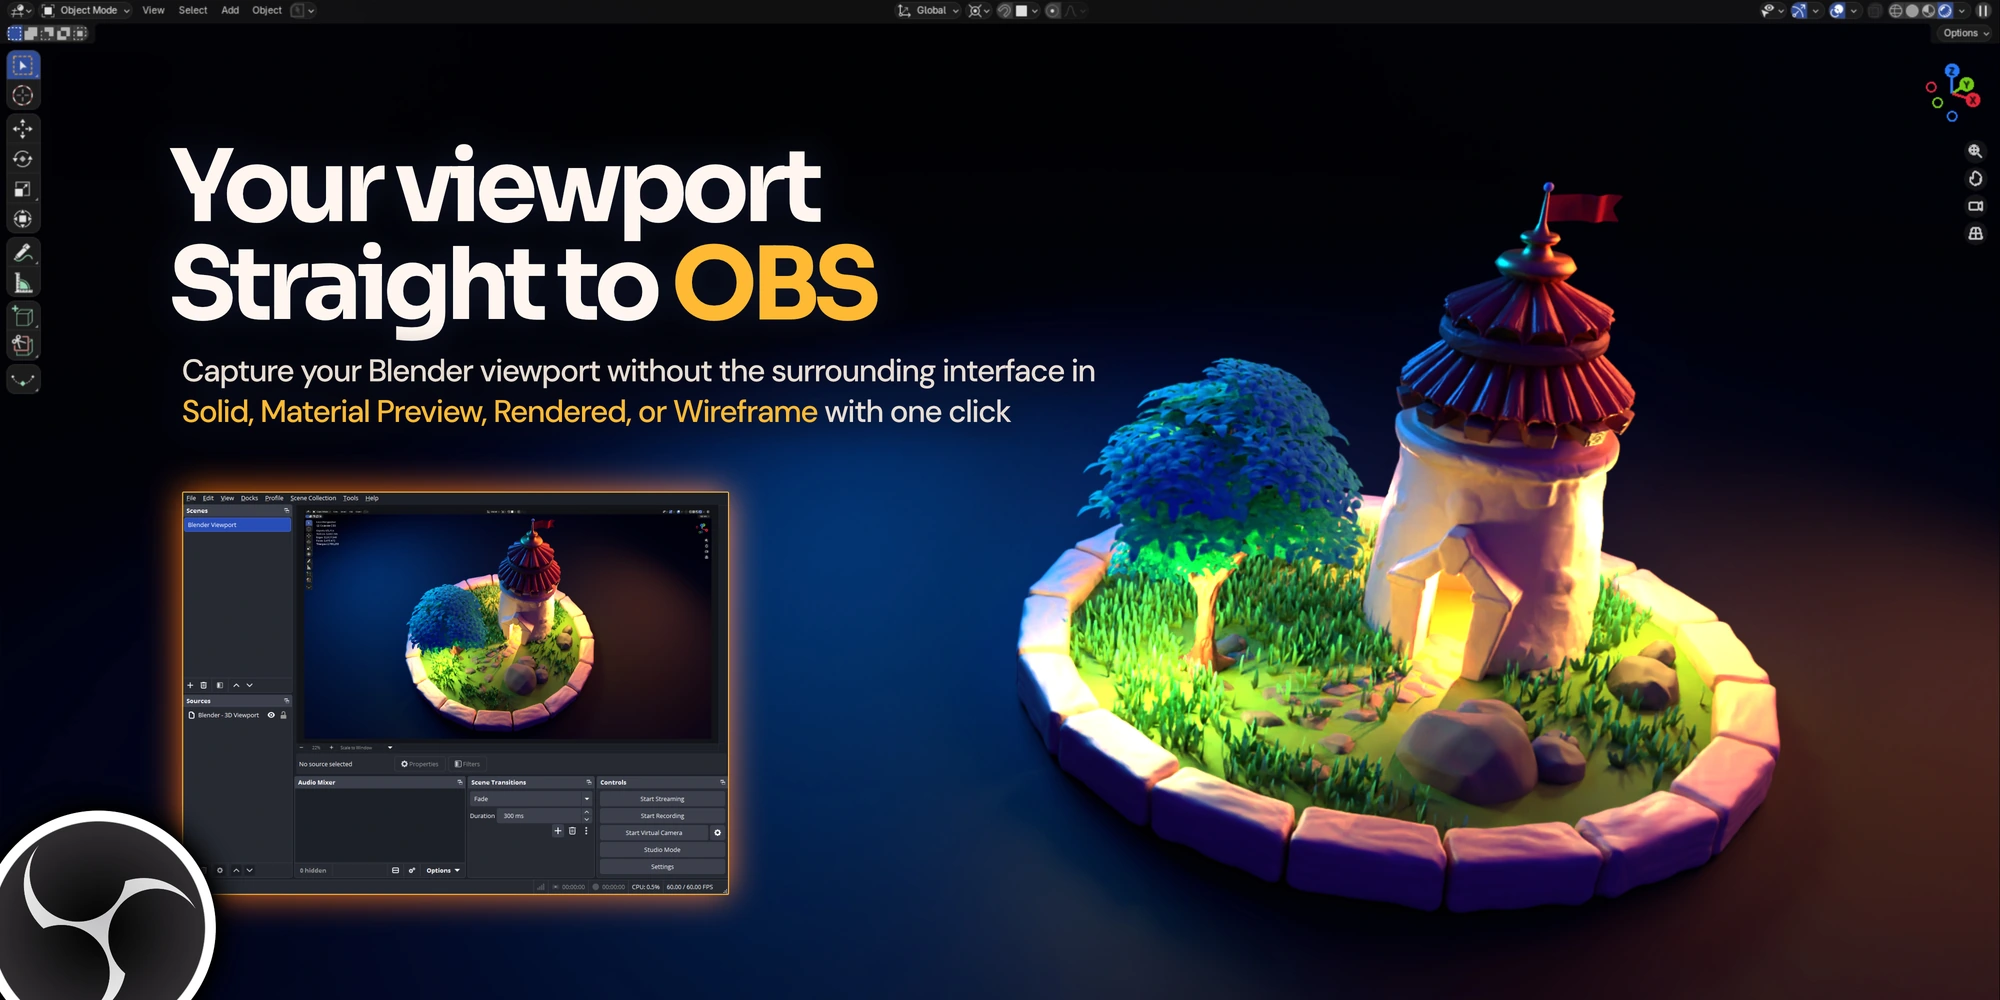
Orbit, model, shade and animate in your normal workspace. Blender to OBS sends your actual working viewport to OBS without opening a second rendered view.
Four shading modes
Solid, Material Preview, Rendered and Wireframe.
Your output settings
Choose recording resolution, frame rate and encoding quality in OBS.
Normal Blender startup
After initial setup, open Blender normally and click Open in OBS. Unsaved scenes work too.
Wireframe includes Blender’s native overlays. Independent overlay filtering applies to Solid, Material Preview and Rendered.
Keep the workspace you like




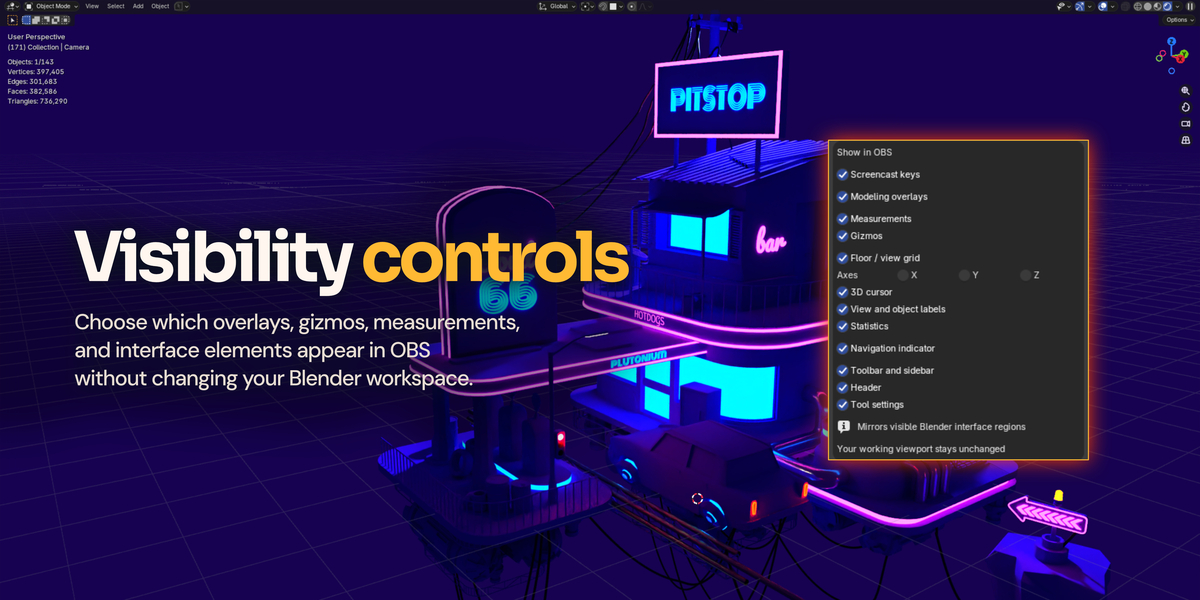
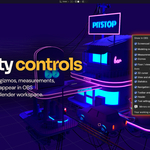
Keep your own interface available while choosing which elements appear in the clean viewport capture. Measurements, selection overlays, gizmos, grid, axes, labels and interface controls start off by default.
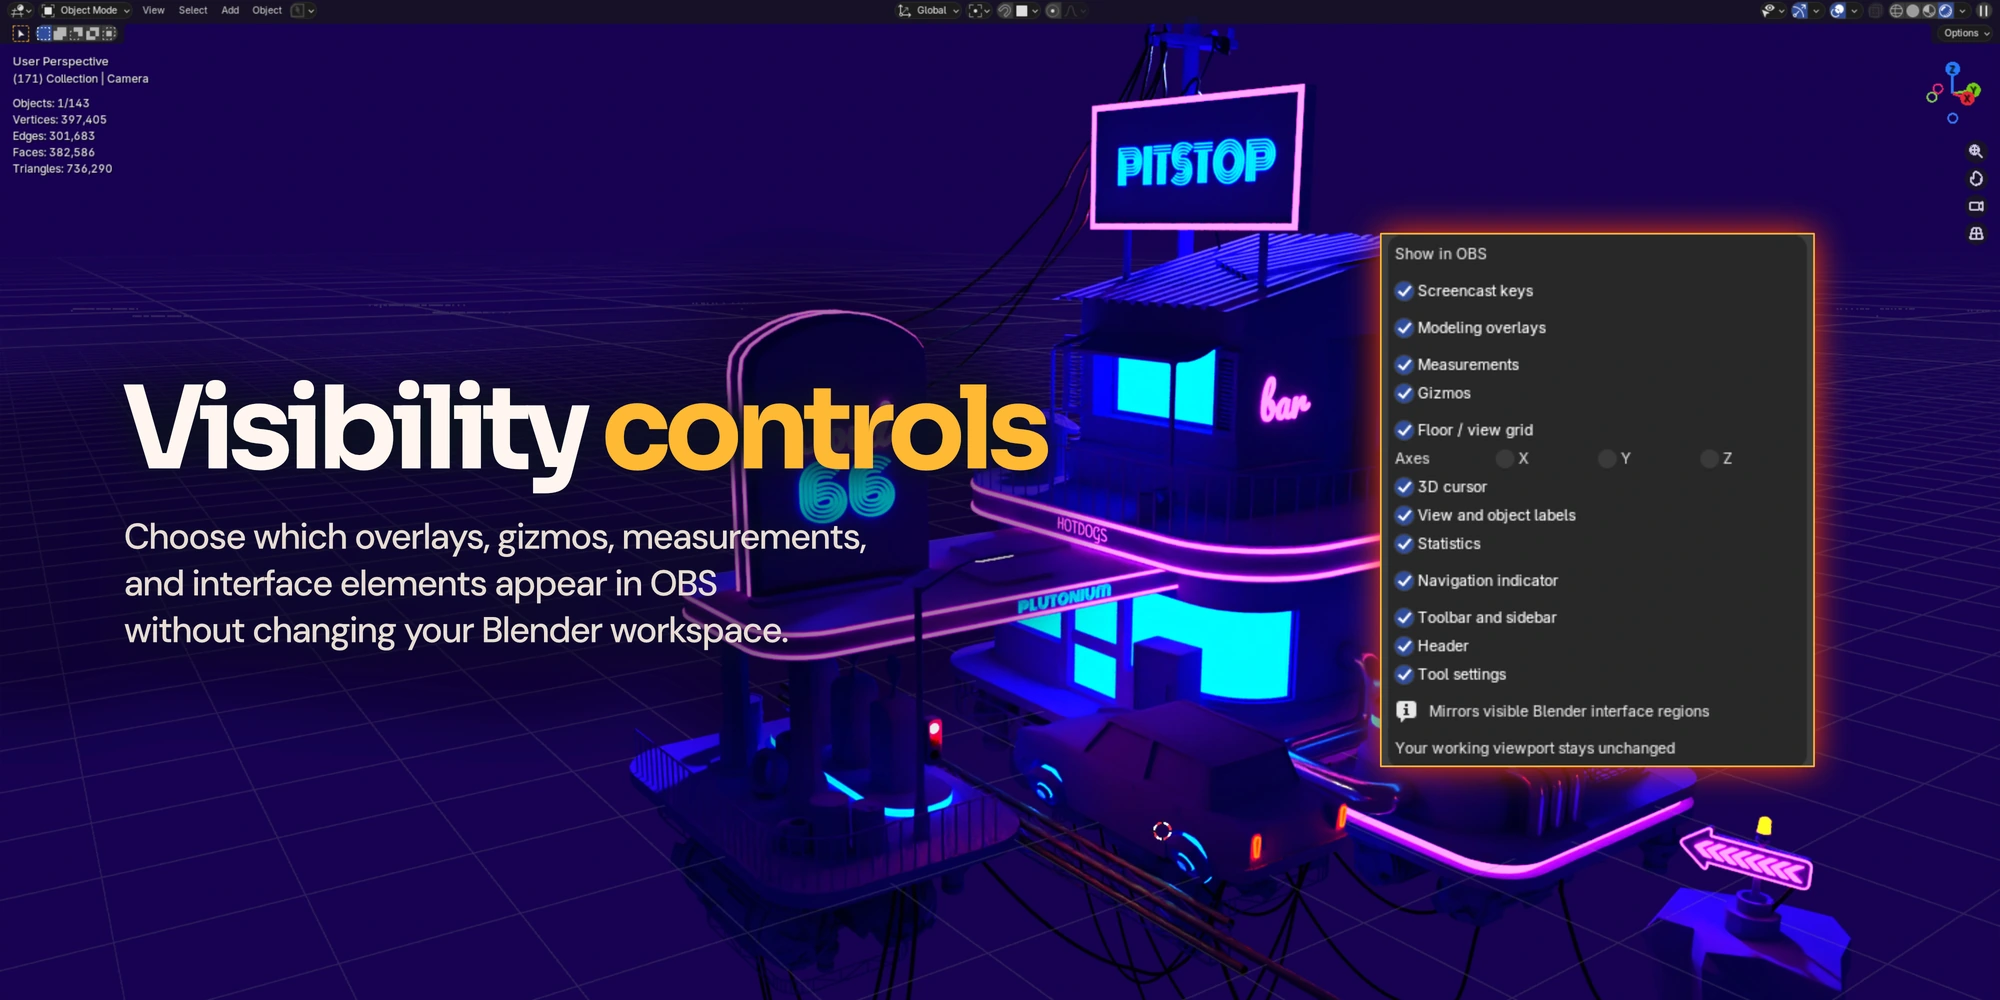
Need to explain a tool? Include the header, toolbar or N sidebar. Their visible interface follows your Blender theme. Supported menus follow the same categories.
Build the recording around your workflow




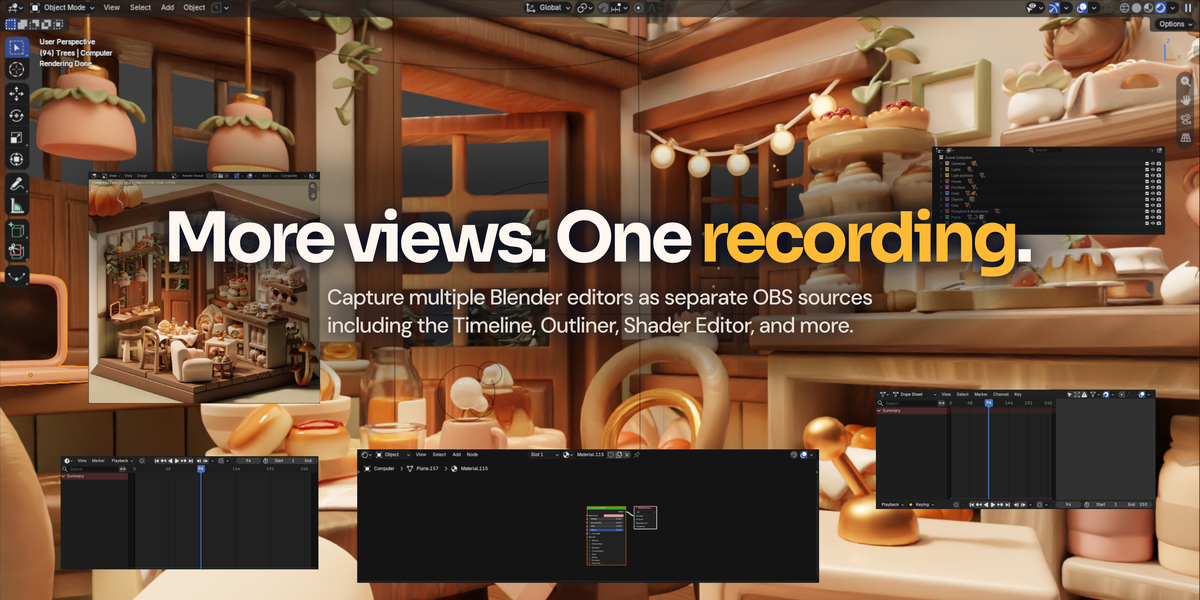
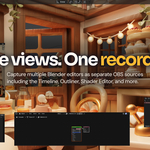
Add the Timeline, Outliner, Properties, Shader Editor or another open editor. Choose from the editors already visible in Blender and add each as its own OBS source. You can also capture the whole Blender window.
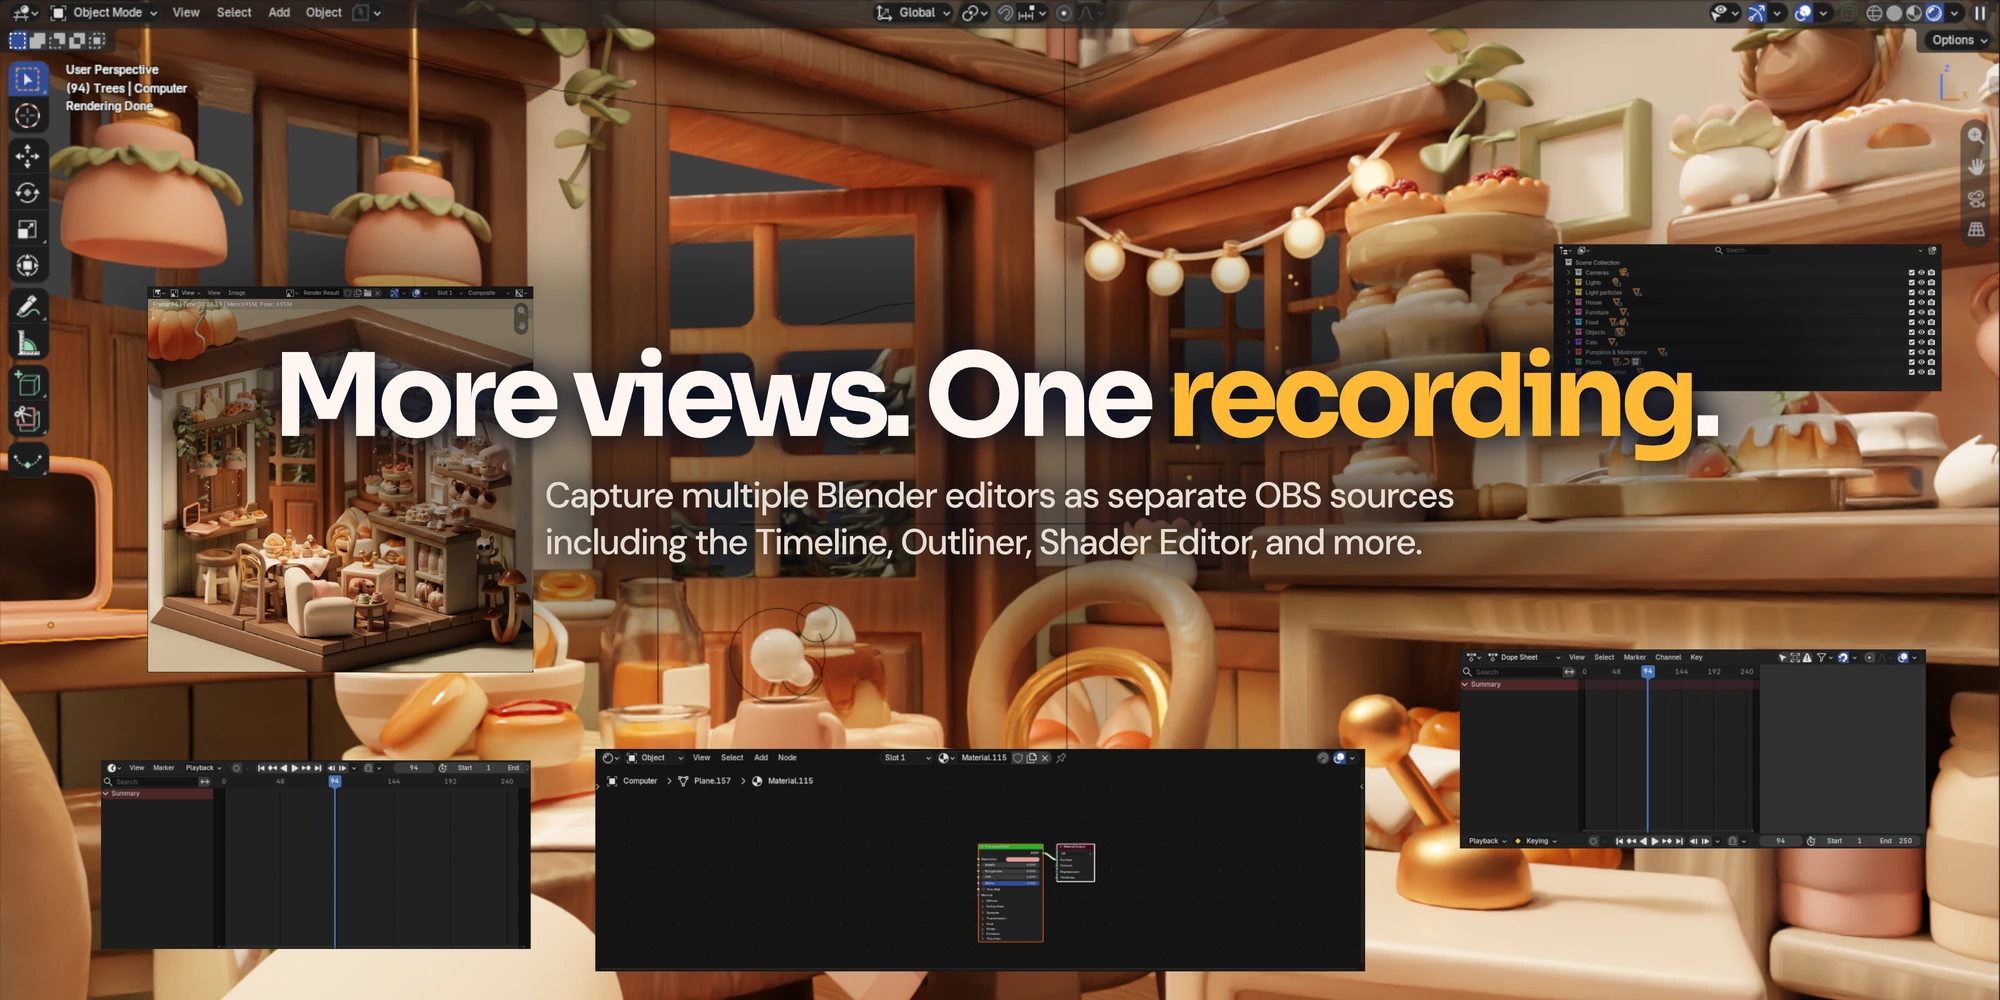
Sources use clear names such as Blender - Timeline. Each capture has its own format settings, framing and pause control. Add the same editor again and its source is reused.
Additional editor captures include their visible interface. Keep their workspace open and the Blender window restored.
Frame with a purpose





Choose a familiar format or enter a custom ratio, including decimals such as 2.39:1. Apply it to resize the real Blender editor, then decide how its source fits your OBS canvas.
16:9 / Landscape
Videos and streams.
9:16 / Portrait
Vertical videos and reels.
Custom / Your ratio
Square, portrait or your own proportions.
Choose Fit to keep the whole capture, Fill to crop the edges, Stretch to fill without margins, or Manual in OBS to arrange it yourself.
Blender uses a tiled layout: applying a format can resize neighboring editors. Settings are independent; ratios are applied on request rather than permanently locked.
Make your process easier to follow




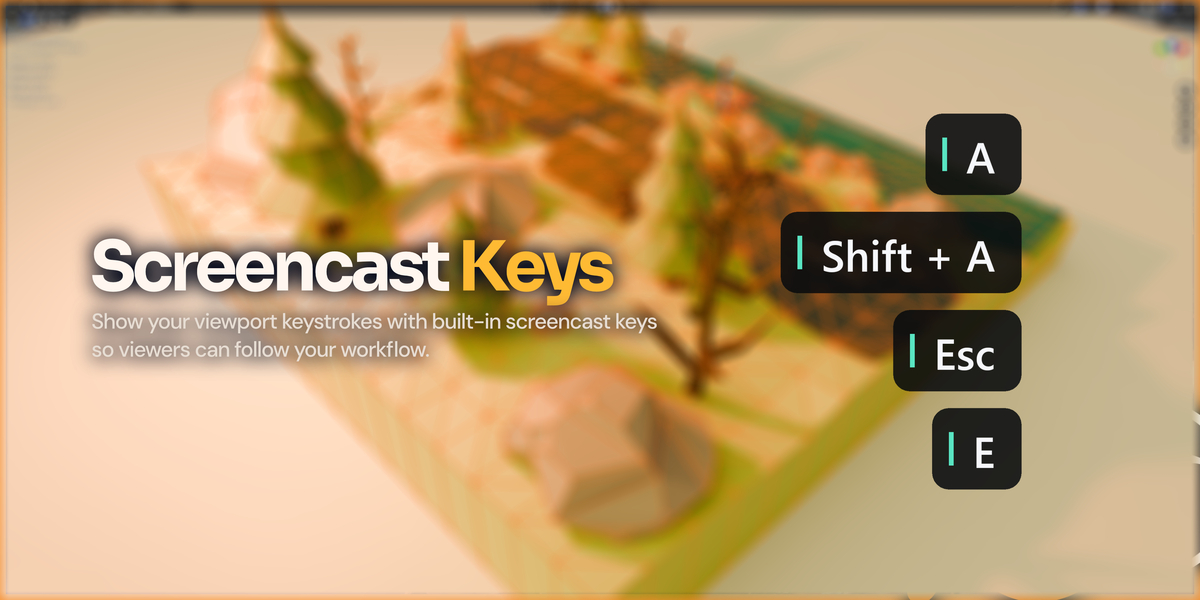
Enable the built-in screencast display for keyboard and mouse input. Show shortcuts and modal sequences such as G → X directly in the OBS viewport output.
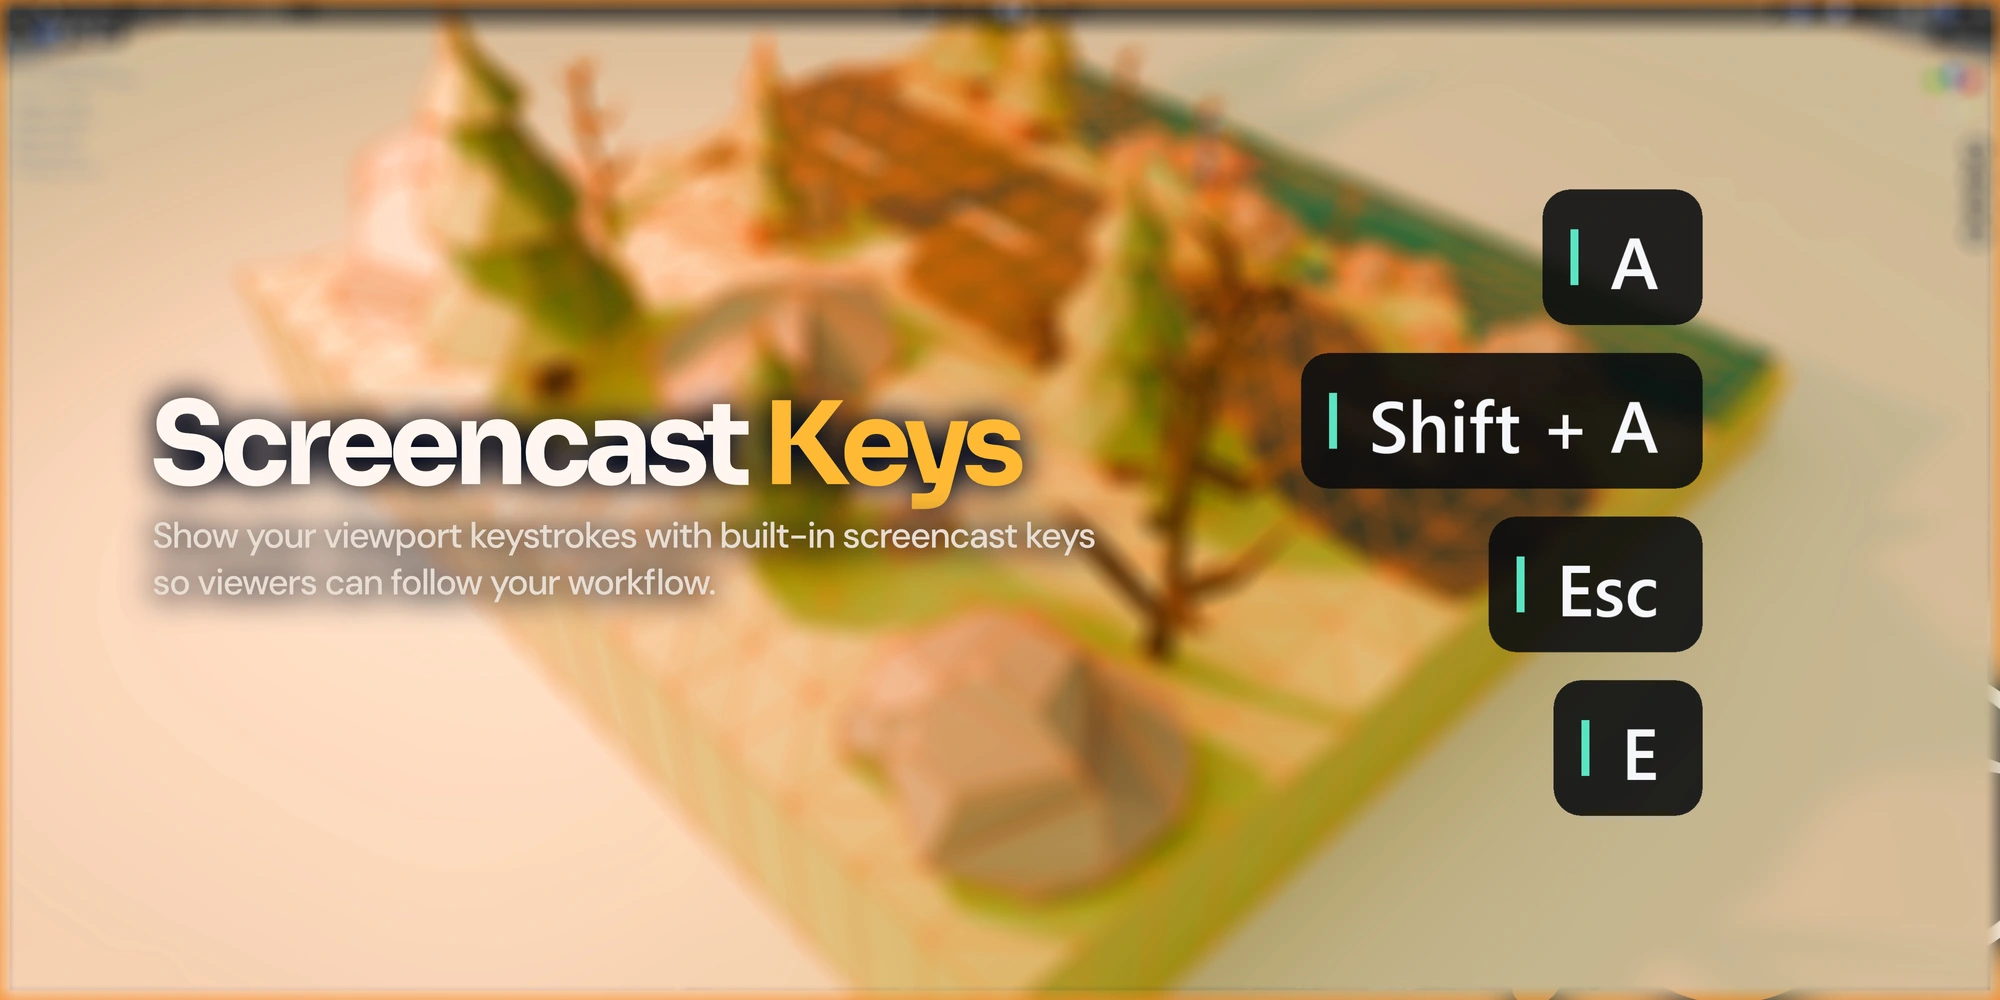
Screencast keys are optional and off by default. They are part of the clean viewport output.
A short setup. A simple workflow.



| 01 / Install | Install the ZIP in Blender, select Vulkan and restart Blender once to load capture support. |
|---|---|
| 02 / Connect | Open the viewport sidebar’s OBS tab and click Open in OBS. First setup may ask you to close OBS once. |
| 03 / Record | Choose what appears in the capture, set your output in OBS and start recording there. |
The add-on creates or reuses the viewport source. It does not start recording automatically.
Before you buy



This description covers the Windows x64 Vulkan build. Use a Vulkan-capable GPU and compatible GPU adapters for Blender and OBS.
| Blender | Supported version families: 4.5 and 5.0–5.3. Recent editor-capture checks passed on 4.5.14, 5.0.1, 5.2.3 and 5.3 beta. |
|---|---|
| OBS Studio | Tested with OBS 32.1.2 on Windows. |
| Performance | GPU capture follows the working viewport. OBS sets recording FPS; results depend on the scene, GPU, driver and output settings. |
| Mac | A separate Apple Silicon preview exists with fewer features and a slower browser capture path. The Windows features shown here do not all apply. |
The native viewport bridge is experimental and depends on Blender internals. Tested builds are the compatibility reference; future builds and every GPU configuration are not guaranteed.
A few useful answers



Do I need another Blender viewport?
No. The clean capture uses your actual working viewport.
Do I have to save my .blend file first?
No. Unsaved scenes work once initial capture setup and the required restart are complete.
Will these checkboxes hide my working interface?
No. The clean viewport visibility controls affect OBS output. Format controls are different: they resize the actual Blender layout.
Can I keep my own OBS layout?
Yes. Choose Manual in OBS and place the source yourself. Matching editor sources are reused when added again.


Your working viewport, ready for your next tutorial, breakdown or stream.
