Blockout Pro
 pillarsofdynamicgames


1. Installation
Download the provided
Blockout Pro.zipfile from the official source.Open Blender.
Drag and drop the zip file directly into the Blender interface and select OK to install.
Once installed, the control panels will be accessible via the 3D Viewport Side Panel (N-panel) under the "Blockout Pro" tab.
2. Core Workflow & Controls
Getting Started
Navigate to the Blockout Pro N-panel tab.
Click New to initialize a new collection and input a name. A control panel detailing your current active group will appear.
If no object is selected, press the Extrude hotkey to spawn a base primitive at the world center.
Hotkeys & Shortcuts
(Note: As of V2, all hotkeys can be reassigned via Edit > Preferences > Add-ons > Blockout Pro)
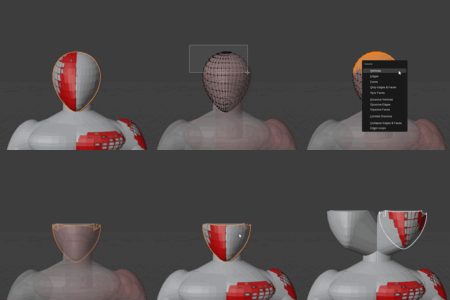
E— Extrude / Add Shape: Generates a new connected shape or extrudes from the selected shape.Alt + F— Pie Menu: Calls the contextual operation menu (Convert Primitive, Join, Separate, Duplicate, Select All).-
D— Delete Shape: Removes an object from the blockout structure safely.Warning: Do not use Blender's default
XorDeletekeys, as it breaks the add-on's tracking scripts.
3. Feature Guides & Functionality
Primitive & Shape Swapping
By default, the add-on spawns a cube. To change it:
Select the object in your viewport.
Press
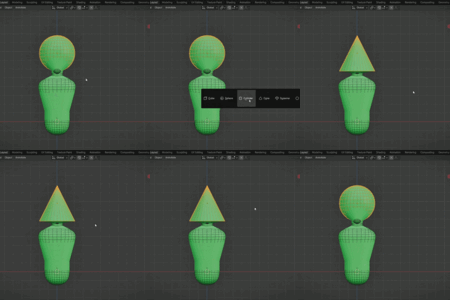
Alt + Fto open the Pie Menu.Choose a primitive from the menu to convert the target shape instantly.
Complex Branching & Treelike Structures
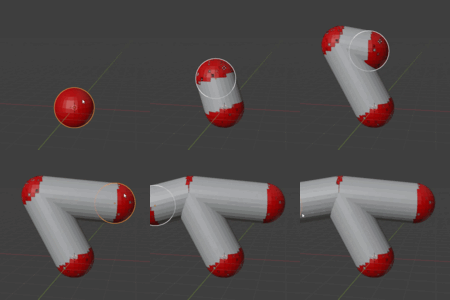
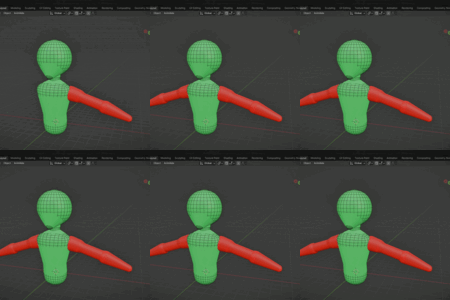
Unlike older linear versions, you can select any node or middle object in a chain and press E to extrude a new branch off it. This is crucial for constructing fingers, wings, or complex tree structures.
Joining, Separating & Linking Objects
When dealing with multi-object segments, manage their hierarchy using the Alt + F Pie Menu:
Join Objects: Merges multiple separated objects into a joined segment.
Separate Objects: Unlinks joined segments back into standalone pieces.
Link Objects (Parenting): Essential for Pose Mode. Select a child shape, then the parent shape, and choose Link Object in the Pie Menu so they move together cohesively.
Duplicate Shapes
Select an active configuration (e.g., a completed finger layout), open the Pie Menu (Alt + F), and select Duplicate Object. This copies the entire connected assembly, allowing you to quickly position the rest of the digits.
Follow Curve
To quickly align a chain of shapes along a guide:
Add 10 to 20 objects into a sequence.
Click Create Curve in the panel and position your path.
Open the Pie Menu, click Select Object to highlight the collection, then select Follow Curve and assign it to your curve.
(Optional) Disable the mesh "Shell" in the panel to inspect how perfectly the objects conform to the path.
Mirroring & Management
Mirroring: Use the toggle buttons directly inside the active collection panel to mirror your layout across coordinates.
Color-Coding: Assign specific colors directly from the panel to visually separate muscle groups or limbs.
Visibility Toggle: Use the hide/show buttons within the panel to clear clutter in complex scenes.
4. Posing, Finalizing, and Sculpting
Pose Mode
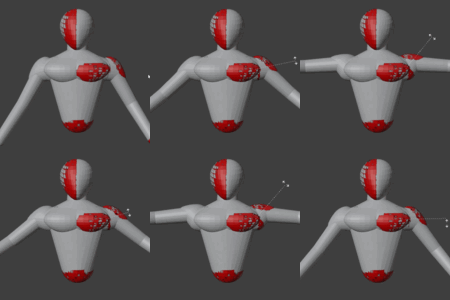
At the bottom of the interface sits the Pose Mode module. Activate this option to manipulate, pivot, and rotate your character structure freely into a dynamic pose.
Crucial Step: You must always click Apply Pose within the menu after completing adjustments to lock in changes.
Finalizing Geometry (Build)
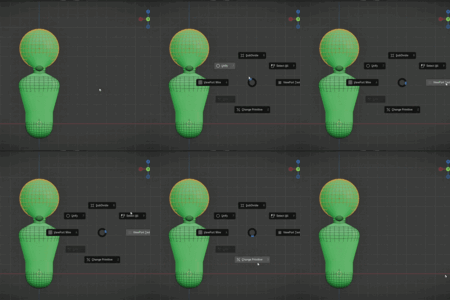
Once you are satisfied with your blockout's proportions and pose, click the Build option in the panel. This collapses the live data and finalizes the shapes into a single solid mesh wrapper. You can then fluidly hop directly into Sculpt Mode to blend transitions and carve details.
5. Asset Library Integration (V2 Update)
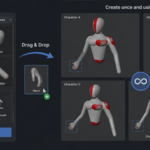
Blockout Pro V2 features a robust asset workflow, allowing you to store anatomically correct body parts (e.g., shoulders, hands, or custom torsos) for quick integration into future projects.
Creating and Exporting Assets
Isolate individual body parts into separate, named collections (e.g., "Hand", "Forearm").
Select the desired collection in the Outliner.
Click the Mark as Asset Library button on the panel.
To set up visual identifiers: Split your viewport, open Blender's Asset Browser, and switch the library view to Current File.
-
Select your asset, open its side panel (
N), and click Generate Preview to render a quick thumbnail.Tip: Temporarily disable any active Mirror modifiers before generating previews to avoid dual overlapping thumbnails.
Importing Assets into New Projects
There are two primary ways to bring assets into a fresh blend scene:
The Append Method: Go to
File > Append, locate the asset project file, navigate into itsCollectionfolder, select your pieces, and bring them into the viewport.-
The Asset Browser Method (Recommended):
Go to Blender's
Edit > Preferences > File Pathsand add the folder containing your saved assets to your Asset Libraries list.Change the default Import Method setting from Link to Append.
Open the Asset Browser anytime in a new project, select your User Library, and smoothly drag and drop ready-made parts into your viewport.
