Bolt Generator With Uvs
 Henrik Uhrmann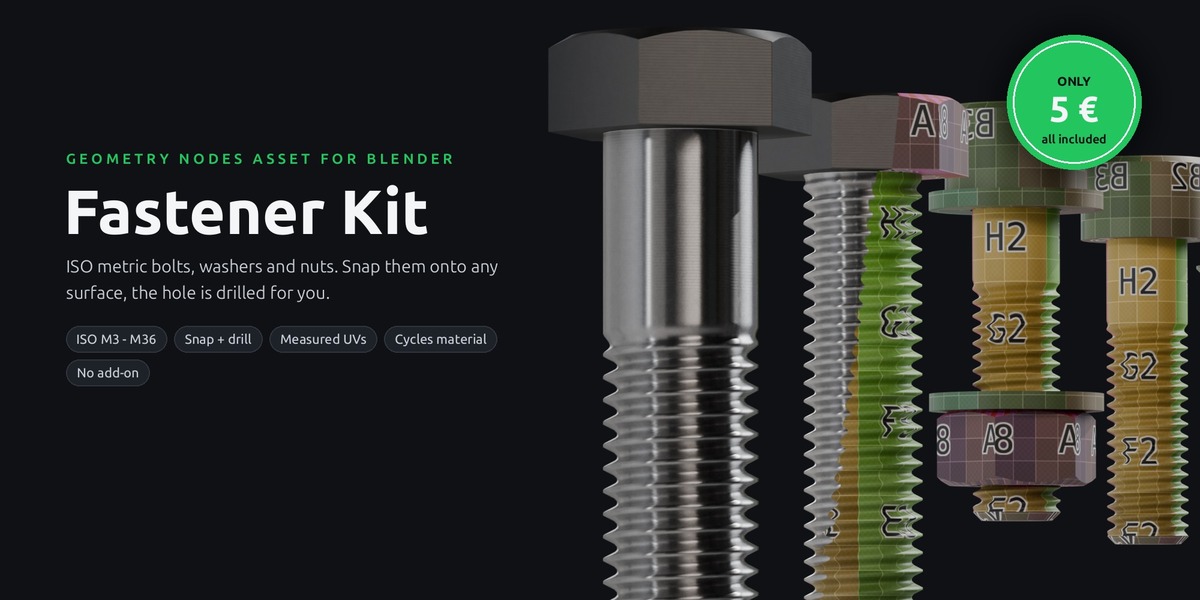





GETTING STARTED
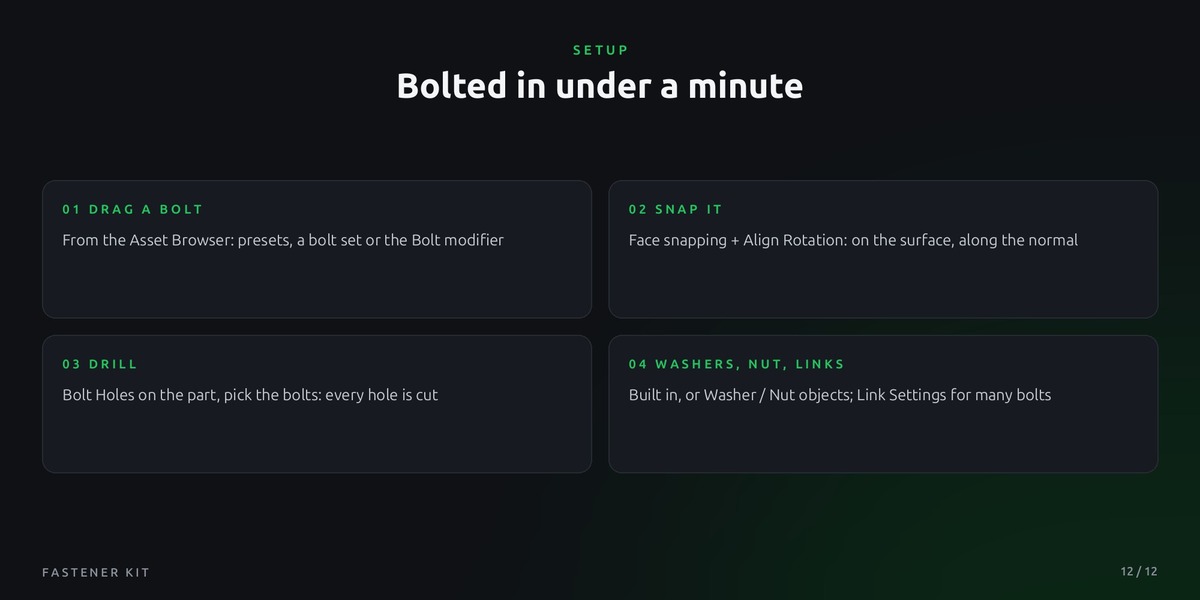
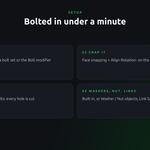
Bolted in four steps
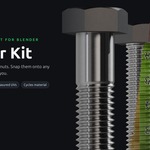
No add-on, no setup. Five Geometry Nodes modifiers: Bolt, Bolt Holes, Washer, Nut and Link Settings.
01
Add a bolt
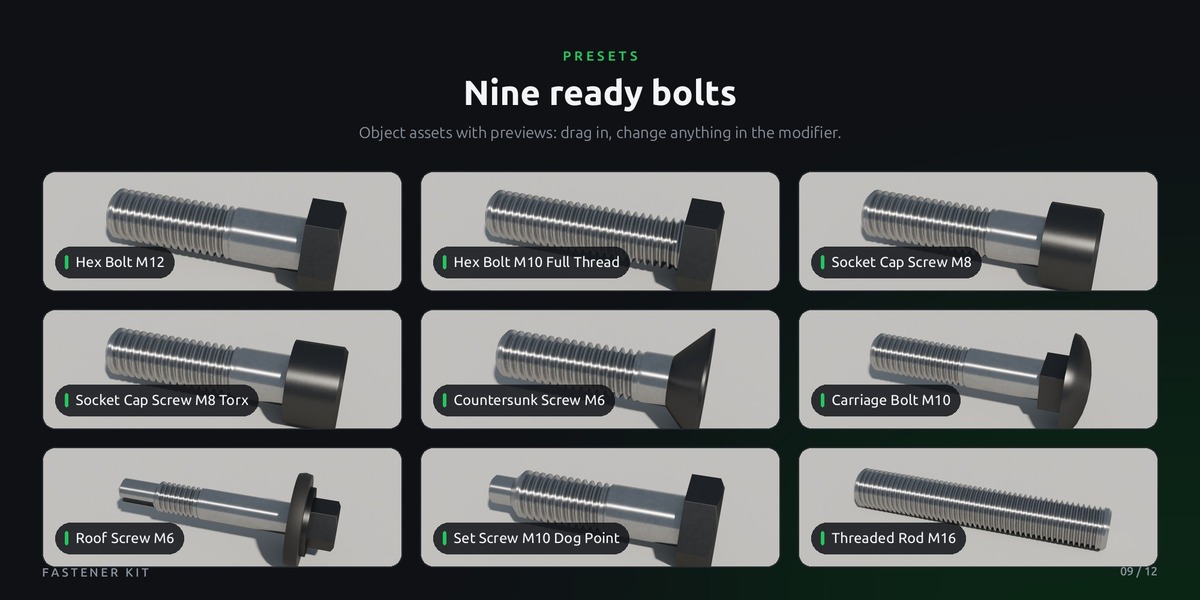
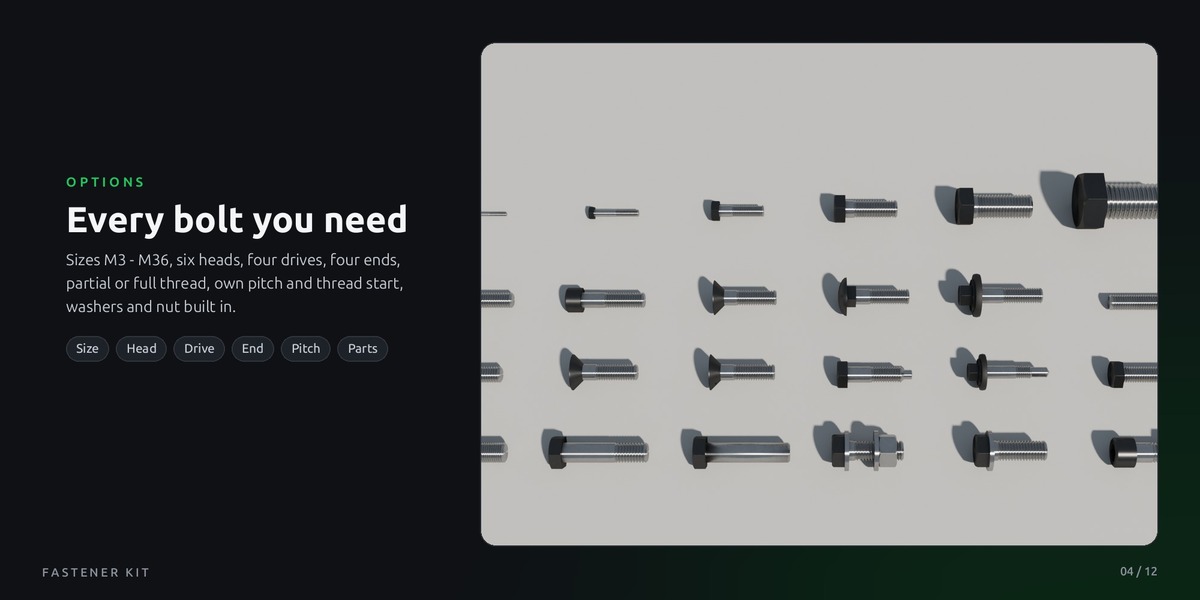
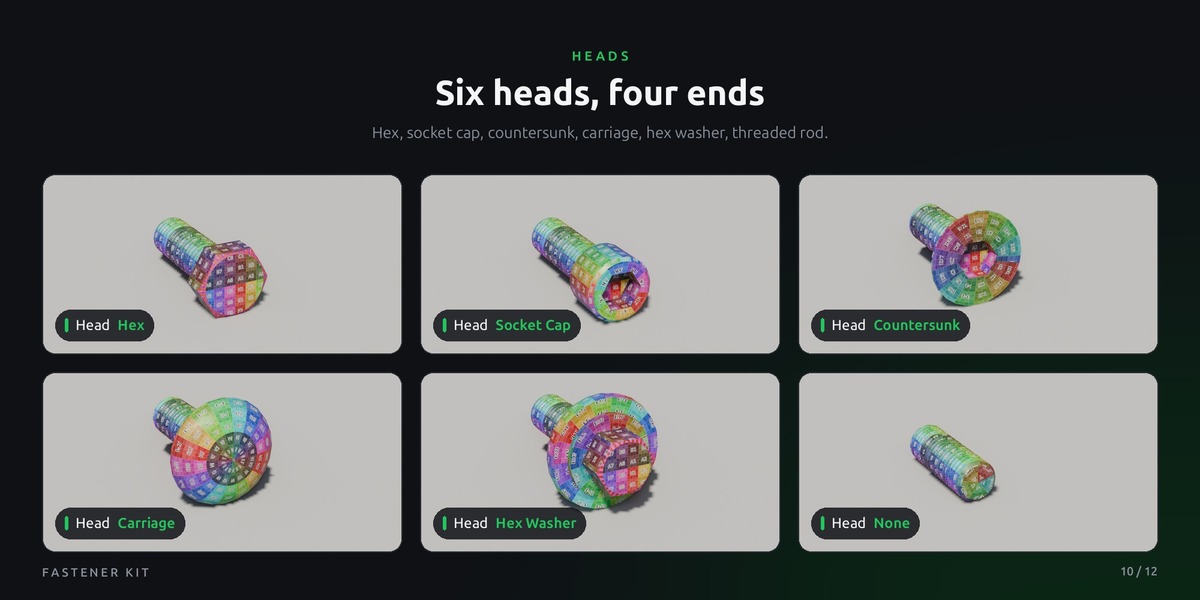
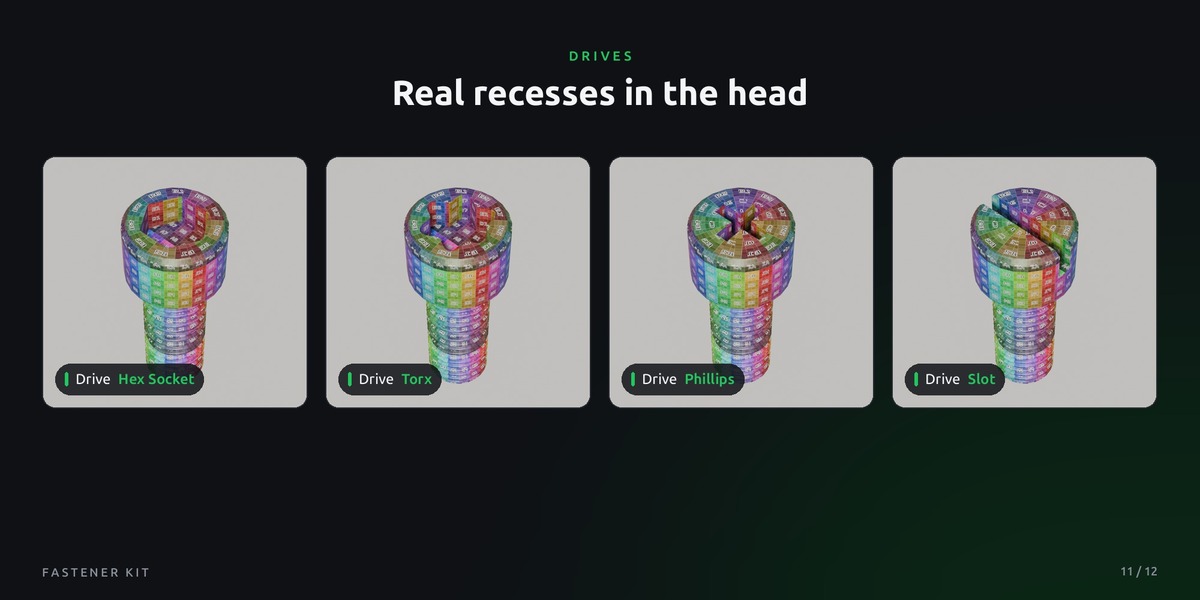
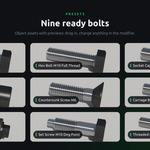
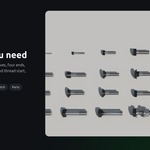
Add the folder as an asset library (Preferences > File Paths > Asset Libraries) and drag a preset or the Bolt Set from the Asset Browser. Or add the Bolt modifier to any empty mesh object. Pick size, head, drive and end; Grip sets the clamp length, Length 0 = automatic.
02
Snap it onto the surface
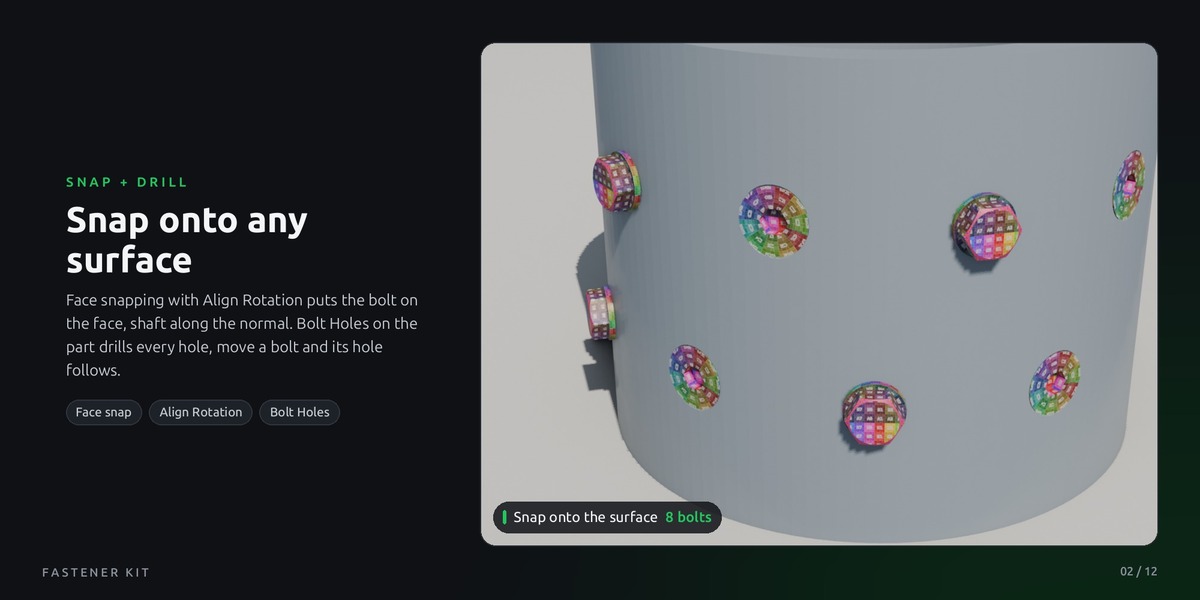
The origin sits under the head, the shaft points along -Z. Turn on snapping to Face, Snap With: Active and Align Rotation to Target, then move the bolt (G, hold Ctrl): it lands on the face, along the normal. Origin = Head Top sinks the head flush.
03
Drill the holes
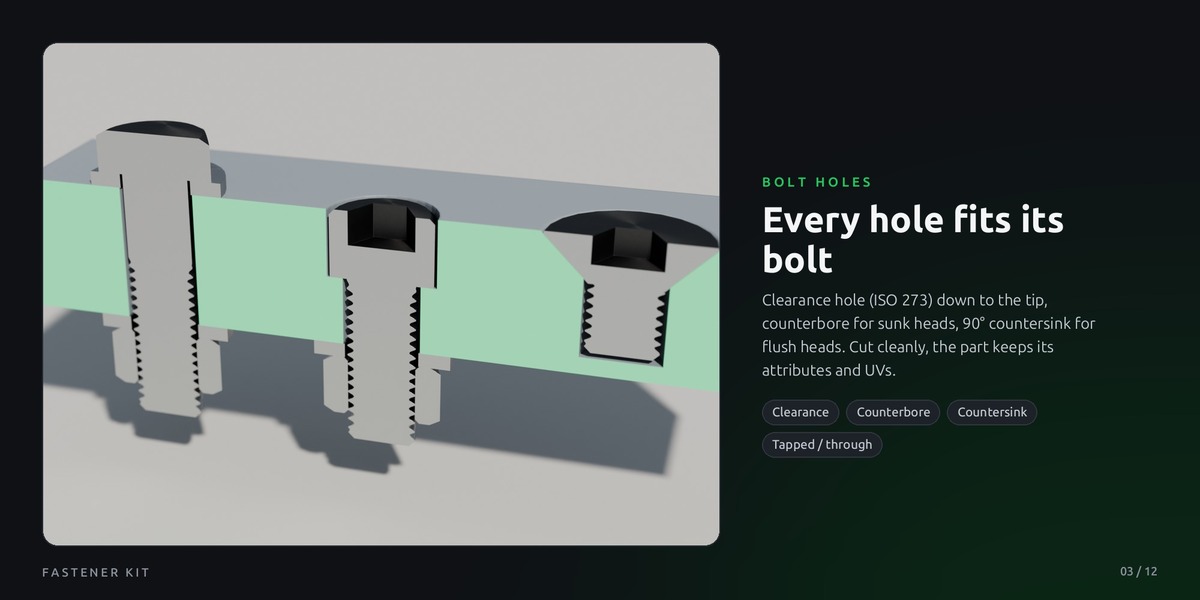
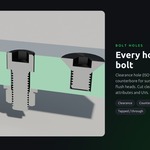
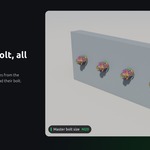
Add Bolt Holes to the part (a closed mesh) and pick one Bolt or a Bolts collection. Every bolt cuts its clearance hole, countersunk heads get a countersink, sunk heads a counterbore. Move a bolt and its hole follows.
04
Washers, nut, links
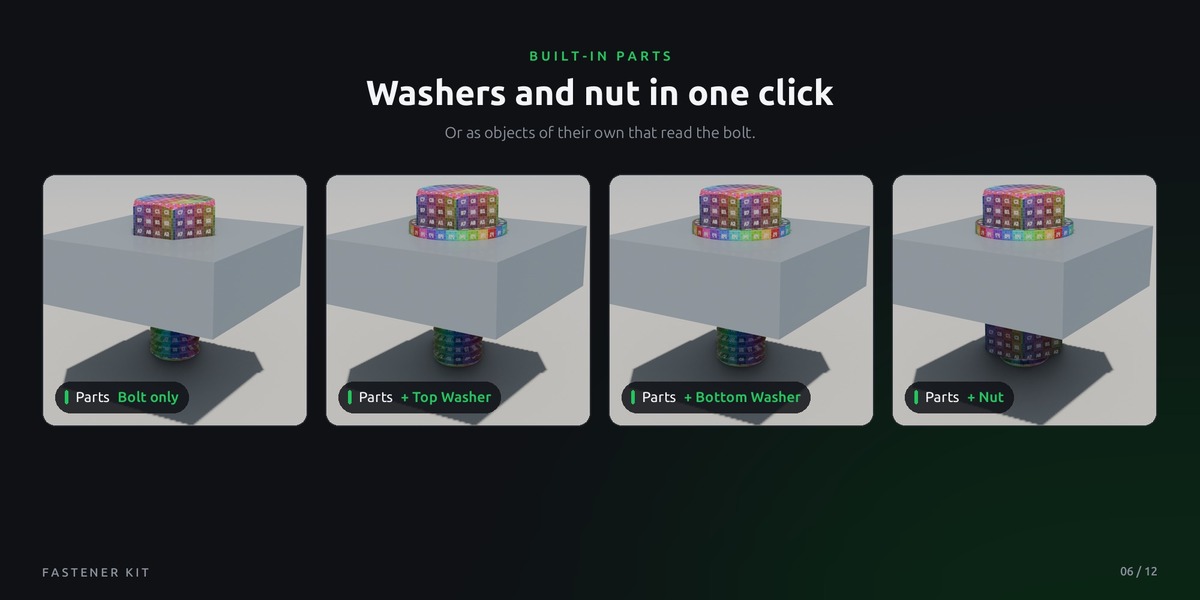
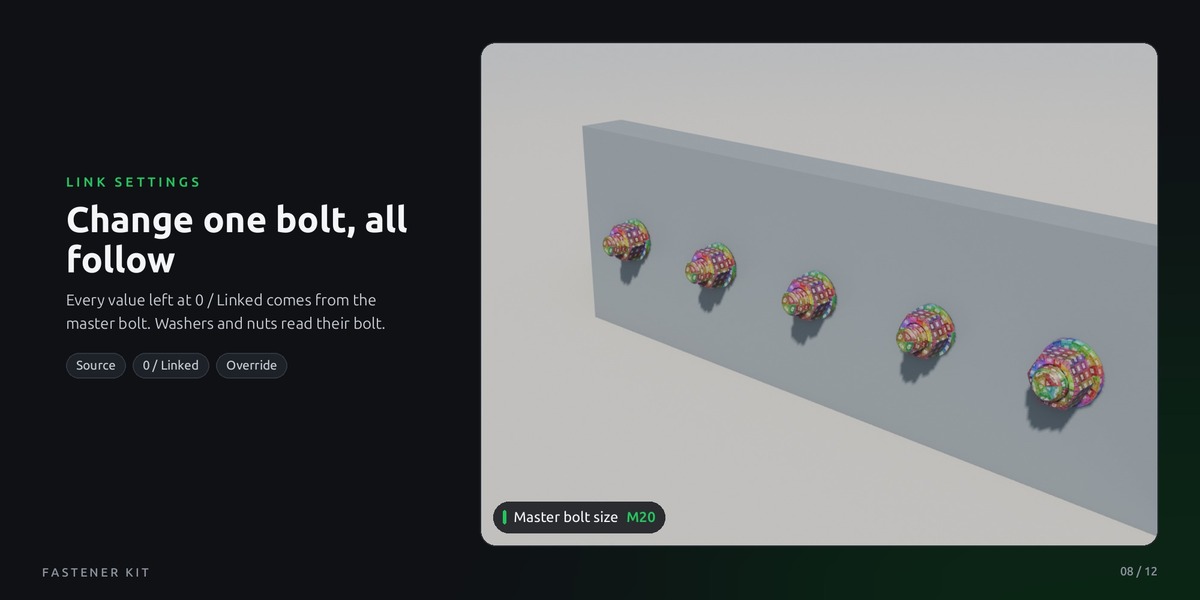
Switch on Top Washer, Bottom Washer, Nut in the Parts panel, or use Washer / Nut objects that fit every bolt of a collection. Link Settings above a bolt (Source = master): values left at 0 / Linked follow the master.
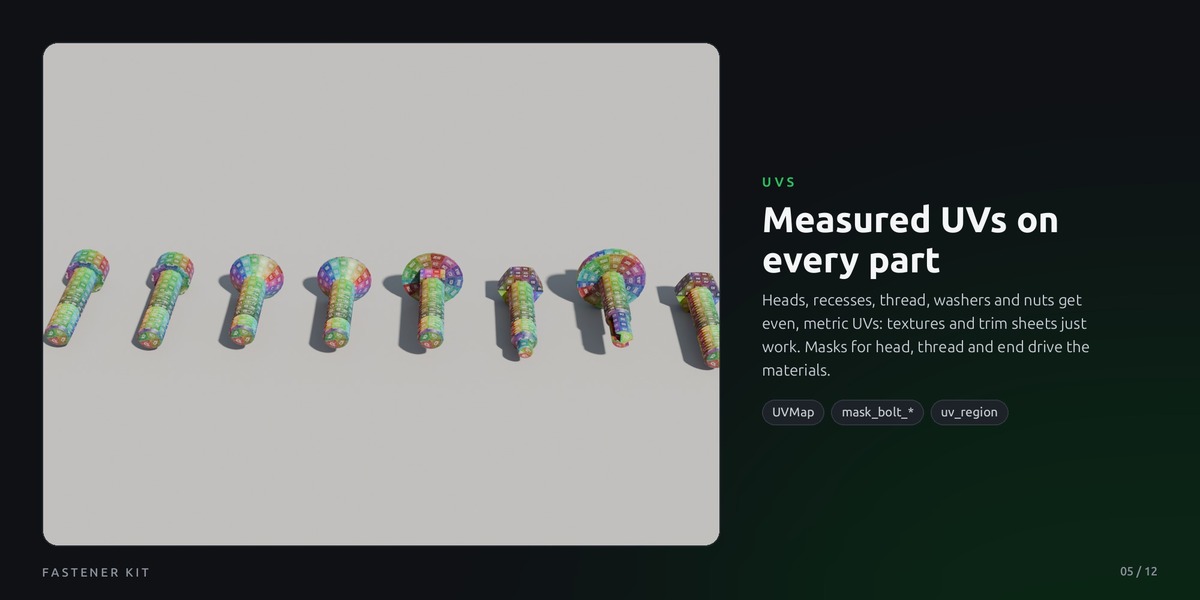
Tip: the demo scene in the file shows every feature, with snapping already set up. Rendering in Cycles: an empty Material socket uses the included Steel Bolt material (black-oxide head, turned steel). For your own shaders, the parts carry measured UVs and the masks mask_bolt_head / _thread / _end, mask_washer, mask_nut (Attribute node).
$5
Have questions about this product?
Login to message
| Published | about 7 hours ago |
| Blender Version | 5.2 |
| Render Engine Used | Cycles, Eevee |
| License | Royalty Free |
Discover more products like this
nuts procedual Generator bolt construction fastener industrial Bolts Screws Heads