 Axenko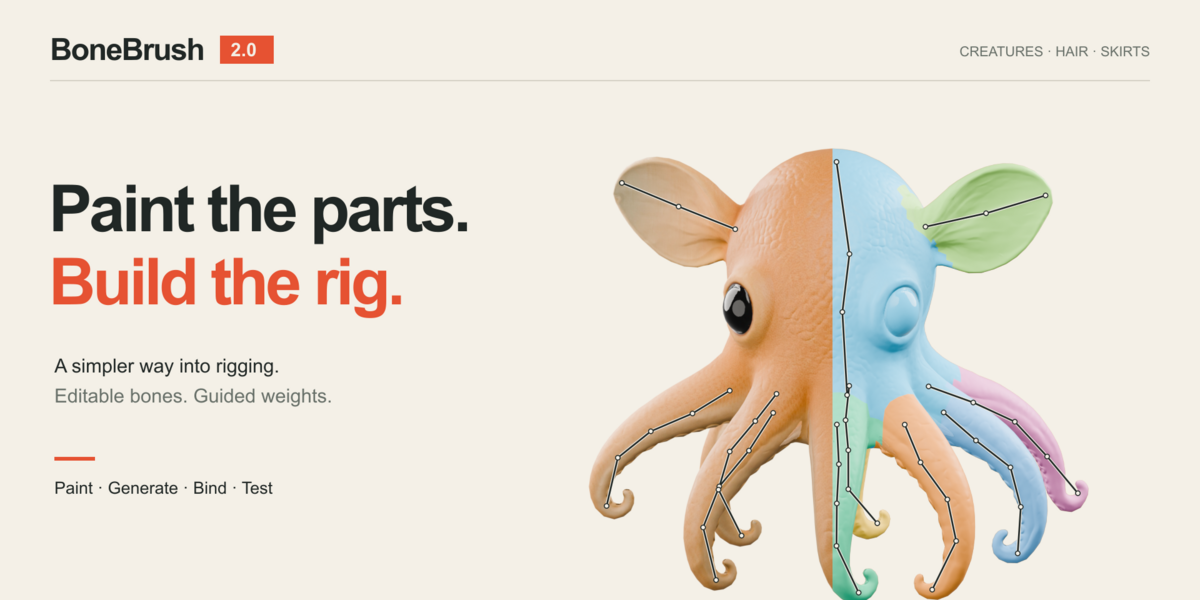

A simpler way into creature rigging.
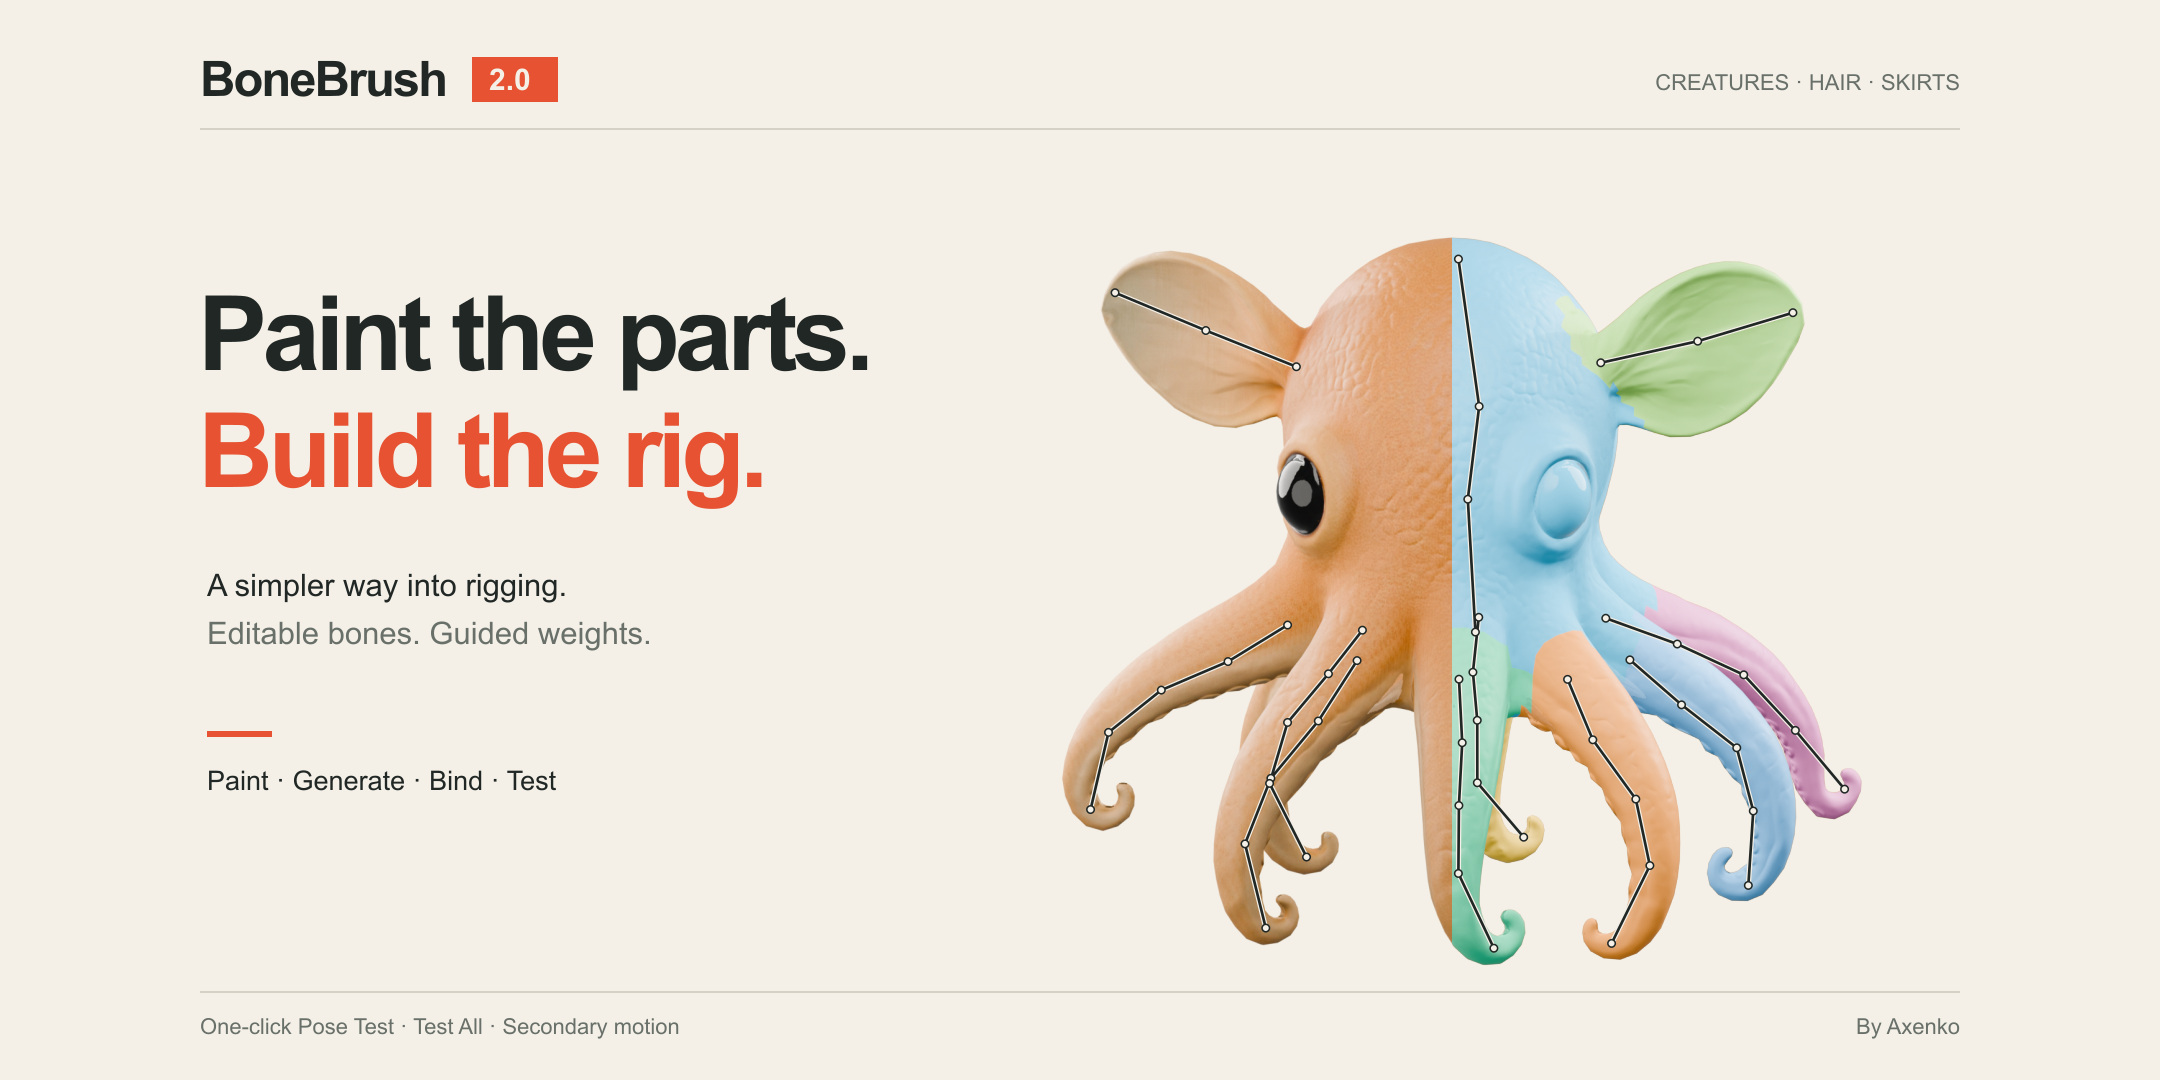
Paint the parts. Build an editable rig for your creature’s anatomy — from extra limbs to wings and tentacles. Modeled, sculpted or generated.
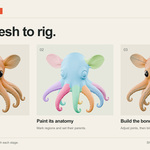
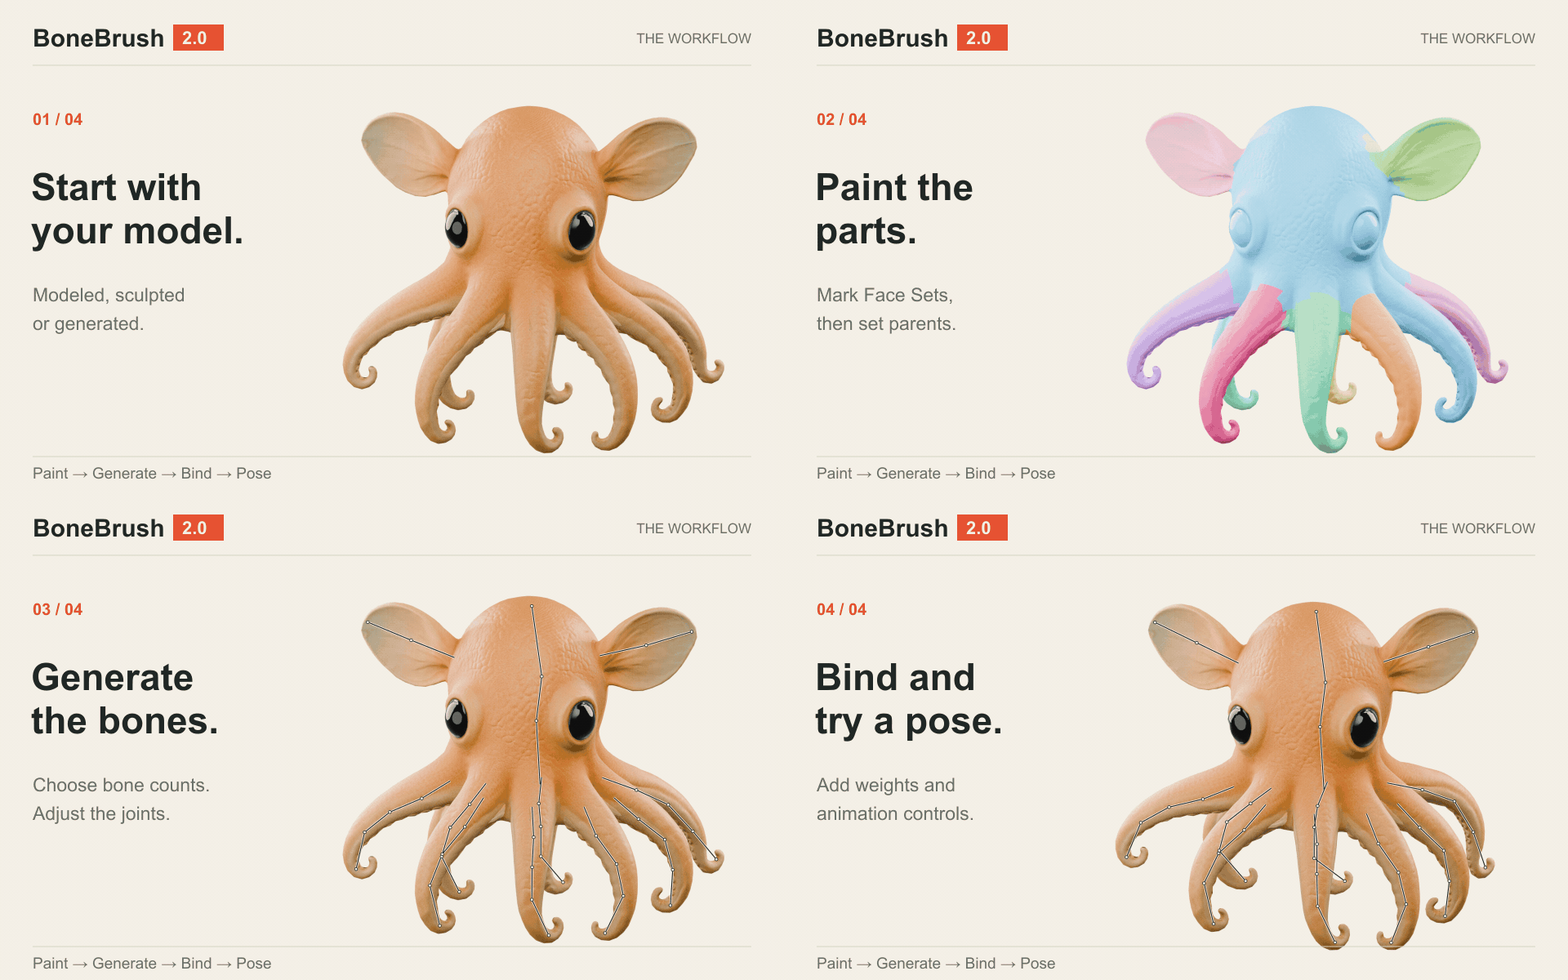
- Draw Face Sets. Paint legs, arms, hands, tails, wings — the parts you want to rig.
- Choose the controls. IK, FK, Spline IK or Wiggle. Set each region’s role, parent and bone count.
- Generate bones. Turn your painted regions into editable bone chains.
- Adjust the joints. Move the generated bones to fit your mesh.
- Bind the mesh. Apply Face Set Guided weights with Bind / Rebind.
- Add controls. Pose. Animate. Build the controls and use Pose Test to check the result.
WATCH THE WORKFLOW · 6:29
01 / PAINT · GENERATE · BIND
Start with a mesh
and a brush.
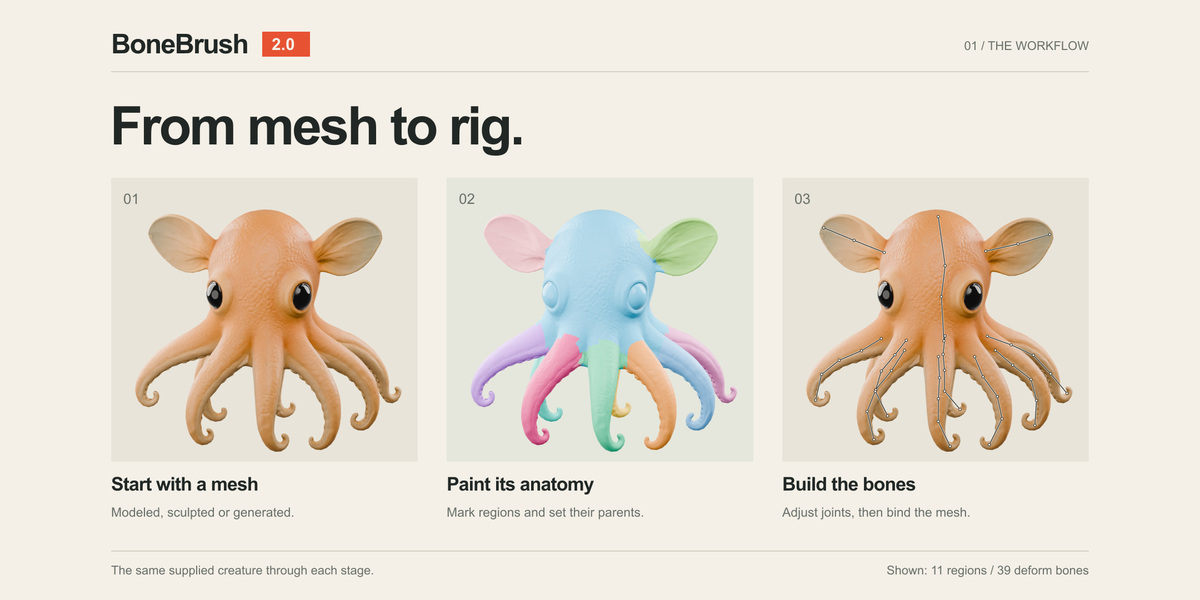
Paint body parts with Sculpt Face Sets. Choose their roles, parents and bone counts. Generate editable chains, adjust the joints, then bind with Face Set Guided weights.
For creatures you model, sculpt or generate — including extra limbs, ears, tails and tentacles.
02 / DIFFERENT ANATOMY
Your creature.
Your own anatomy.
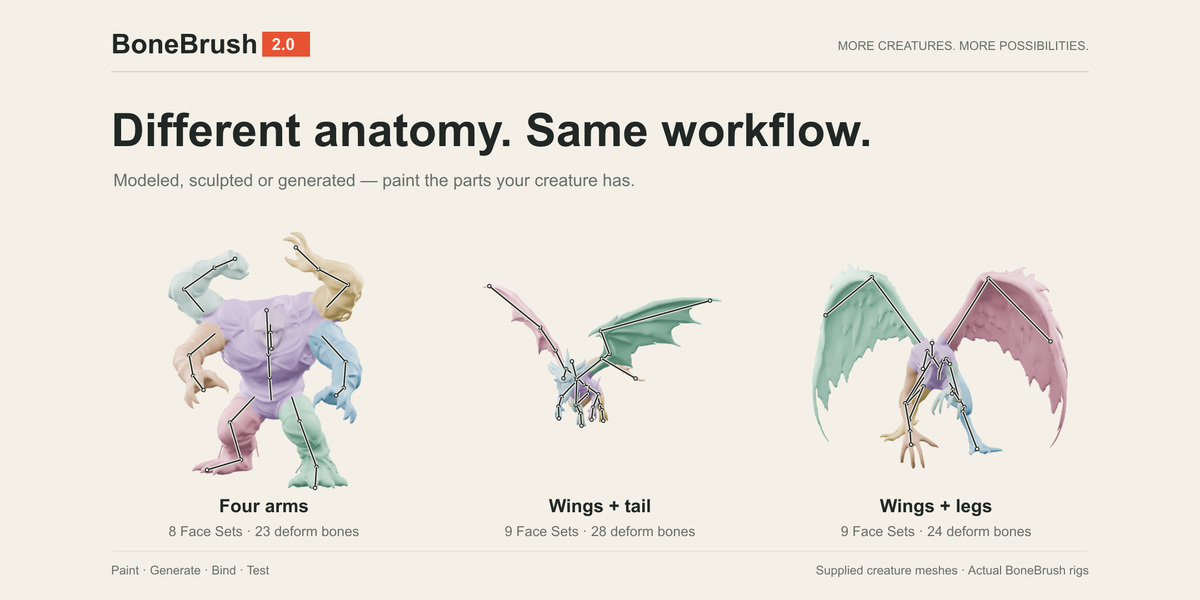
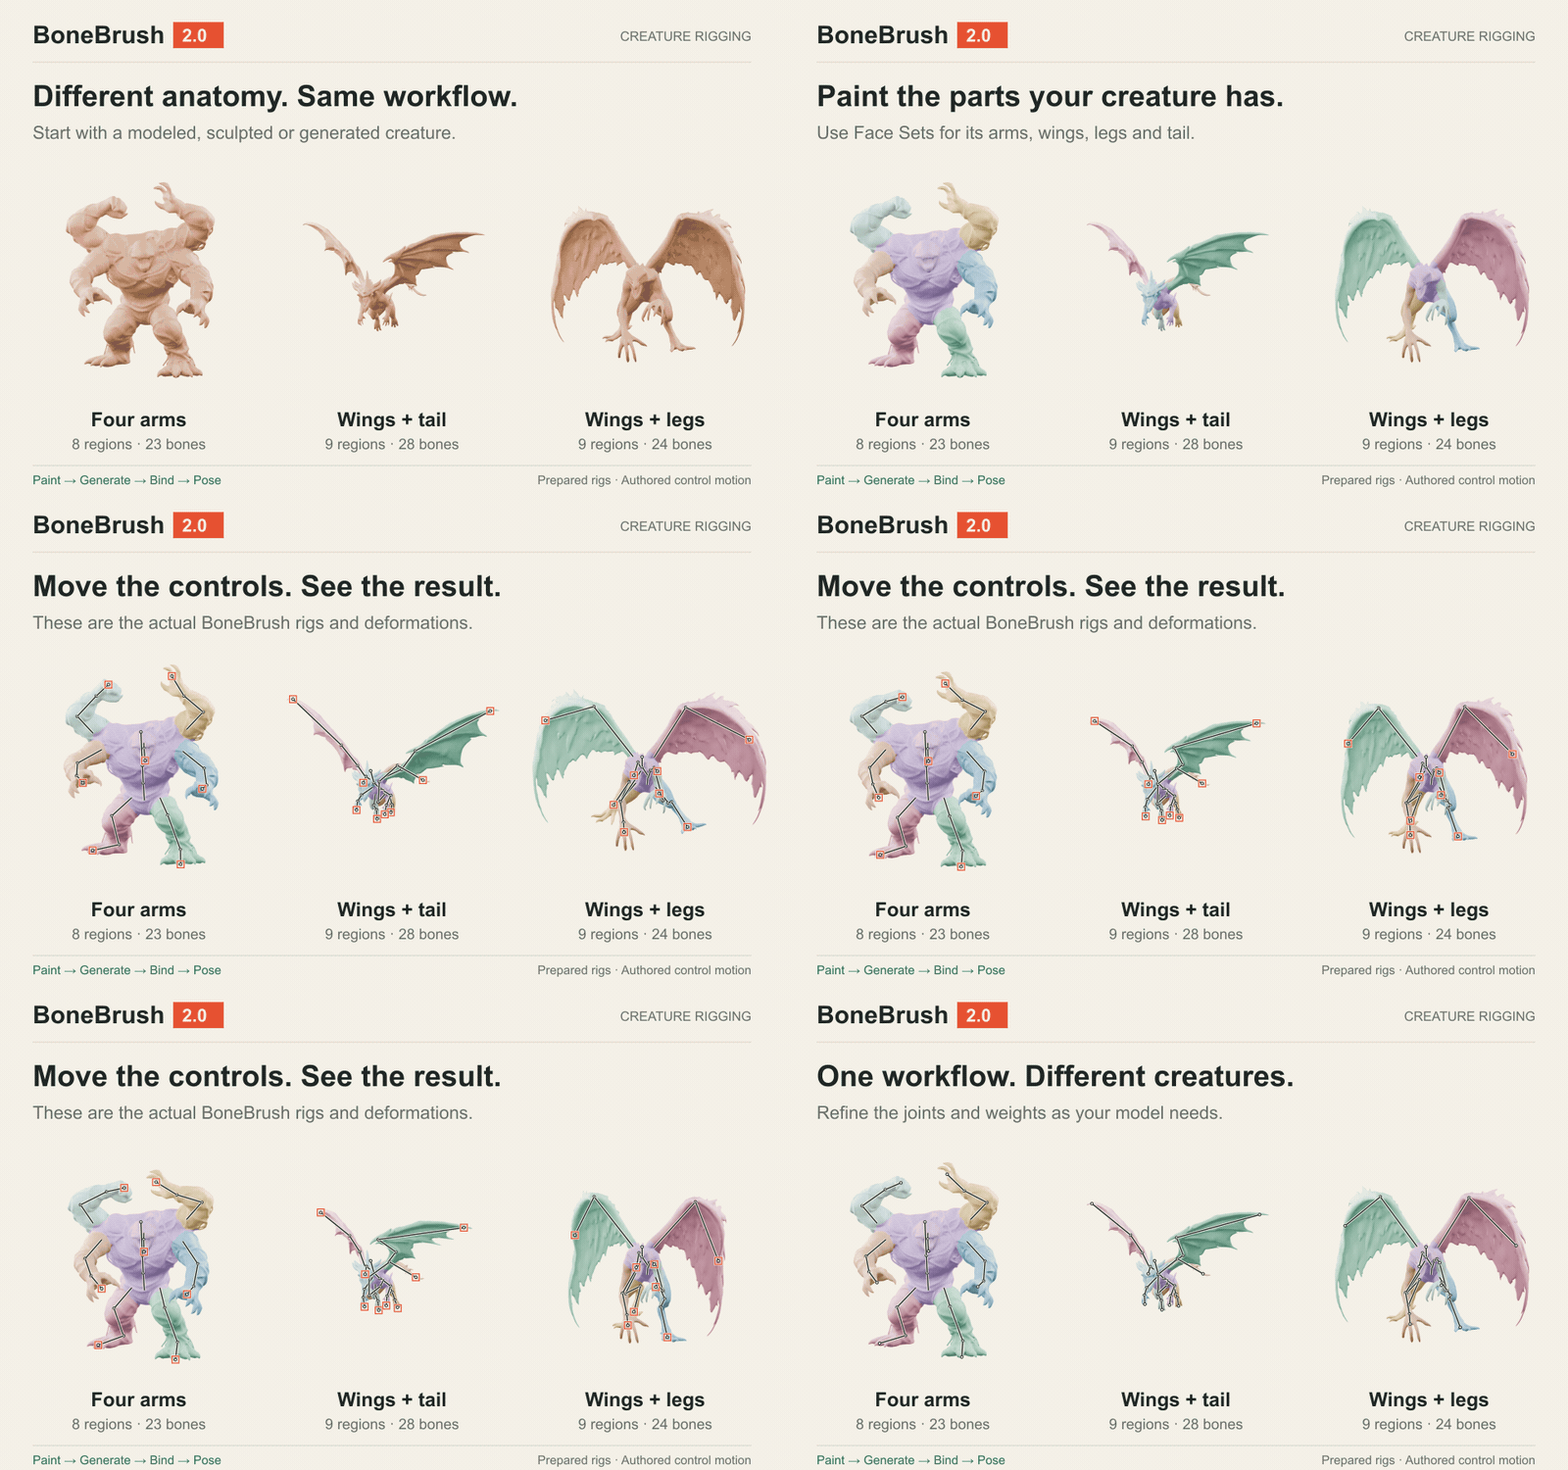
Four arms. Wings. Extra legs. Tails. Paint the parts your creature actually has, then build its rig without fitting it to one fixed skeleton template.
For modeled and sculpted characters — and meshes from 3D generators, too.
Shown: supplied creature meshes, actual Face Set regions and BoneBrush rigs. Demonstration poses are authored on the existing controls.
03 / FOUR-ARMED MONSTER
Extra arms.
Same workflow.
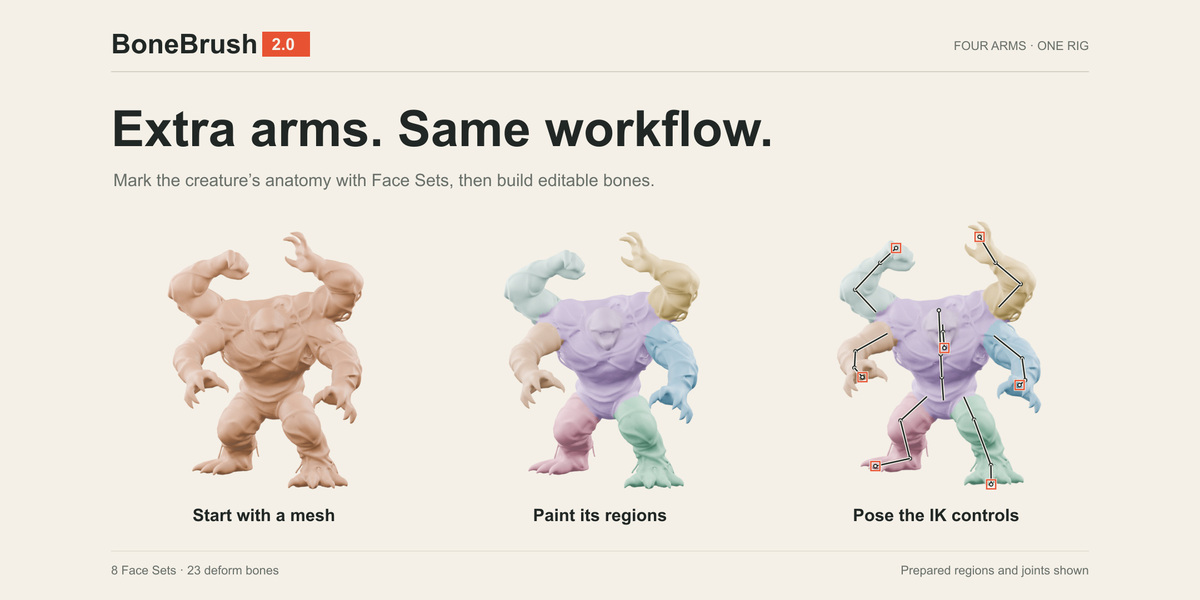
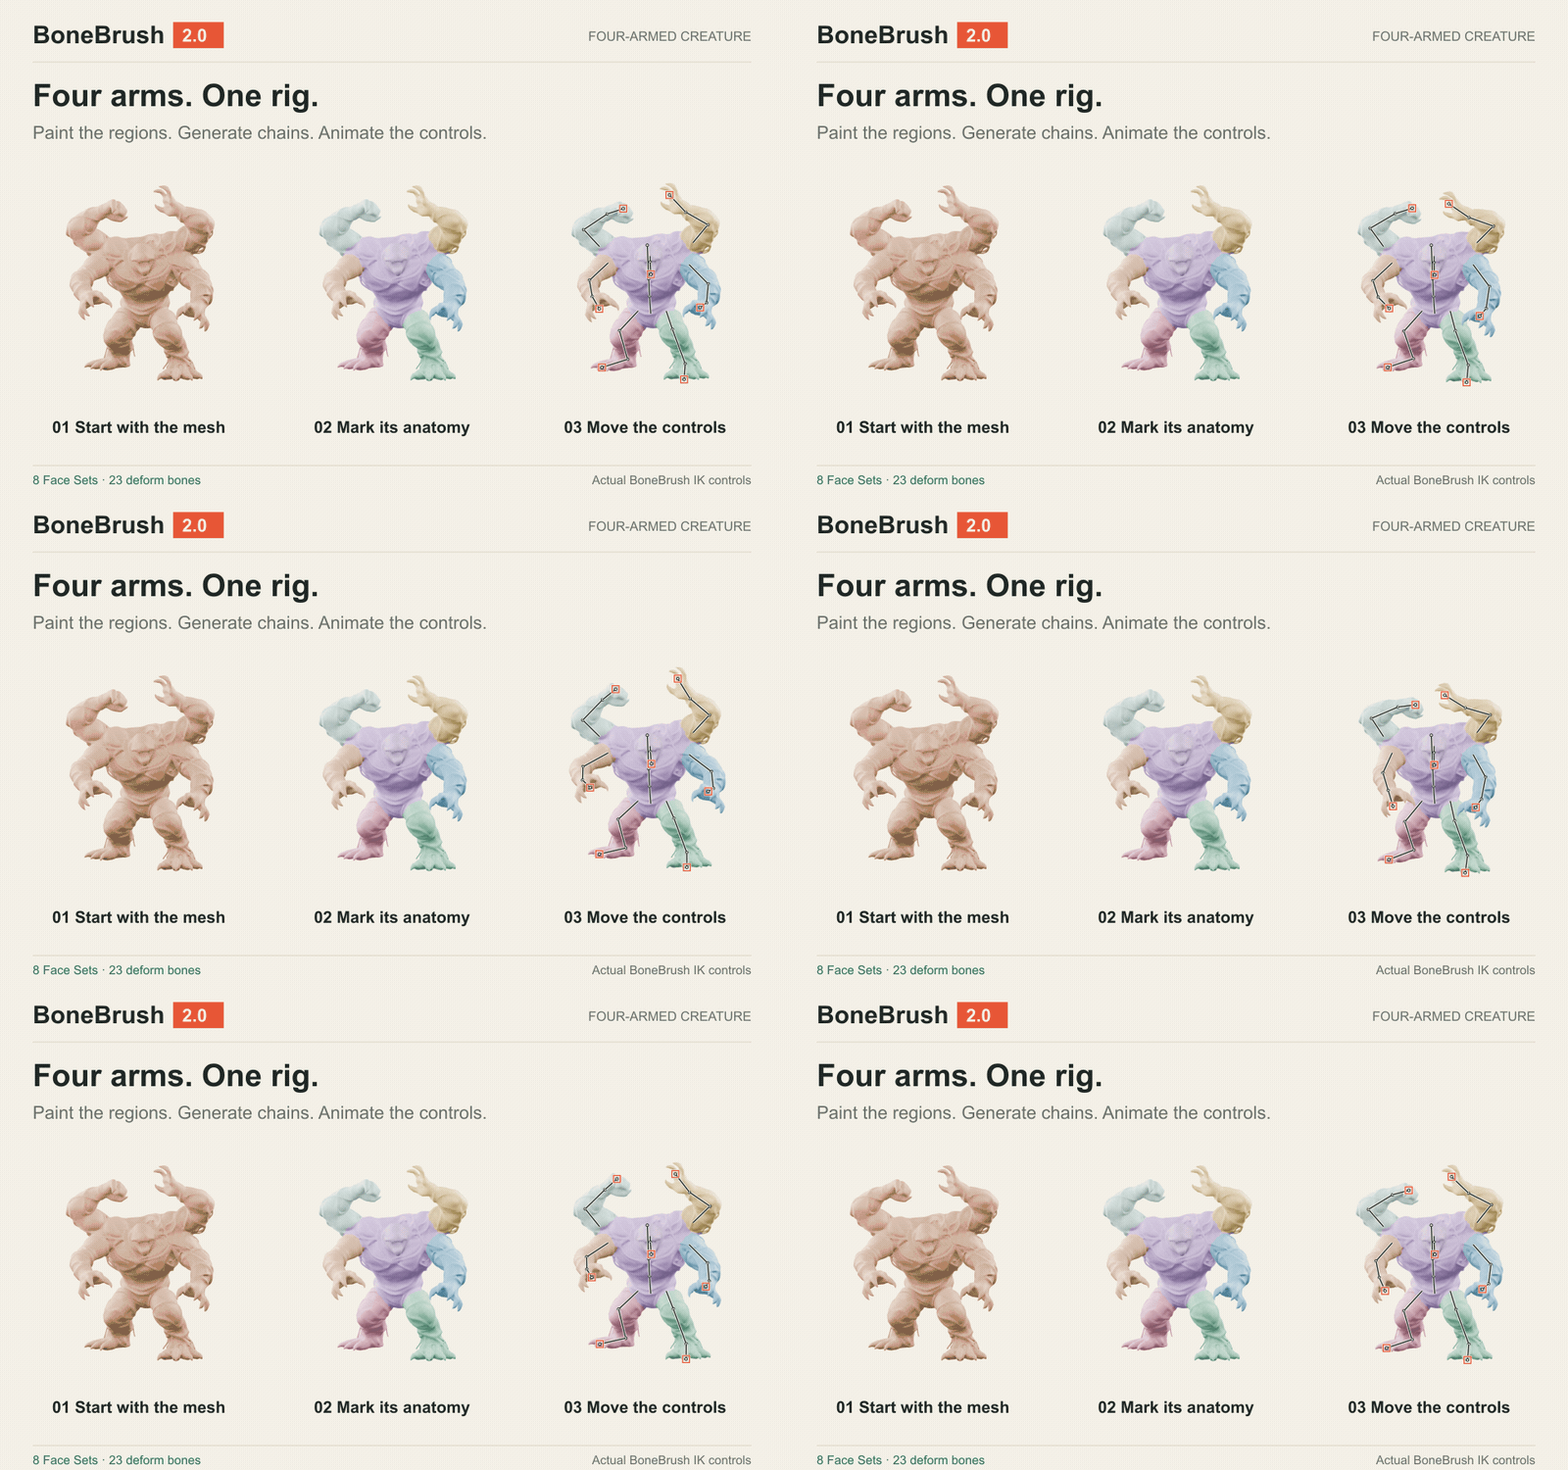
Mark the body and limbs, choose their bone counts and parents, then generate and bind. Edit the joints and test the deformation as you go.
This example uses 8 Face Sets and 23 deform bones. The right panel shows the resulting IK controls in motion.
04 / ONE-CLICK POSE TEST
Bind it.
Then press Play.
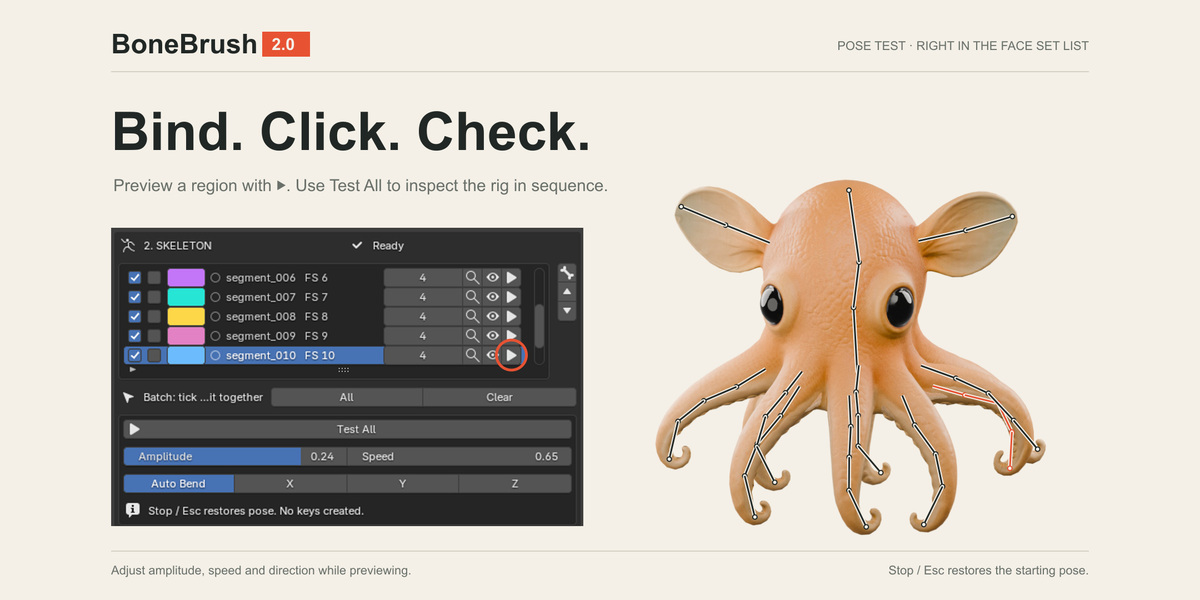
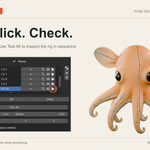
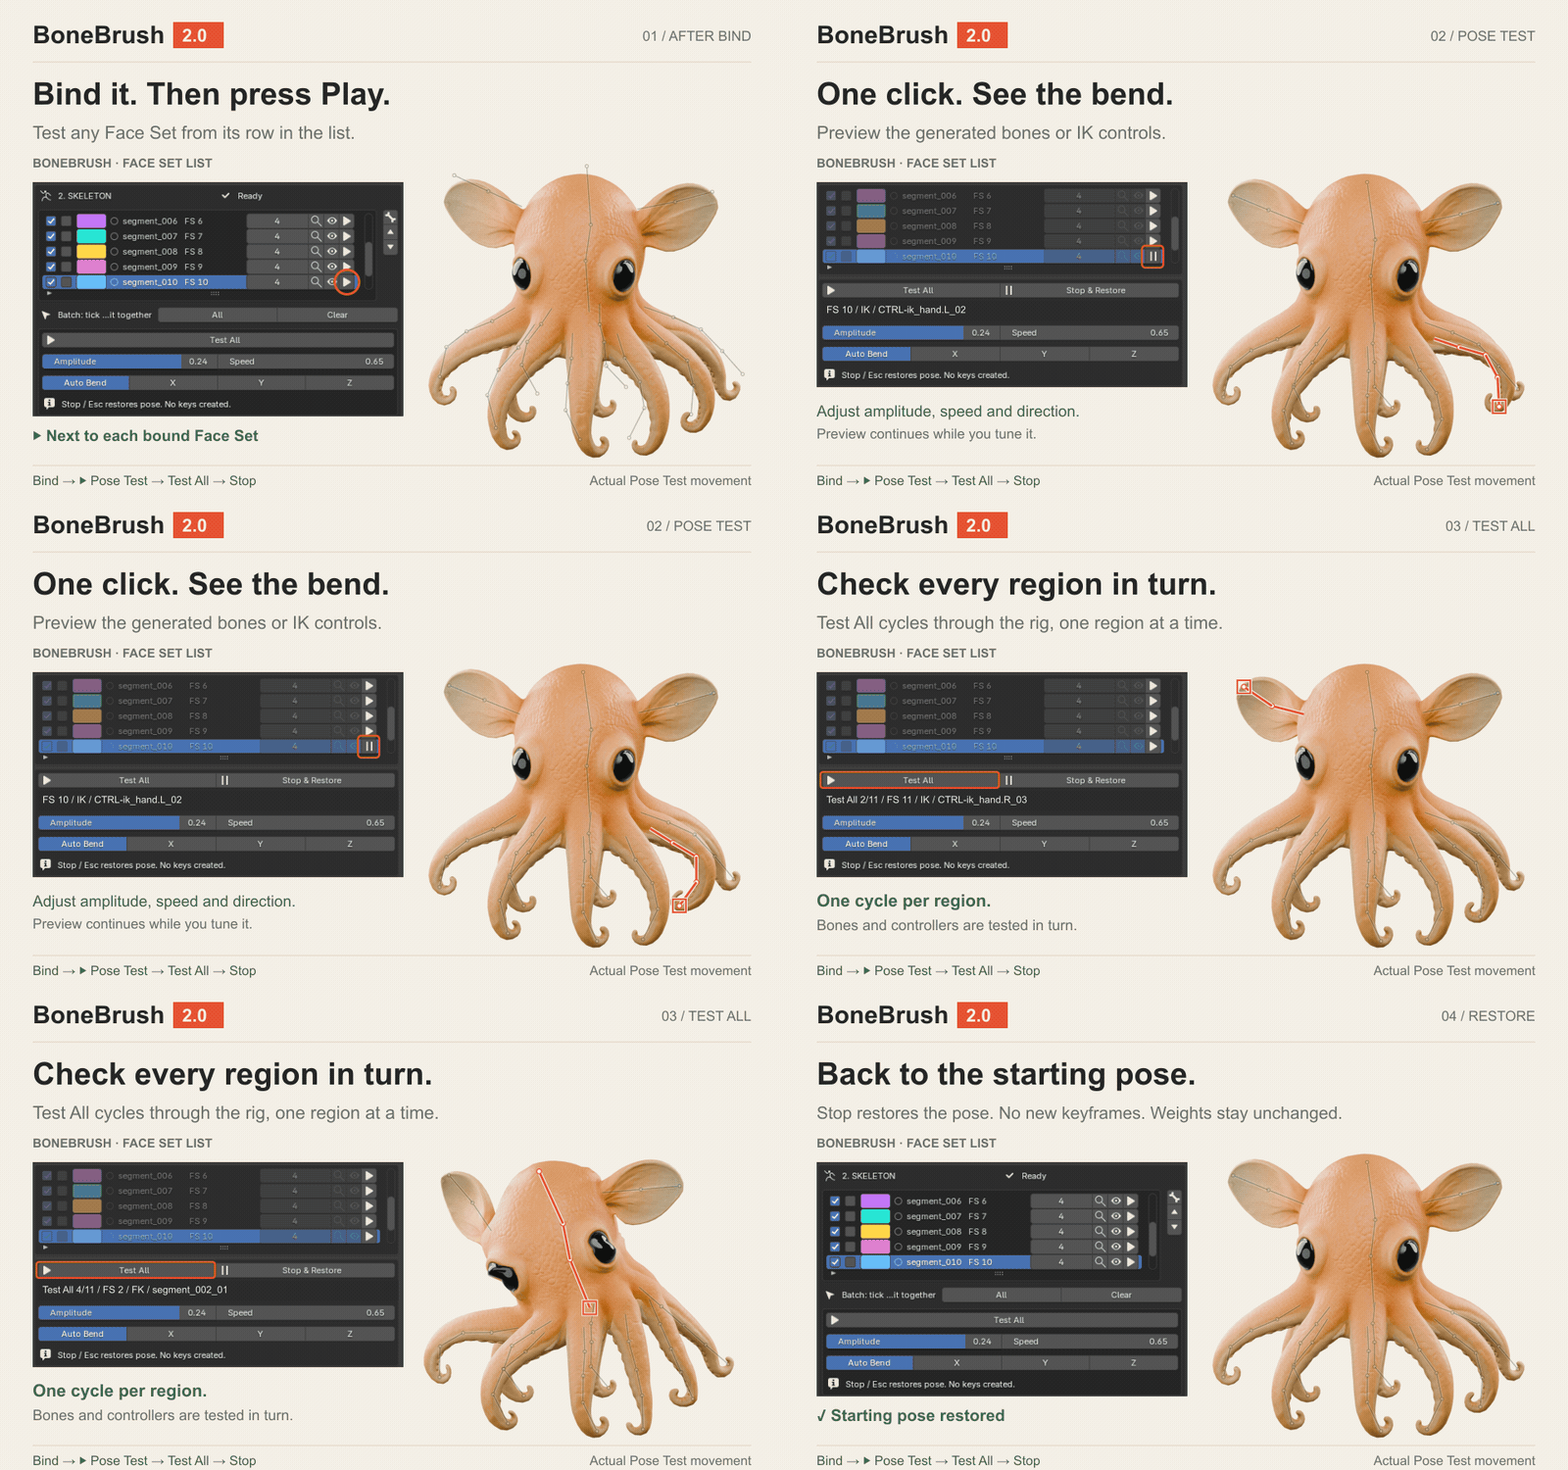
After Bind / Rebind, click ▶ beside a Face Set to test its bones or controls. Use Test All below the list to preview the available regions in sequence.
Adjust amplitude, speed and direction while testing. Stop / Esc restores the starting pose without adding keys or changing weights.
Shown: the current BoneBrush interface and actual Pose Test movement.
05 / HAIR
Two Face Sets.
Multiple chains.
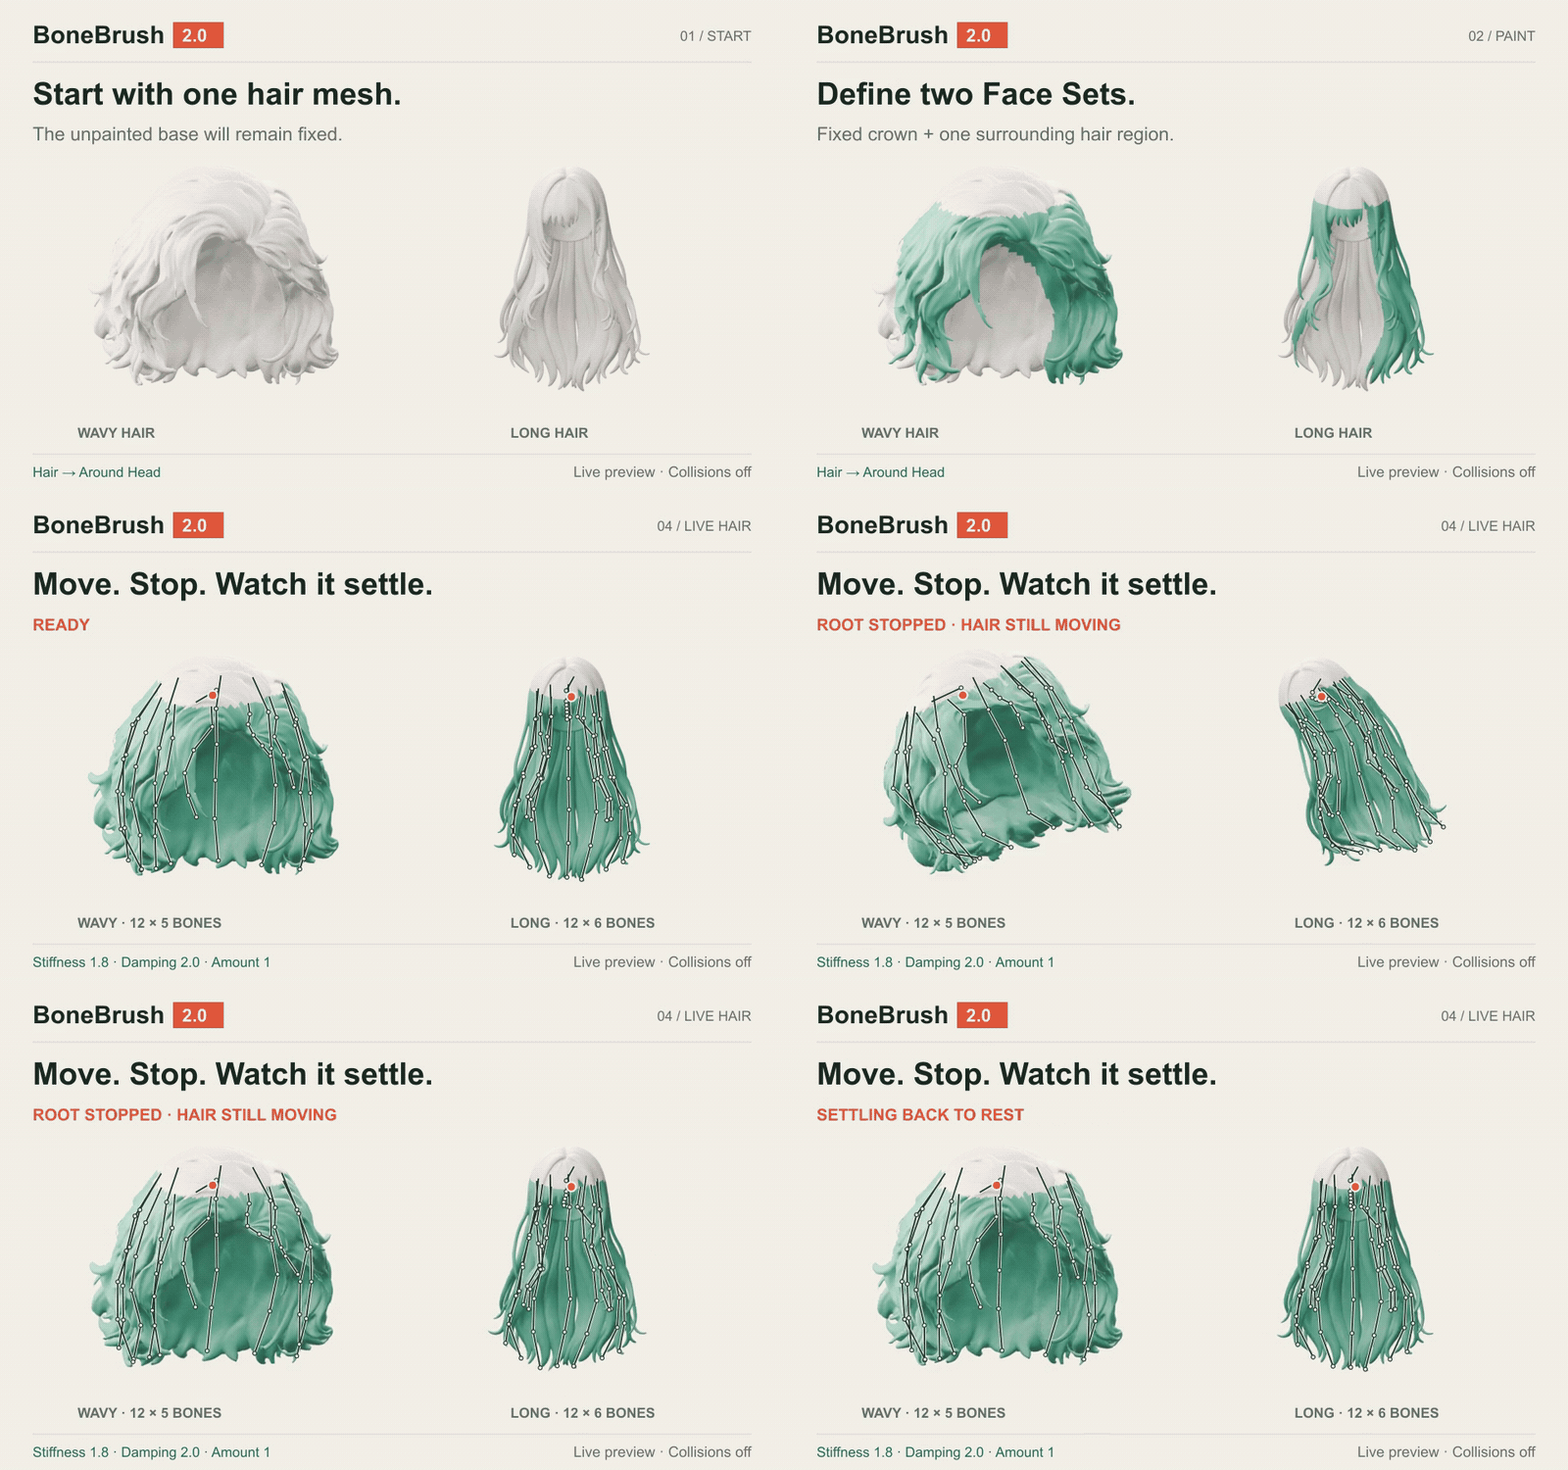
Keep the crown fixed. Paint the surrounding hanging hair as one second Face Set. Choose Hair → Around Head, set the number of chains and bones, then generate and bind.
Move the head or rig to preview spring motion. Tune stiffness, damping and amount. Use Single Chain for an individual lock.
This distributes chains around a marked region; it does not detect every individual strand. Painting is illustrated; bones and movement use BoneBrush.
06 / SKIRTS & DRESS HEMS
Move the waist.
Let the hem follow.
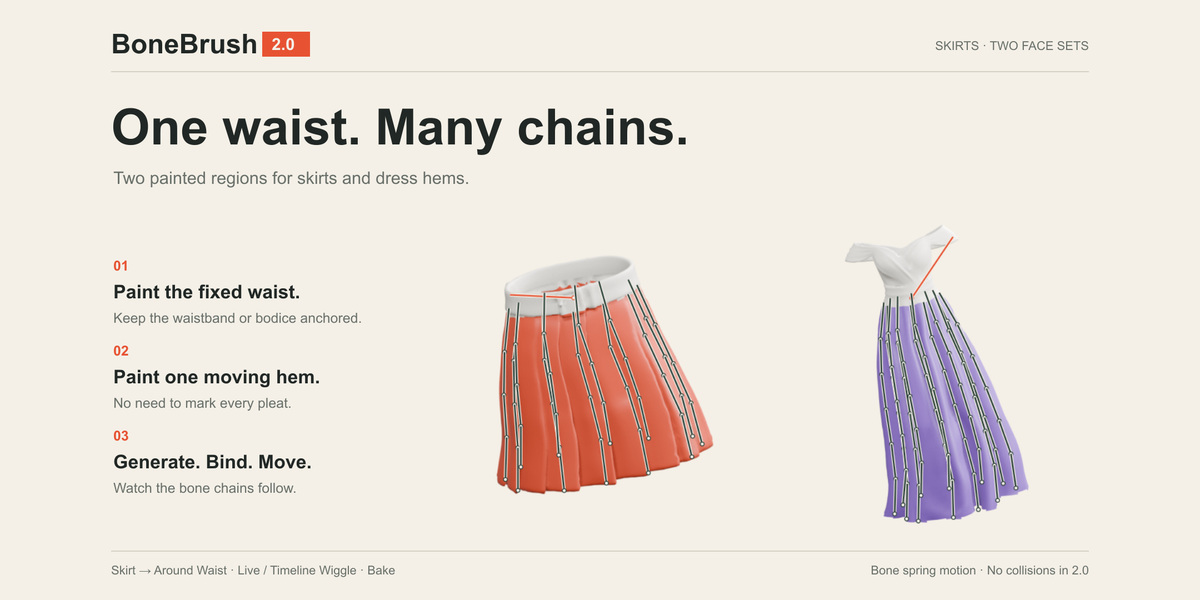
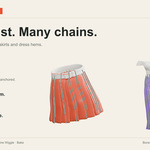
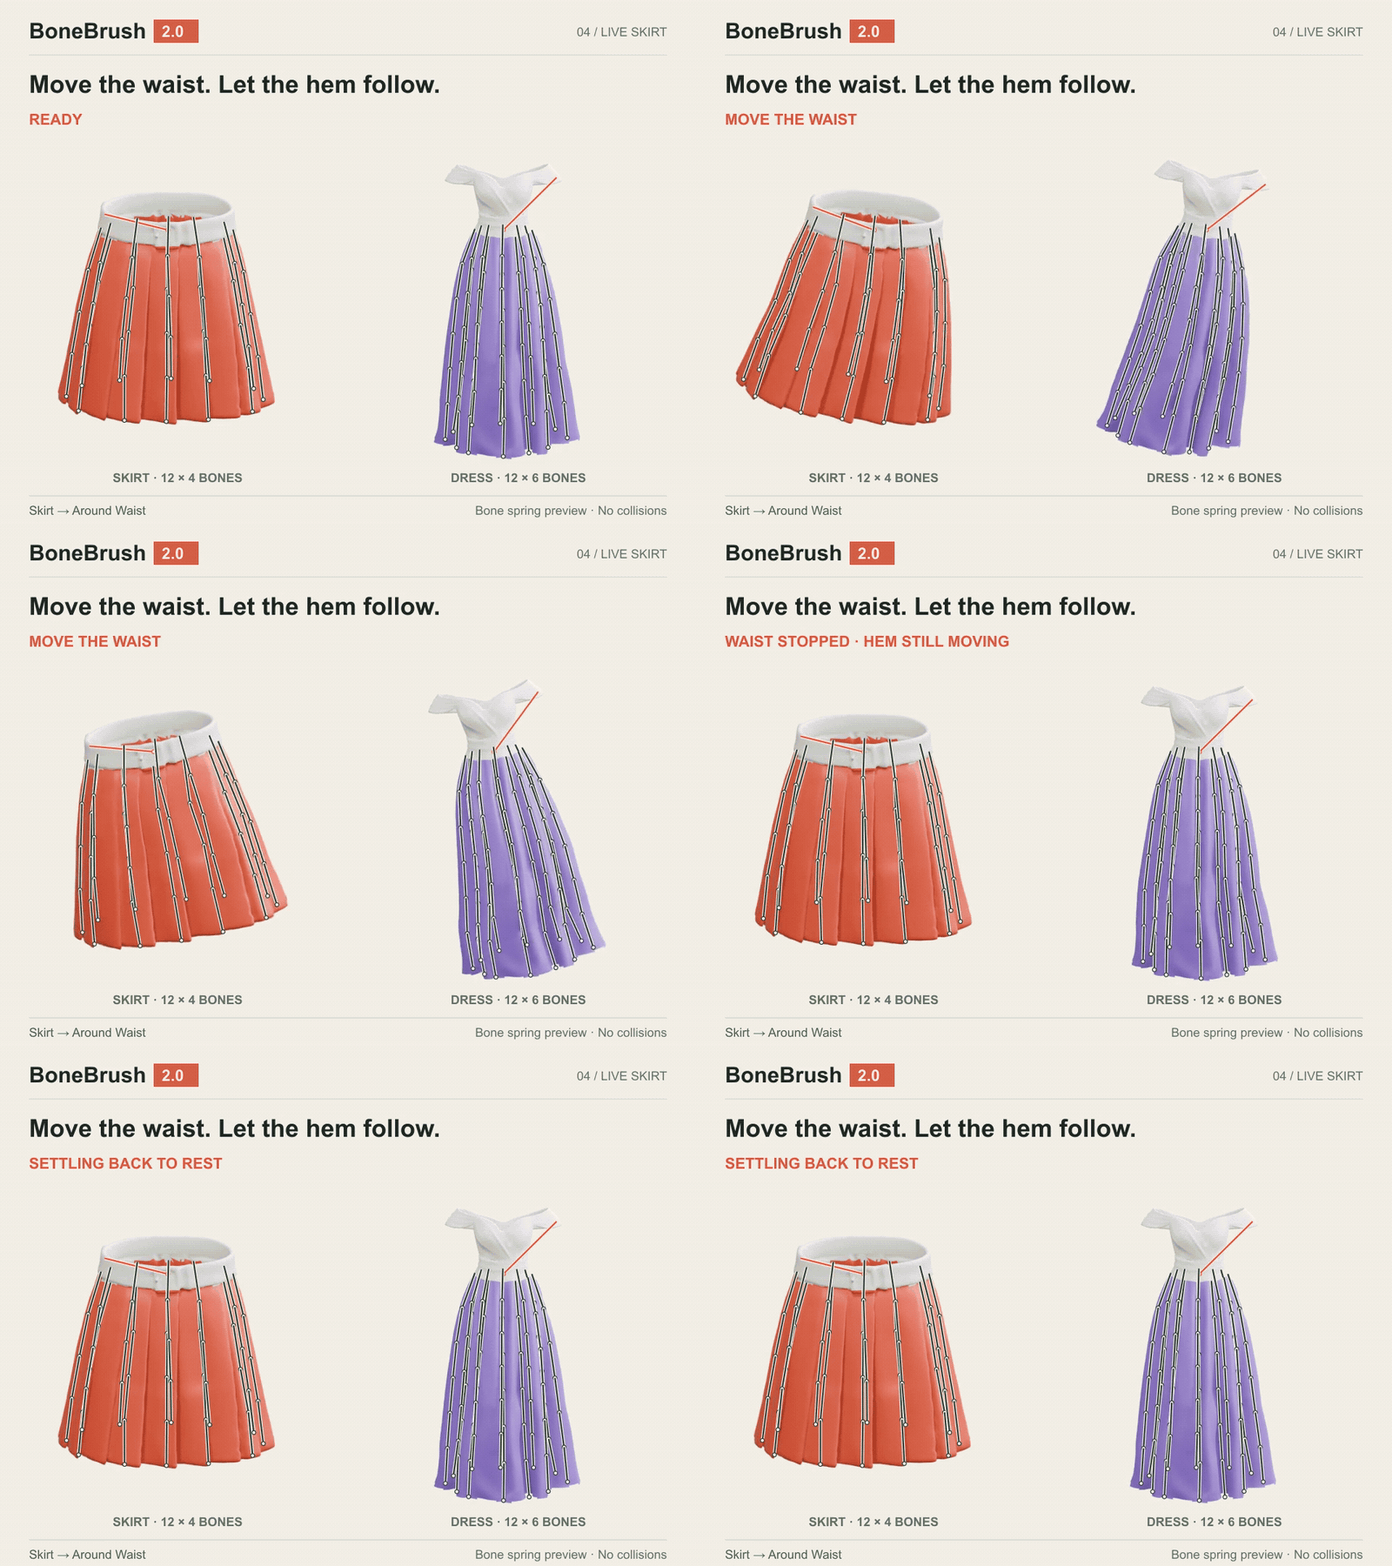
Keep the waist or bodice fixed. Paint one surrounding hem Face Set, choose Skirt → Around Waist, then generate and bind. Move the waist in Live Skirt, or animate the root with Timeline Wiggle.
Use Bake Wiggle to New Action to keep the result as editable keys. Shown: 12 chains × 4 bones on the short skirt and 12 × 6 on the dress.
What to expect
Start simply. Refine when needed.
Quick mode guides the workflow; Expert mode exposes hierarchy, weights and controller settings. Complex meshes may need cleanup, adjusted joints or weight correction. Around Head and Around Waist require a suitable shared root boundary.
Secondary motion for hair and skirts.
Move or animate the root to drive spring motion. BoneBrush 2.0 does not include collisions, self collision or Cloth simulation. Bake motion before export and verify the result in your target engine.
Workflow : rigging process
