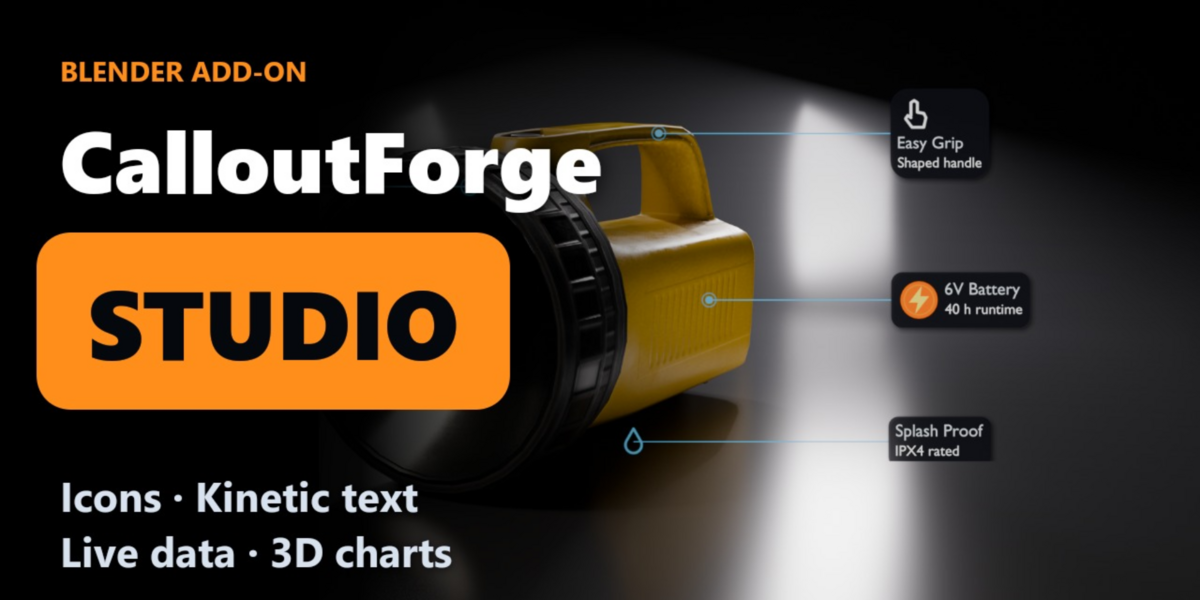
CalloutForge Studio - Callouts, Icons, Kinetic Text & Data
 ASHISH KUMAR MAURYA

Install
- Download calloutforge_studio-1.3.0.zip. Do not unzip it.
- In Blender: Edit > Preferences > Get Extensions > arrow menu (top right) > Install from Disk, then pick the zip.
- Open the 3D Viewport sidebar (N) and click the CalloutForge tab.
Only one CalloutForge edition runs at a time. If Lite or Pro is enabled, Studio switches it off for you. Your files keep working.
Quick start
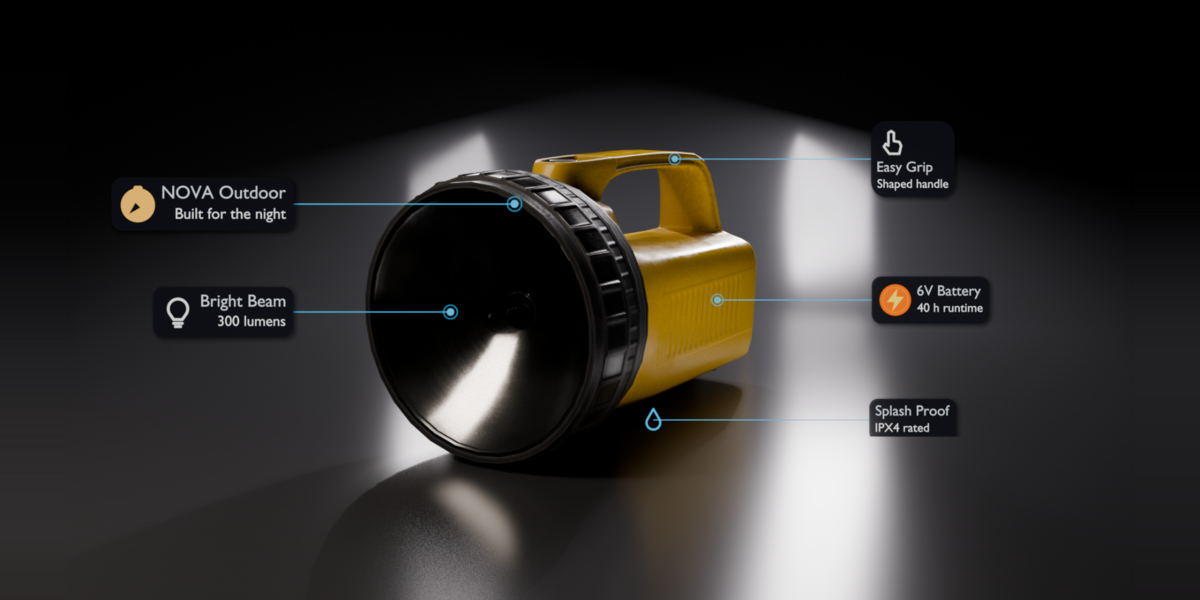
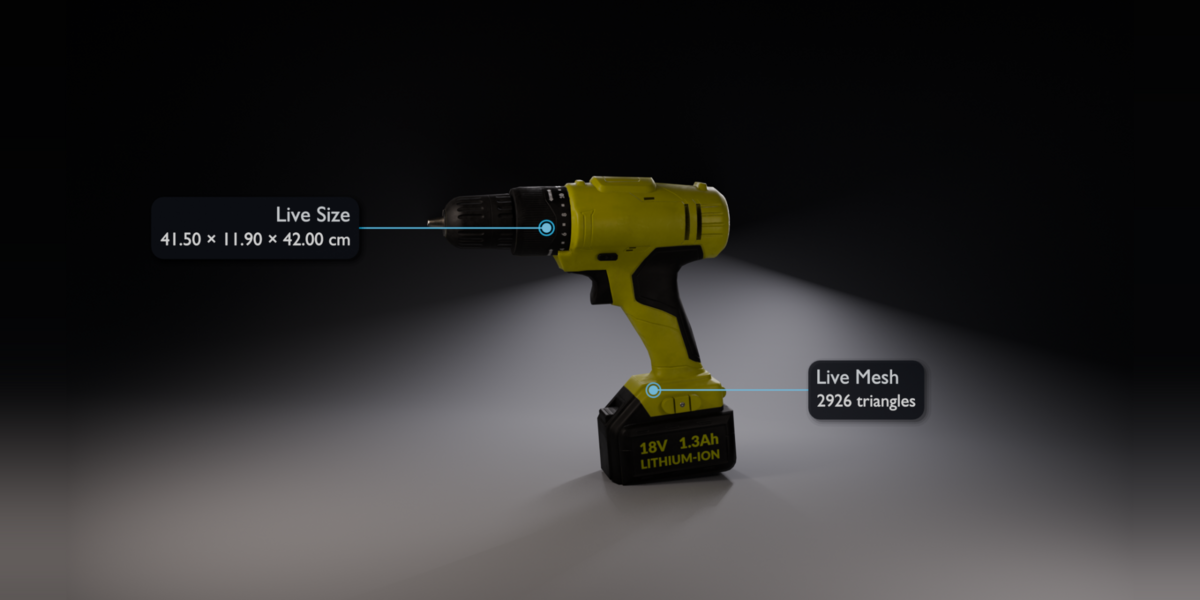
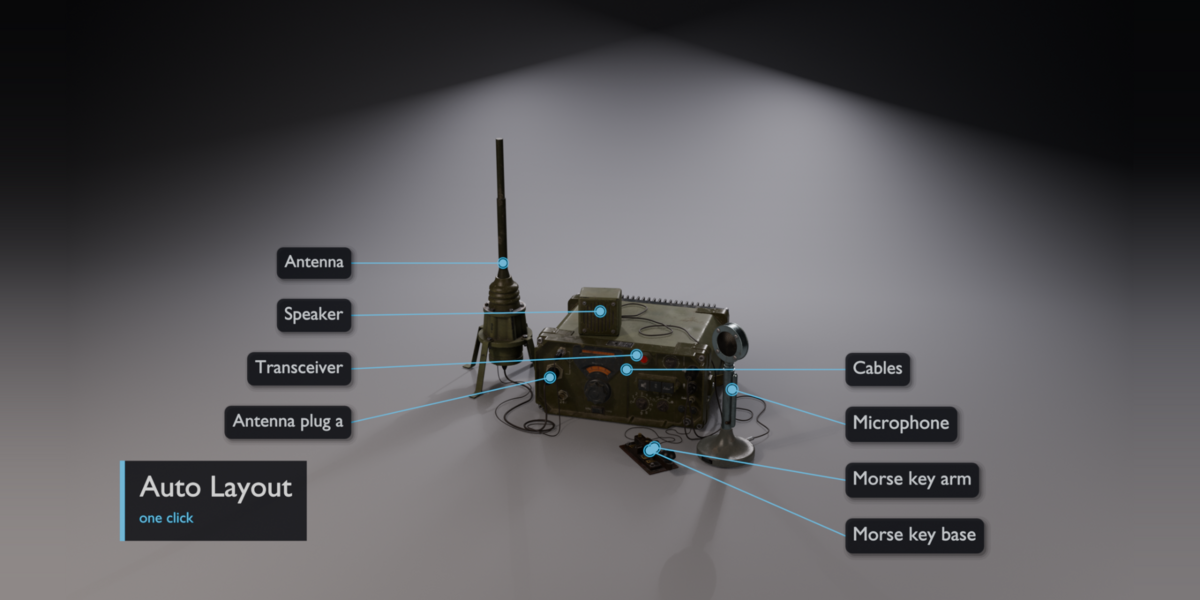
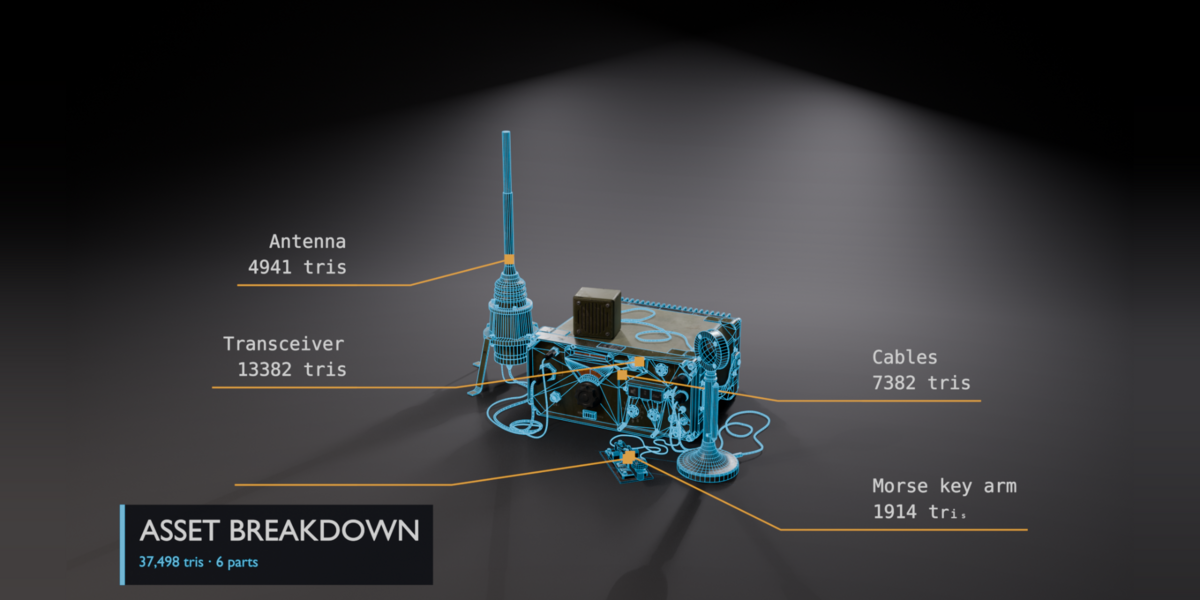
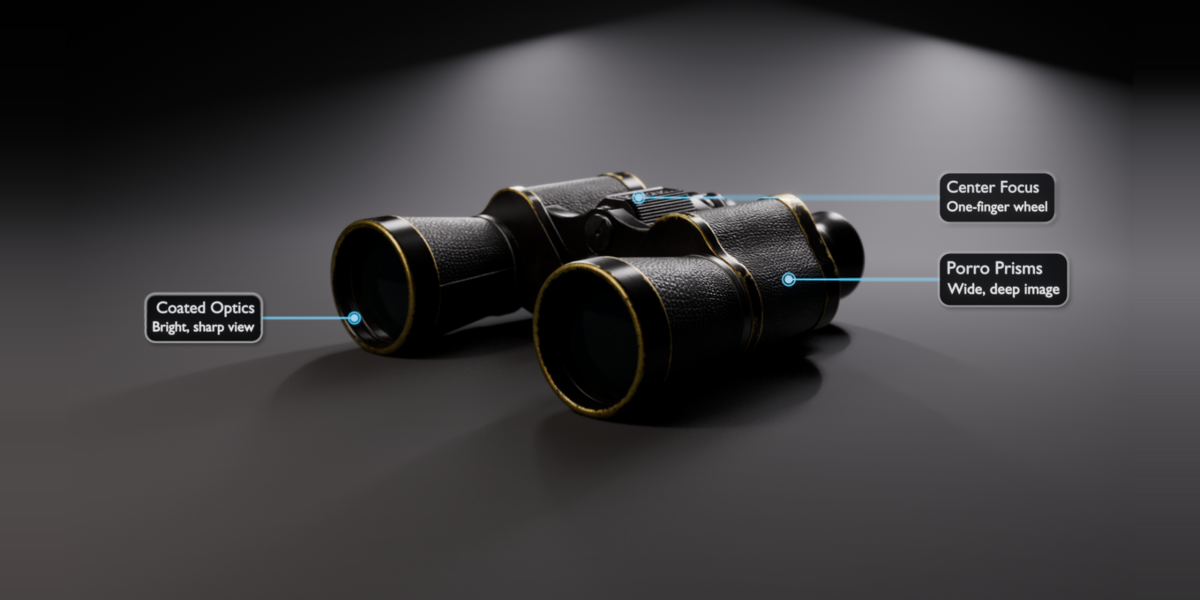
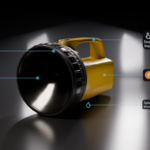
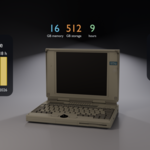
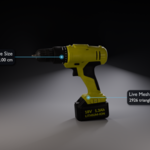
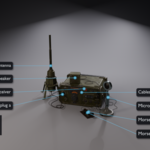
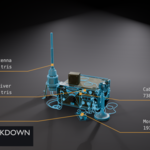
- Select a part of your model and click + Callout in the Create tab. A dot, a leader line and a label appear and point at it.
- Type your text in the Selected panel. Pick a look from the Preset Browser.
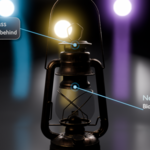
- Scene tab: click Presentation Stage for lights and a backdrop. Finish tab: Auto Layout tidies all labels.
- Press Play to see the animation, then render in EEVEE or Cycles.
Callout icons
- Select a callout. The Icon panel sits right under the text fields.
- Pick one of the 50 built-in icons, or load your own PNG, JPG or SVG file.
- Choose the position (Left, Above or Dot), size, gap and colour. Turn on Tint to recolour PNG icons.
- Icons are saved inside the .blend file. Copy Style copies the icon to other callouts.
- Spreadsheet import: add an icon column with a built-in icon name or a file path.
The five tabs
- Create: callouts, titles, presets, icons, themes, Scene Manager.
- Text: Kinetic Text, Captions, Languages.
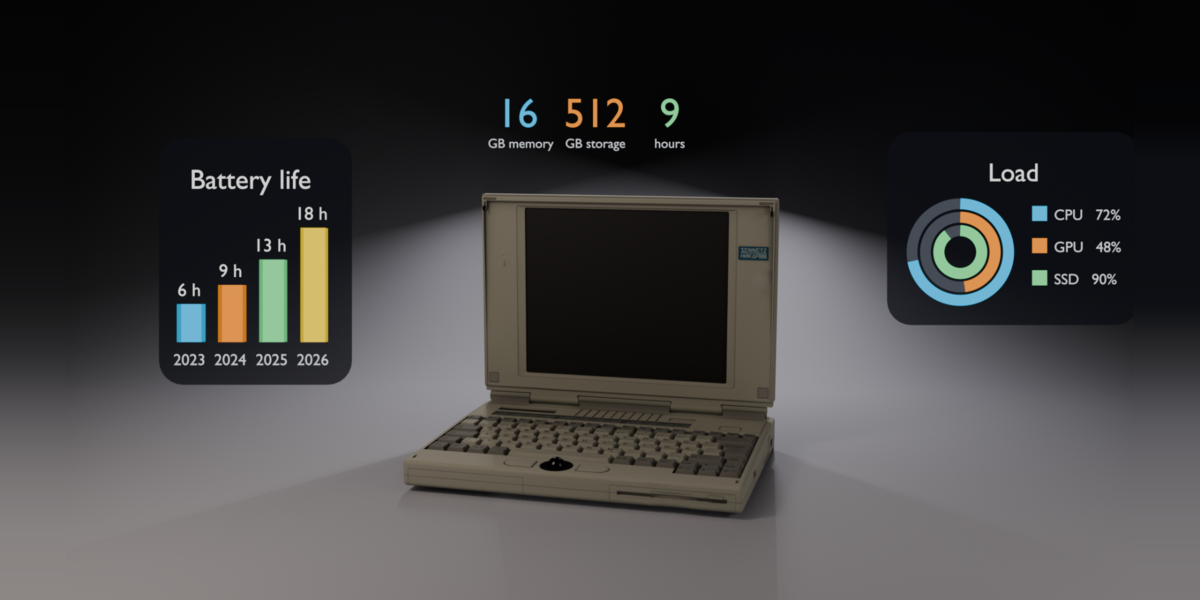
- Data: Live Data, Data Widgets (3D charts), Spreadsheet & Web.
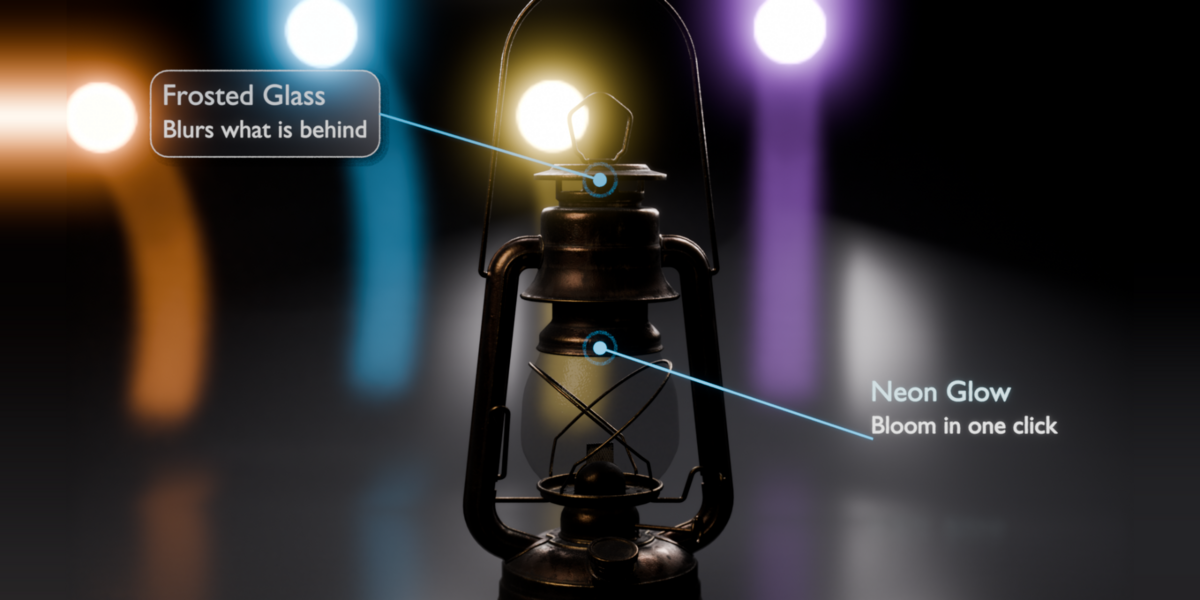
- Scene: Presentation Stage, Glass & Glow, Templates, Story Mode.
- Finish: Auto Layout, Audio Timing, Readability Check, Brand Kit, Batch Tools.
Video tutorial
Full step-by-step tutorial (20 min): https://www.youtube.com/watch?v=OyUPREH5_-s
Requirements
Tested on Blender 4.5 LTS, 5.1 and 5.2 (Windows). No internet access and no extra Python packages needed.
Discover more products like this
ArchViz kinetic text icons presentation motion graphics product-visualization data-visualization captions geometry nodes infographics callouts explainer