 Alex Sokol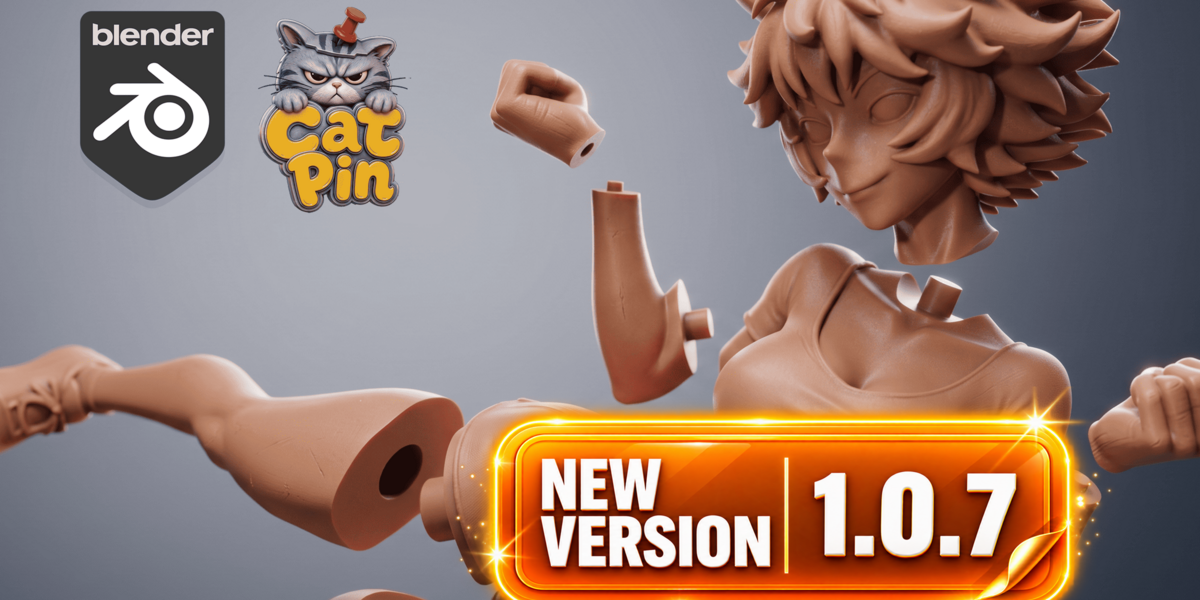


CatPin
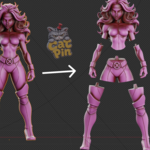
Split your 3D model with full control over every cut and connector.
Edit the setup at any time: quickly and easily.
CatPin is also a great fit for dense AI-generated models.
(As long as Blender can handle the mesh.)
HIGHLIGHTS
Watch a short presentation of the main CatPin tools and what they can do.
CREATE THE CUTS OTHER TOOLS CAN’T
Draw freely or place points to build a precise polyline. Get near-complete control over complex shapes that Straight Cut and Curved Cut cannot create.
MAKE CLEAN CUTS RIGHT
WHERE YOU NEED THEM
Create a clean cut with a straight cutting plane. Move and rotate the plane, choose the connector type, and adjust the connector size, position and fit before you build the final parts.
CREATE CURVED CUTS
THAT FIT YOUR DESIGN
Create a curved cut that follows the form of your model. Add, move or remove control points to shape the curve more precisely. Choose the connector type and control its size, placement and fit before you build the final parts.
SEPARATE THE MODEL
EVEN AT TWO CONTACT POINTS
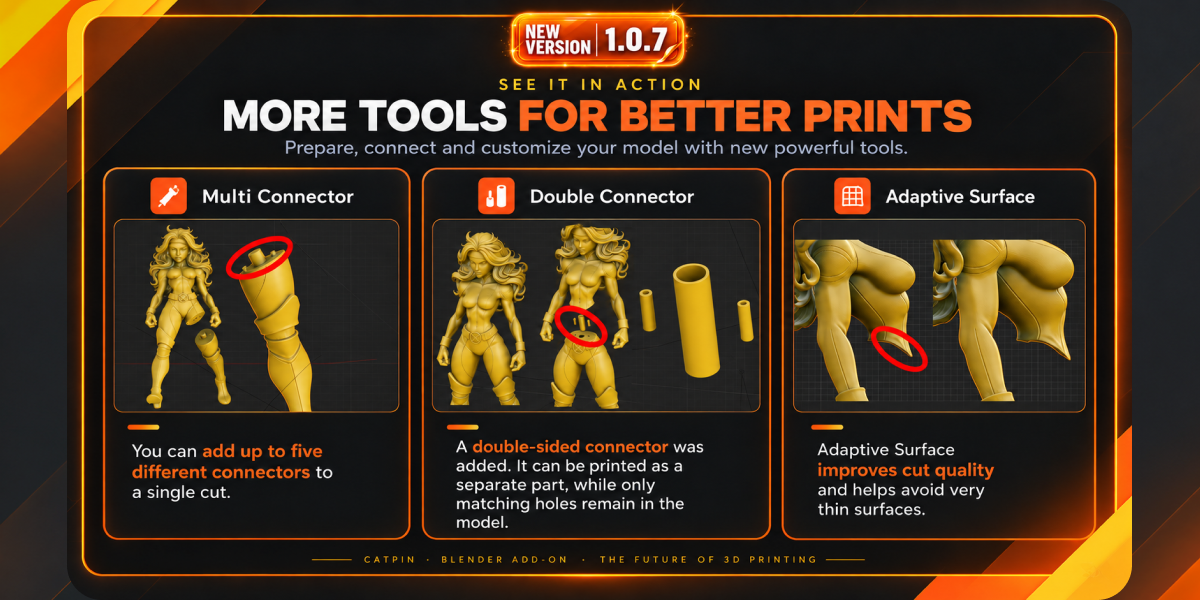
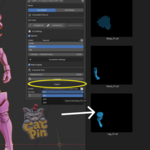
Create two cuts and process them together in one operation. Use Straight, Curved or Manual Cut in any combination. Separate a model from its base, or detach a part connected at two points, such as an arm joined to both the shoulder and the hip. See the full tutorial for more details.
NEED EVERY STEP? WATCH THE FULL TUTORIAL
The full tutorial explains every tool step by step and gives useful tips for the best results.
Tutorial on YouTube ↗CHOOSE THE CONTROL YOUR PROJECT NEEDS
DRAFT MODE:
FULL CONTROL.
FAST CHANGES.
The main CatPin workflow for full control. Every cut stays editable until you build the final parts.
- Create straight and curved cuts without changing the source model.
- Edit a cut after you place it.
- Move, rotate and scale connectors.
- Adjust connector width and height.
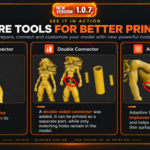
- Choose a cylindrical or trapezoidal connector.
- Set Connector Clearance between the pin and socket.
- Set Cut Gap between the cut faces for a better printed fit.
- Choose which side contains the pin.
- Keep Draft Cuts in the Blender file and edit them later.
- Make fast changes after a client request or a test print.
- Disable or remove cuts before the final build.
EASY MODE:
CUT AND BUILD FASTER
For light and medium-complexity models with a clear cutting plan.
- Draw a straight or curved cut.
- Choose the connector settings.
- Automatically create the cut, pin and socket.
- Receive final separated parts without an additional Draft confirmation step.
FROM ONE MODEL TO PRINT-READY PARTS
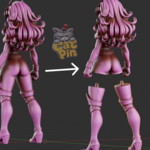
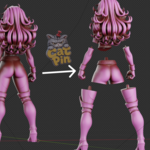
CatPin helps you split a model into clean, printable parts. Draw a straight or curved cut, add a pin and socket, and prepare the parts for your printer.
You choose the cut, connector type, connector size, pin side and fit. Select a cylindrical or trapezoidal connector. Set Connector Clearance for the space between the pin and socket. Set Cut Gap for the space between the cut faces.
These values help you tune the fit for printer accuracy, material behavior and resin shrinkage.
Your original model stays safe.
TURN YOUR SCULPT INTO PRINT-READY PARTS
PLAN CUTS WITHOUT DAMAGE
Non-destructive Draft Mode with straight and custom curved cuts.
CONTROL HOW PINS AND SOCKETS FIT
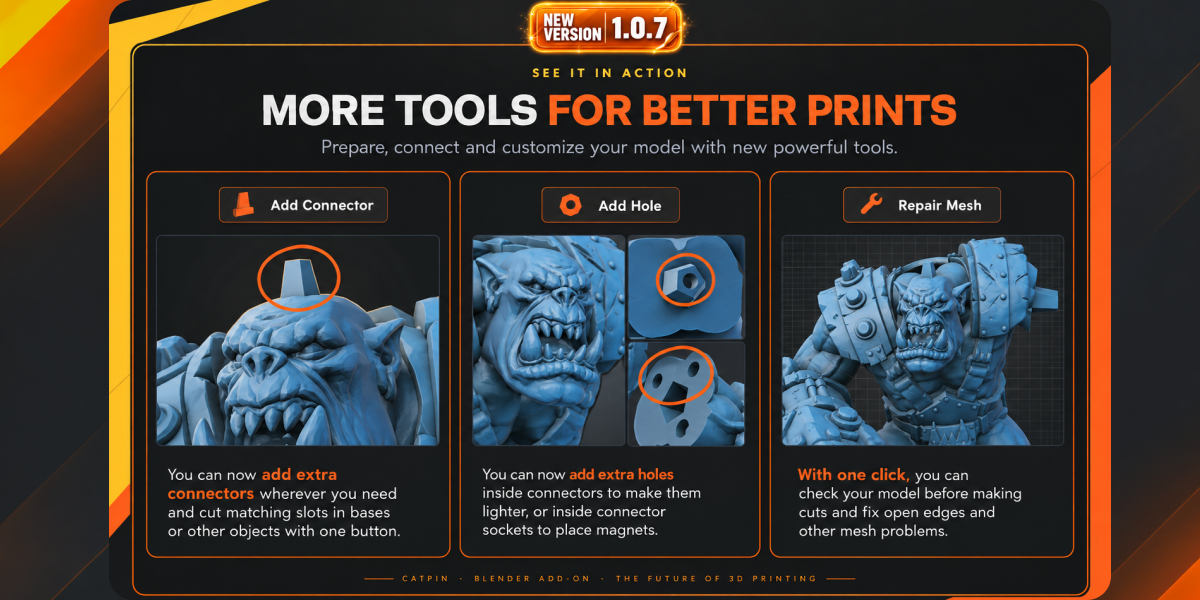
Automatic pins and sockets with adjustable position, rotation, scale and clearance.
CHOOSE THE RIGHT CONNECTOR
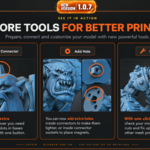
Choose a cylindrical or trapezoidal connector, use a custom rigid connector, and select the pin side.
CHANGE CUTS BEFORE YOU COMMIT
Edit, disable or remove Draft Cuts before committing the model.
KEEP YOUR ORIGINAL SAFE
Keep the source mesh intact while preparing the final printable pieces.
EXPORT EVERY PART AT ONCE
Export all finished parts together to STL, OBJ or FBX.
BUILT FOR THE MODELS YOU PRINT
- Character and figurine artists
- Statue and bust creators
- STL model creators
- Resin and FDM printing workflows
- 3D-printing studios
- Large models for smaller printer beds
- Modular props and rigid multipart objects
- Artists who need editable cuts inside Blender
CHECK YOUR SETUP BEFORE YOU START
- Blender 4.2–5.2
- Windows, Linux and macOS
- English interface
- Closed manifold meshes required
- Millimeter-based workflow recommended
- Dimensions, Cut Gap and Clearance in mm
- Apply Scale and Rotation before cutting
- Tested up to approximately 3 million polygons
HIGH-POLY WORK WITHOUT THE GUESSWORK
A single Straight or Curved Cut may take approximately 2–40 seconds, depending on model complexity, polygon count, cut shape, connector dimensions, Remesh density, Boolean or Remesh settings, and computer performance.
A simple model with a clear cutting plan can often be prepared for printing in approximately 60 seconds. Dense geometry, complex curved cuts and high Remesh settings require more calculation time.
KNOW WHAT CATPIN CAN HANDLE
- Open, broken, invalid or non-manifold meshes are not supported.
- Self-intersections, internal faces, overlapping surfaces and extremely thin areas may affect Boolean and Remesh operations.
- Very complex or heavily self-intersecting models may not produce a reliable result.
- Articulated, rotating and movable joints are not currently supported.
- Custom pins must be rigid connectors.
- Default Remesh settings may require adjustment for the model’s scale and detail.
- CatPin is not an automatic printability analyser.
The user remains responsible for wall thickness, structural strength, print orientation, supports, part placement, printer volume and printer-specific clearance. Some current limitations may be improved or removed in future updates.
START IN A FEW SIMPLE STEPS
- Download the CatPin ZIP file.
- Open Blender.
- Go to Edit → Preferences → Add-ons.
- Select Install from Disk.
- Choose the downloaded CatPin .ZIP file.
- Enable the CatPin add-on.
- Open the CatPin panel in the 3D Viewport.
- Watch the official tutorial before beginning your first production project.
STUCK ON A MODEL? ASK THE CREATOR
CatPin is under active development. Planned work includes optimization, performance and stability improvements, automatic calculations, new features, and additional tools for preparing models for 3D printing.
If something does not behave as expected, please contact support before leaving a review. Many problems can be solved by checking Object Scale and Rotation, scene units, manifold geometry, Remesh density, connector dimensions, clearance and cut placement.
