 AnimPal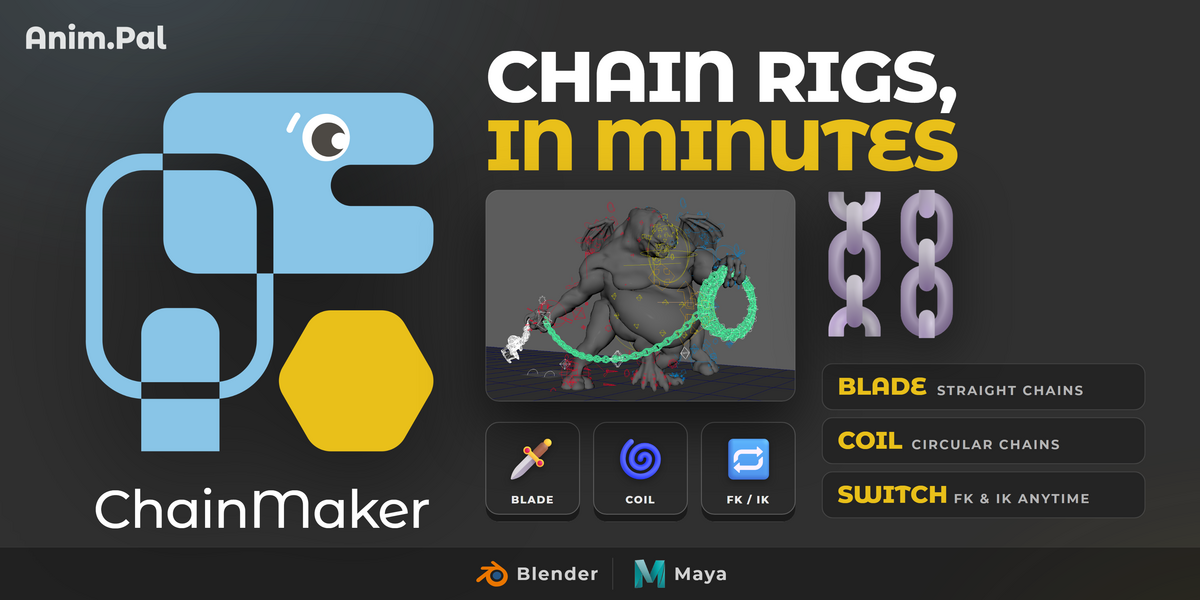
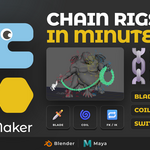

Chains look simple until you have to rig one. Every link needs a bone, every bone needs a parent, a name and a controller, and a chain blade or a whip has dozens of links. By the time the skeleton is done you have spent a day on setup and not one minute on the animation the chain was for.
I built ChainMaker to turn that day into a few clicks. Place a handful of pivots, assign your link and blade meshes, and run the build: the skeleton, the controllers and the mesh binding are created for you, ready to pose and animate.
| Blender | 2026.01 | Lower than 1 MB |

Add a bone, parent it, name it, place it, then do it again for the next link. On a long chain that is dozens of repeats, and one link out of place means going back through the whole hierarchy.


This is what the rig is for: a chain that is actually part of the performance, dragged, swung and posed with the character.



For straight chains, with or without a blade at the end. Create Pivots gives you the start, middle and end points to place on your model, Confirm Piv Positions reads the proportions, you assign Mesh A, Mesh B and the Blade Mesh, and Execute Full Build creates the skeleton, the controllers and the binding in one pass. You can also run each step on its own.


For chains wrapped into loops: set the number of loops, the pitch between them and the groups per loop, and the coil builds itself. Change a value and build again to try a different shape.

The rig is yours to shape. Skeleton parameters set the number of groups, the offset and the blade length; controller parameters set how often FK and position controls appear and how big they are; coil settings cover loops, pitch and copy count. It all lives in the sidebar. Save a setup as a named preference and load it again for the next chain.


Animators get a choice of how to pose the chain. FK mode rotates it link by link along the chain, Position mode lets you place controls directly in space. Switch between them to match what the shot needs.


Set a chain scroll speed and the links travel along the chain by themselves, so a chain running over a pulley or through a hand keeps moving without keying every link.

Step by step build: build the skeleton, the controllers, duplicate the meshes and bind them as separate steps when you want control over each one.
Preferences saved in the scene or to a library, so a studio chain setup can be reused.
Linked rig support in Blender, to make a linked chain rig poseable through a library override.
