Chroma Studio — Customize Blender’S Interface
 gonextaz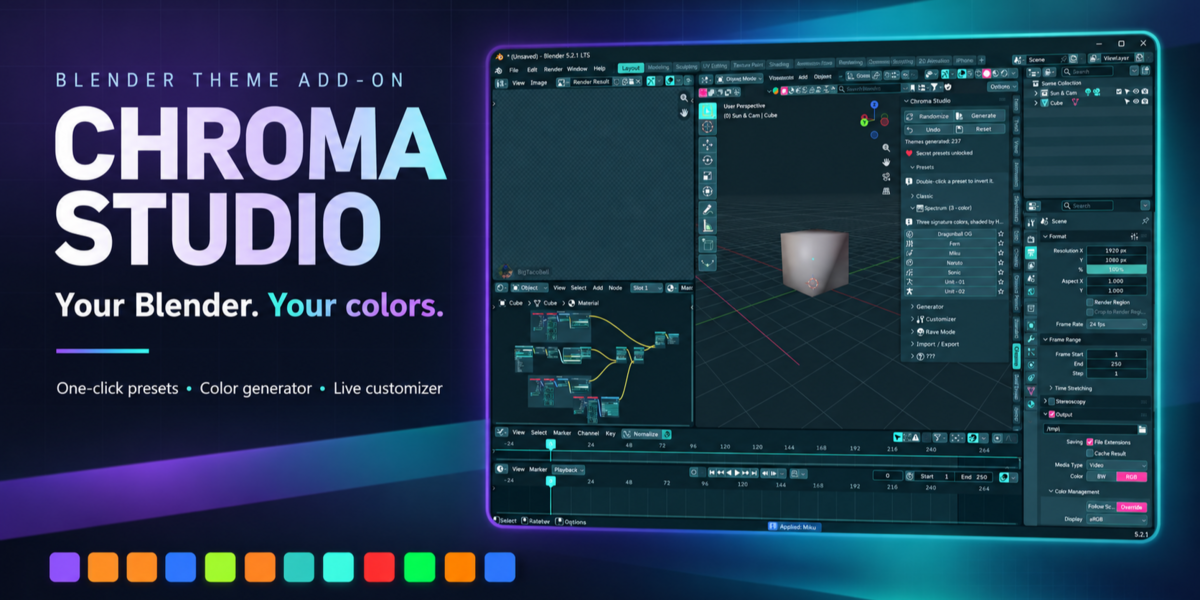
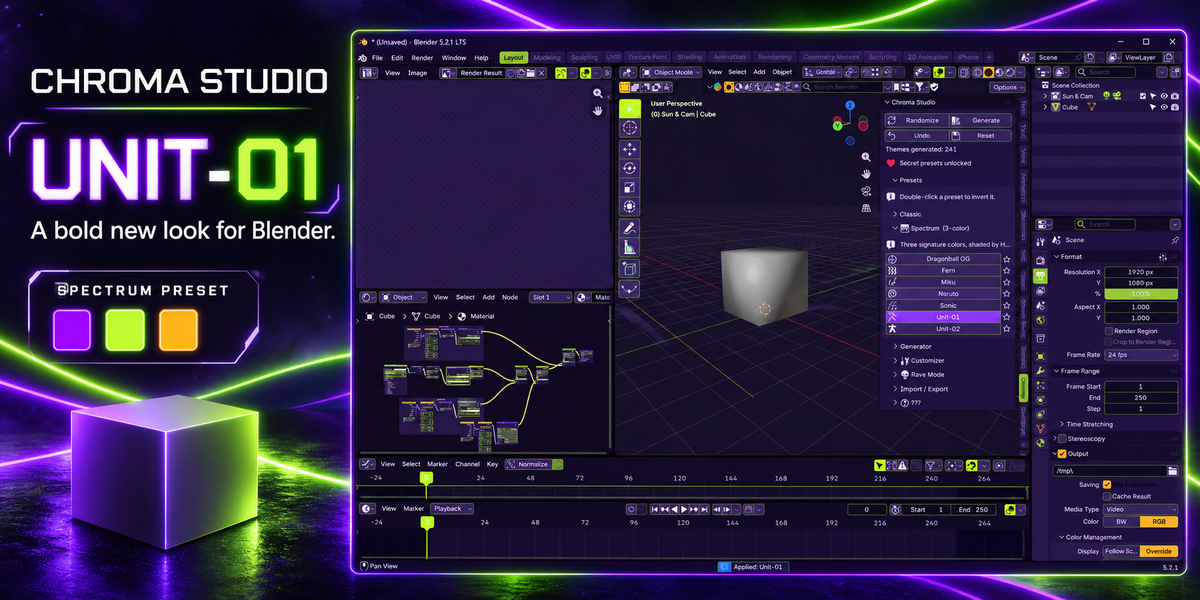
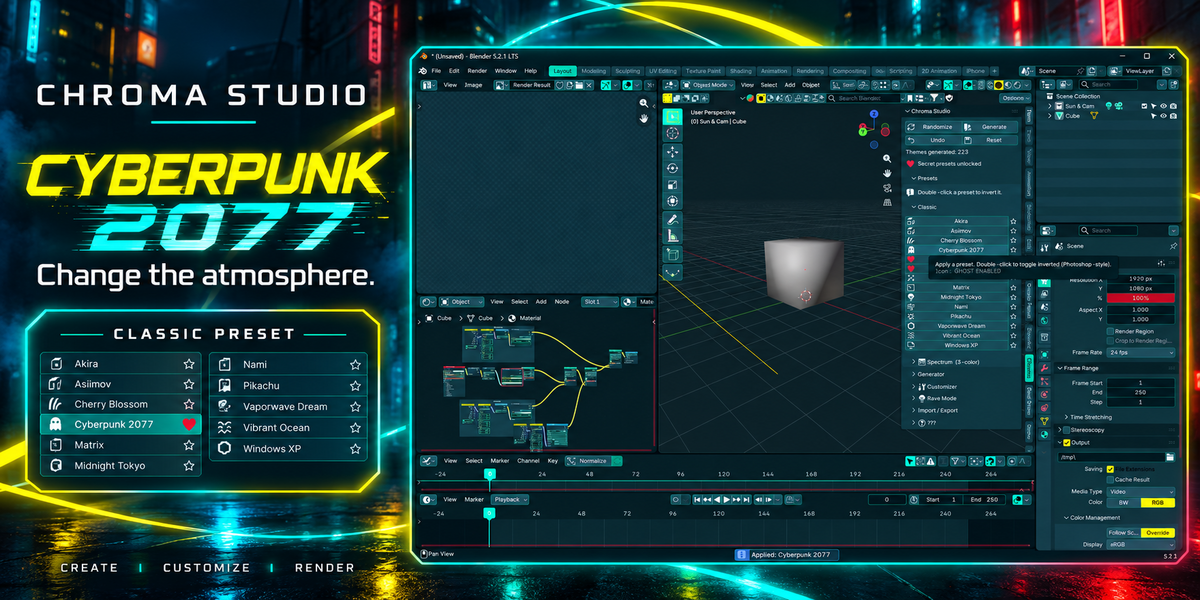
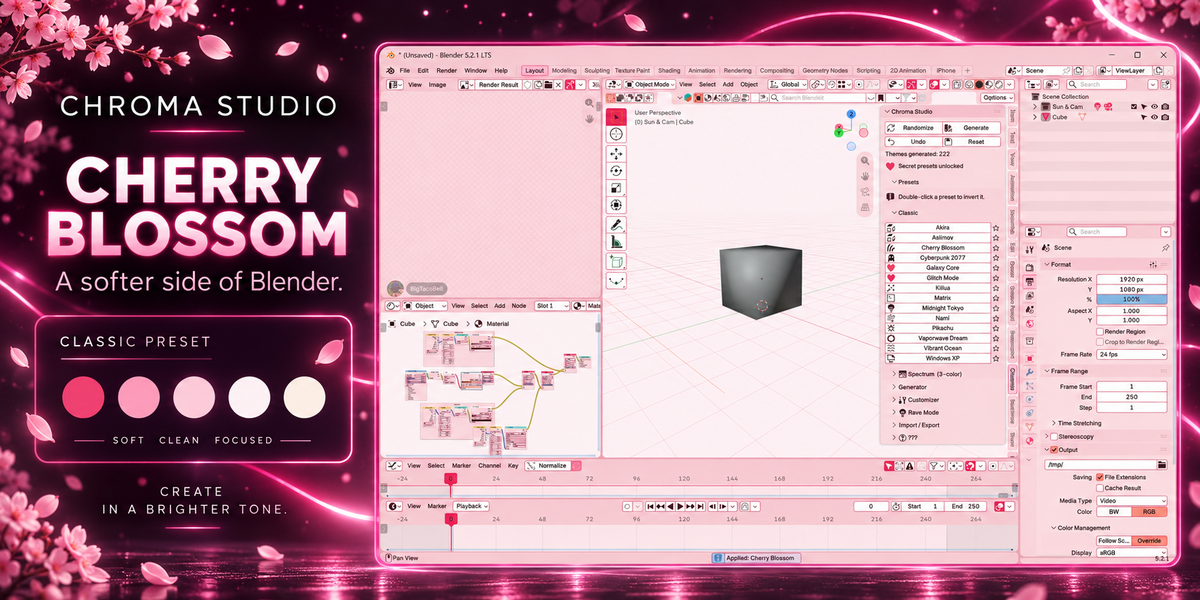
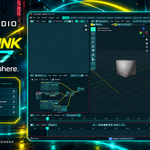
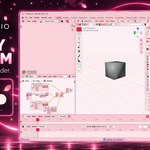
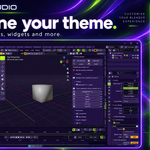

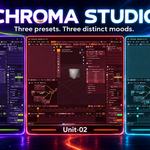
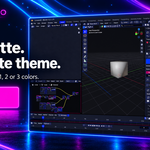
Getting started
- Download
chroma_studio.zip. Leave the file zipped. - In Blender, open Edit → Preferences → Get Extensions.
- Open the menu in the top-right corner and choose Install from Disk.
- Select
chroma_studio.zipand enable Chroma Studio if prompted. - In the 3D Viewport, press N and open the Chroma tab.
Choose a preset
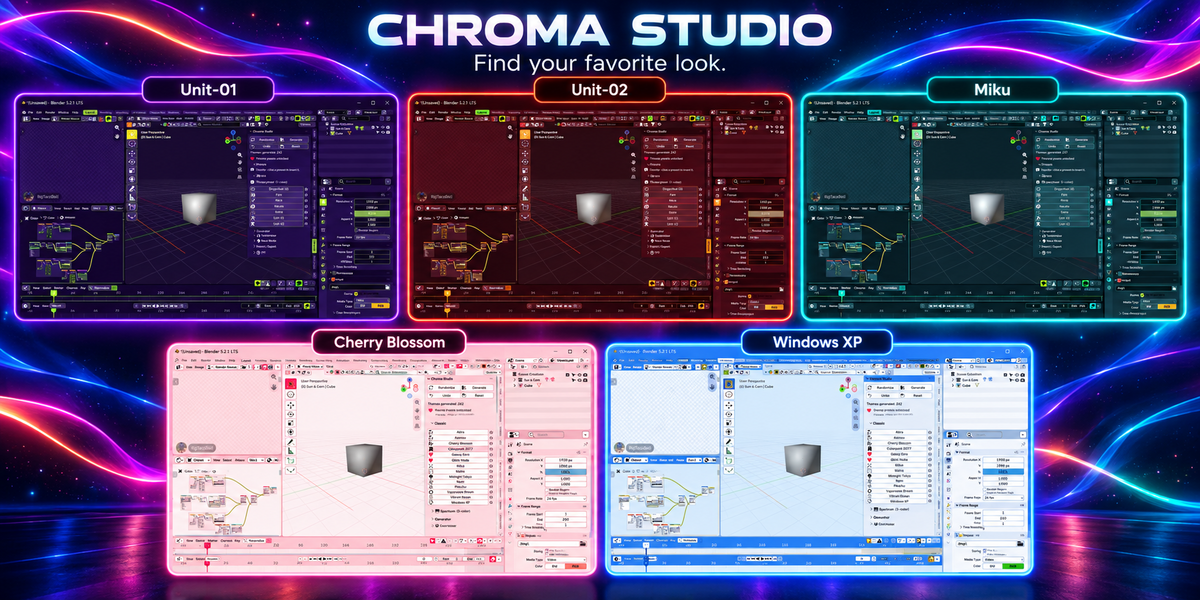
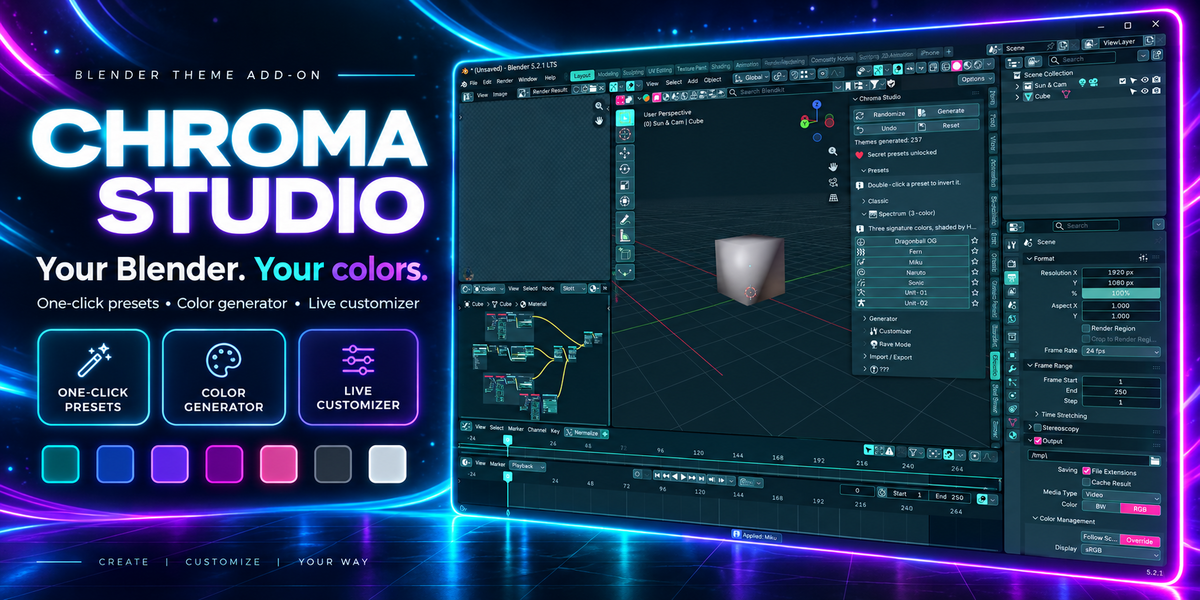
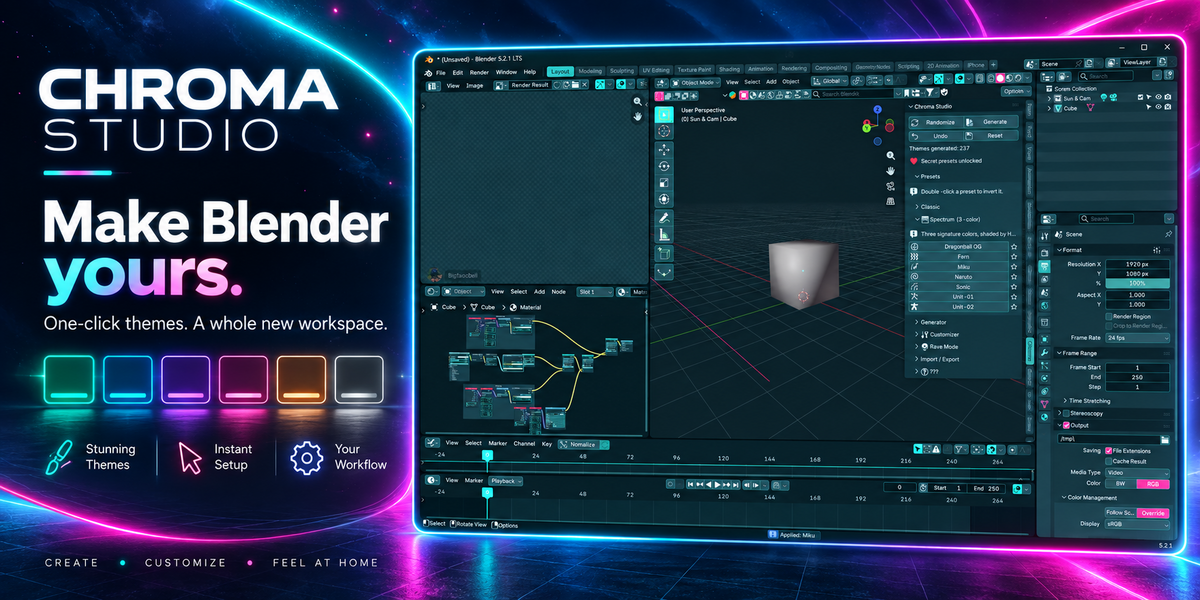
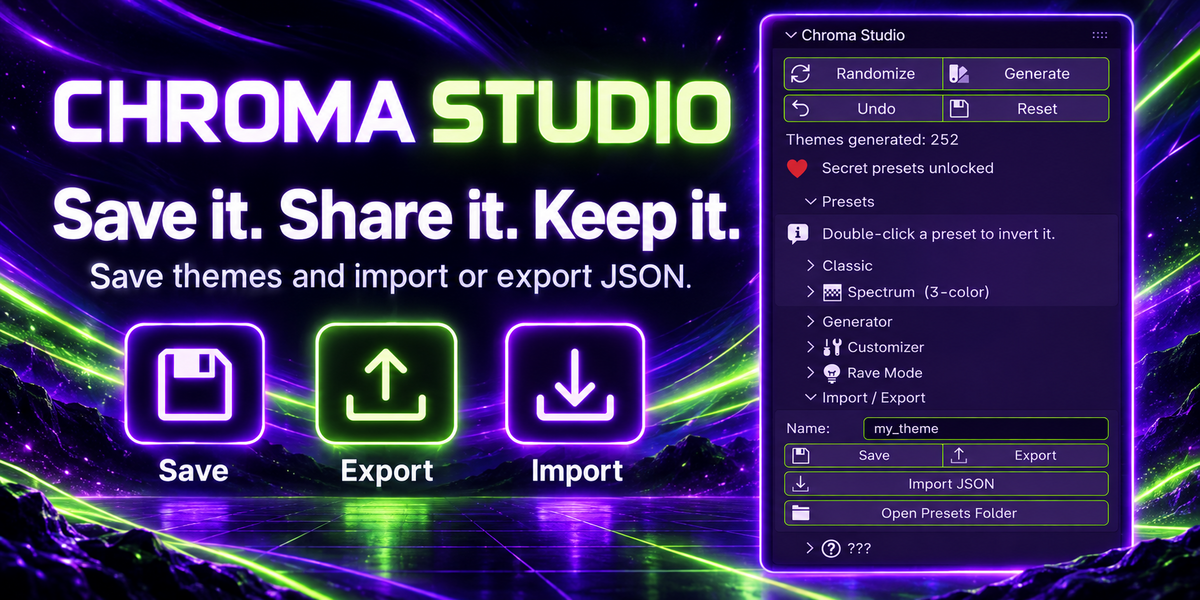
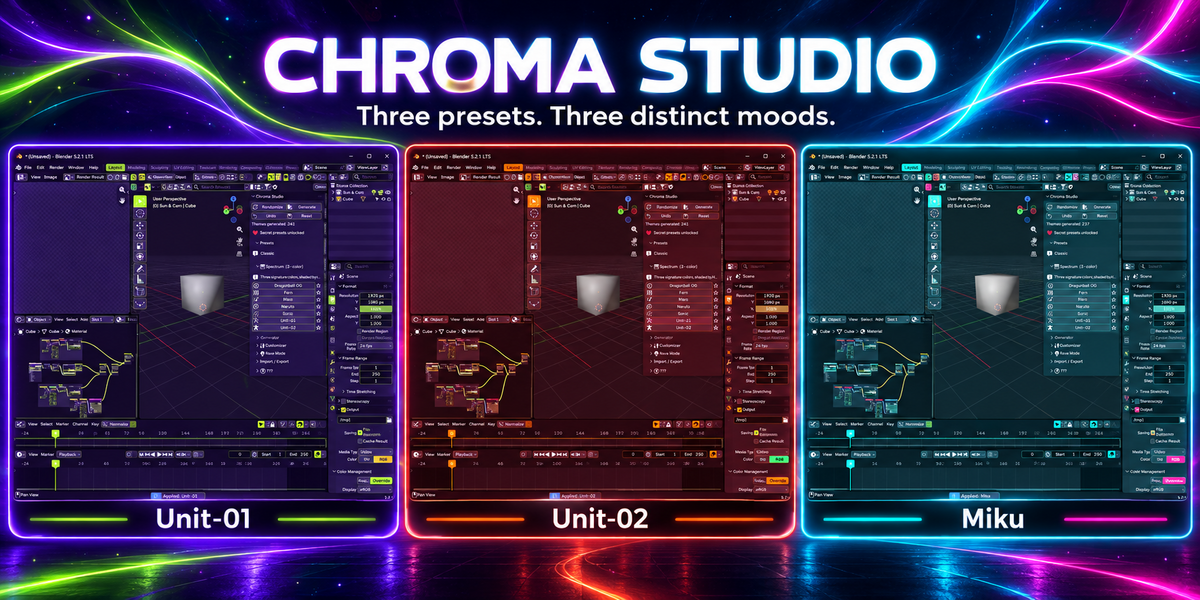
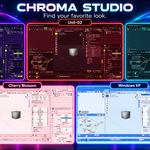
Expand Presets, then open Classic or Spectrum. Click a preset to apply it. Double-click a preset to invert it, or use the star to mark a favorite.
Generate your own theme
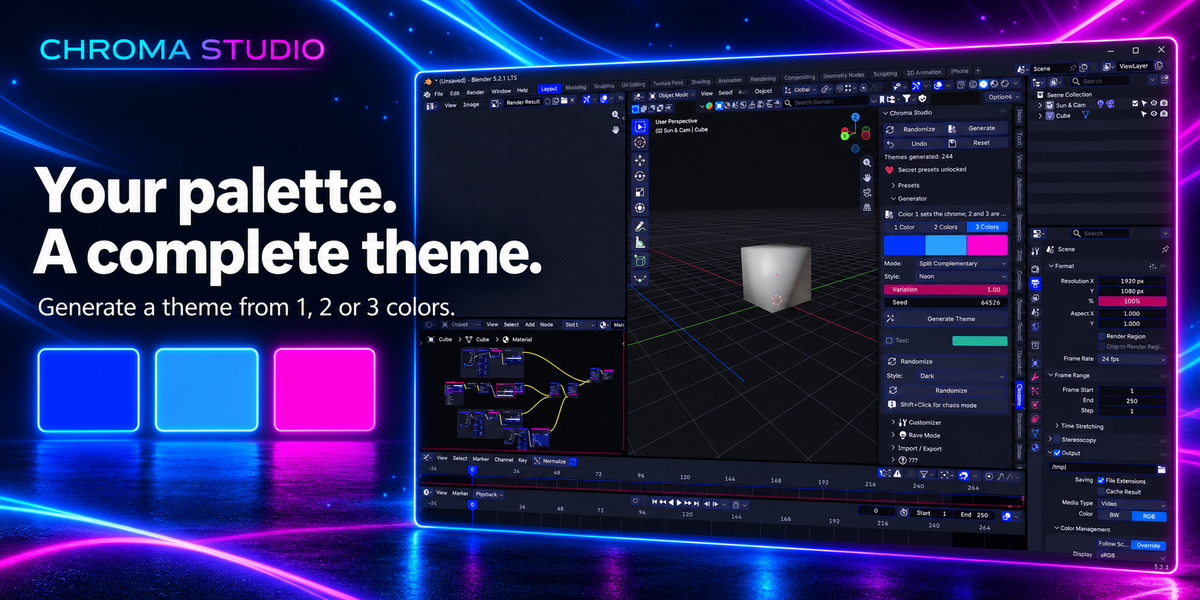
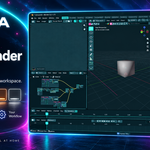
Expand Generator and choose one, two, or three input colors. Select your preferred harmony and style, then click Generate Theme. Use Randomize to explore different combinations.
Customize your colors
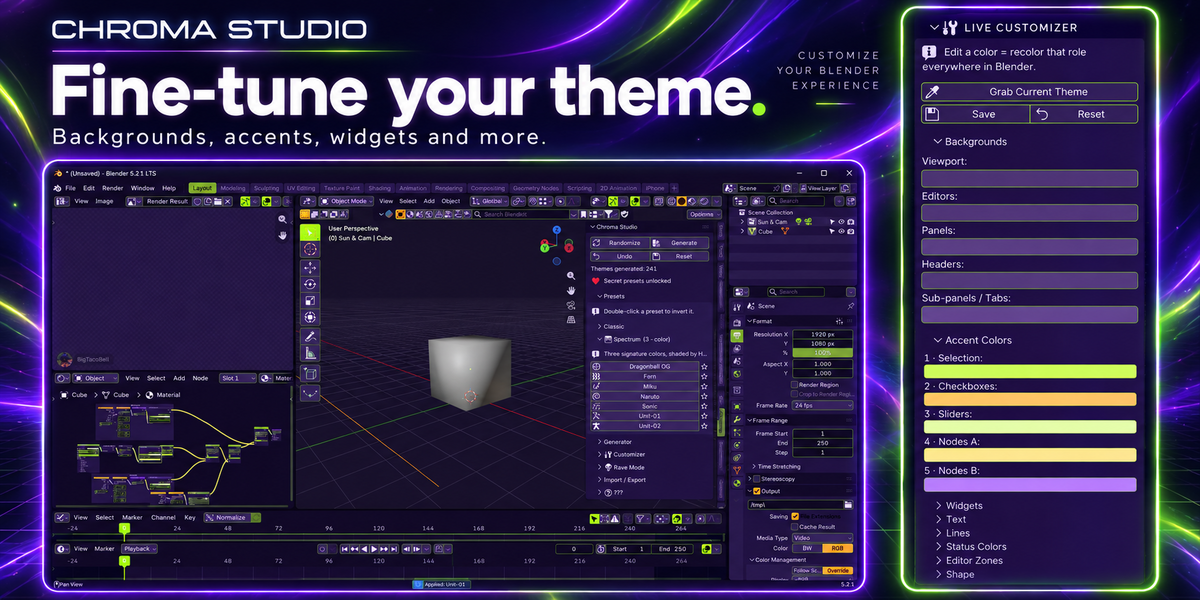
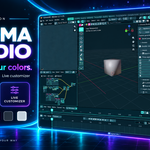
Expand Customizer to adjust backgrounds, accents, widgets, text, and more. Changes update the interface live. Use Grab Current Theme to start from the theme you already have applied.
Try Rave Mode
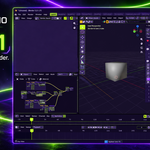
Expand Rave Mode to explore animated themes and its motion and color controls.
Save and share
Expand Import / Export and enter a theme name. Use Save to save your theme, Export to share it as JSON, or Import JSON to load a saved theme.
Undo or reset
Use Undo to step back through theme changes. Use the main Reset button to restore Blender’s default theme.
Have questions about this product?
Login to message
| Blender Extension Compatible | Yes |
| Published | 19 days ago |
| Blender Version | 5.1 - 5.2 |
| Extension Type | Add-on |
| Render Engine Used | Cycles, Eevee |
| License | GPL |
Discover more products like this
interface color light-mode ui theme-generator Dark Mode workspace presets theme blender-theme blender customization