 TheFridge
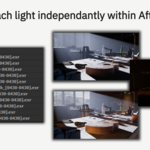

Full per-light control in After Effects, with colour that matches Blender exactly.
A bridge for VFX and CG artists doing render-pass relighting work. Every light group lands in After Effects as its own layer, ready to adjust independently, with a render that matches what Blender produced rather than an approximation of it.

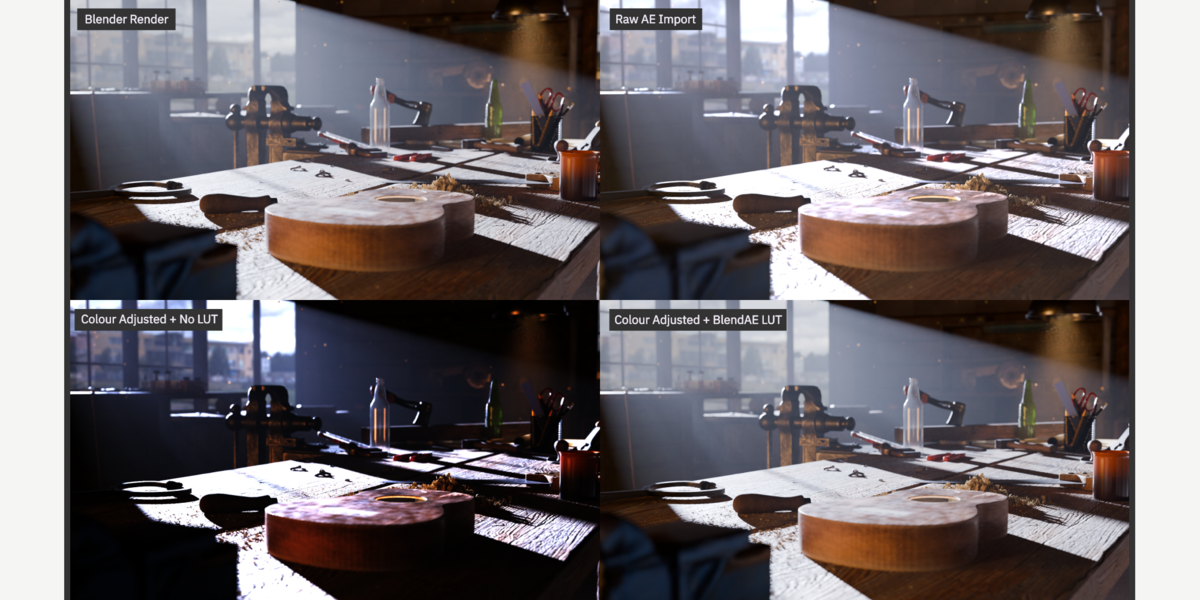
The reference. This is the target.
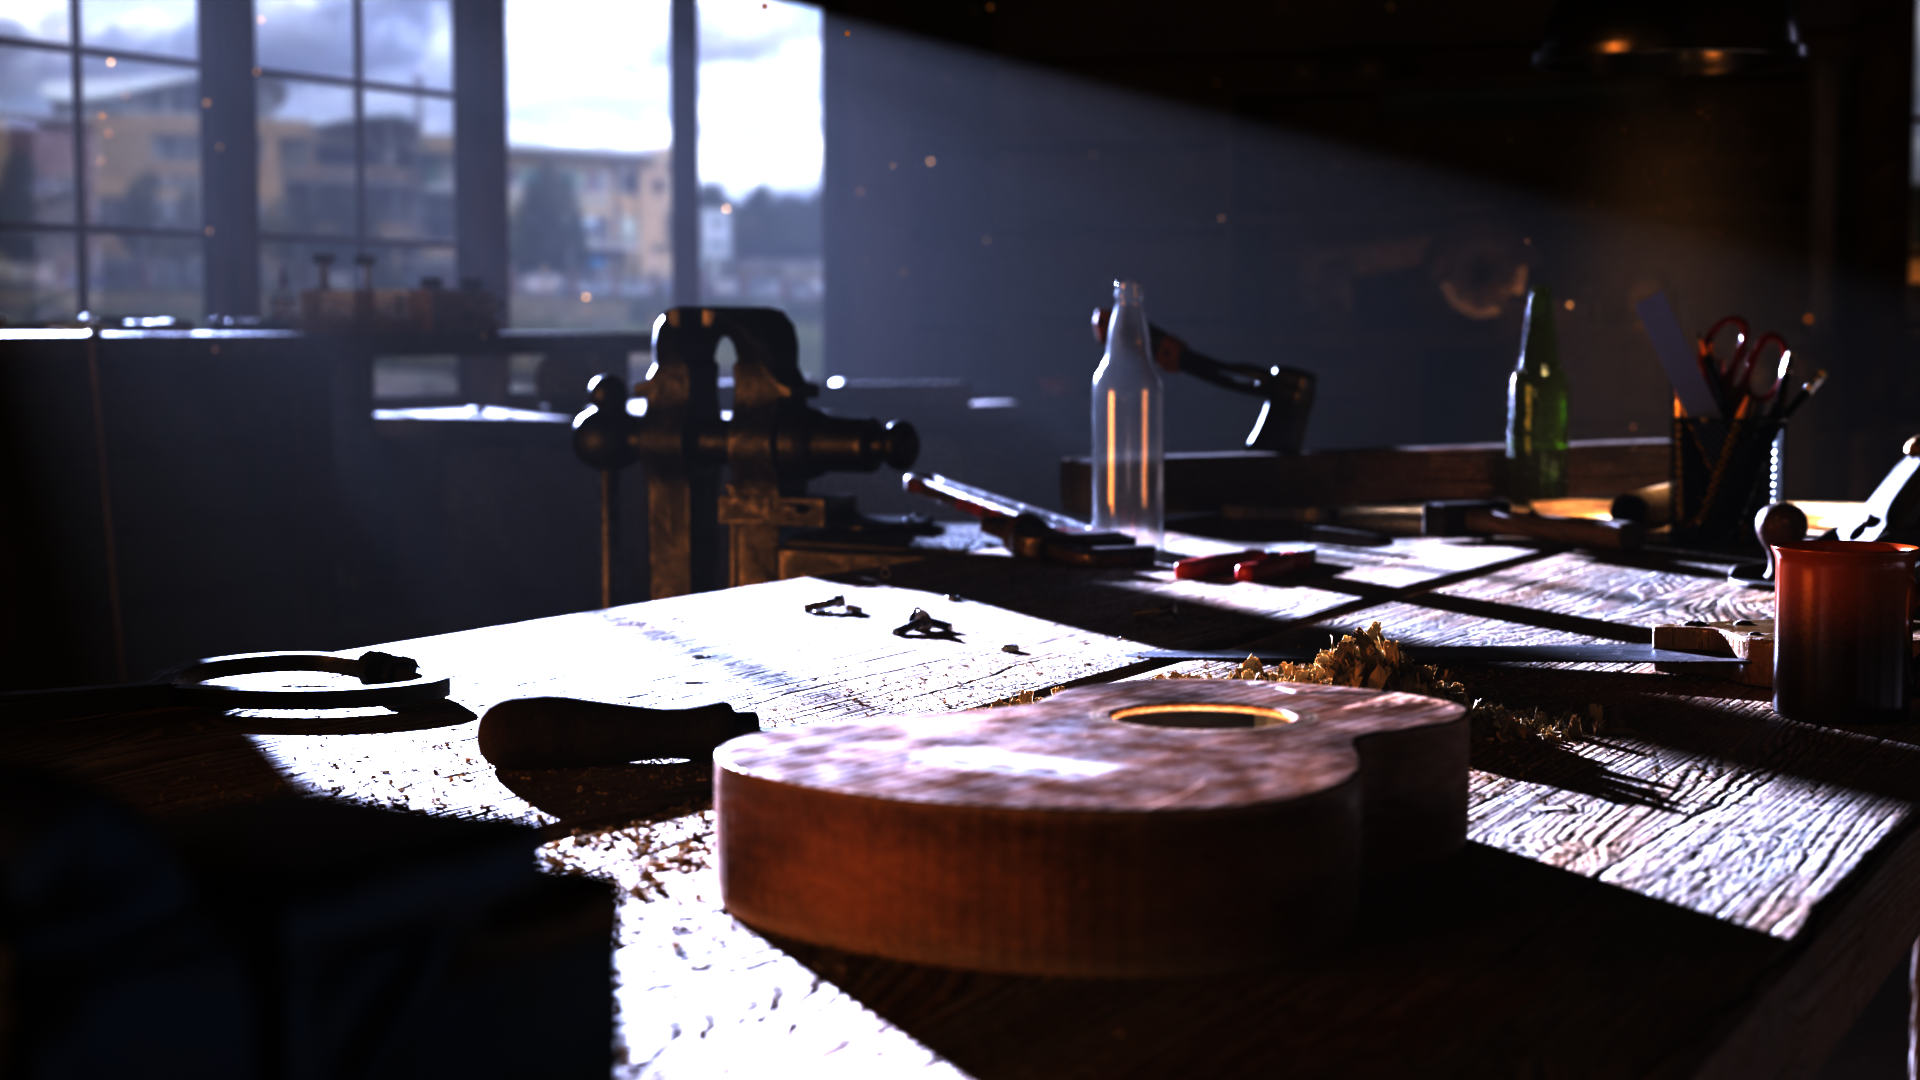
The same frame's EXR, opened in After Effects, before any colour is applied.
The same frame again, with ChromaBridge's matched LUT applied.
All three are the same frame. The After Effects composite on the right is built to match the Blender render on the left one to one, not just look close to it, so the colour work already done in Blender carries through untouched.
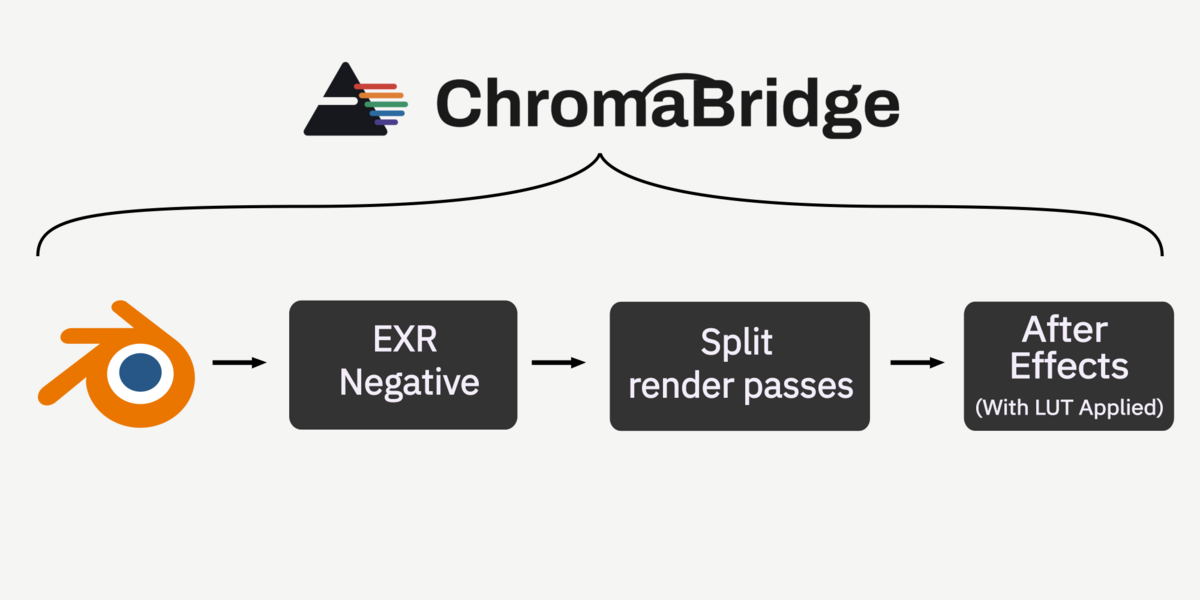
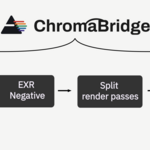
ChromaBridge renders a raw multilayer EXR once, then splits it into plain single-layer EXR sequences on the Blender side. After Effects never has to open a multilayer file, so the plugin that usually causes the trouble never enters the picture.
Two clicks. Not seven steps.
The normal workflow
- Export a multilayer EXR and hope EXtractoR or ProEXR opens it without crashing.
- Set up an OCIO plugin to get anywhere near Blender's actual colour.
- Manually stack every light group layer and guess at blend modes.
- Recheck colour management every time Blender's view transform changes.
- If anything changes, re-render in Blender and wait again.
- Tweak colour curves by eye trying to match what Blender showed.
- Repeat all of it, for every shot.
The ChromaBridge workflow
- Click Render Animation.
- Click Transfer to After Effects.
Done.
Note: the LUT file needs manual selection.
What it does
Light groups, handled for you
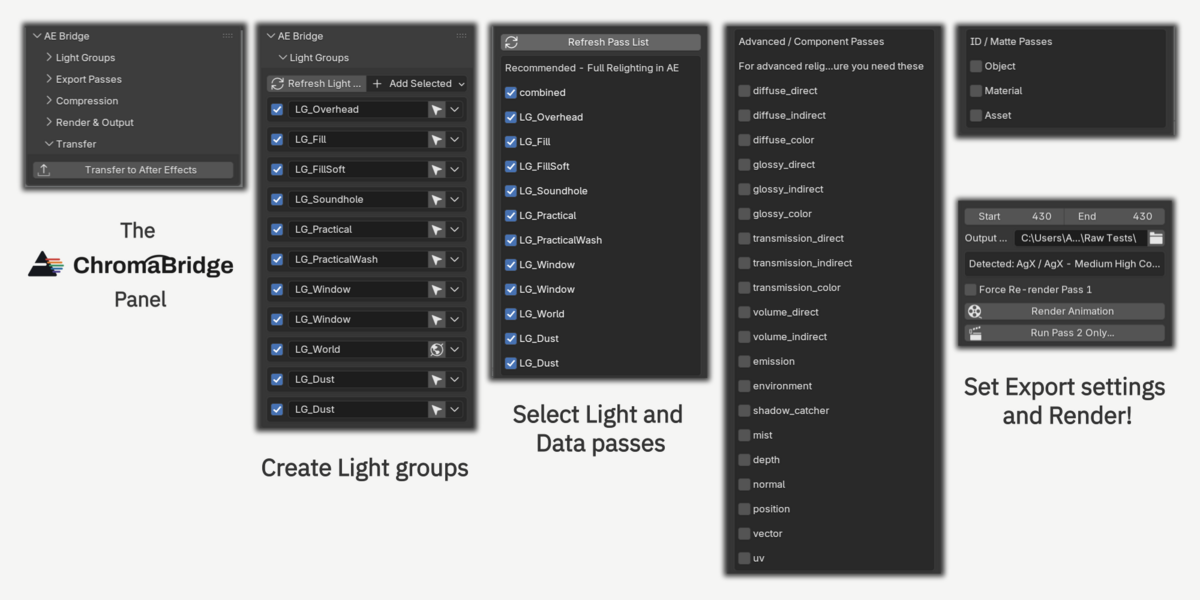
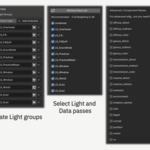
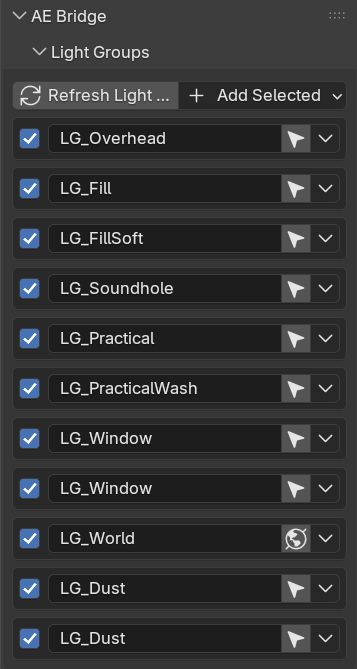
Every light gets its own light group the moment it's added, with no manual setup required. Emissive materials count too, a glowing screen or a neon sign gets its own light group automatically, not just actual lamps. An N-panel list lets you rename, isolate in the viewport, enable or disable, and reassign groups, including the World's own contribution, which Blender doesn't otherwise surface as a distinct group.
Choosing what to export
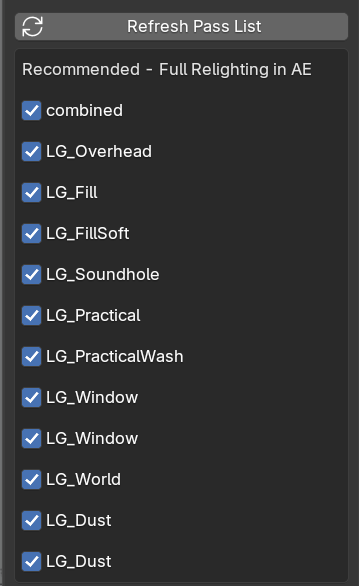
A checklist defaults to Combined plus every enabled light group, a relighting-ready set that needs no extra thought. Component passes like Diffuse, Glossy, and Transmission are there when you want them, off by default when you don't. Cryptomatte and other ID passes sit in their own section and are always kept lossless, whatever your general compression setting is.
One panel, start to finish
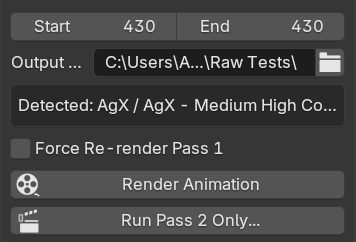
Frame range, output path, and the detected LUT all live in the same panel. Render Animation runs the full two-pass chain from scratch.
If you realise afterward that you need something else, say a depth pass you forgot, there's no need to re-render the whole animation from scratch. Select the extra passes in the add-on and run Render Pass 2 Only. It re-splits the render you already have instead of starting over, so what would normally take hours takes a fraction of the time.
Colour, checked against the source
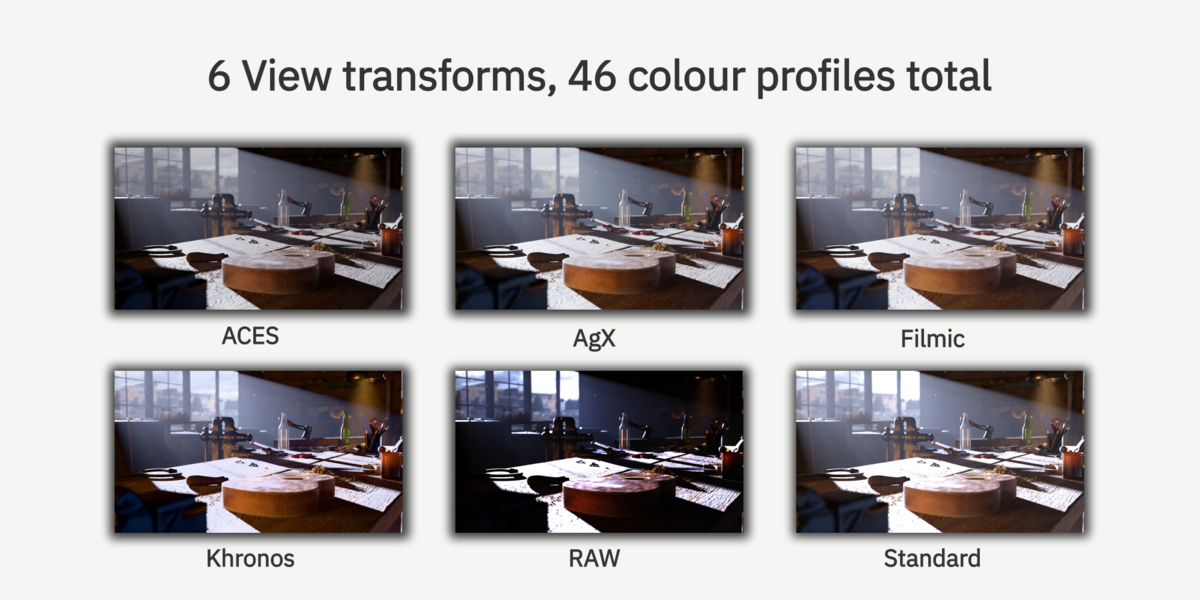
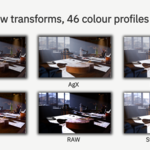
| 46 baked view transforms | ✓ |
| AgX, Filmic, Standard, ACES, Khronos PBR Neutral, and Raw, all included | ✓ |
| Verified in After Effects, by eye and by measurement | ✓ |
| No third-party colour plugin required | ✓ |
Filmic Log and False Color are deliberately excluded.
Landing in After Effects
One click from Blender opens or finds your After Effects session, builds the comp, imports the footage as recognised sequences, stacks the light group layers in Add mode, and applies the matched LUT on an adjustment layer (manual LUT selection required). Project colour settings are set correctly without you touching them.
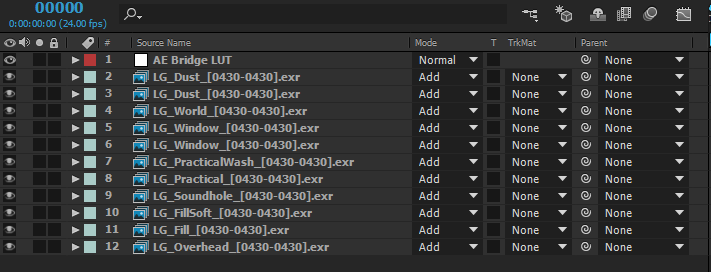
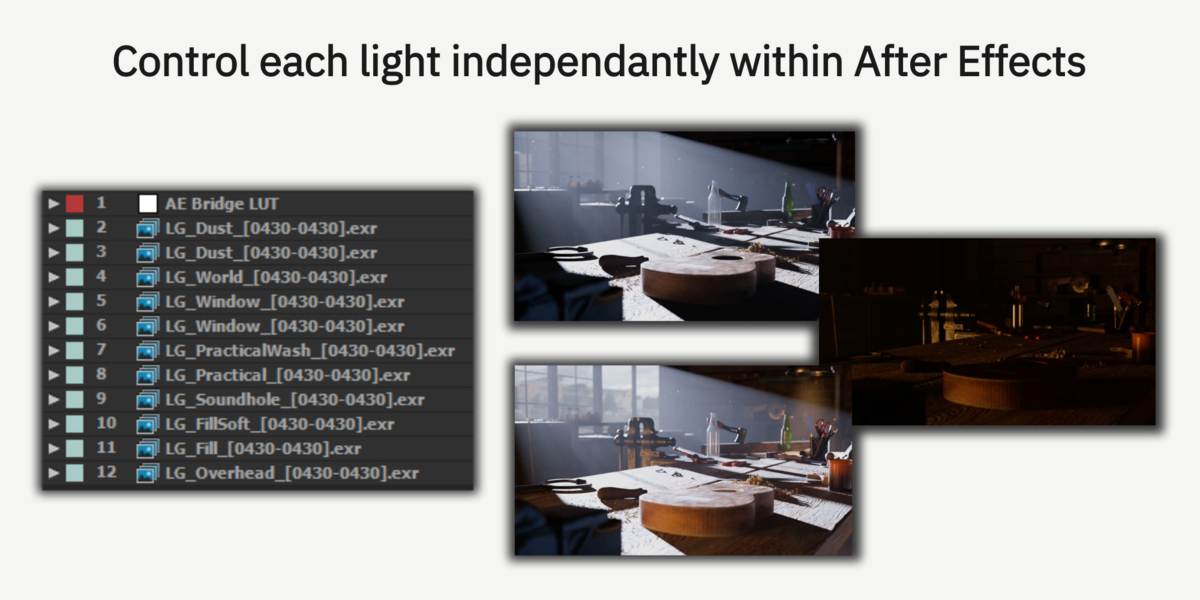
Every light, still yours to adjust
Control every light in your scene independently, all without opening Blender again or rendering a single frame.
Never lose a light by accident
The Light Groups panel flags any light, emissive object, or World that's slipped through without a group assigned. One click selects and frames it in the viewport, so nothing quietly ends up excluded from your relighting setup.
Re-import without losing your work
Importing again never overwrites a comp already being graded. A fresh, uniquely named comp is created every time, so a previous session's adjustments stay exactly where they were left.
How it works
Which tier is right for you
All three include the full add-on, every light group and export feature works the same everywhere. The only difference is how many of the 46 colour profiles are included.
If you ever receive files from someone using Filmic or ACES, or you're not sure what colour space your collaborators use, Lite alone won't cover you. Look at Plus or Personal instead.
| Lite | Plus | Personal RECOMMENDED |
|
|---|---|---|---|
| Full add-on functionality | ✓ | ✓ | ✓ |
| AgX, 10 profiles | ✓ | ✓ | ✓ |
| Filmic, 8 profiles | ✓ | ✓ | |
| ACES 1.3 and 2.0, 4 profiles | ✓ | ✓ | |
| Standard, 8 profiles | ✓ | ||
| Khronos PBR Neutral, 8 profiles | ✓ | ||
| Raw, 8 profiles | ✓ | ||
| Total colour profiles | 10 | 22 | 46 |
- Starting smaller is safe too. Upgrading later only costs the difference between tiers, never the full price again.
- A Studio licence is also available, up to 5 seats. Need more than 5? Get in touch and we'll sort out a price.
Compatibility
| Component | Status |
|---|---|
| Blender | 5.x+* |
| After Effects | CC 2015 and CC 2023* |
| Operating system | Windows |
* See the first question below.
Frequently asked questions
Which software versions does this support?*
Built and tested against Blender 5.2 and After Effects CC 2015 (13.5) and CC 2023. Any Blender 5.x version, and any After Effects version in between these two, is expected to work as well. If something doesn't work correctly on your version, please get in touch, we're happy to help sort it out.
Does this work on Mac?
No. This is Windows only, and Mac support isn't planned.
Why do I have to manually link the LUT file every project?
After Effects has never exposed a scripting property for setting a LUT file's path, confirmed back to CS 5.5. It's a permanent limitation of the platform, not something this add-on failed to automate.
Do I need to repeat setup for every project?
No. A short one-time setup happens once per machine, or once per AE version if more than one is installed. Everything after that is a single click per project.
Does this support Cryptomatte?
Cryptomatte passes export correctly as their own separate files. Whether they're usable inside After Effects depends on the specific plugins available in your AE install.
Can I process a render I already made, from before I had this add-on, or from a render farm?
Yes. Render Pass 2 Only accepts any multilayer EXR sequence shaped like a ChromaBridge negative, not just ones this add-on rendered itself. Point it at the file and it validates and splits it.
Can I uninstall this cleanly?
Yes. A dedicated uninstall script removes the After Effects startup hook and reverses the one colour-management change made during setup, leaving everything else on your machine untouched.
Can I control how large the exported files are?
Yes. A simple Balanced or Maximum Quality choice controls compression on the general passes. ID and Cryptomatte passes are always kept lossless, whichever one is picked.
ChromaBridge is an independent, third-party tool. It is not affiliated with, endorsed by, or sponsored by the Blender Foundation or Adobe Inc. Blender is a trademark of the Blender Foundation. Adobe and After Effects are either registered trademarks or trademarks of Adobe Inc.