 Dortus
Getting started
- Install: in Blender 4.2 or newer, go to Edit > Preferences > Get Extensions, open the drop-down menu at the top right and choose Install from Disk. Pick click_joints_pro-1.0.1.zip. Is the free Click Joints enabled? Disable it first; the two can not be on at the same time.
- Open the panel: in the 3D viewport press N and open the Click Joints tab.
- 1 Place: select your mesh and set the 3D cursor where the joint goes (Shift + right click). Click Check mesh. If the mesh is not watertight, use Make watertight. If the size looks wrong (expected 5 to 500 mm), click Convert to mm.
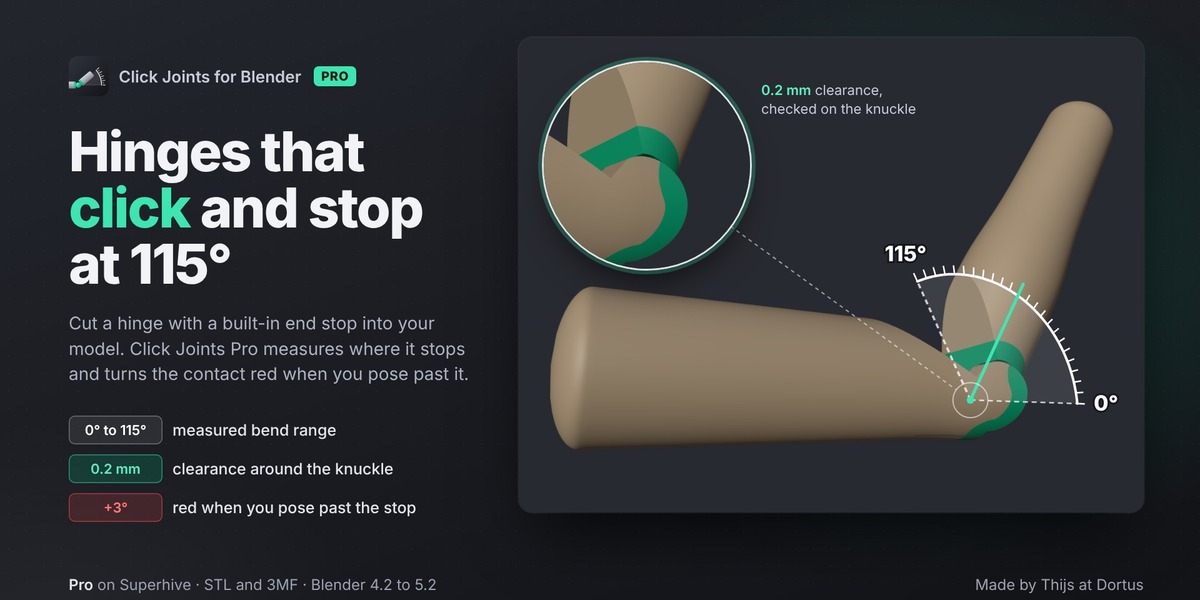
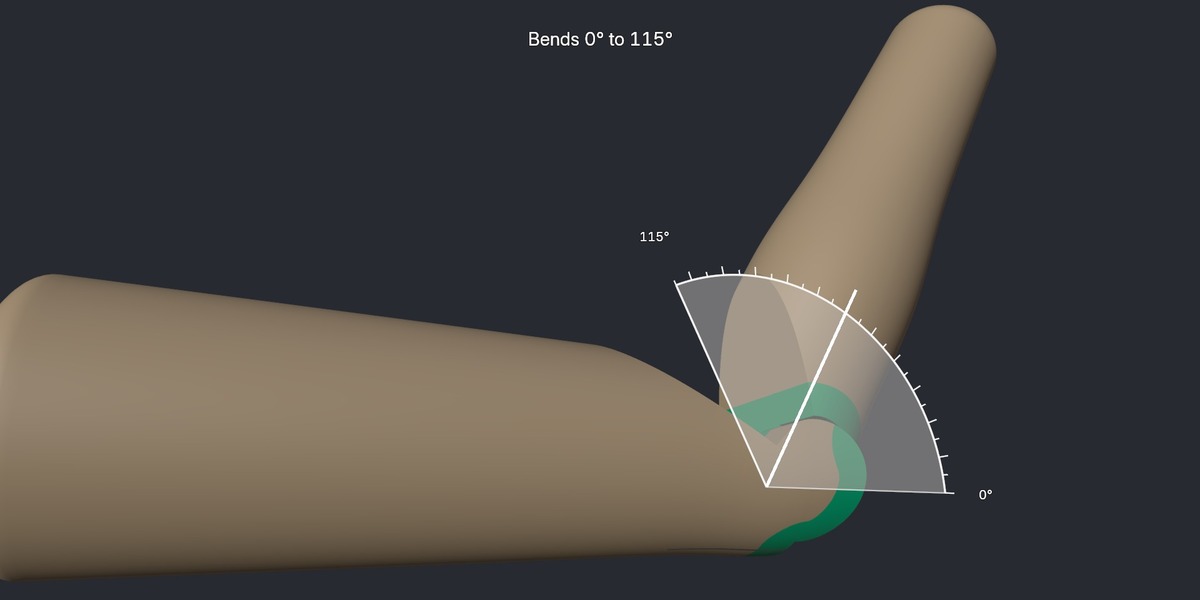
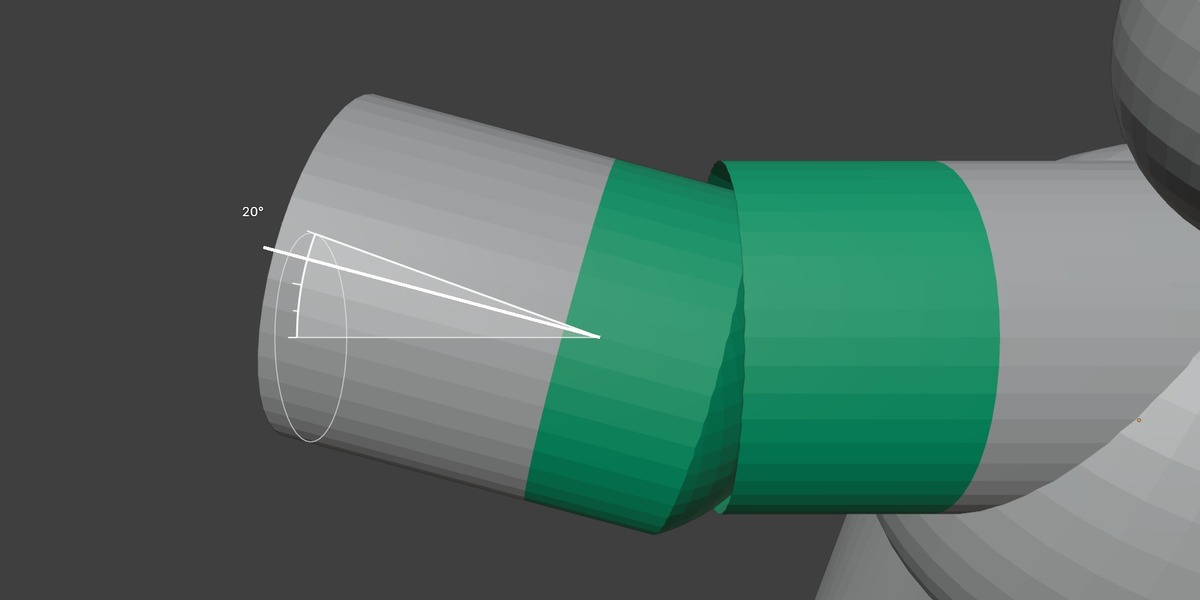
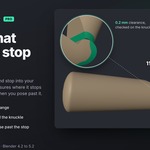
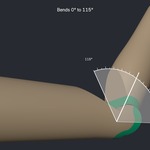
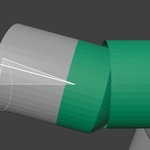
- 2 Joint: for a ball joint, pick the diameter (or Auto) and the clearance, then click Place joint. For a hinge (Pro), use Place hinge, bends up to and pick 90°, 115° or 135°. Flip bend makes it bend the other way.
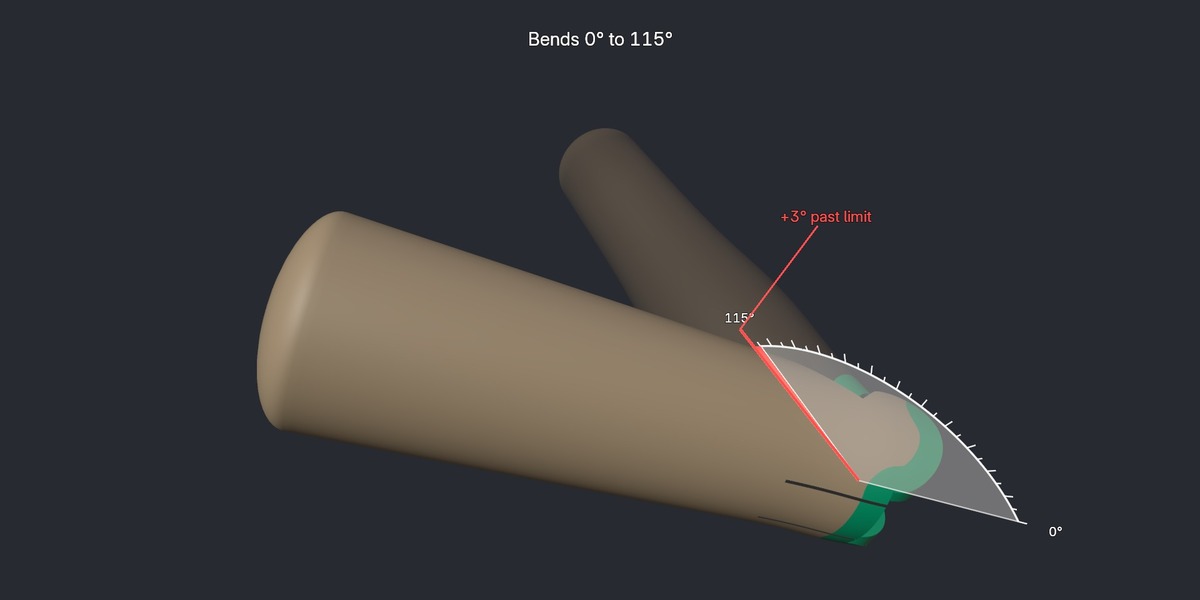
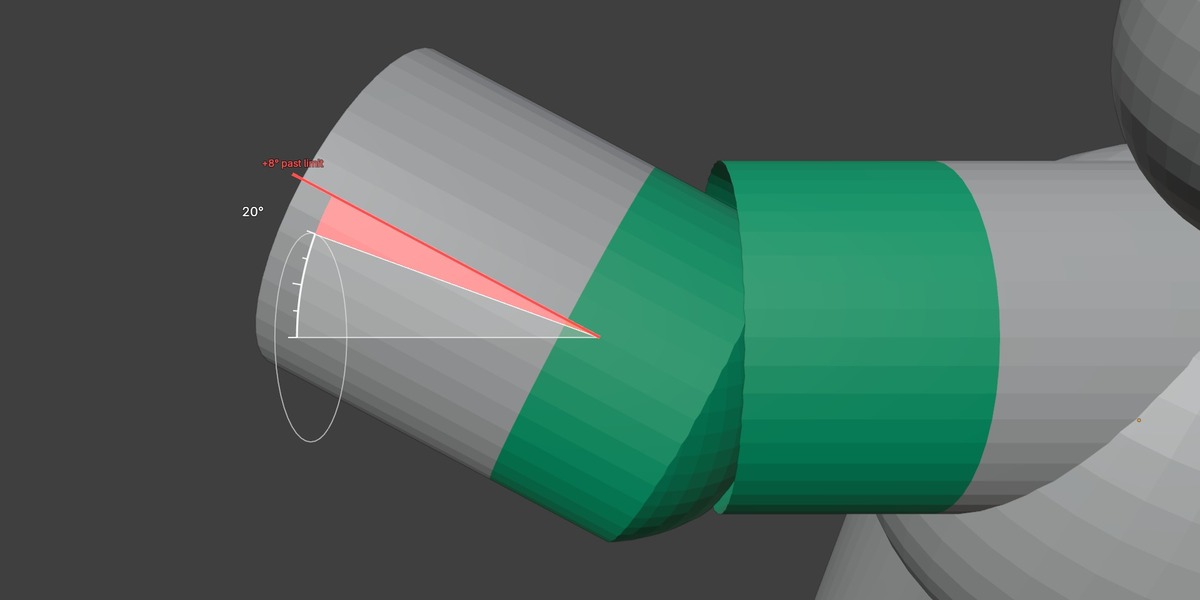
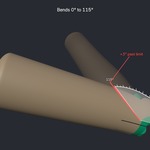
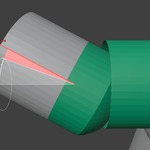
- 3 Fit and export: the fit colour tells you if the joint is good. Turn on Show bend range and drag Bend to check the pose; parts that hit turn red. Reset bend puts it back. Choose a folder, STL or 3MF, and click Export. The pose does not change the export.
Printing tips
- The default clearance is 0.2 mm. Print one small joint first: every printer is different, so adjust the clearance if it is too tight or too loose.
- Exported files are in millimeters, one file per part.
Support
Questions or bugs: github.com/thijsduinhouwer2002-coder/click-joints/issues or [email protected]. Please mention your Blender version.
 Included
Includes 12 months of
- Support from Dortus
- Product updates
Extend this product’s Support Period +12 months: 25% of product price
Have questions before purchasing?
Login to message
| Blender Extension Compatible | Yes |
| Published | about 5 hours ago |
| Blender Version | 4.2 - 5.3 |
| Extension Type | Add-on |
| Render Engine Used | Cycles |
| License | GPL |
Discover more products like this
miniatures action figure ball-joint 3MF articulated figure STL Joints hinge