 mrybrik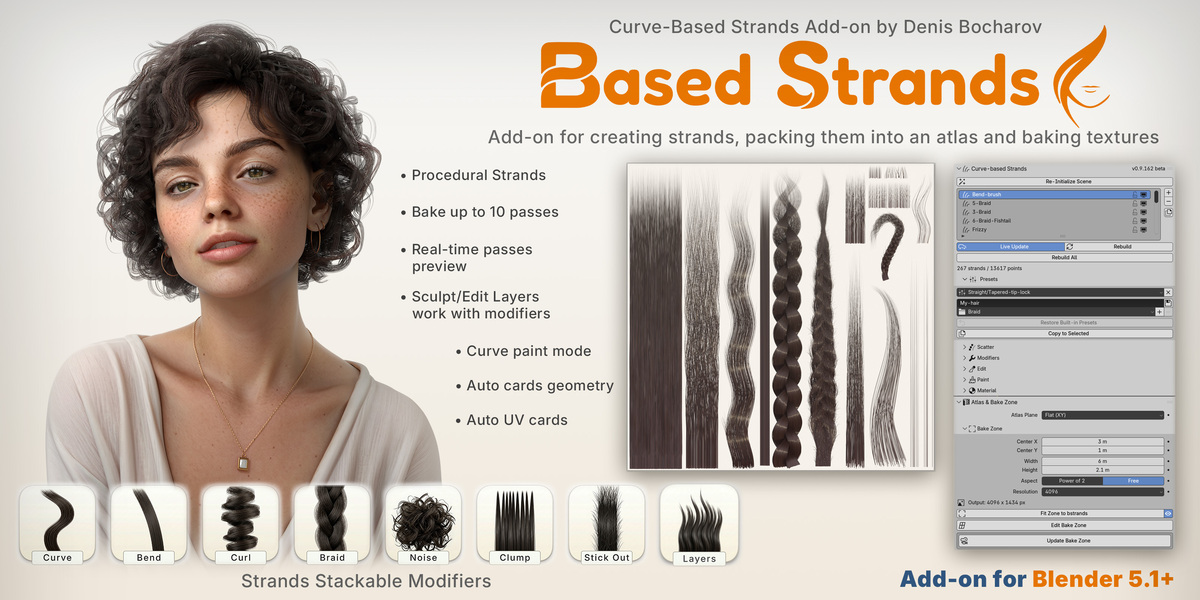
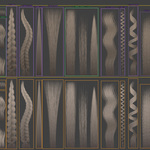
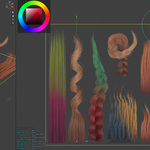
Documentation
A full user guide lives at Curve-BStrands Documentation: installation, a quick start that builds your first atlas, and a chapter for every panel. Every control in the add-on also has a tooltip.
Beta. Curve-BStrands is in beta and in daily use on my own work. Everything described here works; the interface is still moving as people tell me what gets in their way. Updates are included with your purchase, and if something is broken or missing, write to me at [email protected] or use any of the ways on Contacts — that is how most of this got built.
Installation and Setup
Install the add-on
- Download
CurveBStrands_0.9.163.zip. Do not unzip it. - In Blender, open Edit ▸ Preferences ▸ Get Extensions.
- Click the drop-down arrow in the top-right corner and choose Install from Disk…
- Select the zip file and click Install from Disk.
- Check that Curve-BStrands is enabled in the add-on list.
You can also drag the zip file straight into the Blender window.
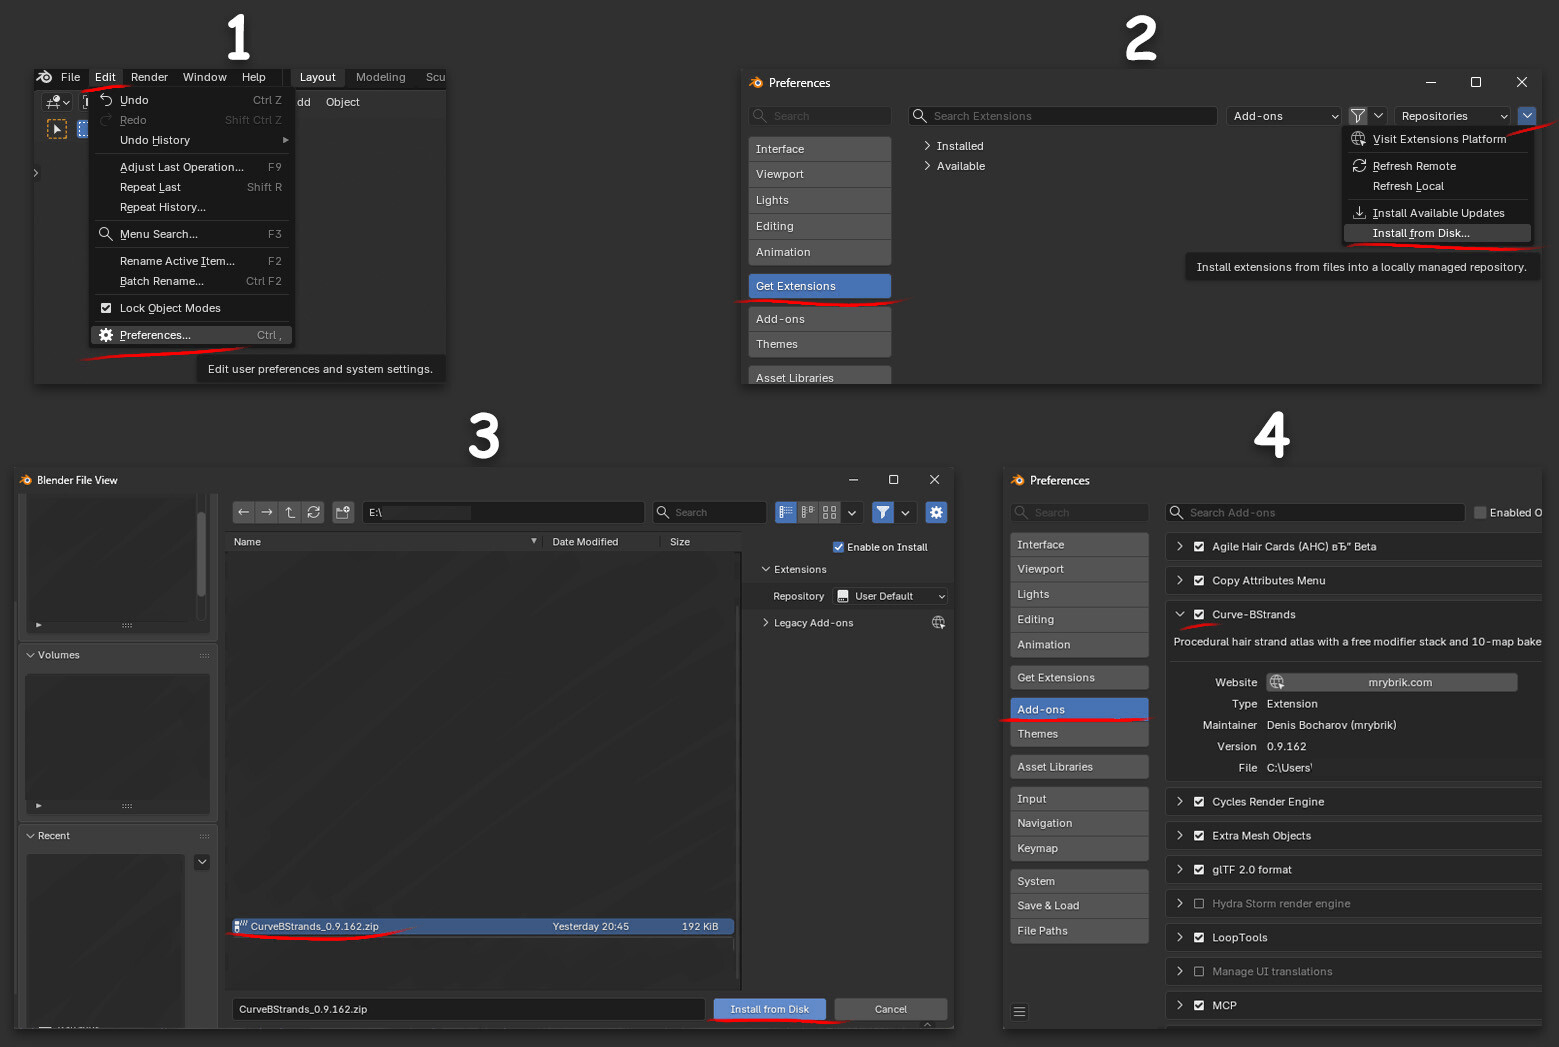
Image — Installing in four steps: Edit > Preferences, Get Extensions > Install from Disk..., choosing the CurveBStrands zip, and Curve-BStrands enabled under Add-ons. (installation-install-from-disk.png)
Find the add-on
Open a 3D Viewport, press N to show the sidebar, and click the BStrands tab.
The tab has three top-level panels:
| Panel | What it holds |
|---|---|
| Curve-based Strands | The list of bstrands, Live Update, Presets, and the sections Scatter, Modifiers, Edit, Paint and Material |
| Atlas & Bake Zone | Bake Zone, Render, Curves, Texture Bake, UV Slots, Cards, and Export & Save |
| About | Version, install folder, and links |
Every section can be collapsed. Click its header to open or close it.
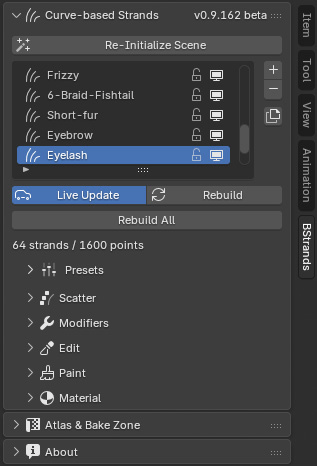
Image — The BStrands sidebar tab with all sections collapsed, so the whole structure fits on screen. (installation-sidebar-tab.png)
Set up the scene
Before you start, press Activate Curve-BStrands at the top of the Curve-based Strands panel.
Blender's defaults are wrong for strand work in two ways. Curves render as one-pixel hairlines instead of strands with thickness, and the AgX view transform tone-maps everything, including your baked maps. Activate fixes both and prepares the scene.
It does the following. Each item is a checkbox in the Adjust Last Operation panel (bottom-left of the viewport) if you only want some of them:
| Option | What it sets |
|---|---|
| Curves with Thickness | Curves render as round tubes (Cylinder) in EEVEE and as 3D Curves in Cycles |
| Standard Colour Management | View transform Standard, so baked colours are written as they are |
| Render Engine | The engine the atlas bakes with |
| Material Preview Shading | Viewport shading that shows the strand material |
| Neutral World | A plain dark world, only if the scene has none |
| BStrands Collection | A collection that everything the add-on creates goes into |
| Starter bstrand | One bstrand to start with, only if the scene has none |
| Start Bake Zone | Puts the bake zone back to its starting 2 × 2 m square |
| Bake Zone Camera | The orthographic camera that frames the bake zone |
After that the button reads Re-Initialize Scene. If the scene later drifts out of this state, a warning box appears at the top of the panel with the button to fix it.
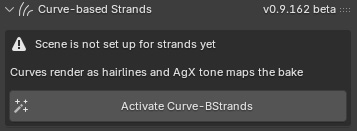
Image — The warning box and the large Activate Curve-BStrands button in a fresh scene. (installation-activate-button.png)
Update to a new version
Install the new zip the same way. Then restart Blender, or disable and re-enable the add-on, so every part of the new version loads.
Your saved presets are kept: they live in Blender's configuration folder, not in the add-on folder.
Uninstall
Open Edit ▸ Preferences ▸ Add-ons, expand Curve-BStrands and click Uninstall.
Your presets stay in Blender's configuration folder, so they come back if you install the add-on again. On Windows that folder is %APPDATA%\Blender Foundation\Blender\\config\bstrands\presets.
Quick Start: Your First Atlas
This walk-through takes you from an empty scene to baked maps and textured cards in about ten minutes. Every step links to a chapter with the full details.
1. Set up the scene
- Start a new Blender file and save it (File ▸ Save As). Baked maps go next to the .blend by default.
- In the 3D Viewport press N and open the BStrands tab.
- Click Activate Curve-BStrands.
You now have a starter bstrand inside a 2 × 2 m bake zone.
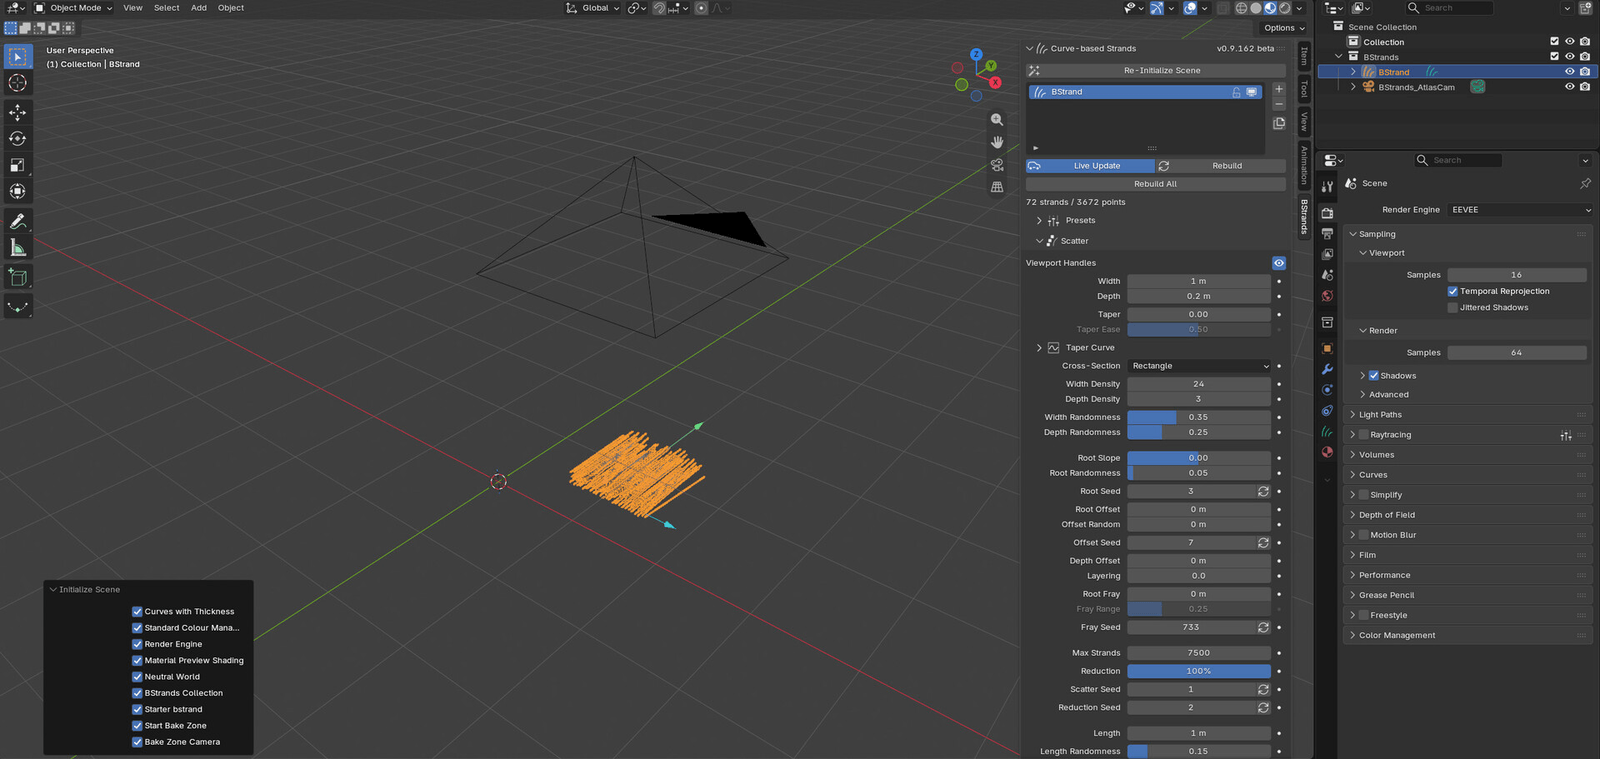
Image — The viewport right after Activate: the starter bstrand and the BStrands tab. (quick-start-after-activate.png)
2. Start from a preset
- Open the Presets section under the bstrand list.
- Click Pick a Preset and choose Curl ▸ Soft-waves.
The preset applies as soon as you pick it. Press Ctrl+Z if you want the previous look back.
3. Add a second lock
- Click + beside the bstrand list. The new bstrand appears in the middle of the bake zone.
- Pick Braid ▸ 3-Braid from the preset menu.
- Move it beside the first lock: press G, then X, and drag.
Tip. Keep bstrands from overlapping. Each one gets its own rectangle of the atlas.
4. Adjust the shape
- Open Scatter and drag Width, Length and Thickness, or drag the coloured arrows in the viewport.
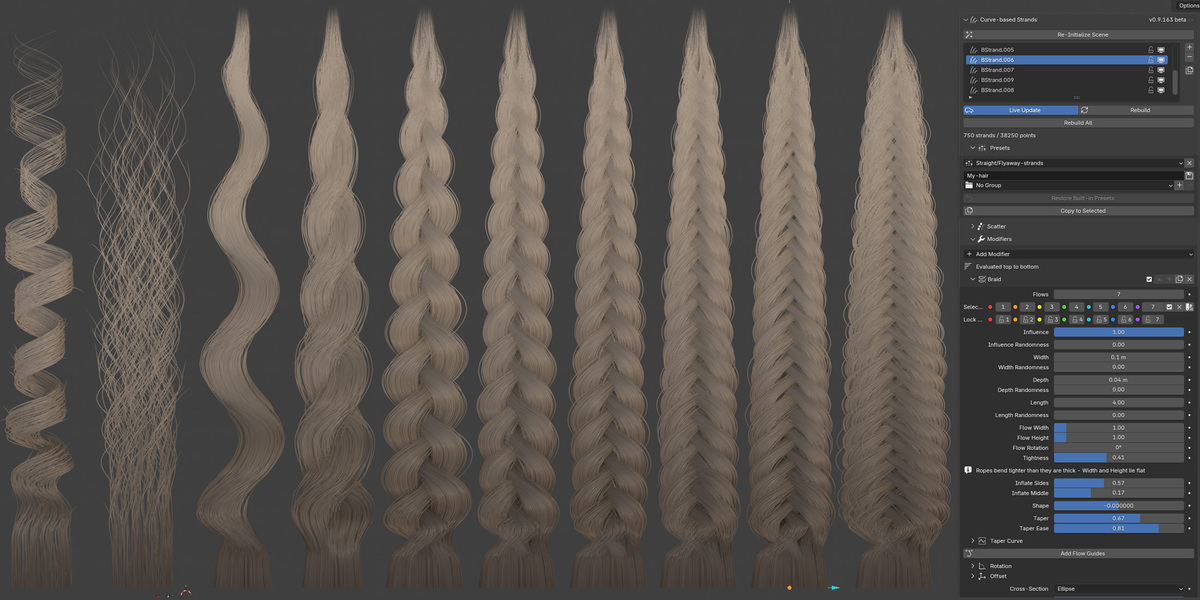
- Open Modifiers to see what the preset built. Try raising the Braid's Tightness, or add a Noise modifier with Add Modifier.
See Strands, Presets and Scatter and Modifiers.
5. Colour the hair
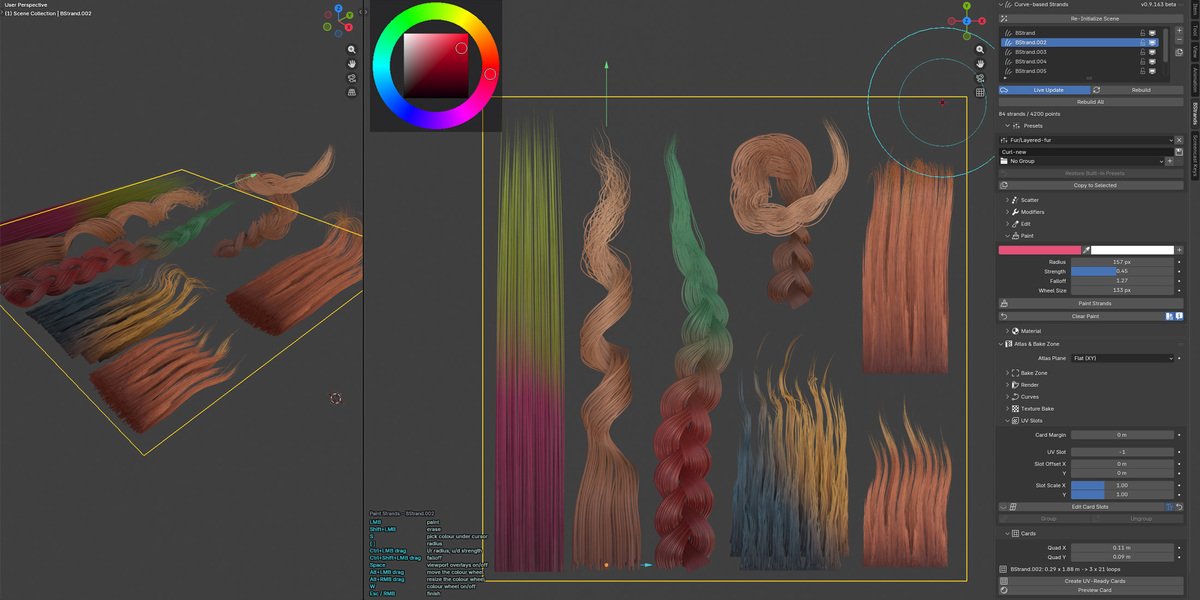
Open Material and edit the Root to Tip Gradient: the left end colours the roots and the right end the tips.
See Material, Edit and Paint.
6. Frame the bake zone
In Atlas & Bake Zone ▸ Bake Zone:
- Leave Aspect on Power of 2 for a standard game texture.
- Set Resolution to 2048 for a quick first bake.
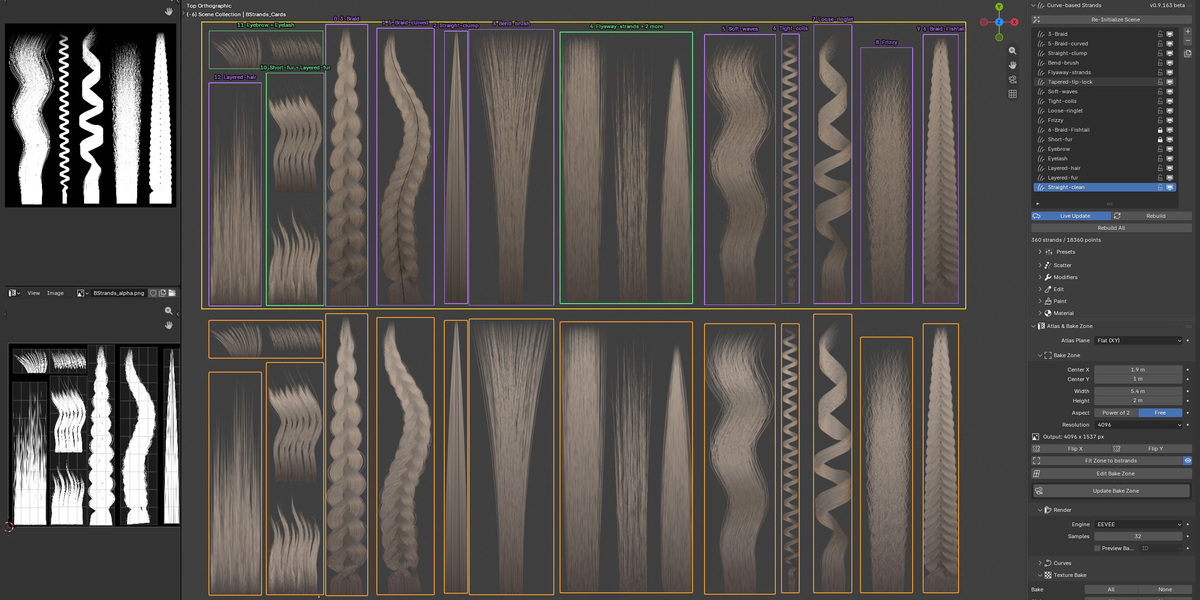
- Click Fit Zone to bstrands. The yellow zone wraps both locks.
- Click Update Bake Zone to look through the bake camera.
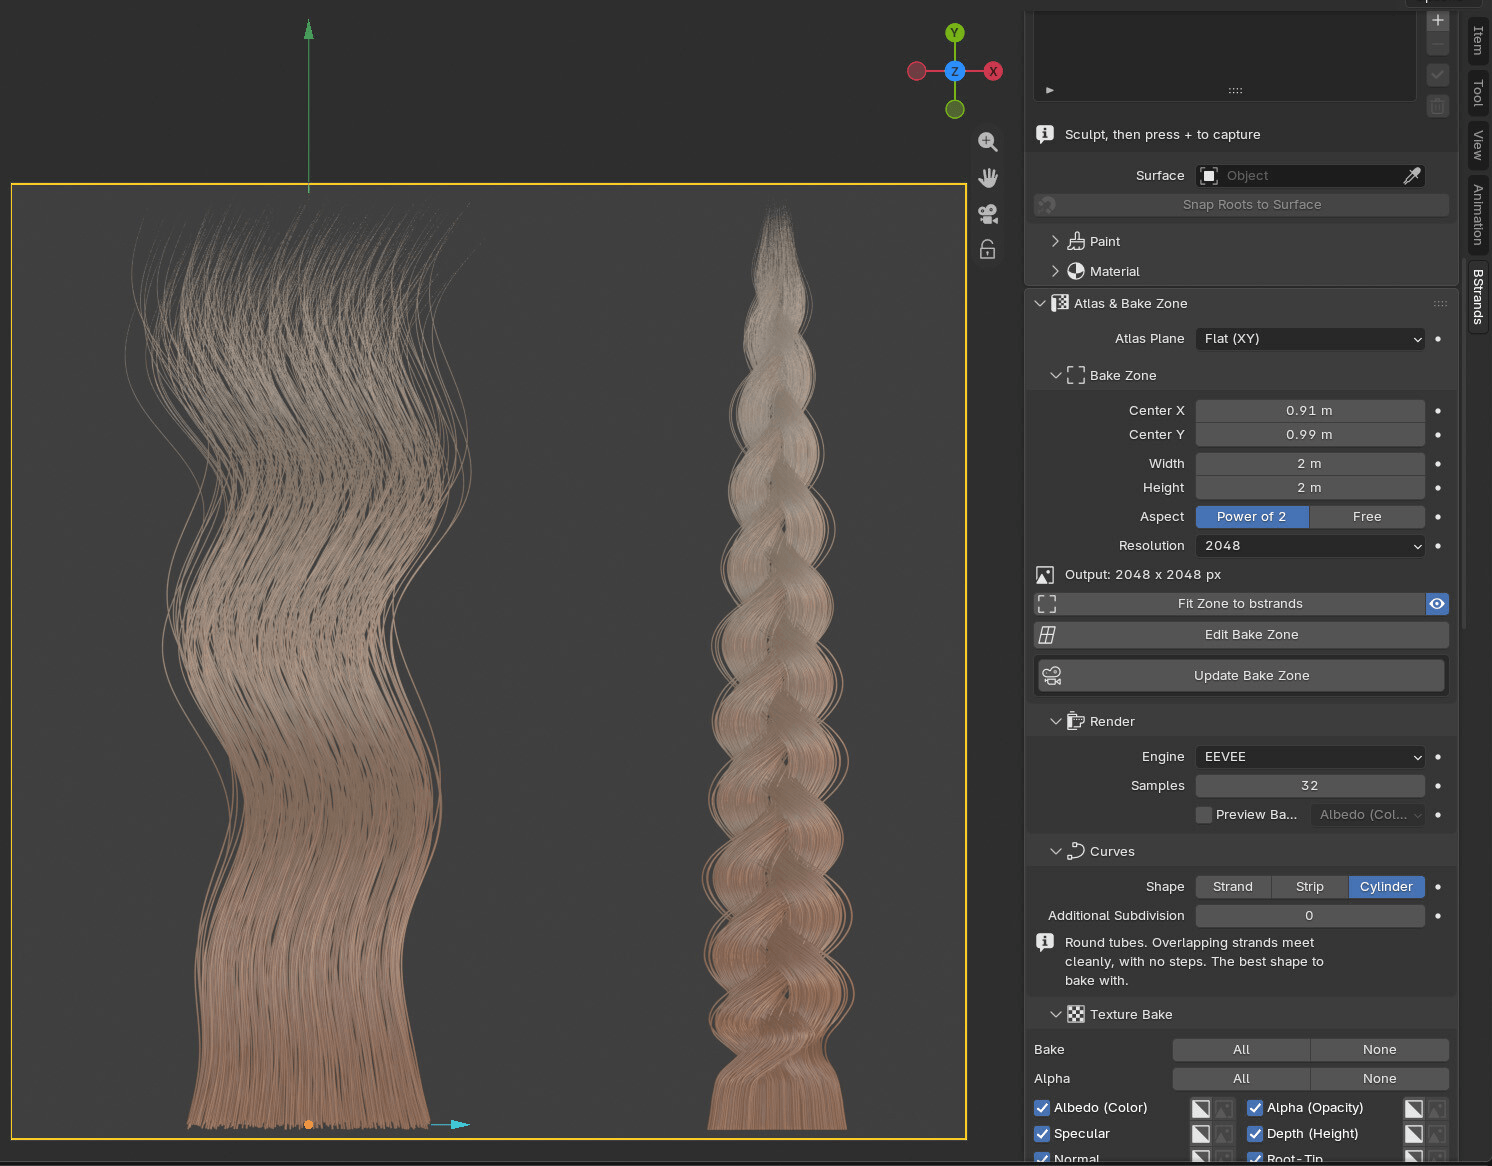
Image — The Bake Zone section and the viewport seen through the bake camera, with the yellow zone around both locks. (quick-start-bake-zone.png)
7. Bake
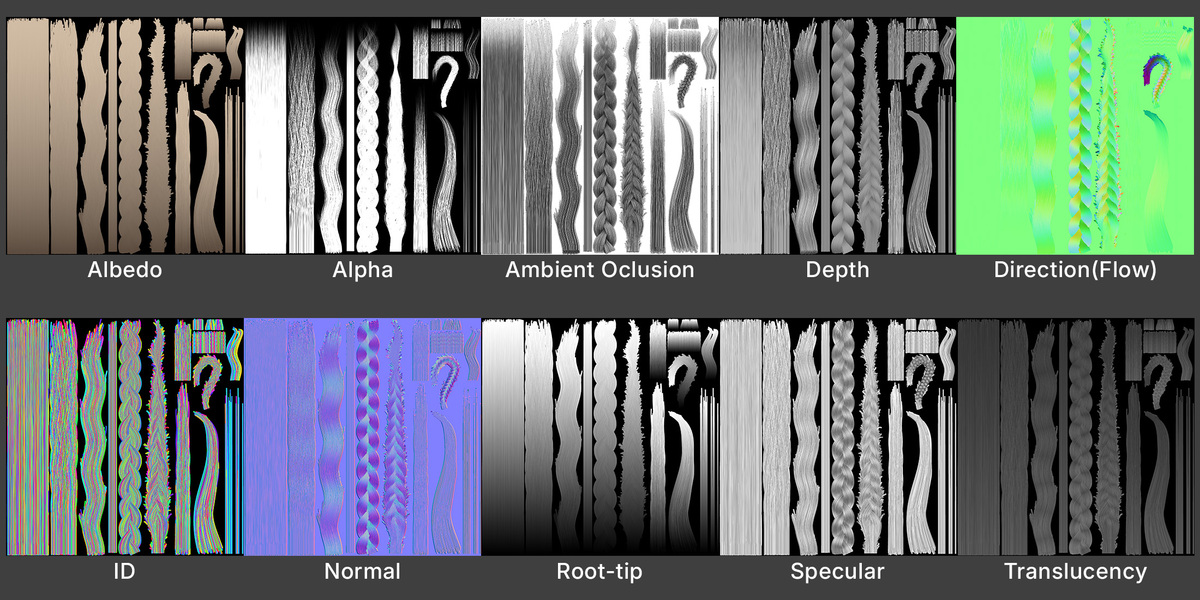
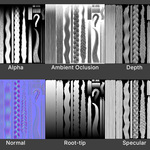
- Open Texture Bake. All ten maps are enabled; untick any you don't need.
- Click Bake 10 Map(s) at the bottom of the section. A progress bar shows each map; Esc cancels.
- Click the image icon beside a map to open it in an Image Editor.
The maps are written to a BStrands folder next to your .blend, named like BStrands_albedo.png.
See Atlas and Baking.
8. Use the atlas
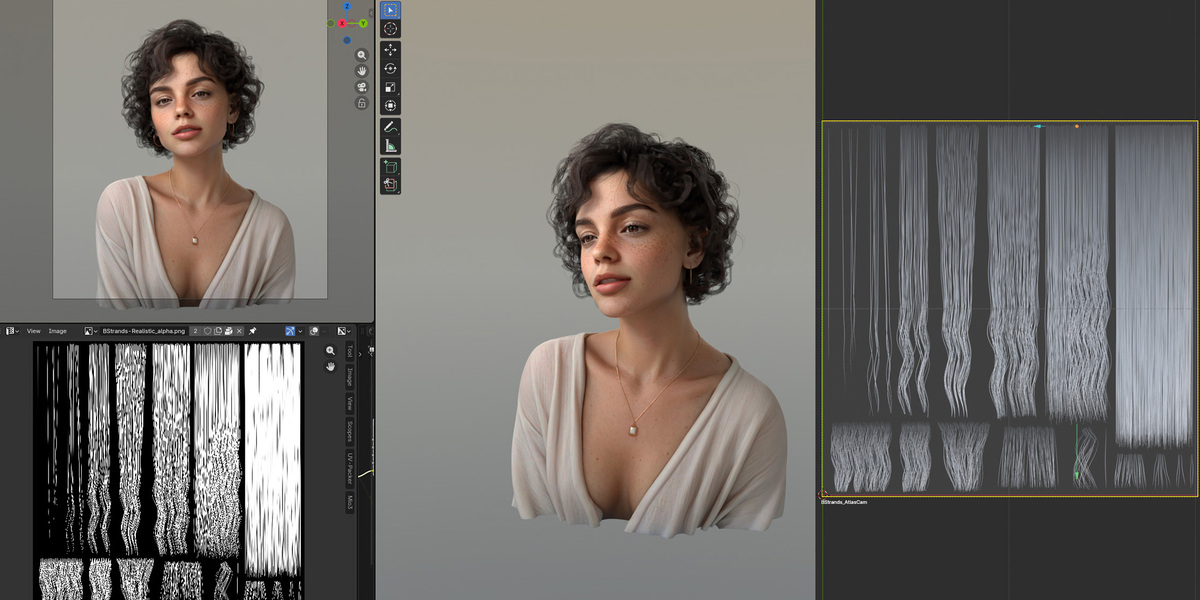
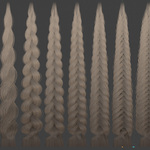
- In Cards, click Create UV-Ready Cards. You get one textured card per bstrand, ready to place on a head.
- Or, in Export & Save, click Export UV Layout (AHC) and import it into Agile Hair Cards.
See UV Slots, Cards and Export.
Image — The textured UV-ready cards next to the original strands. (quick-start-use-the-atlas.png)
 Included
Includes 12 months of
- Support from mrybrik
- Product updates
Extend this product’s Support Period +12 months: 50% of product price
Have questions before purchasing?
Login to message
| Blender Extension Compatible | Yes |
| Published | 3 days ago |
| Blender Version | 5.1 - 5.2 |
| Extension Type | Add-on |
| Render Engine Used | Cycles, Eevee |
| License | GPL |
Discover more products like this
game hair Procedural Hair hair atlas braid hair hair texture Grooming texture-baking hair cards character hair texture atlas fur