 Pixonomic
Sixty-five tools for CAD-style drafting on Blender's curves, in one sidebar tab: find what is wrong with a drawing somebody else sent, put it right, draw new work to the millimetre, and exchange DXF with CAD and the cutter.
It is for anyone whose curves have to be correct rather than approximately the right shape — a DXF that came from somewhere else and has to close and fill, parts headed for a cutter or a plotter, technical drawing done inside Blender instead of alongside it. It reads DXF, mends what is wrong with it, and writes DXF and SVG back out.
It tells you what is wrong
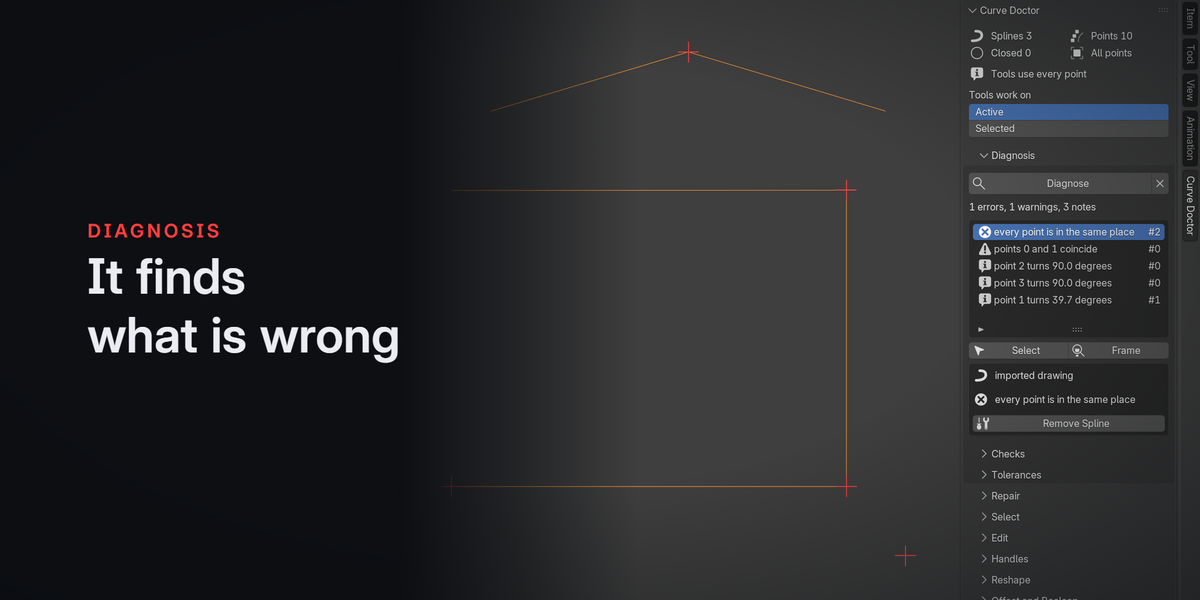
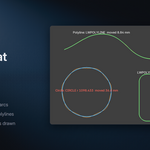
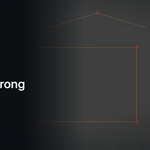
Press Diagnose and get a report sorted by severity: duplicate points, collapsed handles, contours that never close, splines with nothing in them, handles longer than the segment they steer, nested contours whose winding disagrees, curves that cross themselves, NURBS whose order does not fit their points. Fifteen checks in all.
First on the list, and the one worth having: a coordinate that is not a number. That is the fault that makes a curve quietly stop drawing without saying why.
Walk the report and the selection follows onto the points behind each entry. Frame zooms to the problem. Where a single repair answers an entry, a fix button appears underneath it — and each of those is held to the entry it names by a test, not by hope.
On a drawing whose scale makes the default tolerances wrong, the report says so and offers the ones that suit it.
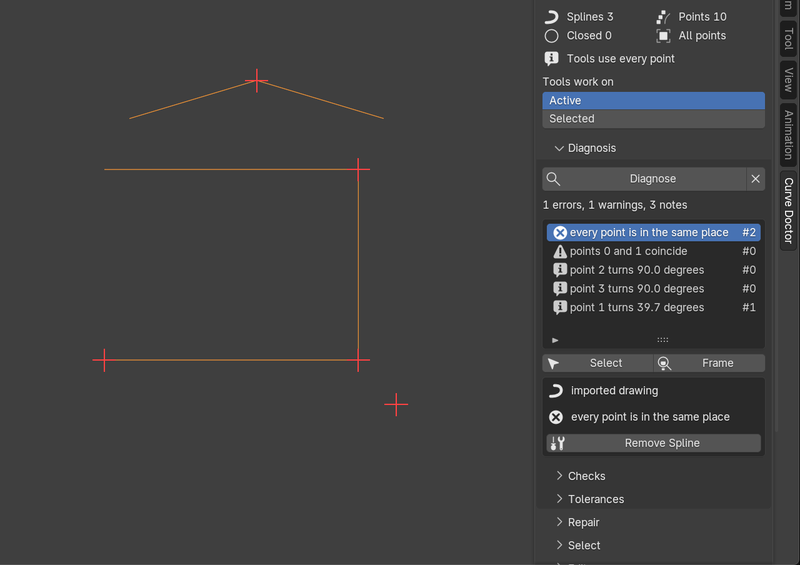
It reads DXF, which is where the bad drawings come from
Import DXF: each layer arrives as its own object, named, because that is how a plan is worked in CAD — or set Objects to All In One and get it all in one. Lines, polylines with their rounded corners, splines, circles, arcs and ellipses, and the blocks a drawing places them in, at the unit the file declares taken together with the scene's, so a part drawn in millimetres comes in the size it is.
It does not quietly tidy what it reads. A doubled point in the file arrives as a doubled point. Cleaned up in silence you would never learn that the file you were sent is dirty, and the next one would arrive the same way — so it comes in as it is — tick Diagnose After in the import dialog and the report runs over it — and the repair is yours to press. That is the whole point: a drawing from somewhere else is exactly the one that needs this.
What does stay out is what is not a shape at all — a line of no length, a circle with no radius, a coordinate that is not a number. There is nothing there to bring in.
It draws like a drafting program
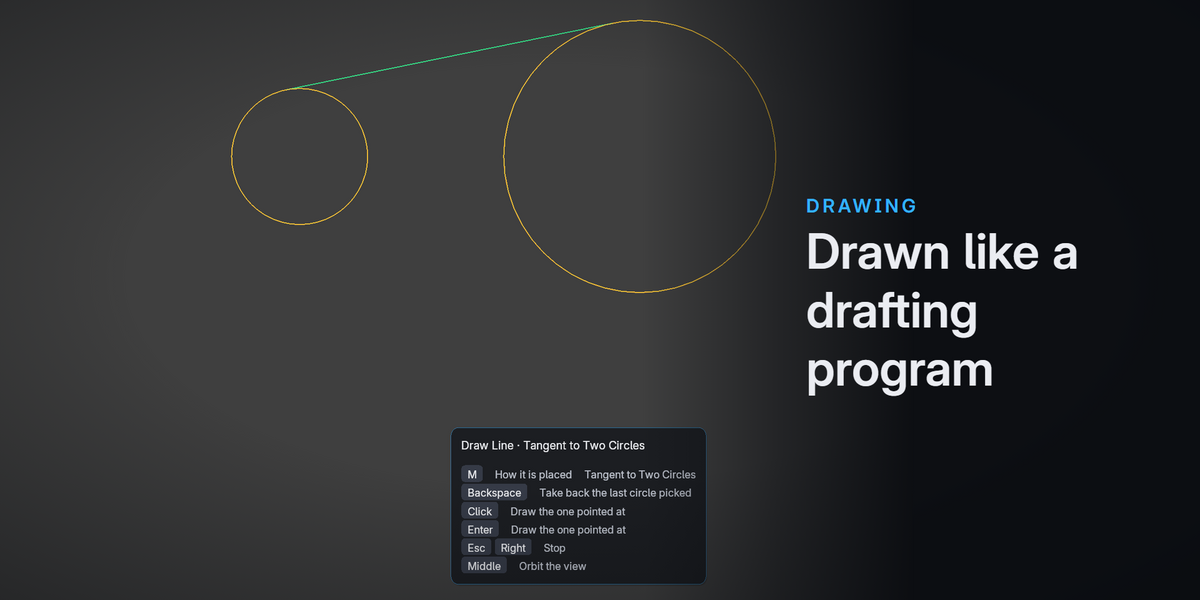
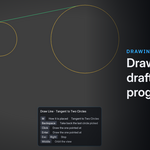
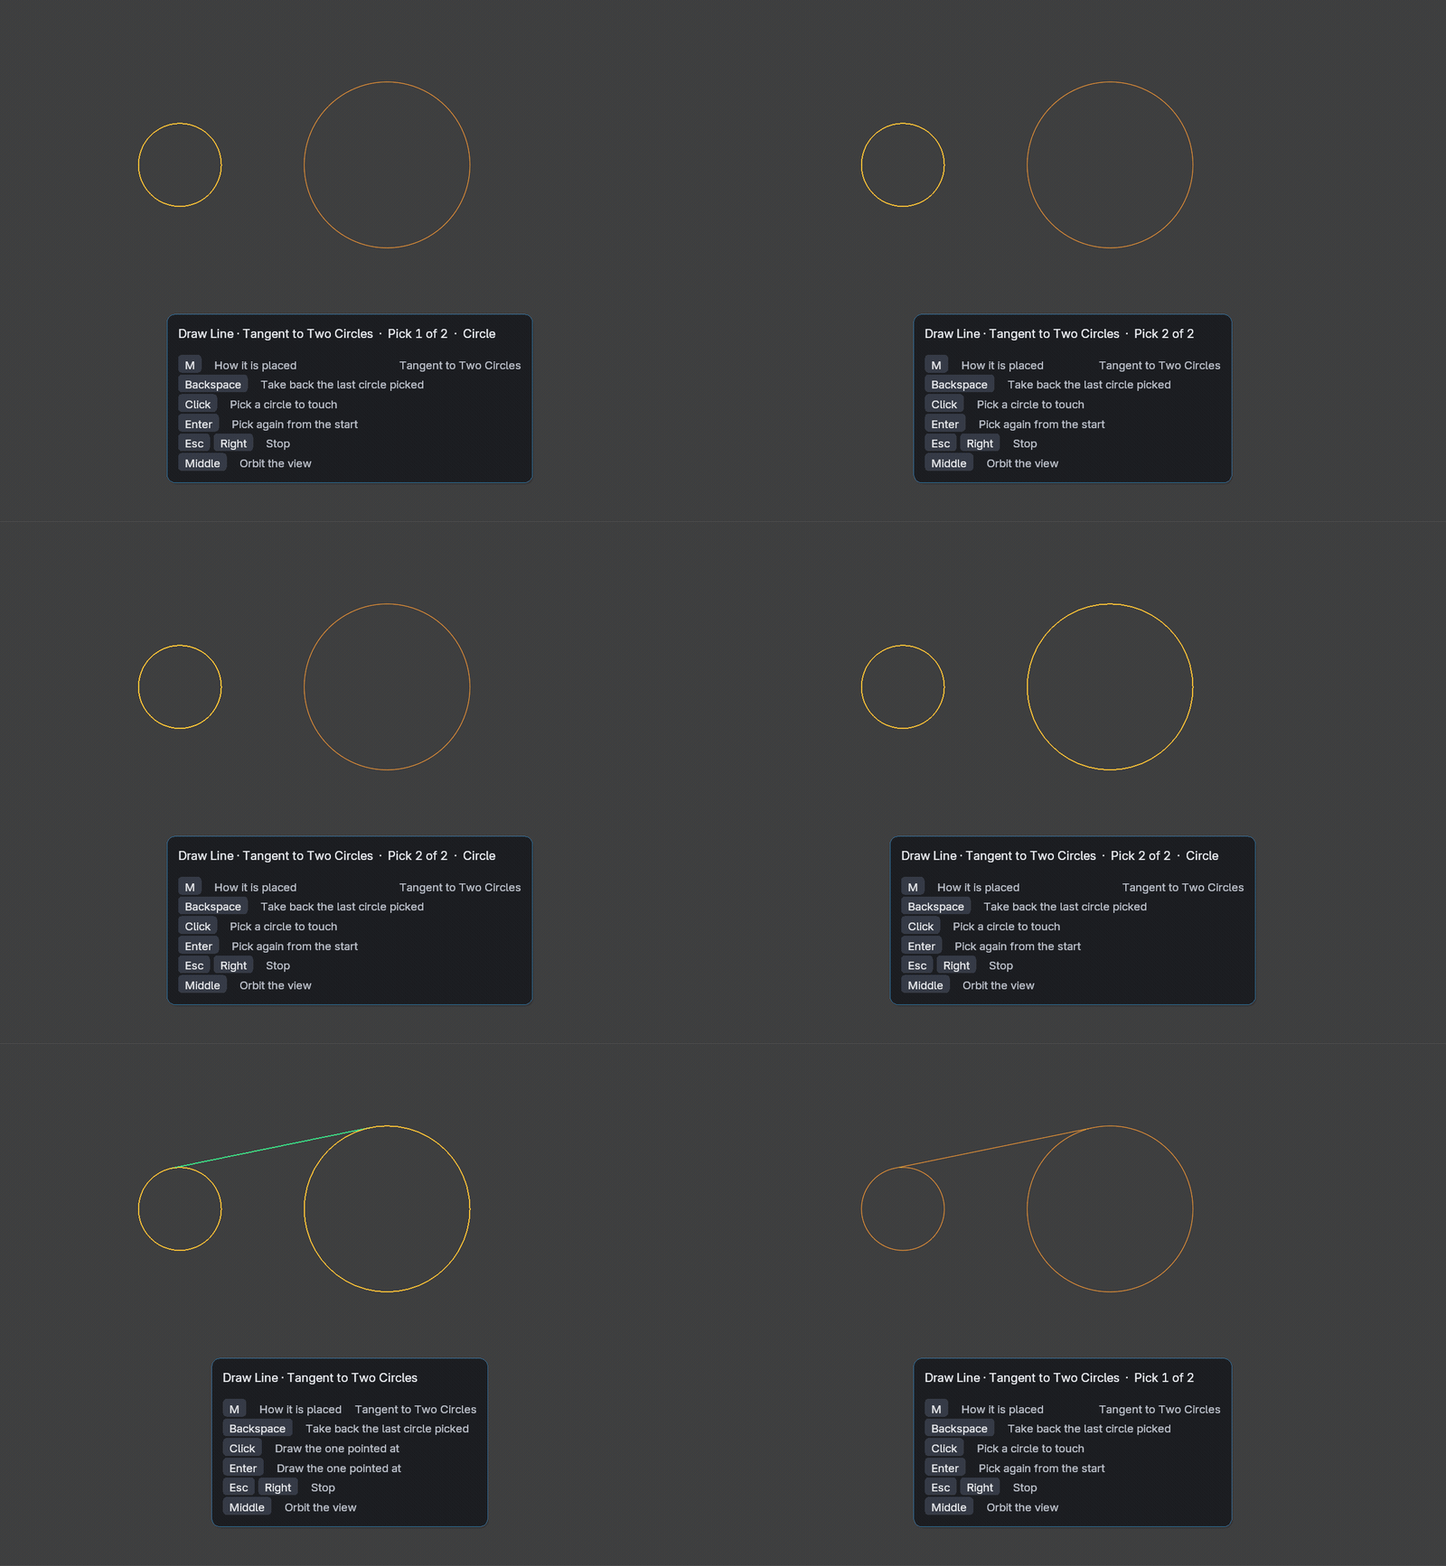
Line, circle, arc, rectangle, polygon and ellipse — placed from a centre and a radius, from the two ends of a diameter, through three points, or tangent to what is already there. Tangent, Tangent, Radius and Tangent, Tangent, Tangent for circles; Tangent to Two Circles for lines; arcs that continue a polyline smoothly, the way a drafting polyline does.
The snap catches ends, middles, centres, quadrants, crossings, the nearest point on a curve, perpendiculars and tangents from the last point placed, and a mark shows what it caught. G adds the viewport's own grid to that — the one it is actually drawing — so a drawing can be started from nothing and still land on round numbers. What the drawing offers wins when the pointer is near it; the grid catches the rest. Any value can be typed instead of dragged.
It places by picking, not by dragging. Move, Rotate and Scale work about a point you pick, caught on the drawing's own corners, centres and crossings, with the distance, the angle in degrees or the factor typed. By reference is the one that earns its keep: click the two ends of something whose length you know, type the length it should be, and a sketch traced at no particular size is put to scale in one go — Rotate by Reference does the same with a direction, for a part that has to line up with something. M leaves copies instead of moving and the wheel says how many, each one the transform taken once more, so six bolt holes round a centre are one hole, Rotate, M, the wheel up to five, the centre and sixty degrees. With P only the points you picked move and the rest of the spline follows, which is a CAD program's Stretch. Align takes a part from two points it has to two points it should be at, turning it to match, and with Scale to Fit sizes it on the way.
Nothing is written until you confirm
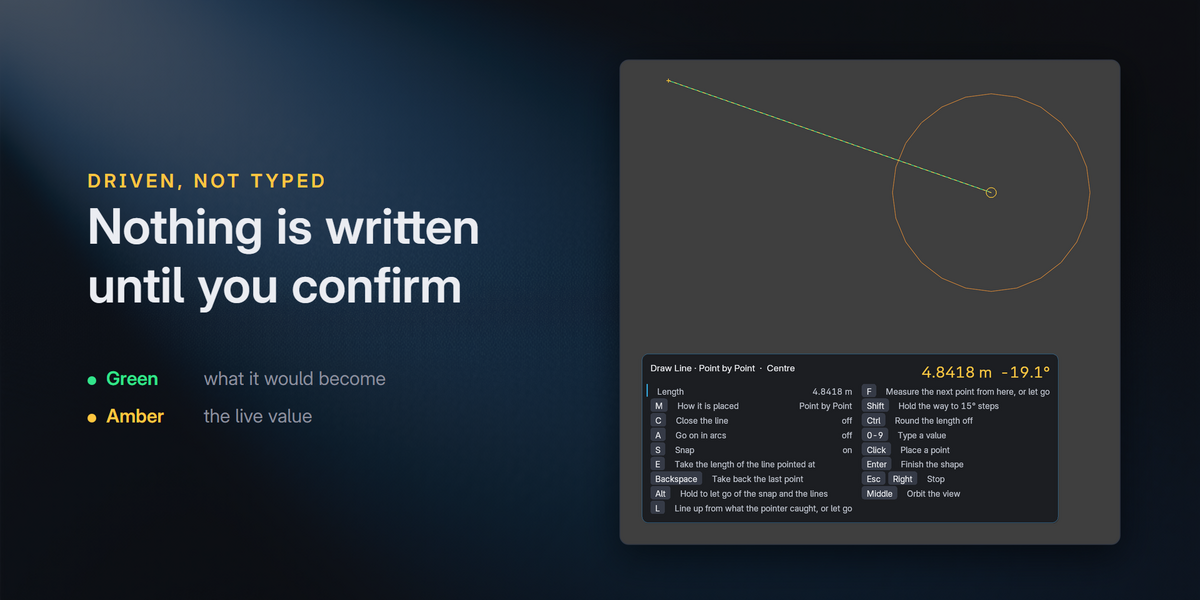
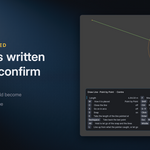
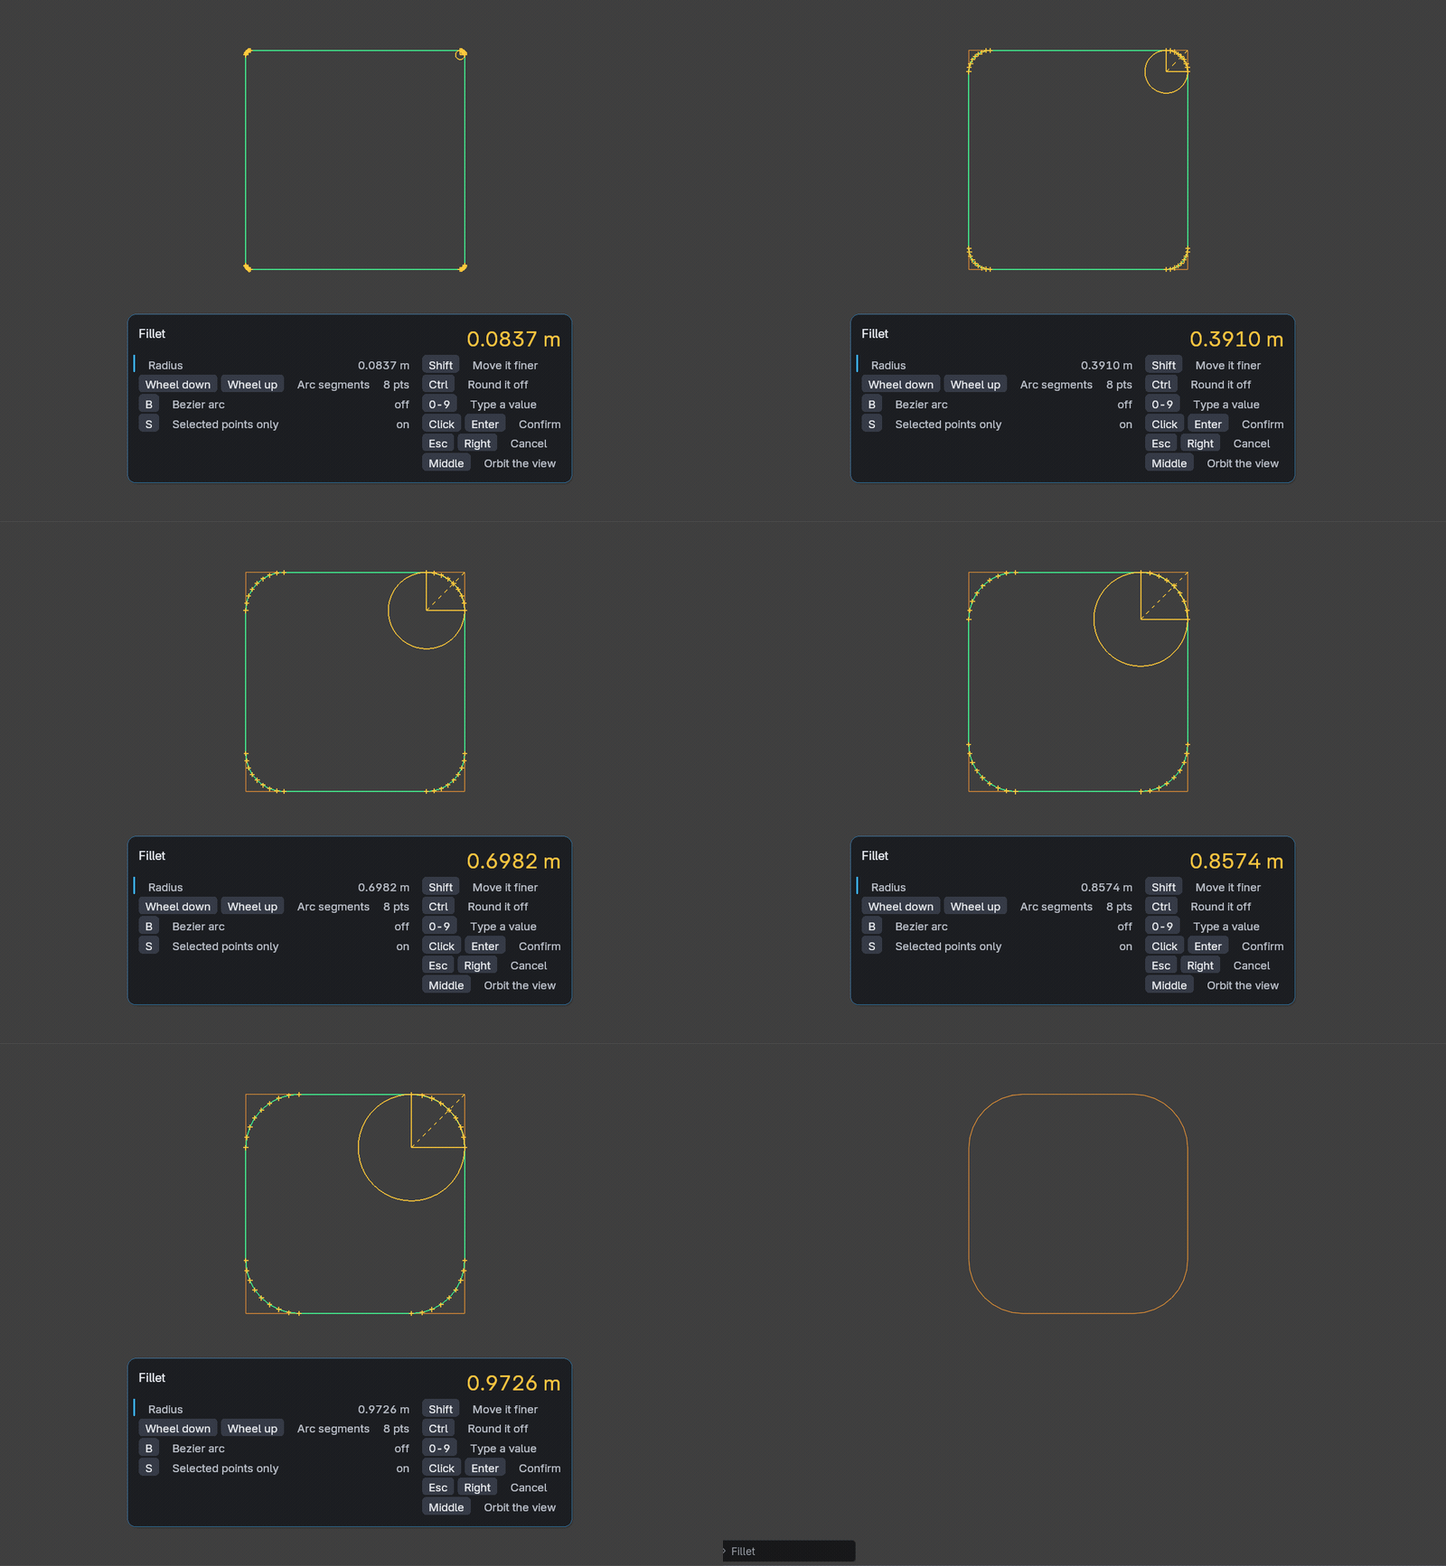
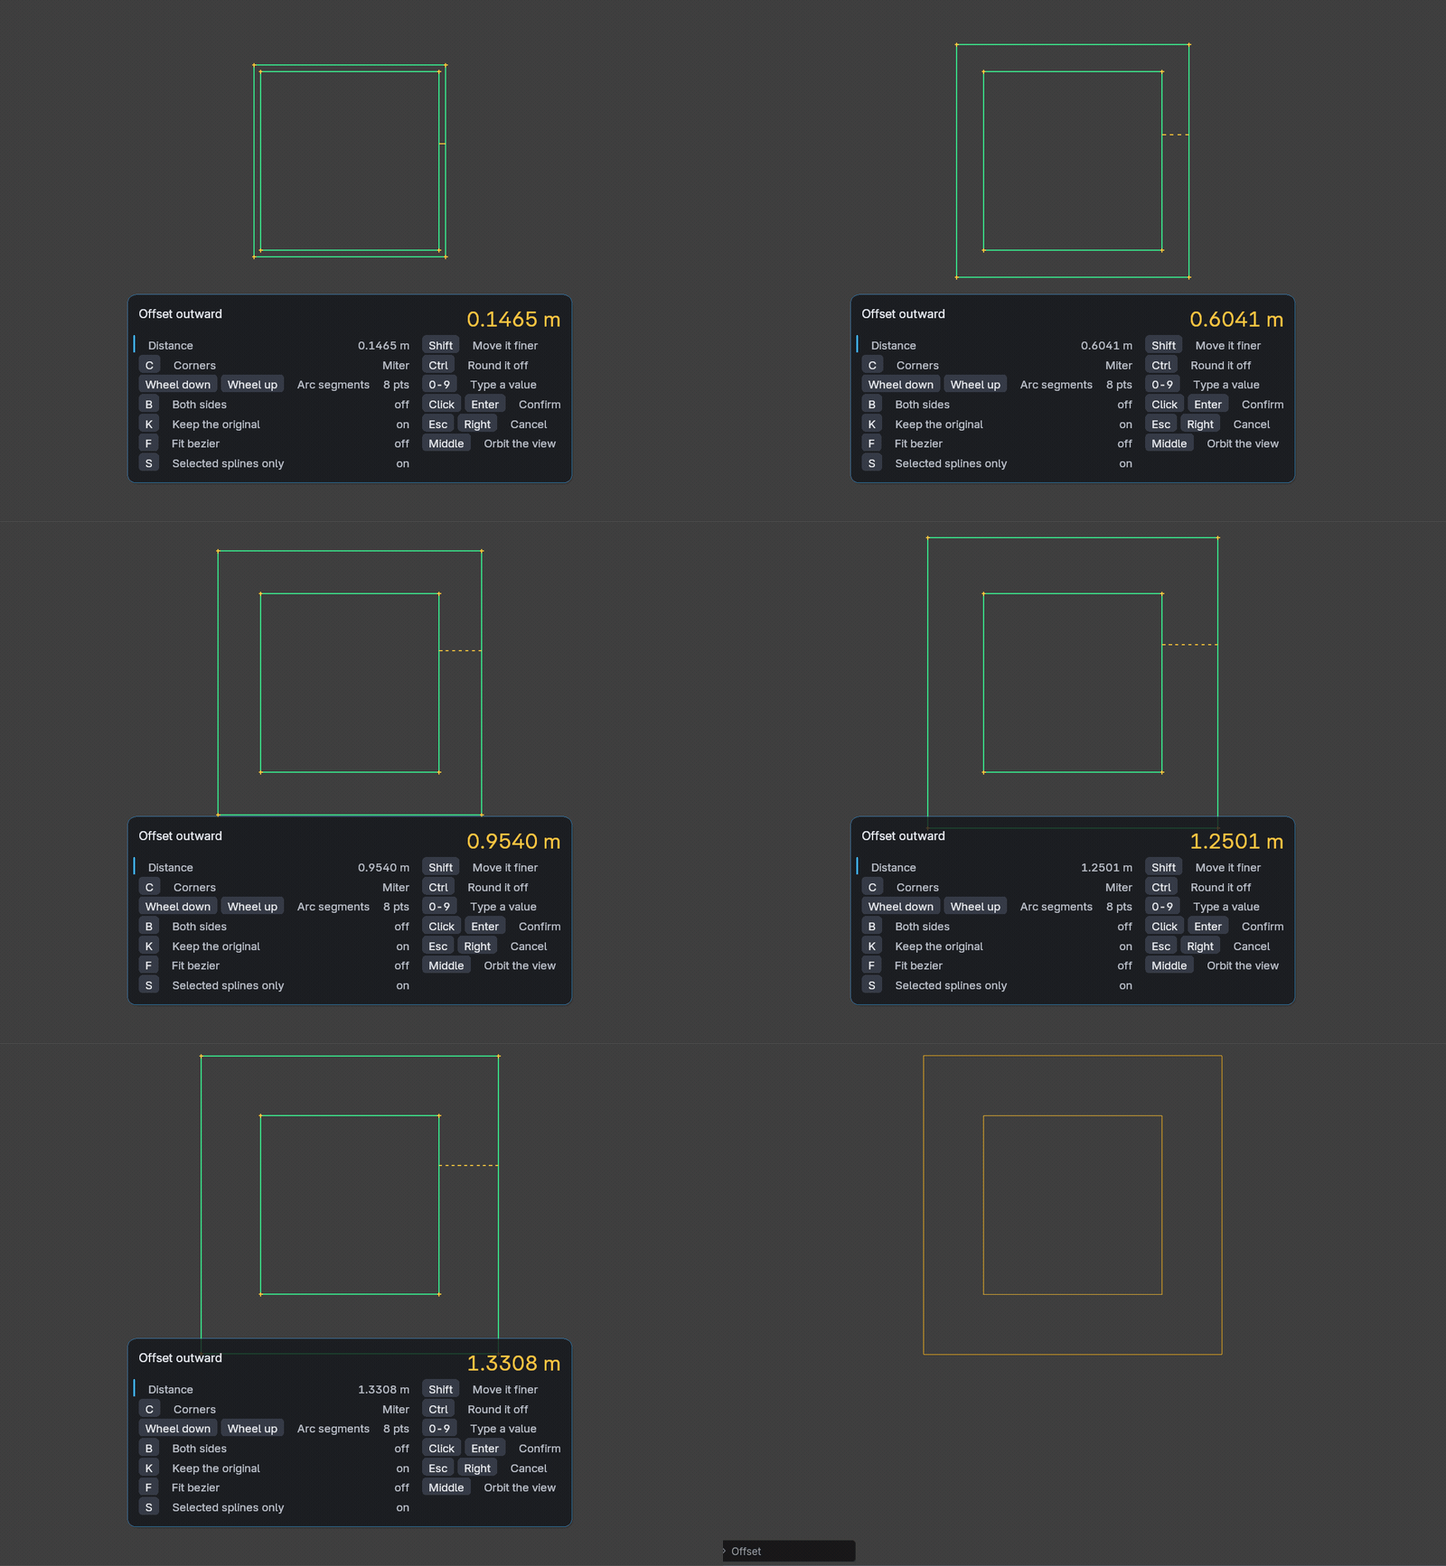
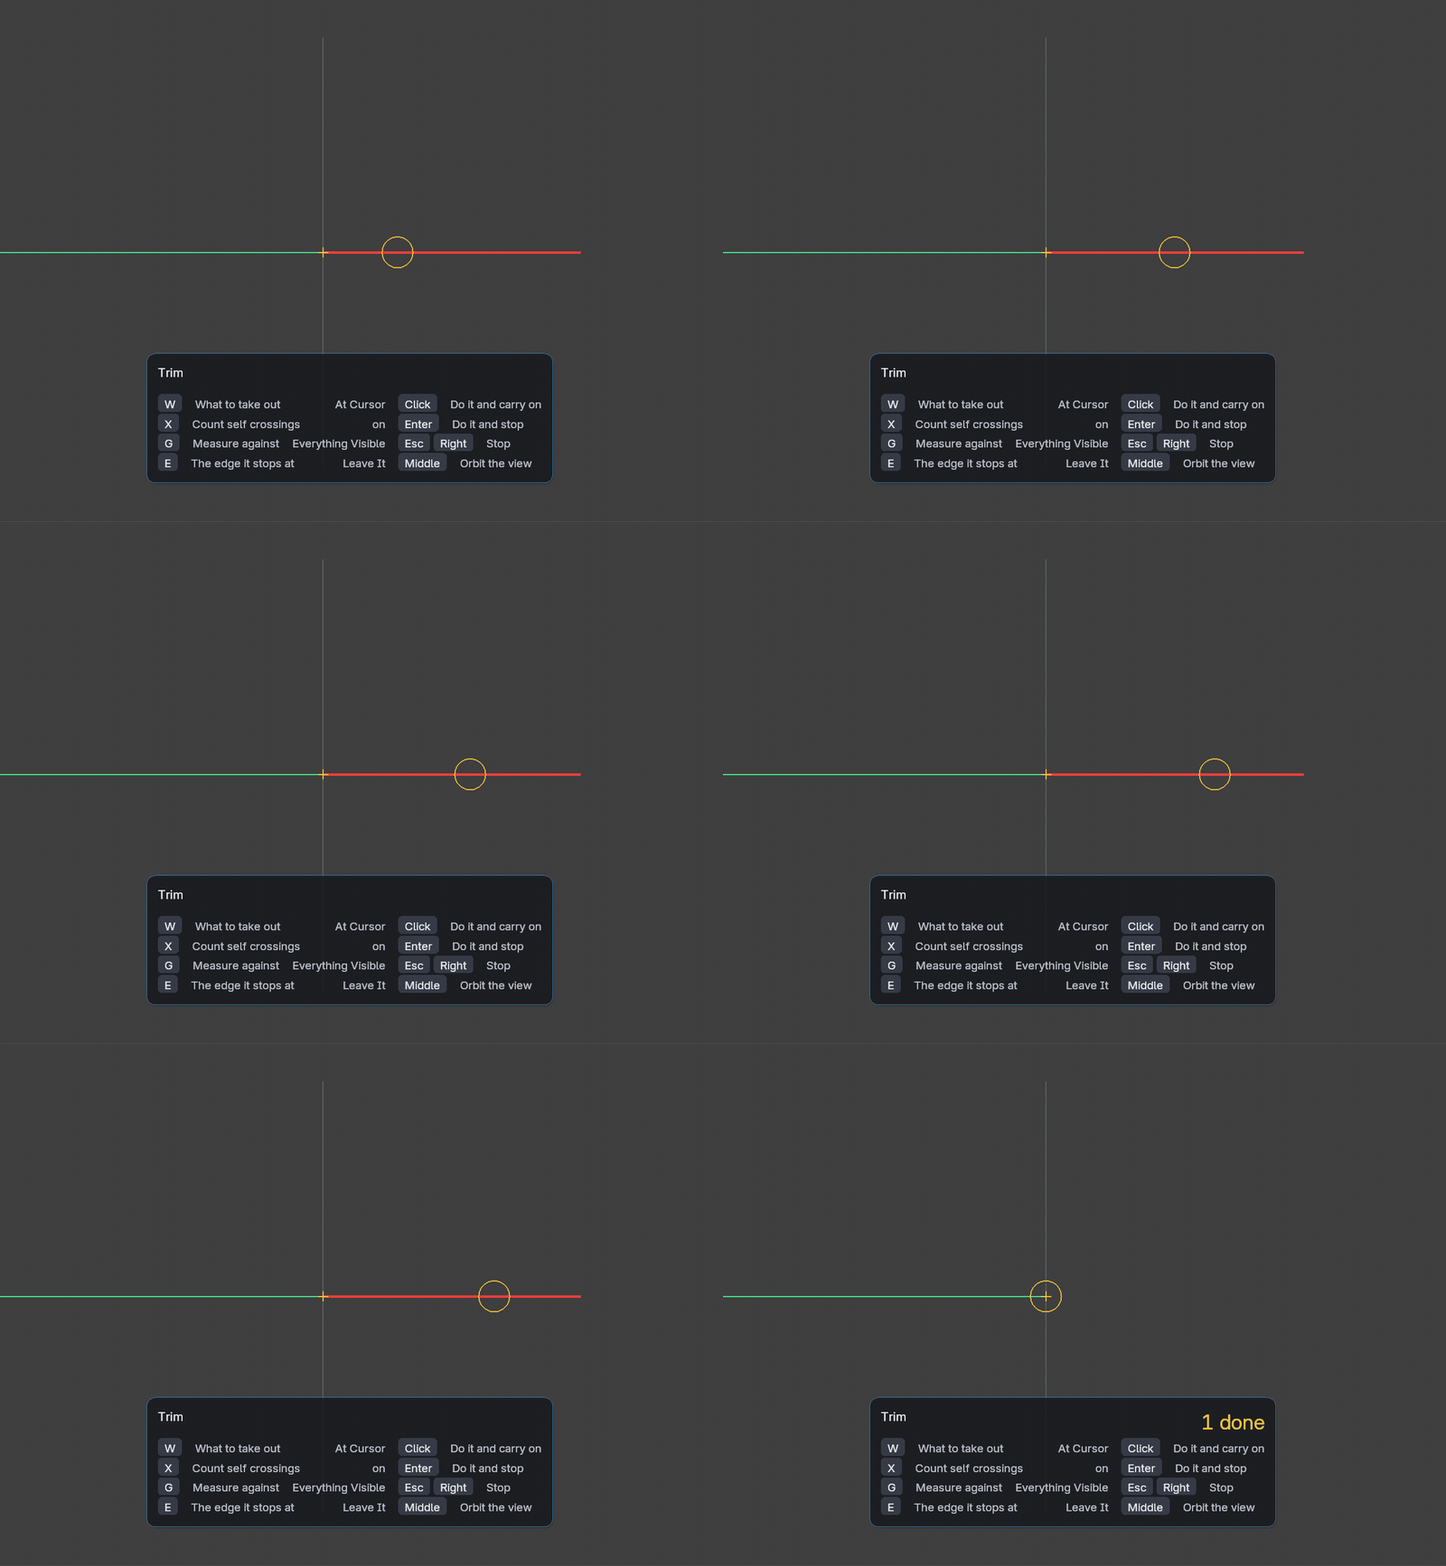
Fourteen tools wait in the viewport instead of being filled in on a panel: Fillet, Chamfer, Extend By Distance, Extend To Edge, Insert Point, Offset, Cut, Trim, Delete Segment, Weld Points, Merge Points, Resample, Simplify and Scale Handles. Start one and a legend runs along the bottom listing every key it answers. Ten of them are sized by a value you drag, shown large as you drive it; the other four — Extend To Edge, Trim, Delete Segment and Weld Points — are pointed at what they take.
Drag for the size, hold Shift for finer, Ctrl to round it off, or type the number. Green is what the curve would become, red is what is about to disappear, amber is the reach and the live value. Your curve stays where it is underneath all of it, so the difference between the two is the change — and cancelling has nothing to undo, because nothing was written.
It finishes the job
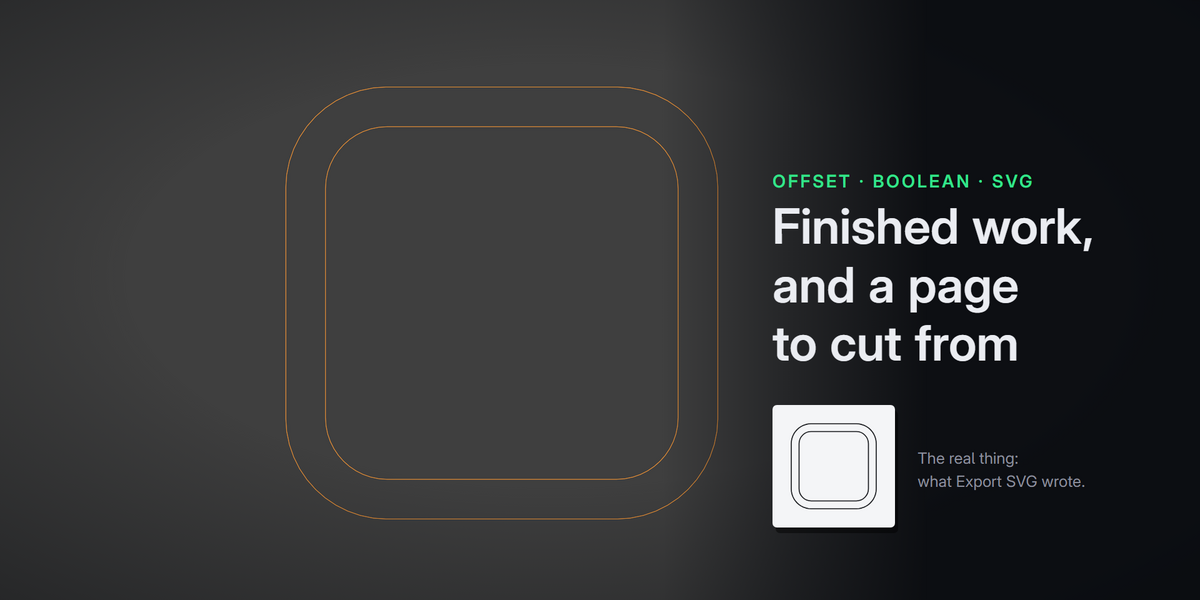
Offset builds a true parallel at a fixed distance, mitred, arced or bevelled at the corners, with the loops a tight turn makes cut away again and the result carrying the points the shape needs and no more.
Mirror reflects the selected curves across a line you place with two clicks, caught on the drawing like any line you draw, and shows what it will make before the second click. It keeps both halves — a half drawn up to the line comes back welded into one closed outline — or only the mirror, to turn a drawing over in place; Symmetrize cuts a drawing at the line and rebuilds one side from the other, exactly.
Boolean combines closed contours and keeps a hole a hole through as many clips as you like.
Export SVG writes the curves out as flat paths, keeping bezier segments as cubics, at the size the scene says they are — a part drawn in a millimetre scene comes out at its millimetres. A NURBS is walked and written as lines there: an SVG path has nowhere to put a knot vector, where a DXF has.
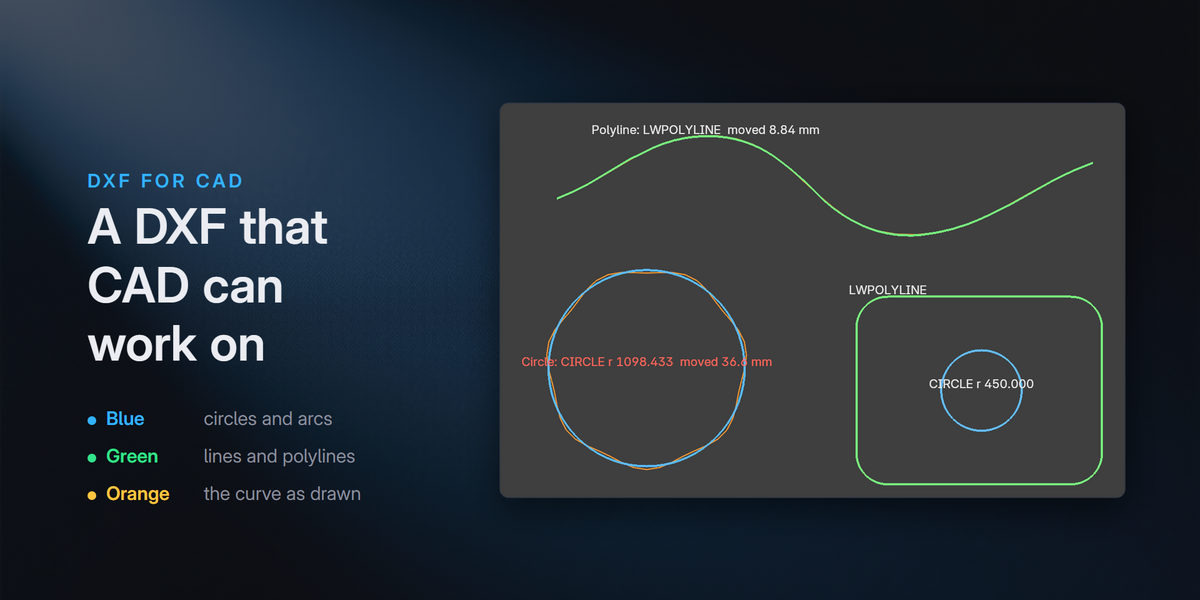
Export DXF (R2000 and R12) takes the drawing to a CAD program. In R2000 a bezier that is no circle, arc, ellipse or outline of lines and arcs is written as the cubic spline it already is — the same curve, not a fit to it. Most CAD programs cannot offset, trim or fillet a spline, which is what Fit Arcs below is for. Each object arrives as its own layer, and the file declares which unit its numbers are in.
In R2000 a NURBS goes out as a NURBS too, with its knots and its weights — but only where the add-on has checked against Blender itself that it is the same curve. Where it cannot check, it flattens rather than write a guess.
A shape that really is a circle, an arc or an ellipse is written as one, so the CAD can dimension it by radius, offset it and hang a hole off it; an outline of straight sides and rounded corners goes out as the one polyline of lines and arcs a CAD program holds a plate in. Circles, arcs and those polylines are in both versions of the format, so they are also where R12 keeps real curves. This is on by default, and it moves the shape — by less than a thousandth of the radius, which is the width of a bezier's own approximation to a circle, and it moves it towards the circle it was drawn to be. The export says how many went out that way, and there is a switch to leave the numbers exactly as they were.
Fit Arcs is for everything that is none of those: a traced outline, a curve drawn by hand. It follows the curve with arcs and straight pieces within a tolerance you name, so four hundred vertices come back as a few dozen arcs that offset, trim and fillet in any CAD program and that a CNC post turns straight into G02 and G03. It is a trade, so it is off until you ask; it holds the curve within the tolerance you give it and says how far it moved it, and DXF Shapes in the overlay labels each fitted curve with how far it moved.
And you can say what each curve is. Mark a curve as a circle, an arc, an ellipse, lines, one polyline, separate pieces or a spline, and it goes out as exactly that — a hole traced off a photograph as the circle it meant, fitted, with the export saying by how much it moved. DXF Shapes, in the overlay, draws what every curve but a NURBS will become before anything is written, labelled with its radius.
Mesh To Curve walks a mesh's edges so the points come out in order instead of the jumble Blender's own conversion leaves.
Where it lives
The 3D View sidebar (N), under a tab you can rename. Everything is also on a pie menu at Ctrl+Shift+D — eight groups, so any tool is two flicks away — and in the right click menu. Every driven tool is listed in the preferences ready for a shortcut of your own. File ▸ Import and Export carry DXF and SVG, and Add ▸ Curve carries the drawing tools.
With no curve active, the tab shows Start: an example drawing to try every tool on — written by another program, with faults in it on purpose — Import DXF, and the drawing tools.
Object mode and edit mode, both.
What it does not do
Said here rather than discovered afterwards.
- Hair curves are not covered. This is for Blender's classic curve objects.
- NURBS are diagnosed, measured, converted, and moved, turned and sized as a whole, but the tools that reshape one leave it alone — all but Weld Points, which welds their control points, and Stretch, which moves the points you picked and lets the rest follow. Their points steer the curve rather than sitting on it, so a tool that moves points you did not choose would change the shape in a way nobody asked for. Those two move the ones you picked, which is the asking. Convert Type brings a NURBS over to bezier keeping its shape, and every tool works from there.
- Offset and Boolean need curves that lie flat.
- It imports DXF and nothing else. No SVG importer. It writes SVG and DXF, and it reads DXF.
- What it cannot read, it names. Hatches, solids and anything else it cannot read are counted and listed in the report rather than guessed at; text, dimensions, leaders and points, being notes on a drawing rather than shape, are left out and counted together in one line of the report. Better to be told "three hatches, left alone" than to be handed a drawing that looks like the plan until somebody cuts it.
- A spline from another program arrives as points, not as a bezier with handles. The handles come back only when the file holds exactly the cubic chain this add-on writes — so a round trip through here is exact, and one from outside cannot be without inventing knots.
- A spline that arrives with only the points it was drawn through, and no control net behind them, is named rather than guessed at — it does not come in at all. Those points are on the curve, but four of them across a bend sit about a tenth inside it, and a shape that resembles your drawing without being it is the one thing this add-on will not hand you. Ask for the file with its control net, or convert the curve in the program that drew it. Most CAD programs write both, and then the curve comes in exact.
- DWG, never. It is a closed binary format and cannot be written without someone else's program. Export DXF and convert — the ODA File Converter does it for nothing. Said here on purpose: anyone who searches for DWG and finds the word CAD will assume otherwise.
- Some NURBS still flatten even in R2000. A closed one with Endpoint set, a closed one of order two, and one of order three or more with Blender's Bezier option ticked come out as straight runs. Every other NURBS goes out as a NURBS.
- R12 has no spline or ellipse entity, so in R12 a freeform bezier, a NURBS and an ellipse come out as straight runs — or as arcs, with Fit Arcs or a Polyline mark. A circle, an arc and an outline of sides and arcs still go out as the entities R12 has for them. R12 is the option for old software.
- Curves only, not surfaces. NURBS surfaces are outside it entirely.
- No mesh editing. Mesh To Curve is the one place a mesh is a valid subject.
Requirements
Blender 4.2 or later, tested on 4.2, 4.5 and 5.1. No dependencies, nothing to compile, no internet access needed. The only permission it asks for is to read and write files: the DXF drawings it imports, and the SVG and DXF files it exports.
Installing
Drag the zip onto Blender and let it install — or Edit ▸ Preferences ▸ Get Extensions ▸ the menu at the top right ▸ Install from Disk, and pick the zip. The manual travels with the add-on, for the version you have: a button at the top of its preferences page opens it in your browser.
Support
Feel free to contact me for any further support using the Superhive's messages.