CutSIGHT
 Pino Iulio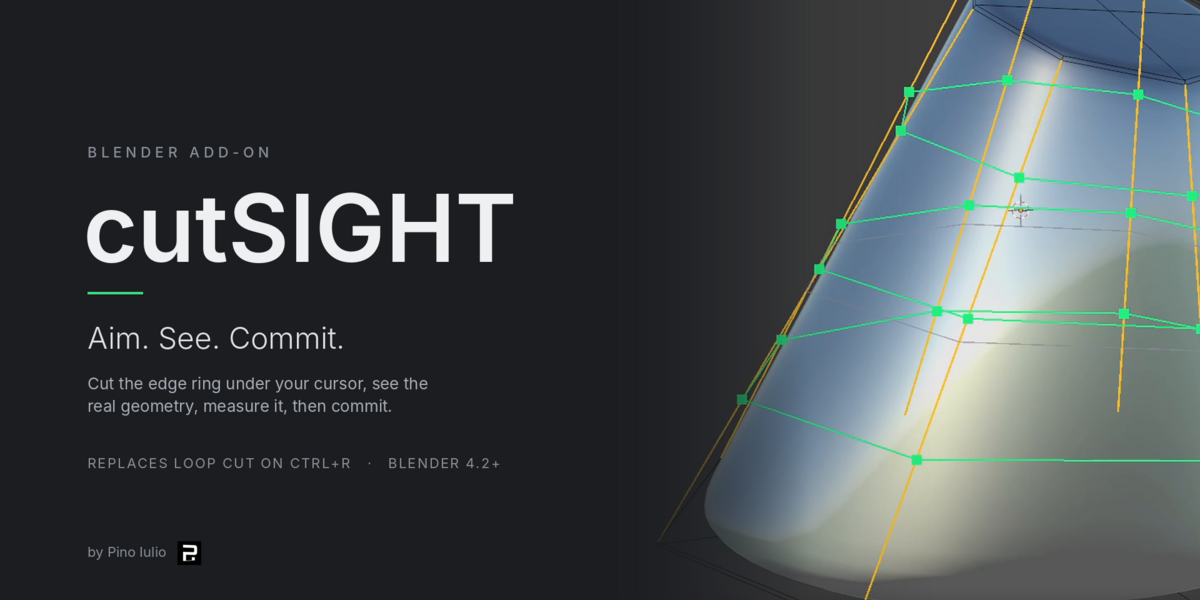
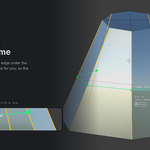
Blender add-on · by Pino Iulio
cutSIGHT — Aim. See. Commit.
Take aim with the cursor and cut exactly where you point.
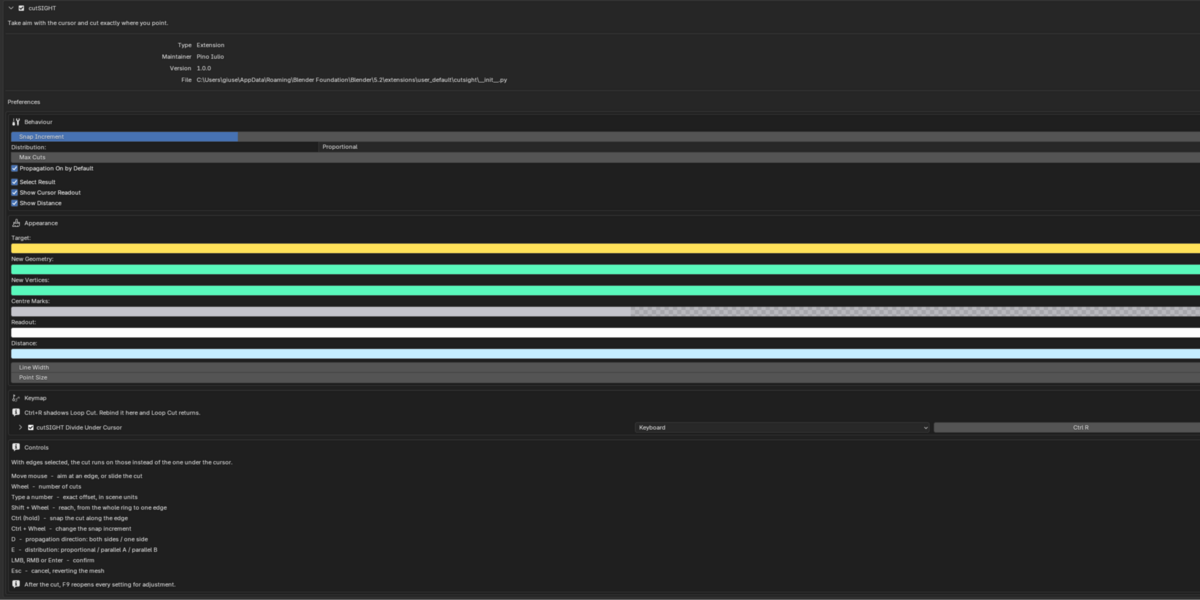
It replaces Blender's Loop Cut on Ctrl R and does the same job with far more control.
One tool, one job · replaces Ctrl+R · Blender 4.2+
Loop Cut makes you guess
You aim at an edge.
You slide a preview and guess where it lands.
You find out the distance afterwards.
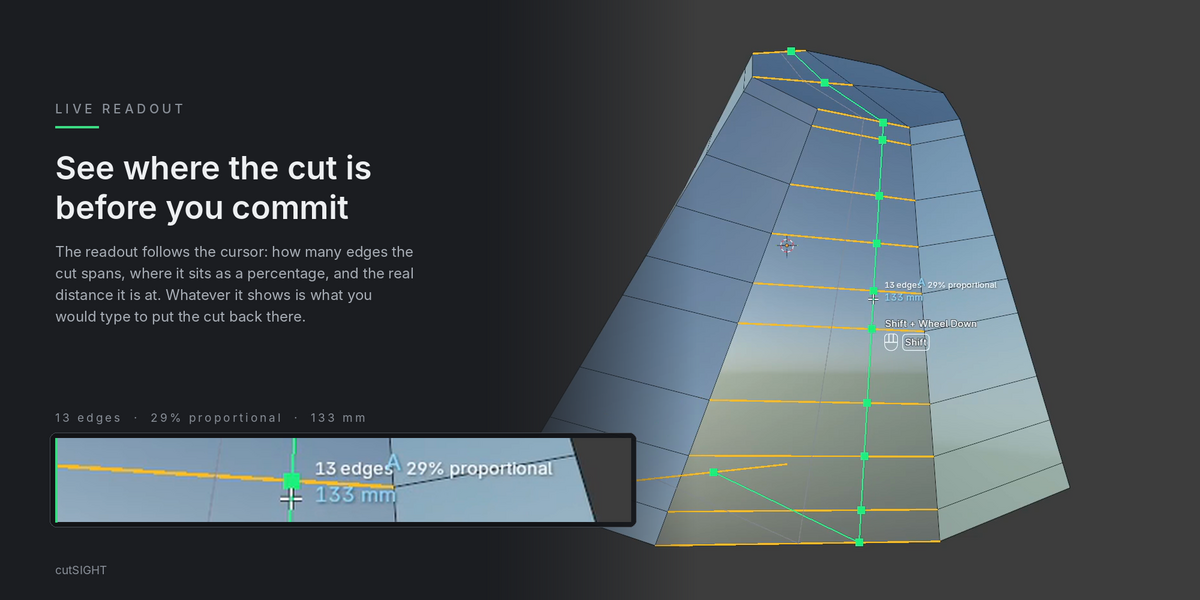
cutSIGHT lets you aim, see the real geometry, measure it, and only then commit.
AIM
Hover aiming
Nothing to select first. The nearest edge of the surface under the cursor always wins.
- —No distance threshold: pointing at the middle of a face still targets a ring.
- —Occlusion-aware, so it never grabs an edge hidden behind the surface.
- —Works across every mesh in multi-object edit mode.
SEE · COMMIT
Two-phase cutting
The first click applies the cut to the real mesh. The second click commits.
- —Slide the cut live, with shading and everything.
- —Esc puts the mesh back exactly as it was.
- —Sliding never rebuilds topology, so it stays responsive on a million-polygon mesh.
01 / 07
Reach you can dose
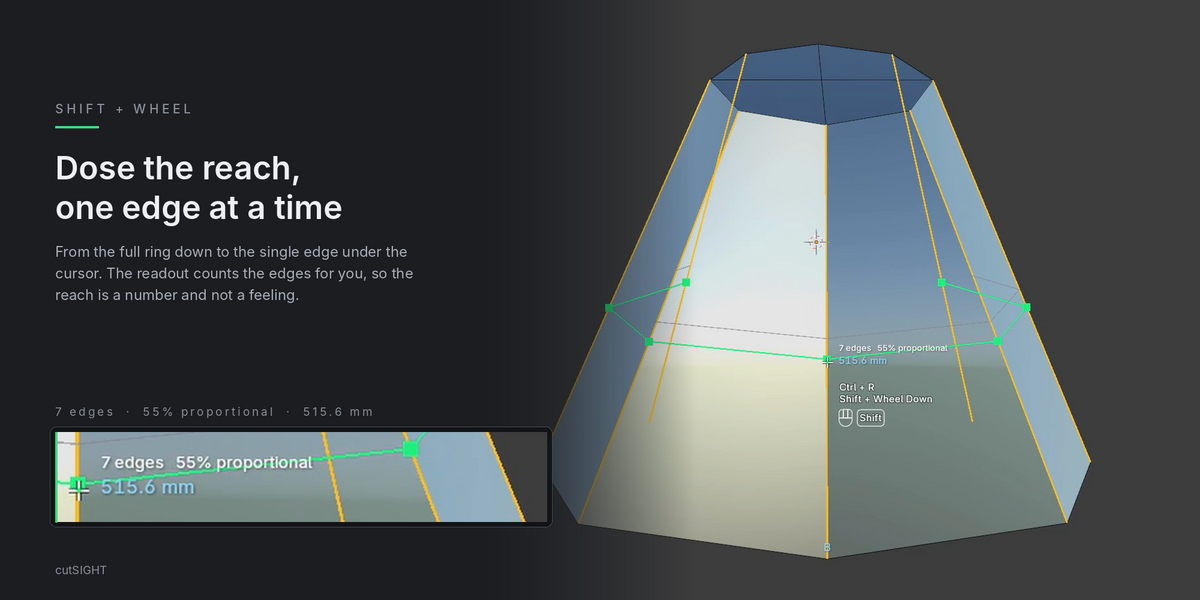
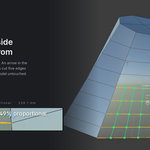
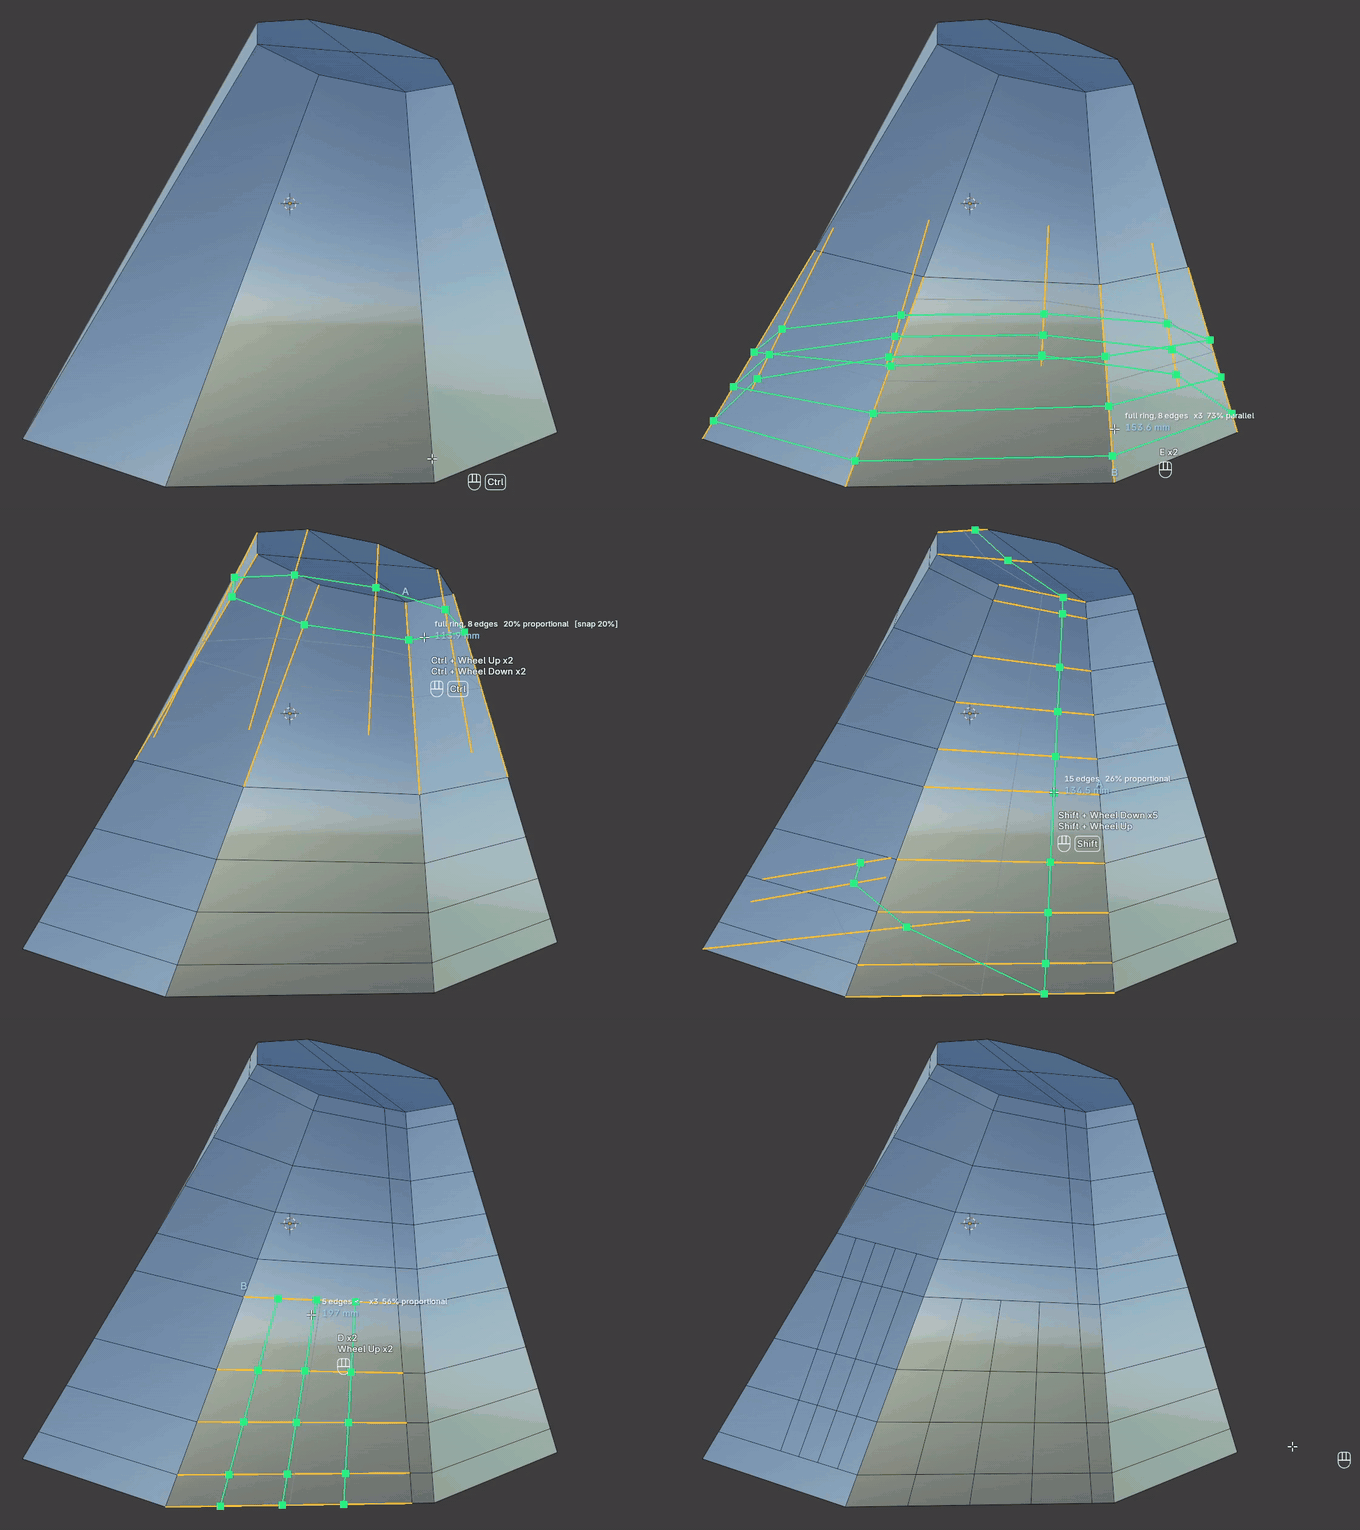
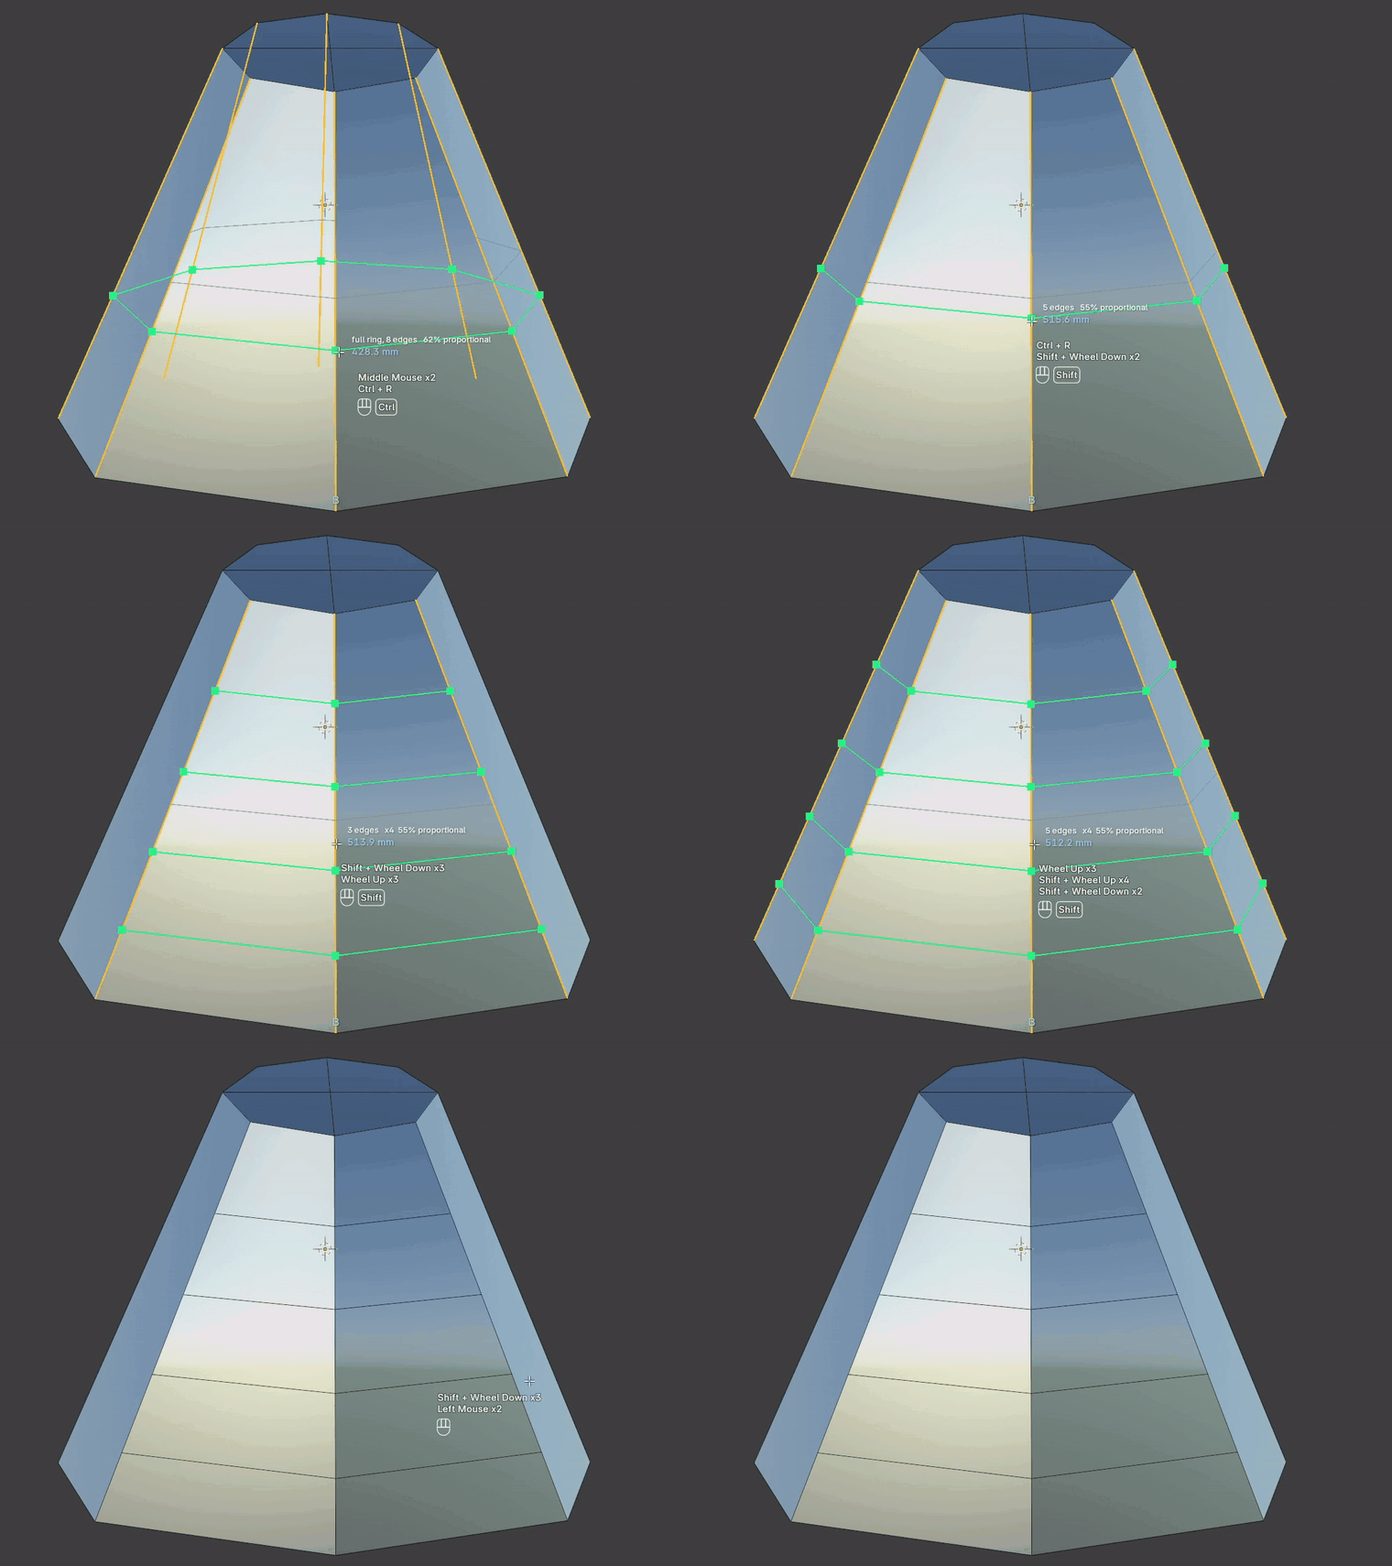
Run the whole range in one gesture, from the full ring down to a single edge.
-
—Shift + Wheel goes from
full ring, 8 edgesto fewer and fewer edges, down to the single edge under the cursor. -
—The header always reads the current reach, for example
3 edges. - —Scroll back to return to the full ring.
02 / 07
Direction
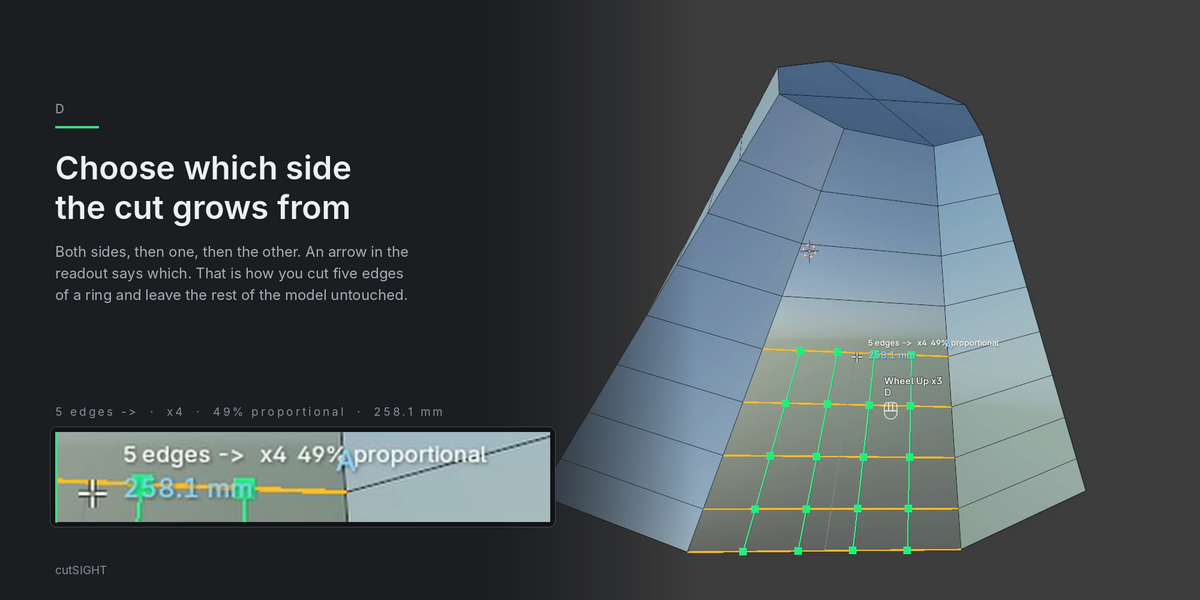
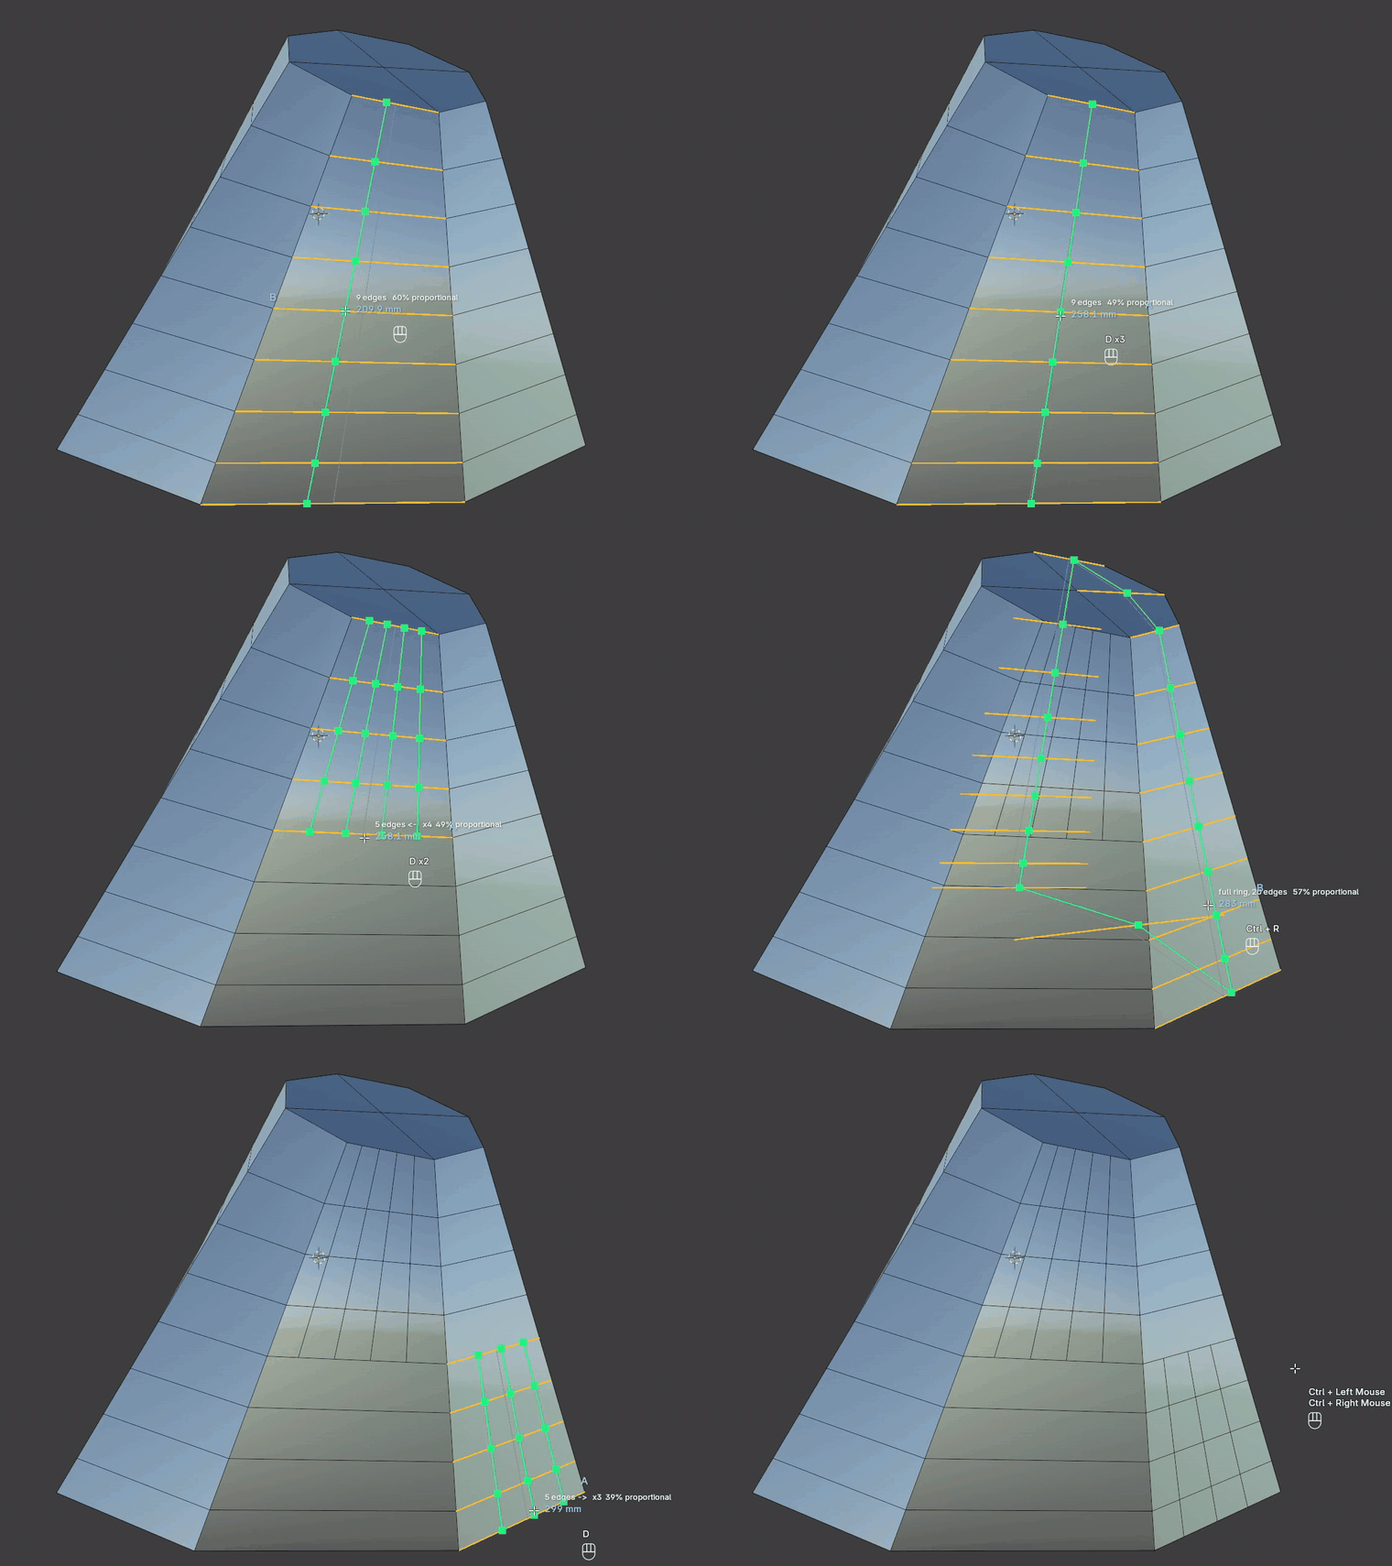
Choose which way the reach grows from the edge under the cursor.
-
—D cycles the direction:
<-,->, or both sides. - —An arrow in the viewport shows which side the cut is growing towards.
- —Loop Cut has nothing like it.
03 / 07
Distribution
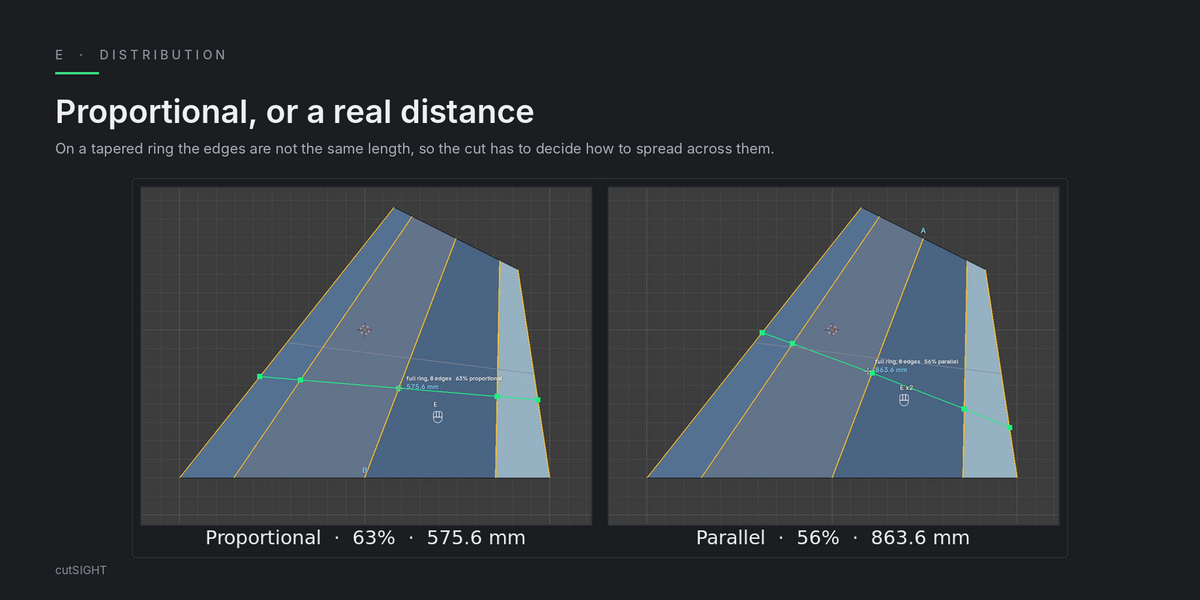
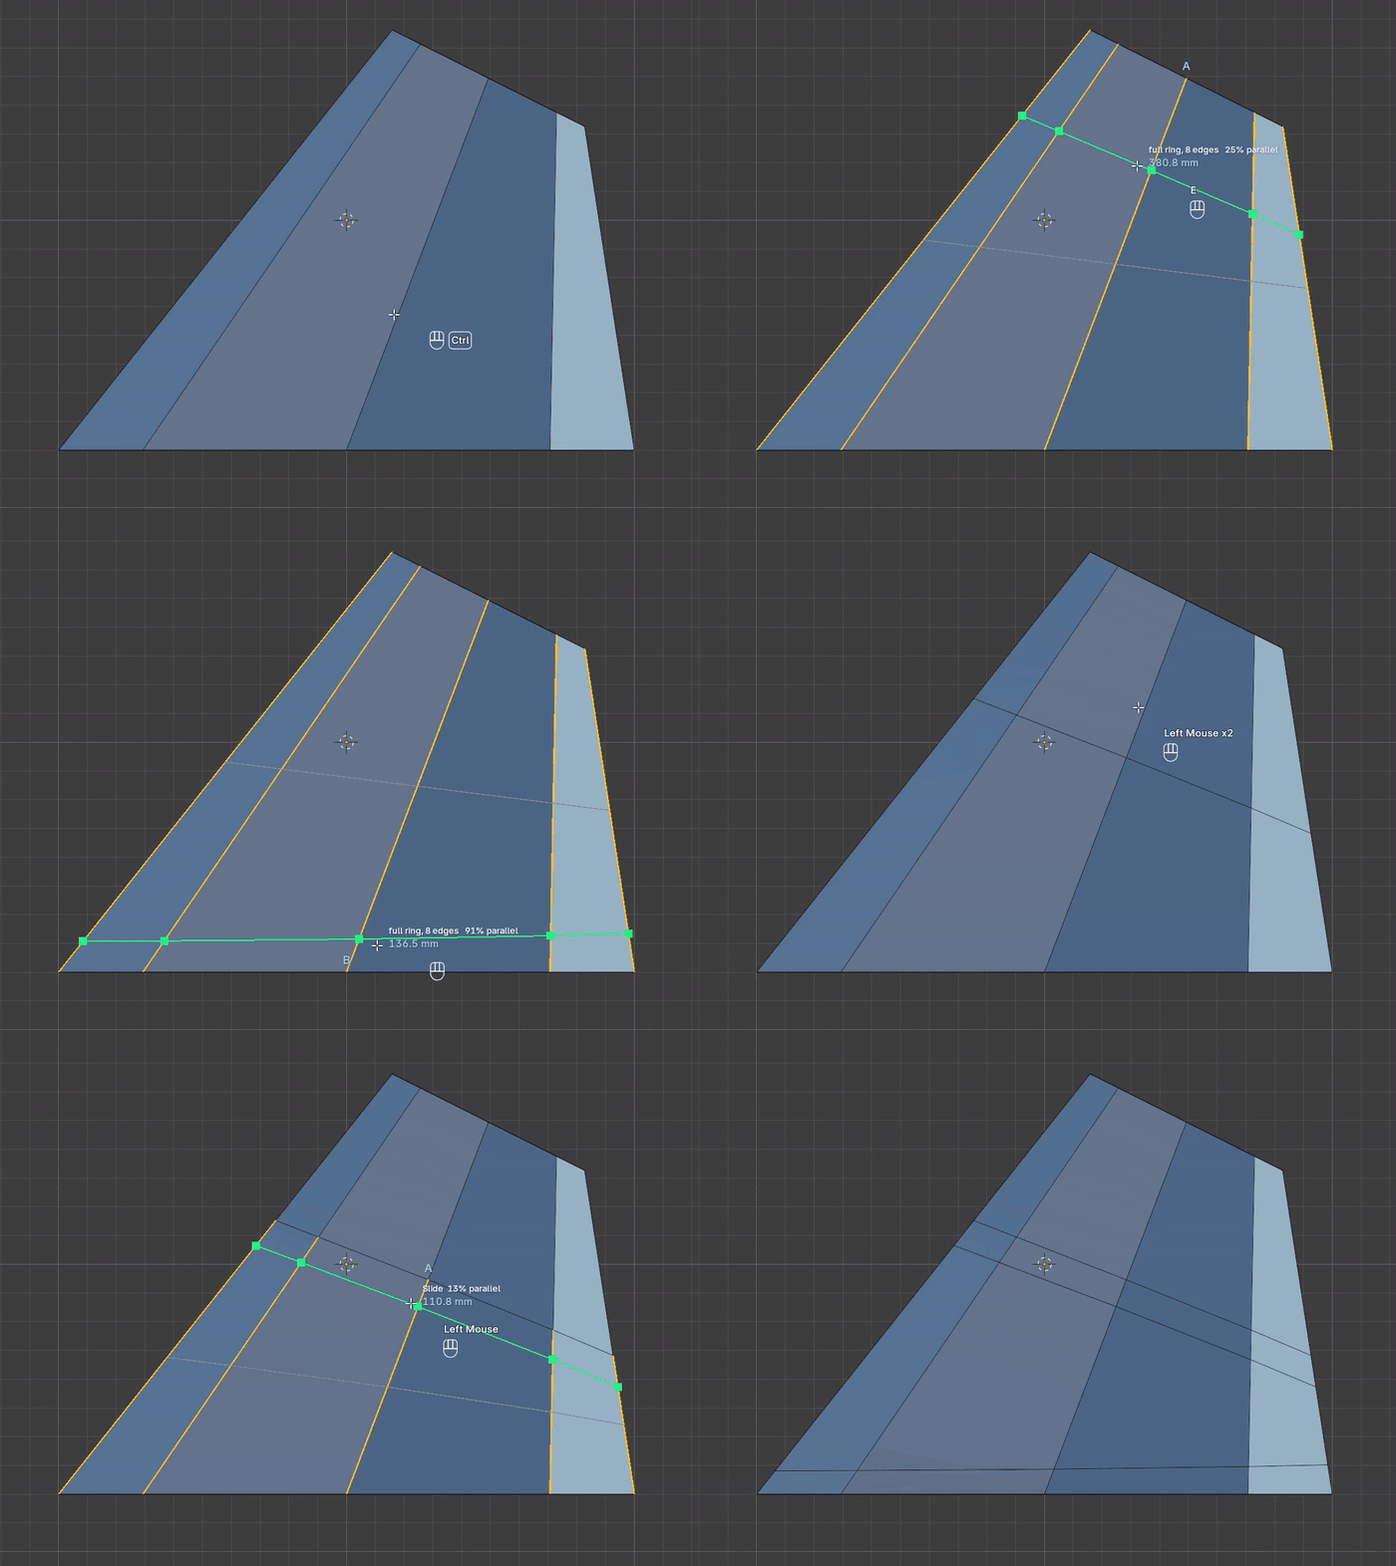
Named for what it actually produces. Switch with E.
- —Proportional keeps the same share of every edge, so on tapered faces the loop tilts with them.
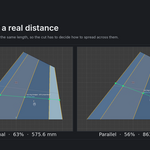
- —Parallel A and Parallel B hold a real distance from a side loop, so the new loop runs parallel to it.
-
—The header reads
proportionalorparallel.
04 / 07
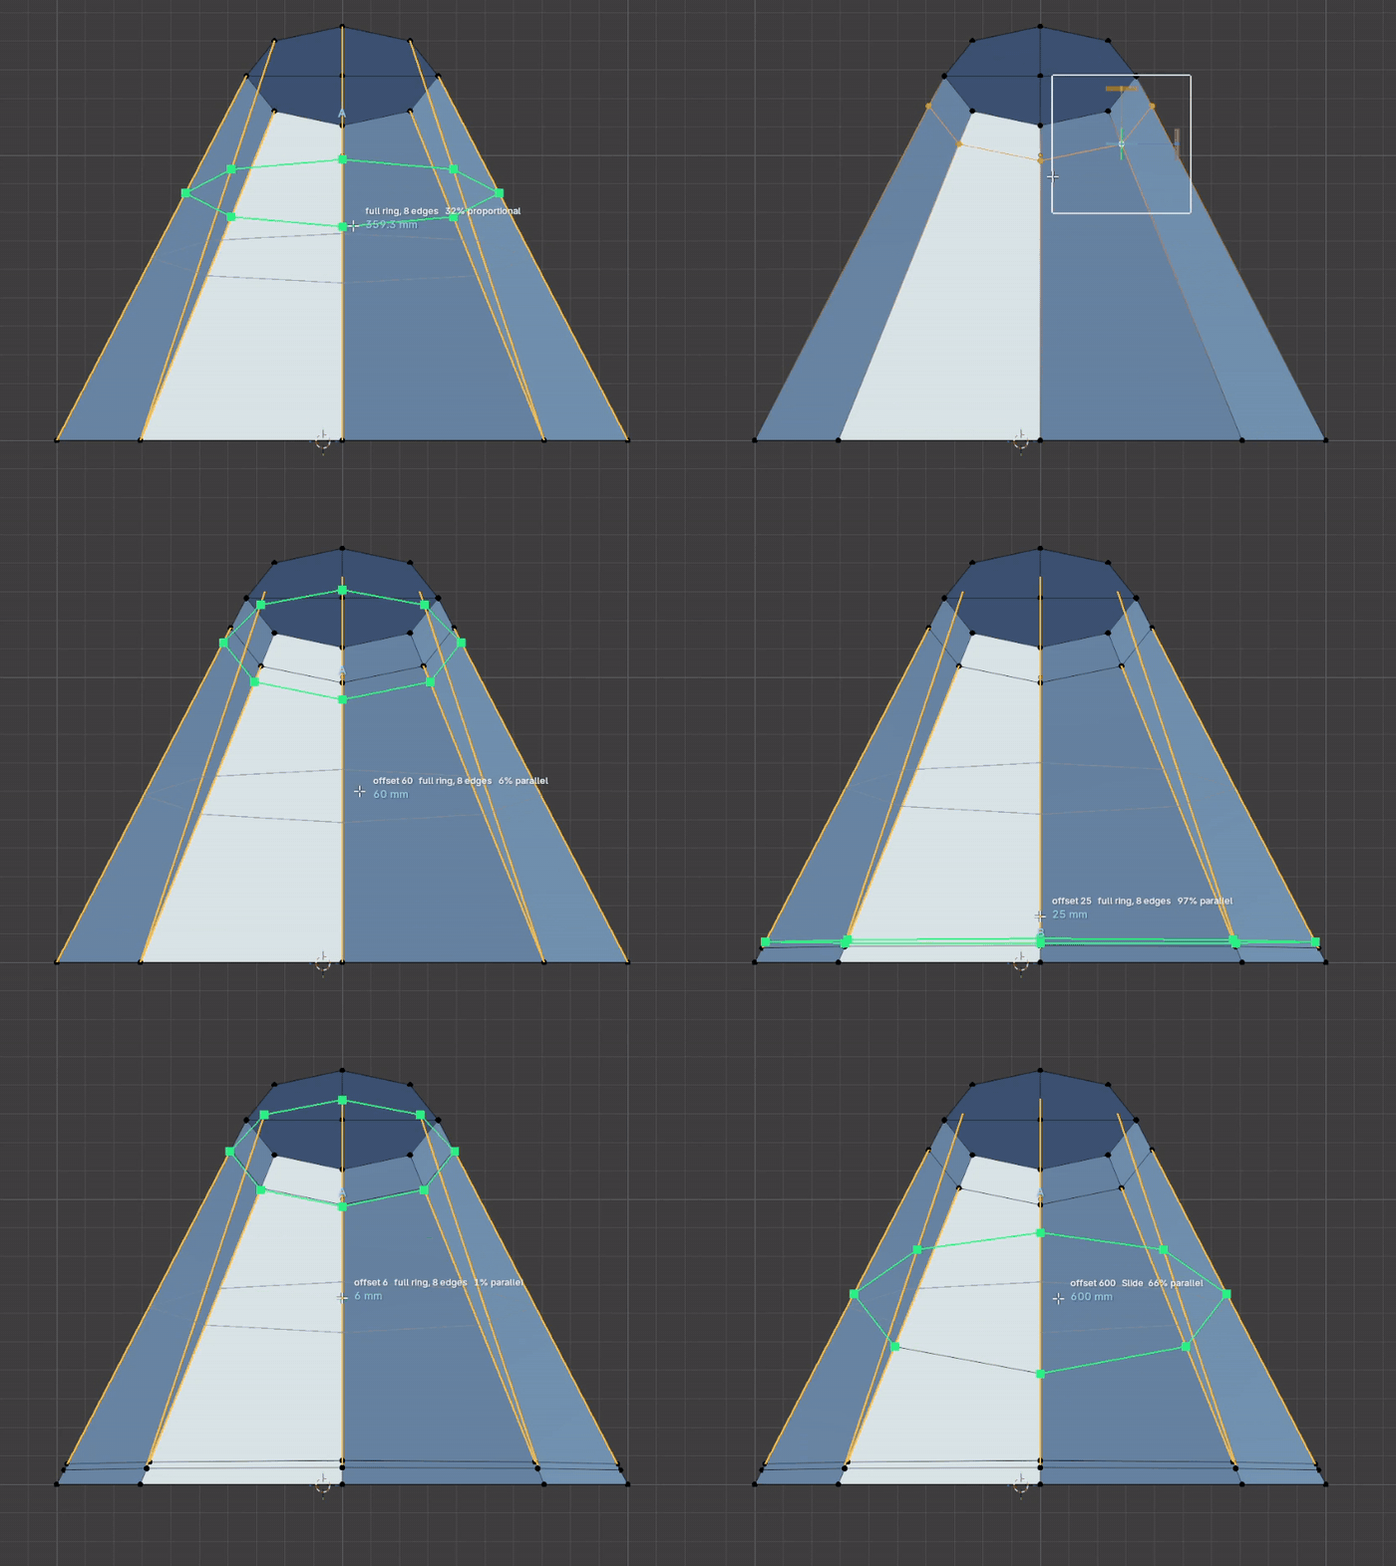
Exact offsets
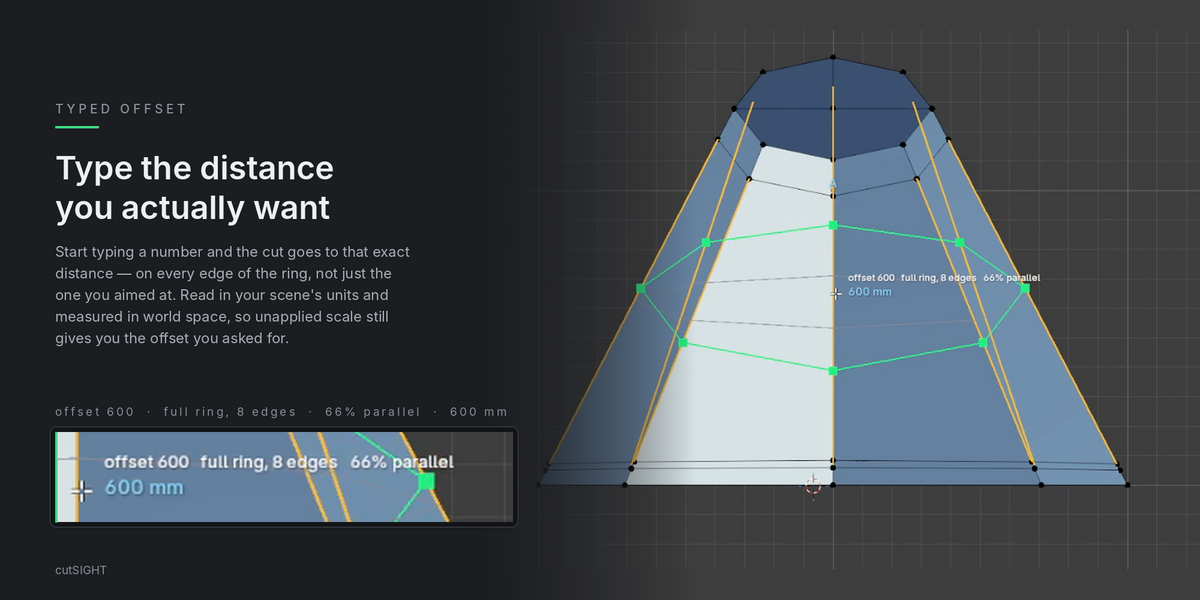
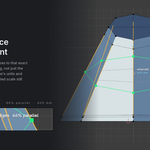
Type a distance and the cut switches to the parallel mode that measures from the side loop nearest the cursor. Only the parallel modes hold a real distance across the whole ring, so that is where a typed value belongs.
- —The distance you ask for holds on every edge of the ring, not just the one you aimed at.
-
—The reference follows the cursor: move towards one loop and the distance is read from that one, towards the other and it is read from the other, with the marker letter changing to match. The same cut at 125 mm goes from
11% parallelto89% parallelas it slides. - —The number in the readout is always the one you typed, on either side of the middle.
- —Clear the value and the cut goes back to Proportional. Pressing E while a value is active is an explicit choice, and it is kept.
- —Values are read in the scene's own units and measured in world space, so an object with unapplied scale still gets the offset you asked for.
05 / 07
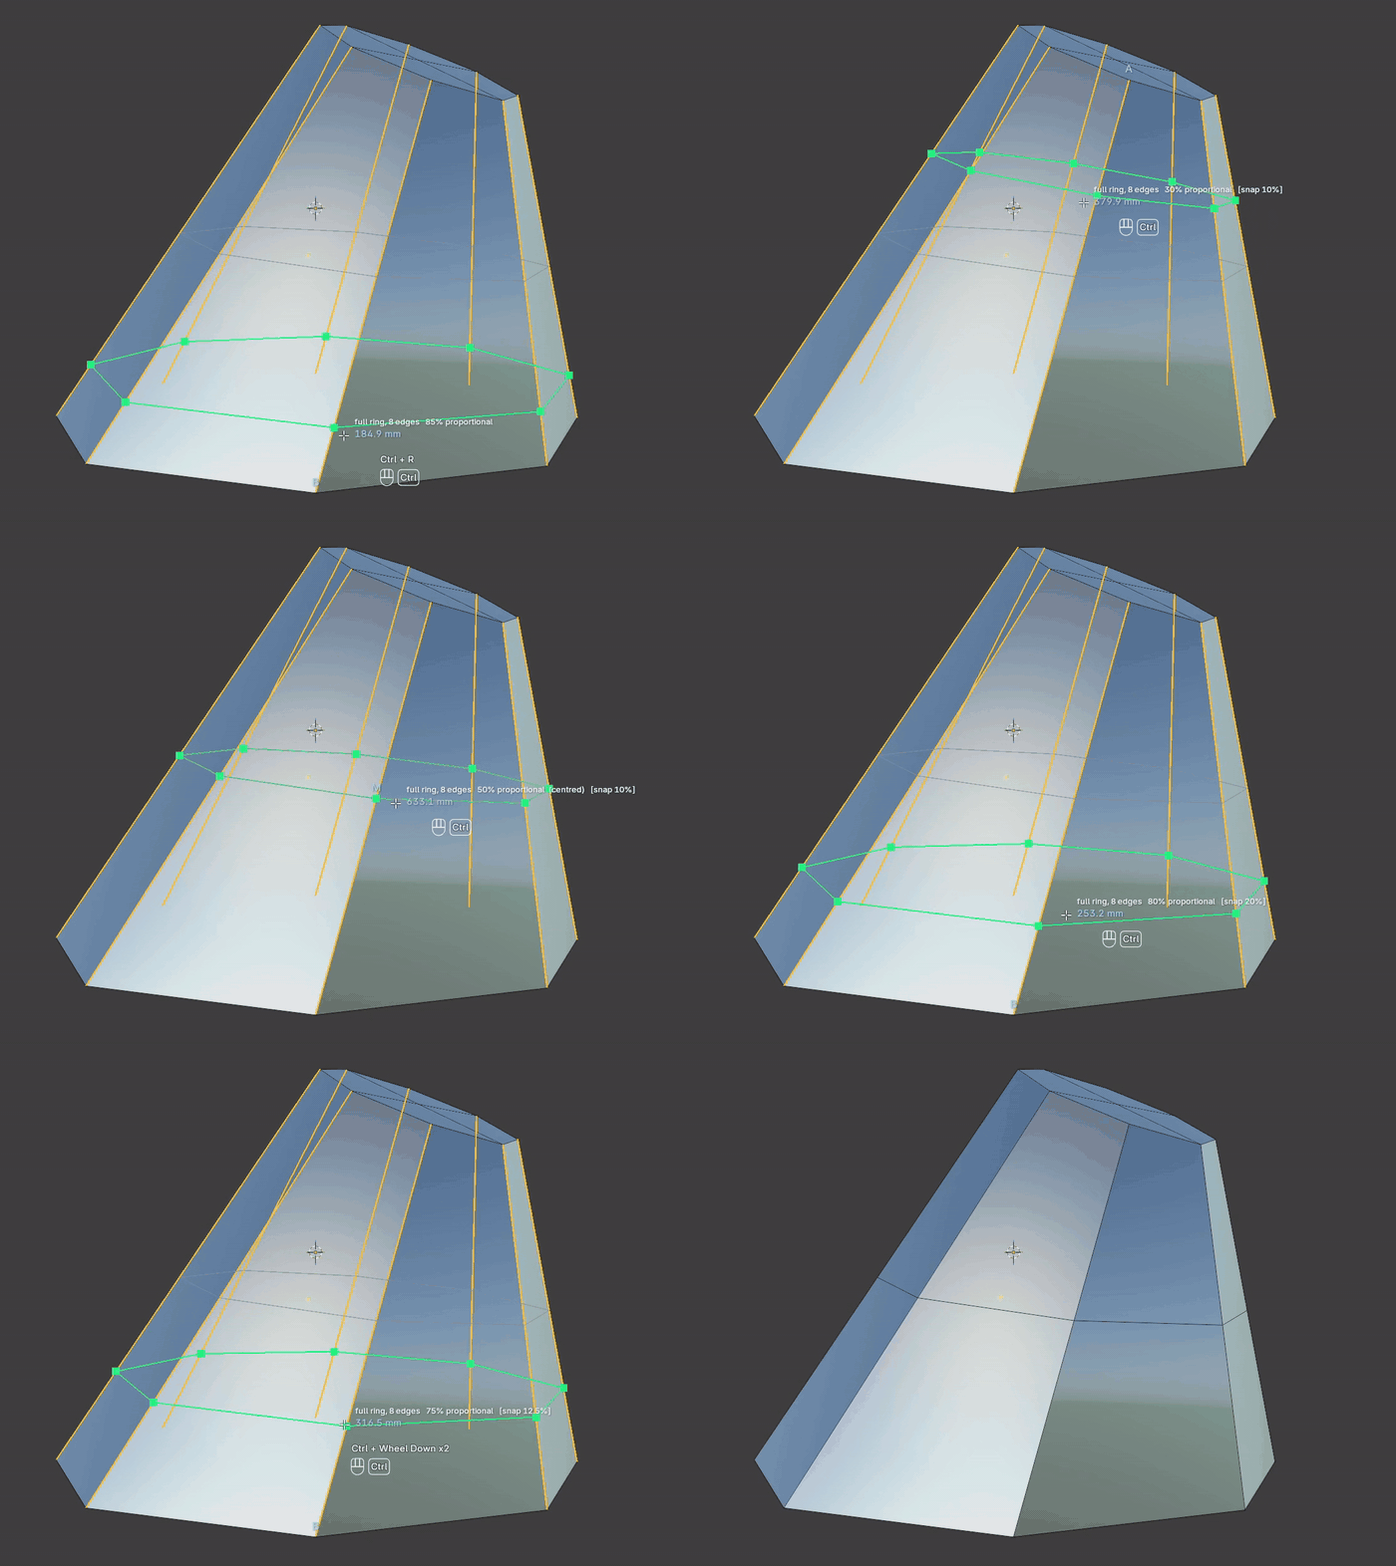
Snapping and the centre
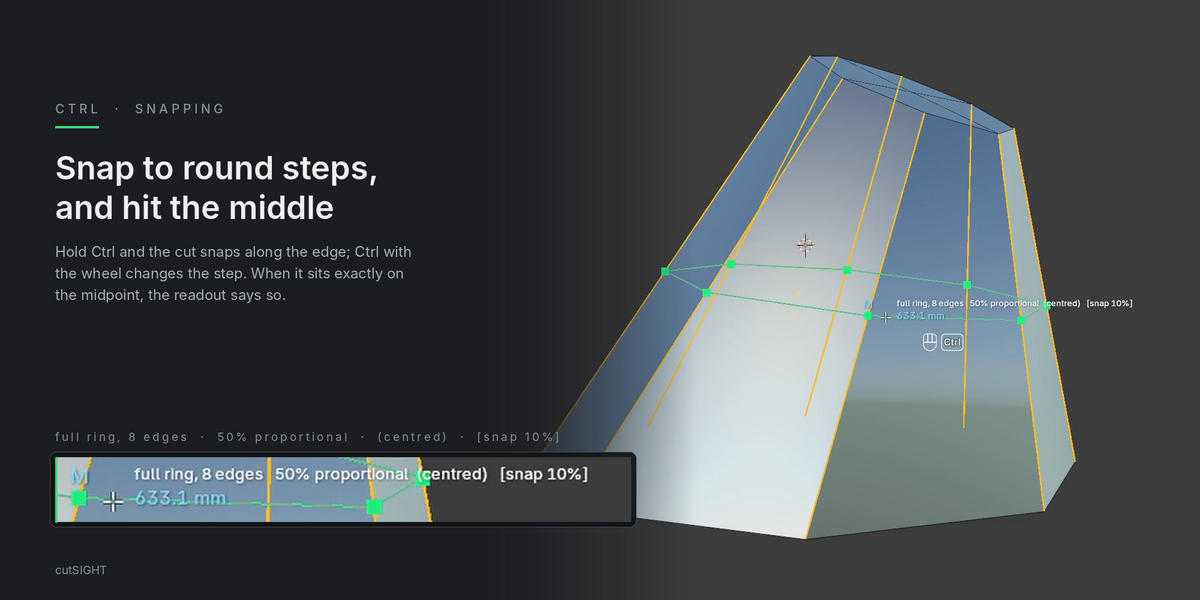
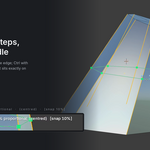
Hold Ctrl and the loop snaps to round values along the edge.
-
—Ctrl + Wheel changes the step, from 1% to 50%. The readout shows it, for example
[snap 10%]. -
—When the loop passes through the middle, the readout marks it
(centred).
06 / 07
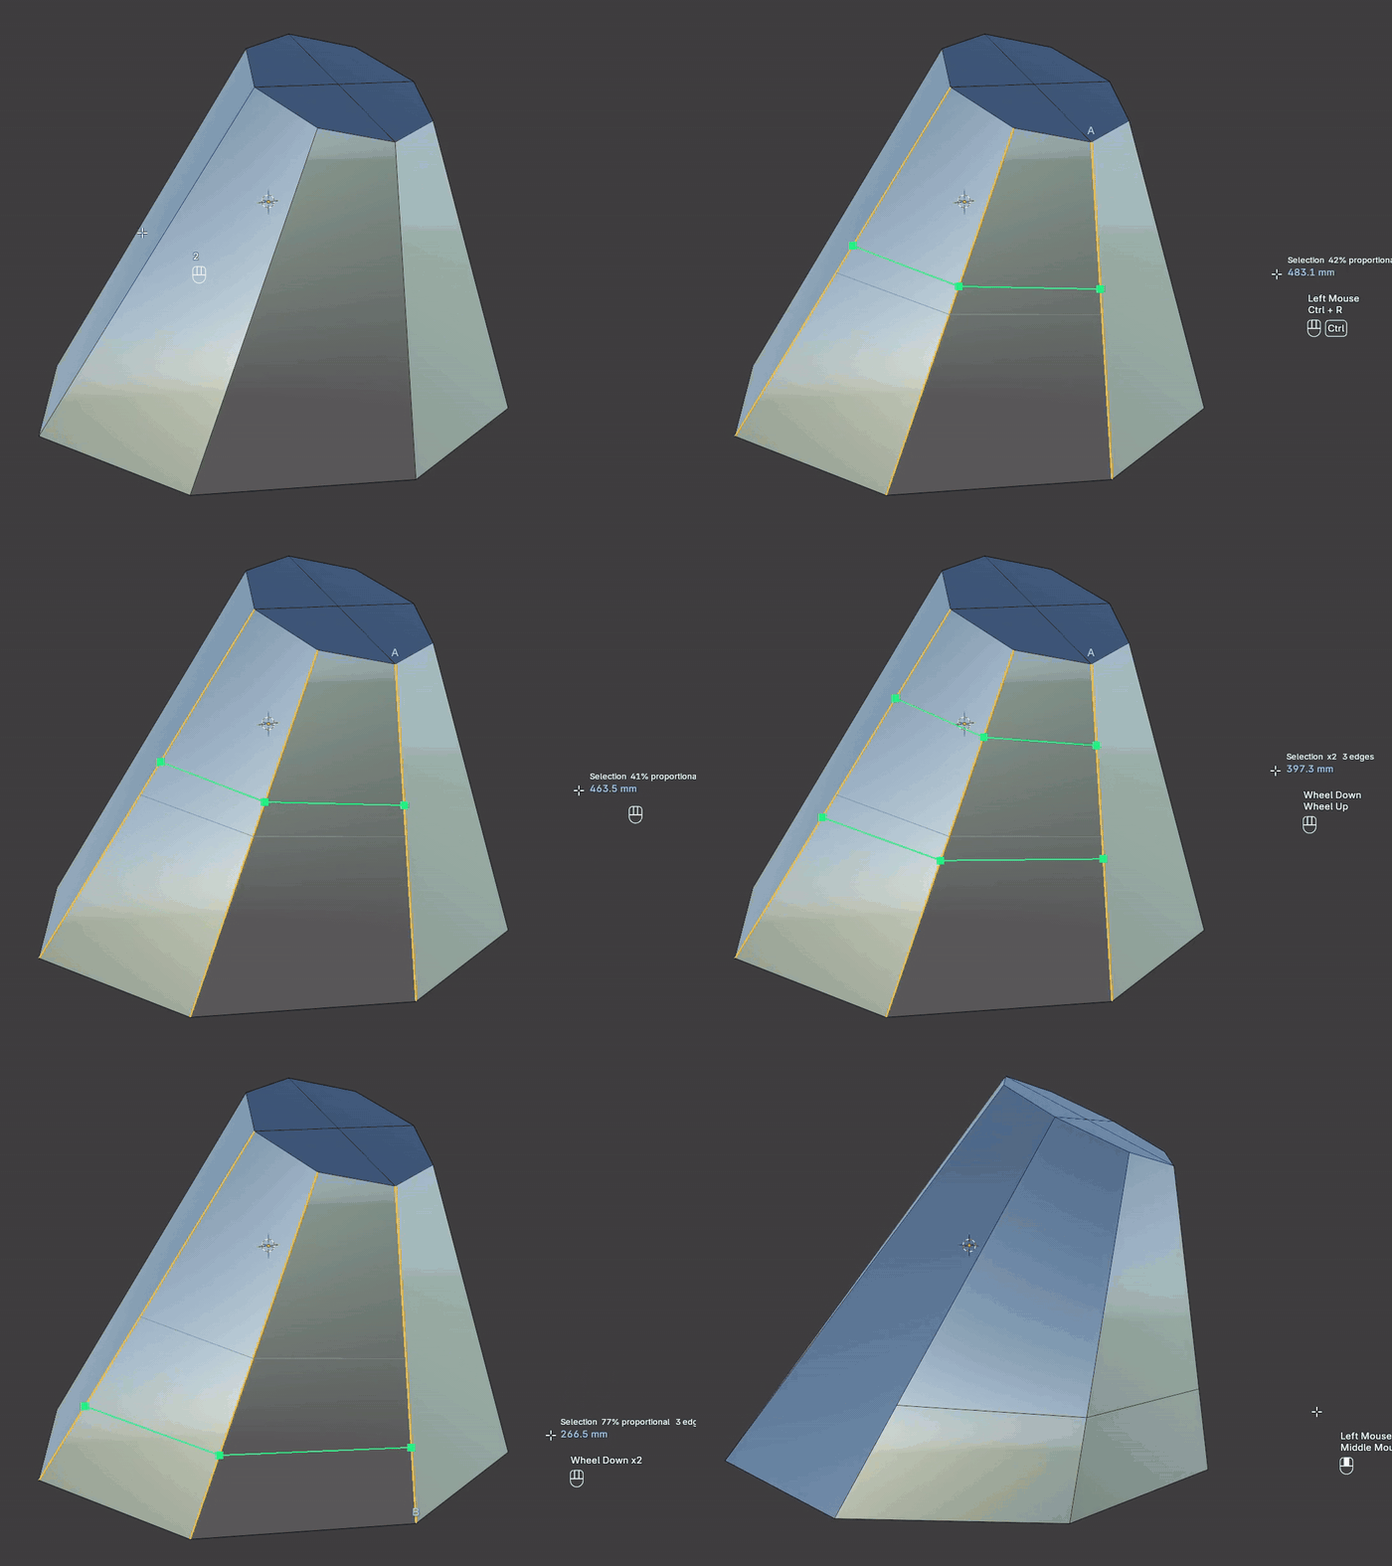
Selection
Cut only where you want it.
-
—In
Selectionmode the cut runs only along the edges you already have selected. - —Everything else, offsets, snapping and distribution, works the same way.
07 / 07
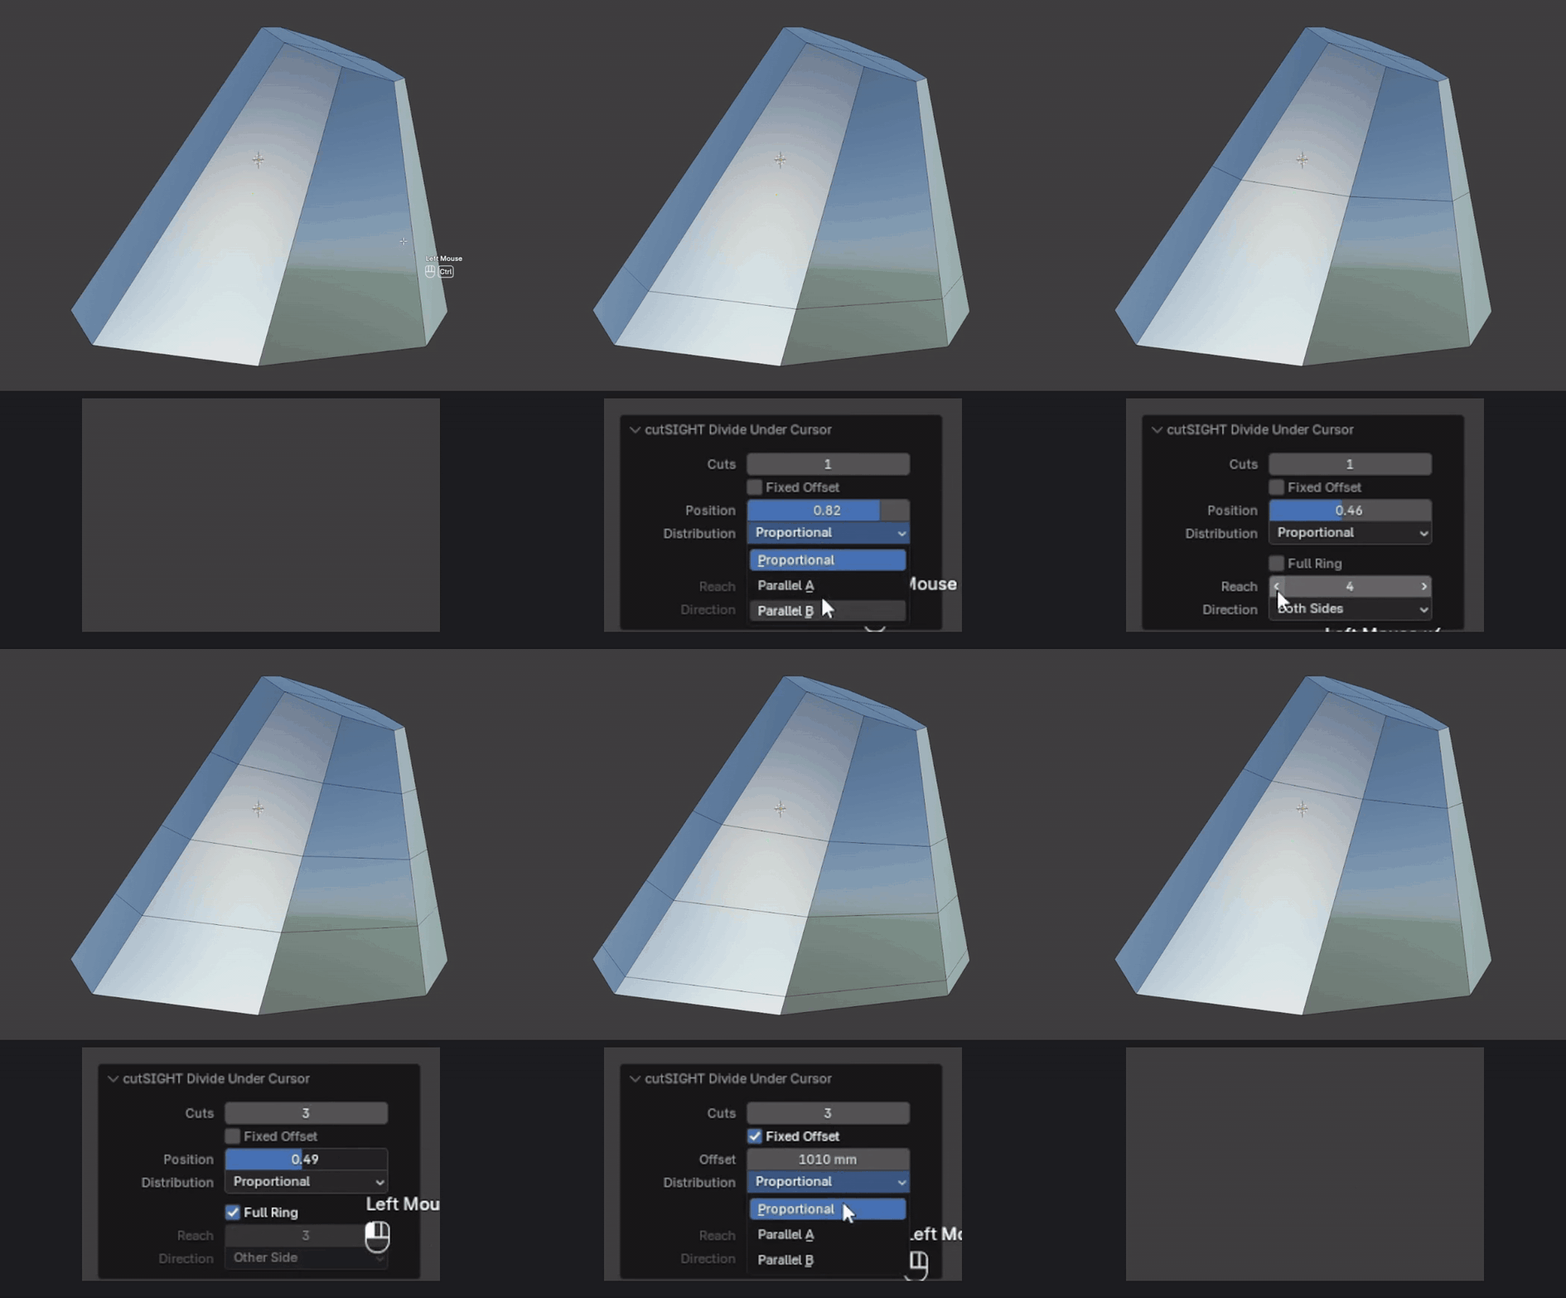
Editable after the cut
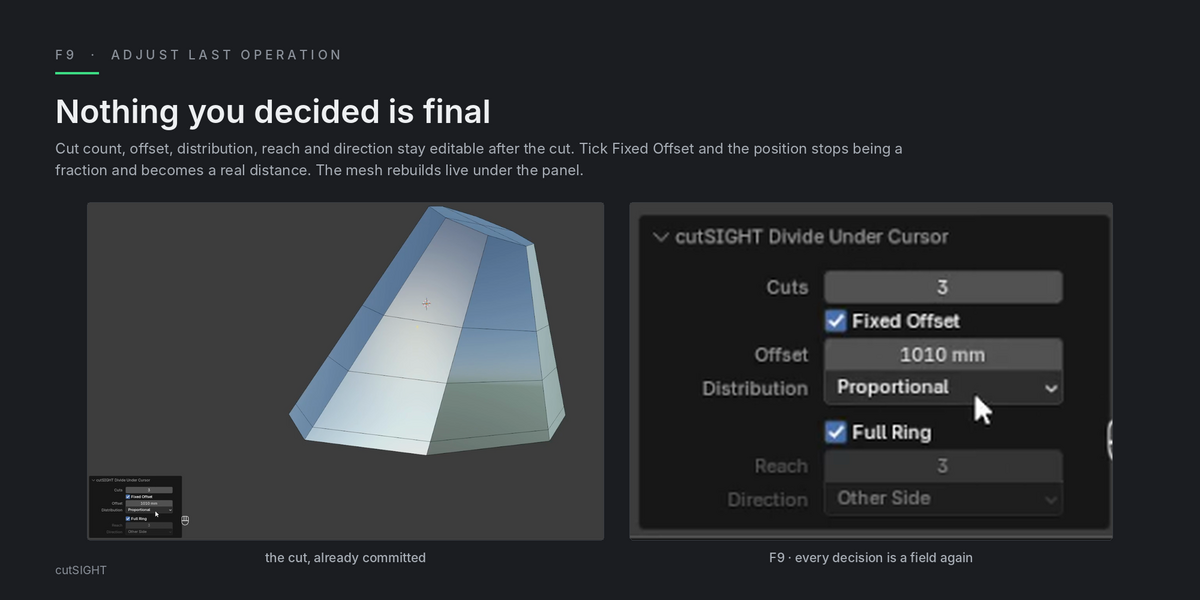
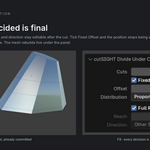
Every setting stays open in Adjust Last Operation (F9).
- —Change reach, direction, distribution or offset after you have committed.
- —The mesh updates as you edit the panel, without redoing the cut.
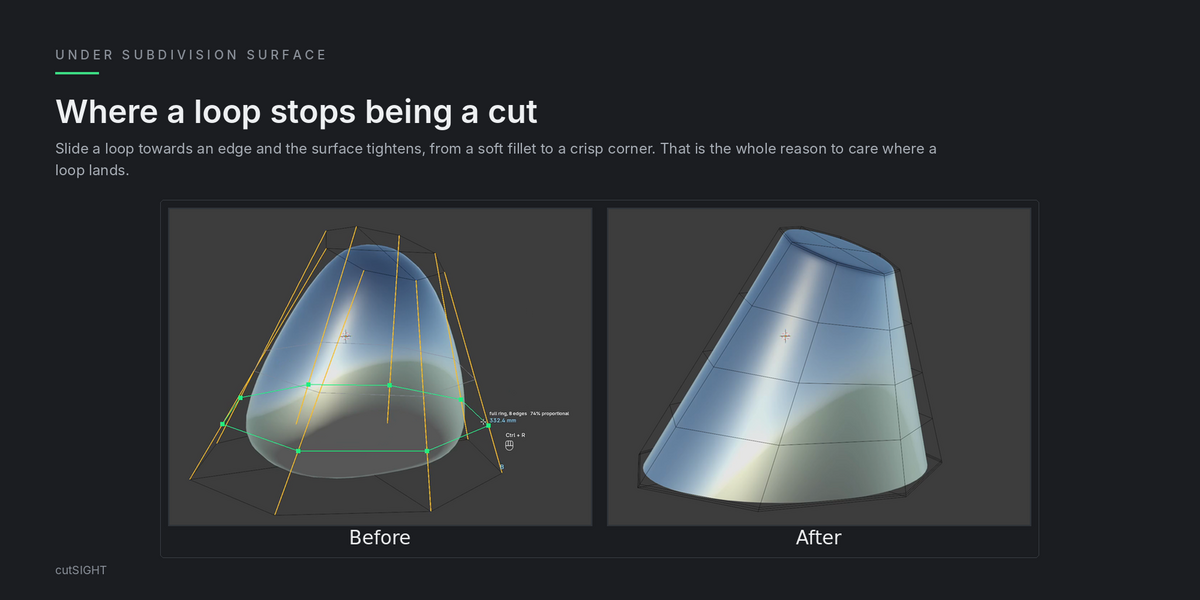
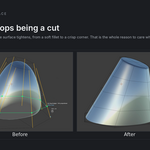
Under Subdivision Surface
A loop is not just a cut.
It is a shape control.
With Subdivision Surface on, where the loop sits decides how tight the surface gets. Slide it towards an edge and a soft surface turns into a defined corner, at a distance you can read and type.
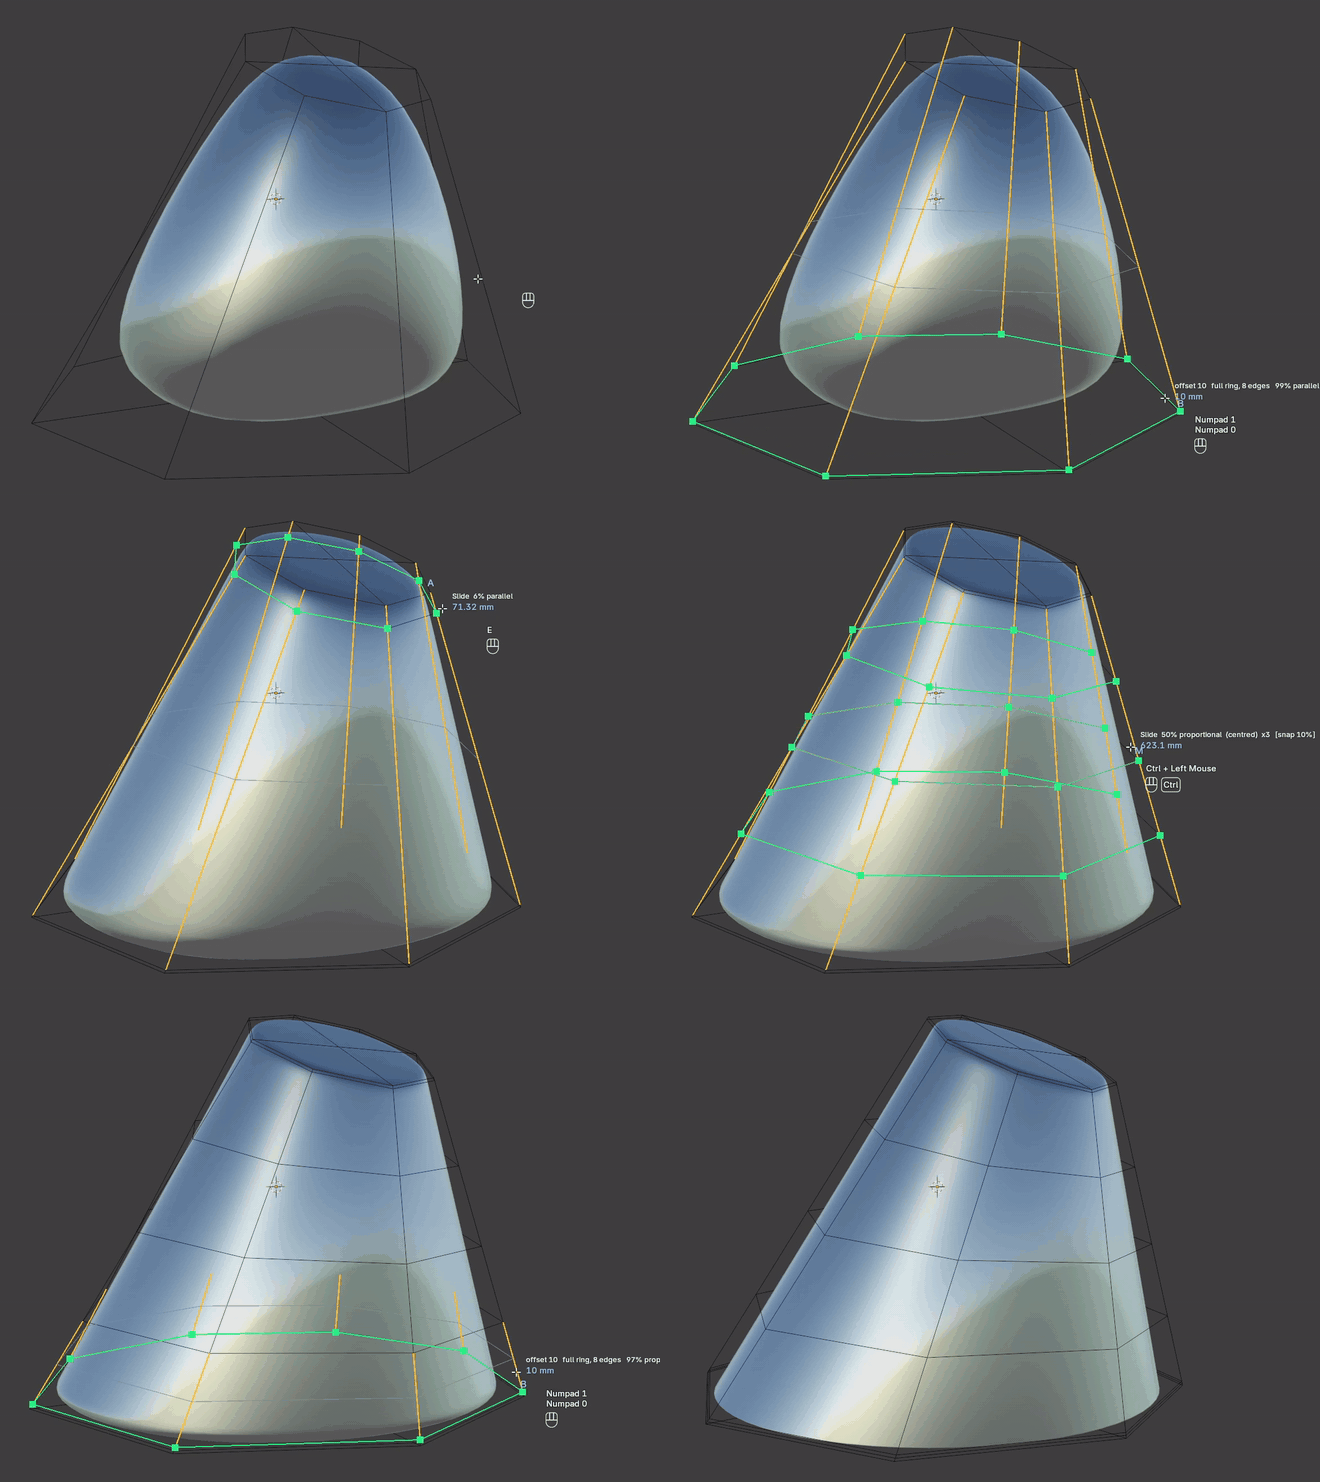
Loop Cut vs cutSIGHT
| LOOP CUT | cutSIGHT | |
|---|---|---|
| Aiming | Hover close to an edge | Nearest edge under the cursor, anywhere on the face, occlusion-aware |
| While sliding | Overlay line | Real geometry, shaded |
| Reach | Full ring | Full ring down to a single edge |
| Direction | — |
<-, -> or both sides |
| Typed value | Slide factor | A real distance on every edge of the ring, from the nearer side loop |
| Distance readout | — | Live, with its reference: A, B or M |
| Distribution | Even, Flipped | Proportional, Parallel A, Parallel B |
| After the cut (F9) | Factor, number of cuts, smoothness | Every setting, with the mesh updating live |
Details
Requirements
Blender 4.2 or newer (Extensions format).
Platforms
Windows, macOS, Linux.
Licence
GPL-3. Free updates.
Coming soon
cutSIGHT is one tool.
TopoKIT is the toolkit.
If this is how you like to cut, TopoKIT will bring the same way of working to the rest of your modelling.
TOPOKIT · COMING SOONcutSIGHT by Pino Iulio
 Included
Includes 12 months of
- Support from Pino Iulio
- Product updates
Extend this product’s Support Period +12 months: 25% of product price
Have questions before purchasing?
Login to message
| Blender Extension Compatible | Yes |
| Published | about 3 hours ago |
| Blender Version | 4.2 - 5.2 |
| Extension Type | Add-on |
| License | GPL |
Discover more products like this
mesh editing modeling hard surface edge ring subdivision support loops snapping measurement topology precision edge-loop Loop Cut