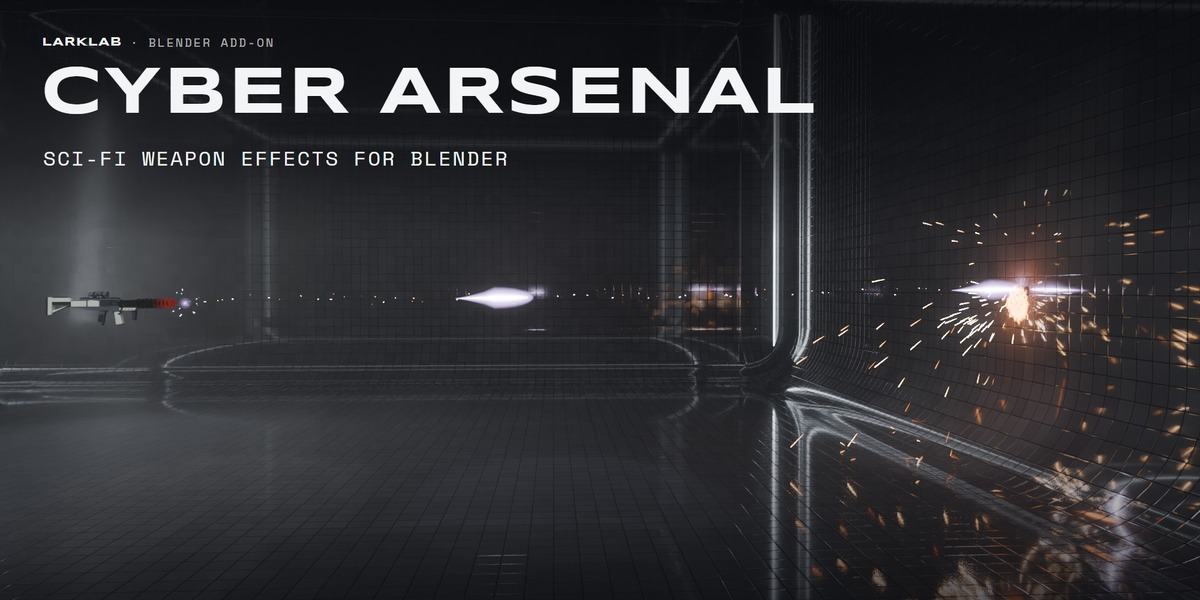
Cyber Arsenal: Sci-Fi Weapon FX
 LarkLab
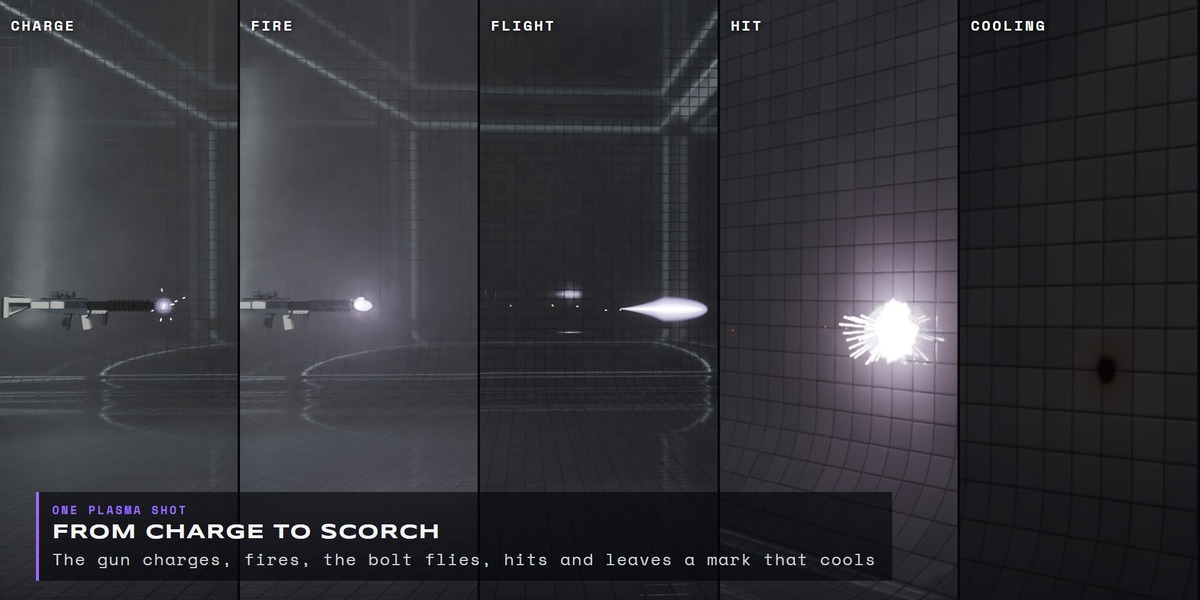
Documentation / v1.0.1
CYBER ARSENAL DOCS
How to install Cyber Arsenal, add a weapon to a gun, time the shot, attach modules and render it. The add-on lives in the Cyber Arsenal tab of the 3D Viewport sidebar (N). Blender 5.0+, EEVEE and Cycles.
|
Guide INSTALL, UPDATE, REMOVE |
- Download cyber_arsenal-1.0.1.zip from your Superhive downloads. Don't unzip it.
- In Blender open Edit › Preferences › Get Extensions, open the arrow menu at the top right, choose Install from Disk… and pick the zip.
- In the 3D Viewport press N and open the Cyber Arsenal tab.
Update: install the new zip the same way. Shots already in your files keep working.
Remove an effect: click it in the Effects in this scene list, then press Remove Effect at the bottom of the Shot panel. It deletes the effect, its ledger, its lights and its modules, including the heat modifier on the barrel. The Muzzle, the Target and any vent, port or emitter empties stay, so delete those by hand if you no longer need them.
|
Guide ADD A WEAPON |
|
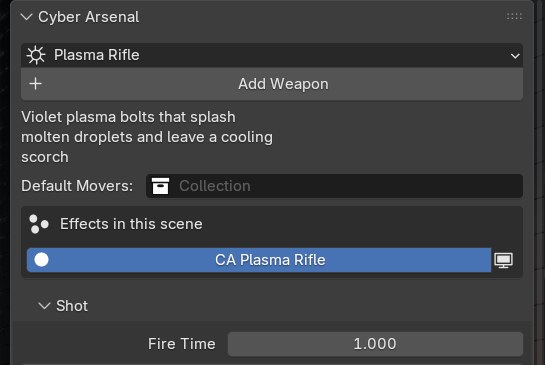
1. Place the 3D cursor on the barrel tip, rotated so its +Y points where the gun fires (Shift+S › Cursor to Selected, or snap it while dragging). Add Weapon turns that +Y into the Muzzle's +Z, the axis every weapon fires along. 2. Pick a weapon in the picker and click Add Weapon. You get CA Muzzle at the cursor, CA Target 6 m ahead and the effect object, already baked. The Fire Time starts at the current frame, or at Charge Time + 0.5 s if that is later. 3. Parent the Muzzle to your gun (Ctrl+P) or to a hand bone. Move the Target to aim, or clear it in the Shot panel to fire along the Muzzle's +Z to the first surface. With an effect selected, the picker's button turns into Attach to Active Effect for modules. |
|
Guide THE MUZZLE CONVENTION |
Every weapon and module reads the same empty. If you place or rotate it by hand, keep these axes:
| +Z | Down the barrel, the direction the shot travels |
| +X | Down (toward the grip) |
| +Y | To the left of the gun |
| Heat-Sink port | Made at (-0.012, -0.032, -0.55) in Muzzle space, pointing right and slightly up; move it to your ejection port |
| Laser emitter | Made at (0.035, 0, -0.12) in Muzzle space, under the barrel |
| Overheat vents | Made on the barrel mesh: its local +Z runs breech to tip |
|
Guide SHOT PANEL |
|
|
Guide WEAPON CONTROLS |
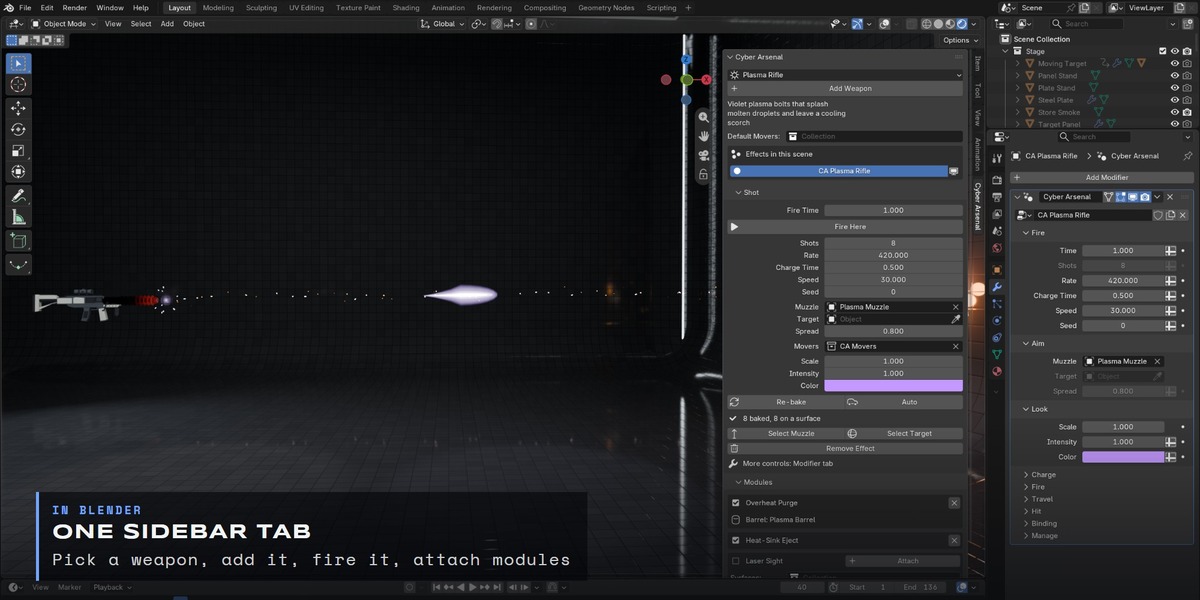
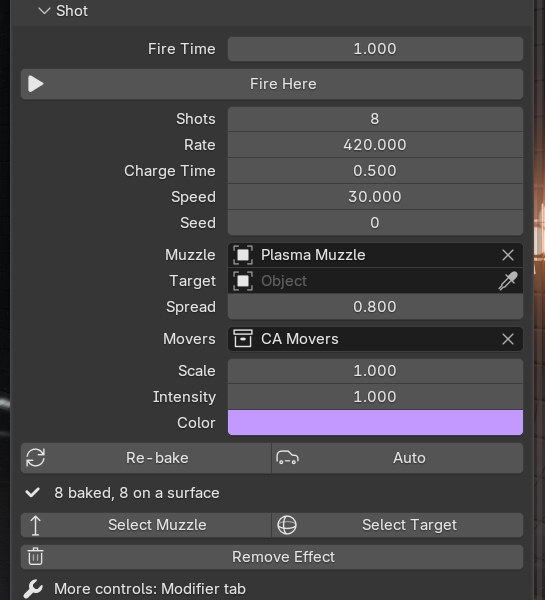
The sidebar shows the main inputs. Every input is in the modifier panel (Properties › Modifiers › Cyber Arsenal), grouped by beat:
| Fire | Fire Time, Shots, Rate (rpm), Charge Time, Speed (m/s), Seed |
| Aim | Muzzle (+Z down the barrel), Target (optional), Spread (degrees) |
| Look | Scale, Intensity, Color |
| Charge · Fire · Travel · Hit | Per weapon, closed by default (see below) |
| Binding | Ledger, Camera, Probe and FPS are set by the add-on. Set Movers for moving targets, and set Floor to your floor height if it is not at Z 0, so debris lands on it. |
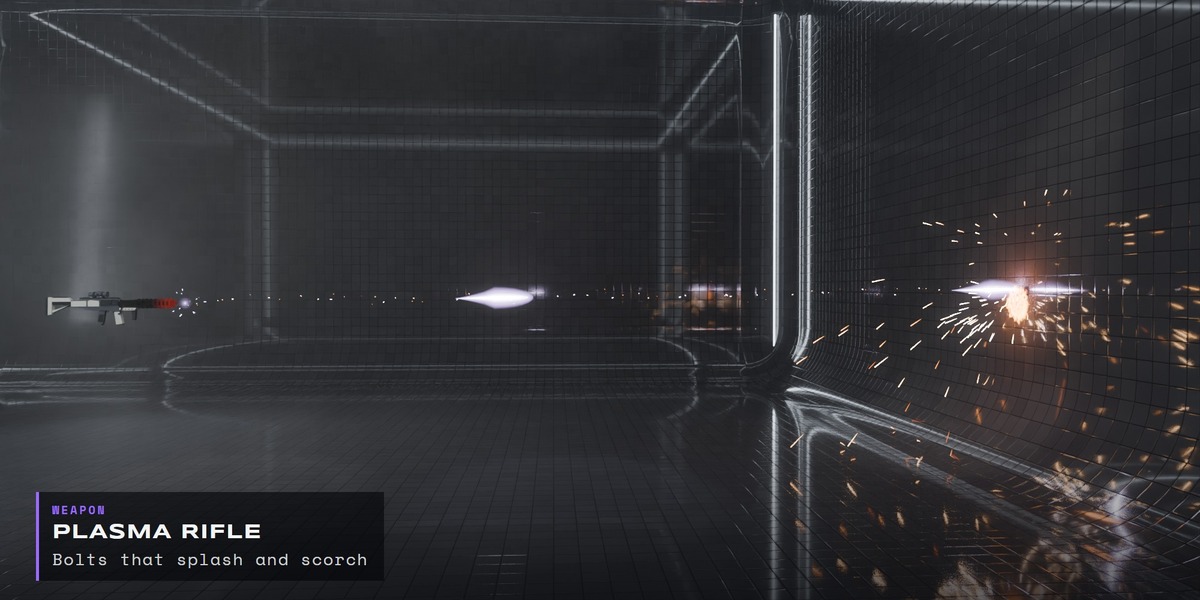
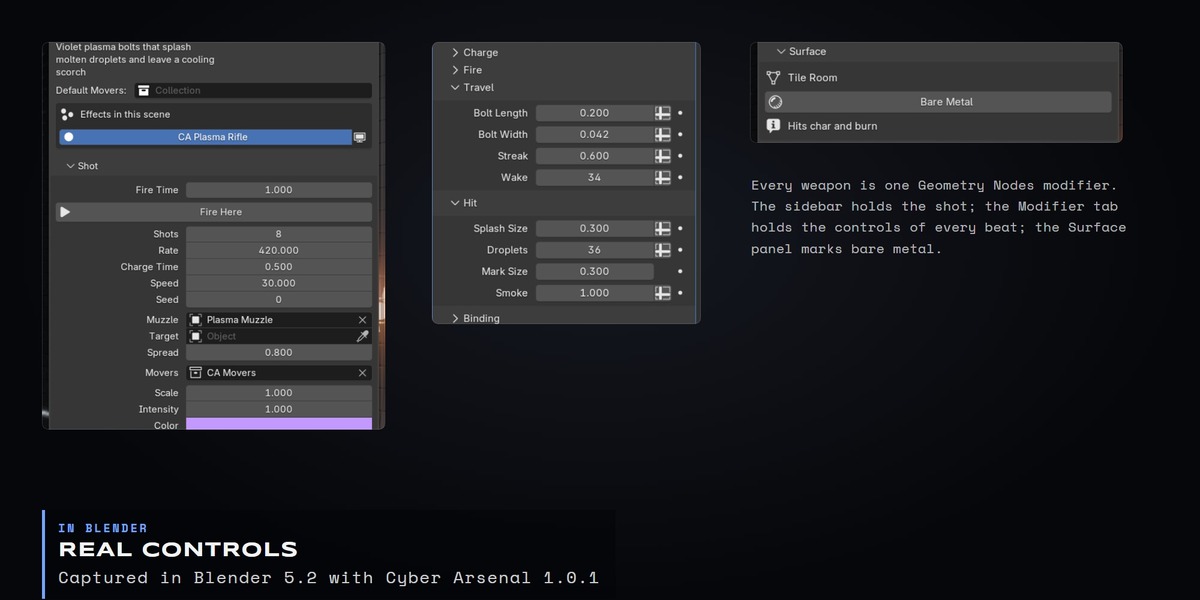
| Plasma Rifle | Pinch, Core Size, Motes · Flash Size, Puff · Bolt Length, Bolt Width, Streak, Wake · Splash Size, Droplets, Mark Size, Smoke |
| Railgun | Coils, Coil Spacing, Barrel Radius, Arcs, Rail Gap · Flash Size, Debris, Sabot, Smoke · Core Life, Trail Life, Trail Width, Helix, Helix Pitch, Drift · Spall, Mark Size, Smoke |
| Pulse Blaster | Lens Size · Burst, Burst Pause, Flash Size, Wisp · Bolt Length, Bolt Width, Streak, Ricochet · Pit Size, Droplets, Smoke |
| Scatter Cannon | Ports, Face Radius · Flash Size, Smoke · Pellets, Choke, Pellet Size, Pellet Length, Streak · Crater Size, Smoke |
| Heat Ray | Lens Size · Hold, Kick Size · Beam Width, Shimmer · Spot Size, Max Temperature, Heat Time, Cool Time, Ignite, Flames, Smoke, Shimmer |
| Flechette Launcher | Spark Size, Hiss · Needle Length, Streak · Embed, Tilt, Cool Time, Scorch Size, Smoke, Charged, Pop Delay, Pop Step, Pop Size, Drops |
| Airburst Round | Flash Size, Smoke · Range, Round Size, Trail · Burst Size, Fragments, Fragment Speed, Pock Size, Smoke |
|
Guide MODULES |
Module inputs live in the Modifier tab of the object that carries them: CA Barrel Heat on your barrel, CA Vent Purge on CA Overheat Purge, CA Heat Sink on CA Heat-Sink Eject and CA Laser Sight on CA Laser Sight.
Select a weapon effect (click it in Effects in this scene), then press Attach next to a module in the Modules panel, or pick the module in the picker and press Attach to Active Effect. Remove it with the X.
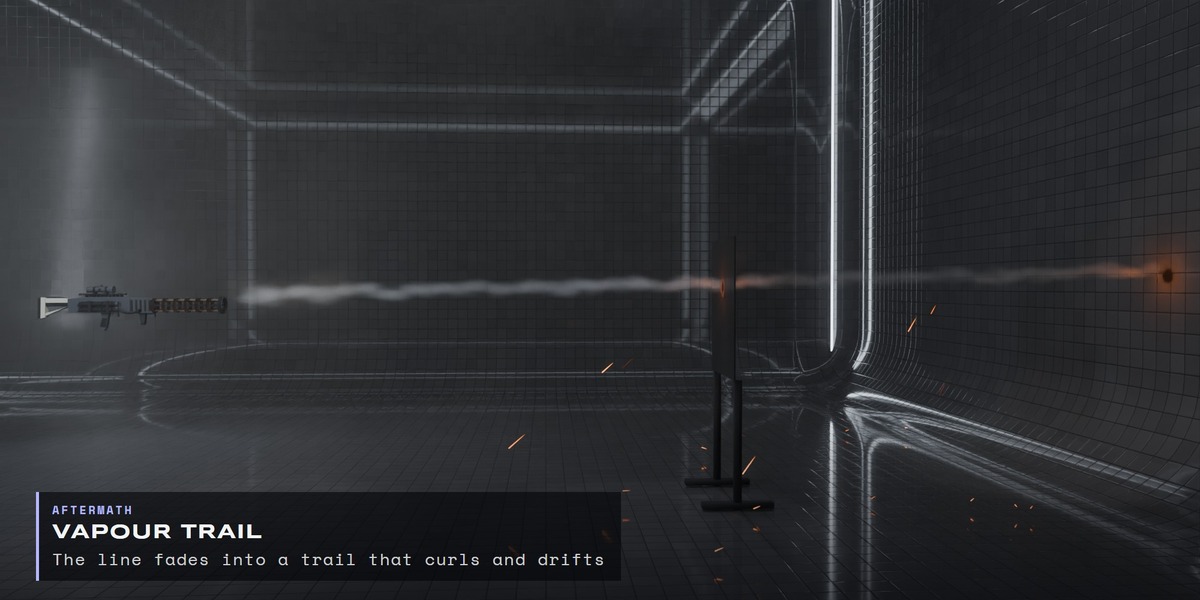
| Overheat Purge | Needs the gun's barrel mesh (pick it under Barrel). The barrel's local +Z must run from the breech to the tip, with its origin at the breech. Heat builds per shot: with the default heat settings, a burst at 420 rpm reaches glow at about 6 shots and purges from 7, so raise Shots or Heat Per Shot. To see the glow, press Apply Heat Material in the Overheat Purge box. It replaces the barrel's own material until you press Restore Material or remove the module, and the glow starts at the muzzle end. The box says so when a burst is too short to purge. Purge Cooling sets how much heat the purge removes: lower it to keep the barrel glowing after the purge. For thin parts such as fins to glow first, give the barrel mesh a point attribute named ca_thin set to 1 on those parts; Thin Cool Time only acts on them. Inputs: Heat Per Shot, Cool Time, Thin Cool Time, Max Temperature, Purge Cooling, Length, Shimmer, Jet Time, Jet Speed, Steam, Puffs. |
| Heat-Sink Eject | Ejects on the purge time, or a short delay after the last shot without a purge. Set Floor to your floor height if it is not at Z 0. Inputs: Speed, Lift, Spin, Start Temperature, Cool Time, Fin Cool Time, Length, Radius, Smoke, Floor. |
| Laser Sight | Live every frame. Put the objects the beam can hit in a collection and pick it under Surfaces in the Laser Sight box. Inputs: Settle, Sway, Settled Sway, Haze, Color, Power, Dot Size, Beam Width, Motes, Range. The beam is meant to be seen in haze. |
|
Guide SURFACES |
Hits read the surface they land on. By default a surface counts as painted: it blisters, chars and, under the Heat Ray, can catch fire. To make an object bare metal, select it and press Bare Metal in the Surface panel of the sidebar; every selected mesh changes and the shots re-bake. Bare metal shows heat tint and glows instead of burning. Press it again to go back to painted.
|
Guide MOVING TARGETS |
Put the objects that move in a collection and pick it as Default Movers in the sidebar (new weapons use it) or as Movers in the Shot panel. Hits, marks and hit lights are stored in the mover's own space and ride with it as the object moves and turns. They follow the whole object, so they do not stick to a deforming character.
Smoke and droplets that are already in the air when the target moves ride with it too. Keep fast movers away from long smoke, or lower Smoke.
|
Guide DEMO SHOTS |
The Demo Shots panel opens ten ready files, one shot each, with a camera: Plasma Rifle with Overheat Purge, Railgun, Pulse Blaster, Scatter Cannon, Heat Ray, Flechette Launcher, Airburst Round, Heat-Sink Eject, Laser Sight and a moving target. They use simple stand-in guns. Opening one doesn't re-bake anything.
|
Guide RENDERING |
| EEVEE | Fast. Flashes and hits light the set with keyed lamps. The Heat Ray's flames read as a soft glow. |
| Cycles | Best for the Heat Ray flames, smoke and refraction. Use the same file. |
| Background renders | The bake keys the lights, so command-line renders (-b) match the viewport. |
| Frame rate | Timing is in seconds. Change the fps and press Re-bake (Auto does it for you). |
| Close cameras | Hit lights are strong for one frame. On bare metal close to the camera, lower Intensity. |
|
Guide TROUBLESHOOTING |
| Nothing fires | Check the playhead is after the Fire Time and the viewport is in Material Preview or Rendered. |
| The shot misses the wall | The Target is set. Clear it in Aim to hit the first surface along the aim, then Re-bake. |
| Shot goes the wrong way | With a Target set, shots fly at the Target, so move it. With no Target, the Muzzle's +Z must point down the barrel. |
| Changed since the last bake | Press Re-bake, or turn Auto on. |
| Laser beam invisible | Raise the Laser Sight's Haze input. It is an aiming beam, faint by default. |
Have questions about this product?
Login to message
| Blender Extension Compatible | Yes |
| Published | about 22 hours ago |
| Blender Version | 5.0 - 5.2 |
| Extension Type | Add-on |
| Render Engine Used | Cycles, Eevee |
| License | GPL |
Discover more products like this
cyberpunk muzzle-flash sci fi blaster energy-weapon geometry nodes railgun weapon-fx impact plasma laser VFX