Dead Simple Motion
 vfxblender
DEAD SIMPLE MOTION • VERSION 0.8.8
INSTALL + USER GUIDE
A clean, fast tutorial for getting Dead Simple Motion installed and actually useful. This build is a Blender Extension for Blender 4.2+.
What’s In This Plugin?
Dead Simple Motion is built around five core tabs: Rotate, Orbit, Spawn, Follow, FX. It also includes interaction tools like Pickup / Drop / Throw, plus Audio Reactive controls for compatible systems.
Rotate
Continuous spin + Swing mode, key in/out ranges, bake rotation, and center-origin helpers.
Orbit


Circle, Ellipse, Infinity, Square, Sphere, Daisy Train, bone targets, live radius, and camera focus support.
Spawn

Spawn, Looper, and Curve Path motion with editable paths, fade points, variation, and audio response.
Follow
Smooth target/bone follow with delay and drift, plus Pickup / Drop / Throw interaction tools.
FX

Organic motion presets like Sci-Fi Drone, Engine Vibration, Handheld Camera, Floating UI, Underwater, and more.
Install Guide
This package is an Extension ZIP, not an old loose-script install.
1
Open Blender 4.2 or Newer
Dead Simple Motion 0.8.8 requires Blender 4.2+.
2
Go to Preferences
Open Edit → Preferences → Get Extensions.
3
Install from Disk
Use the menu in the Extensions area and choose Install from Disk…, then select the ZIP file.
4
Enable the Extension
Make sure Dead Simple Motion is enabled after install.
5
Find the Panel
In the 3D Viewport press N → open the Dead Simple tab.
6
Start using plugin
Explore the Panel.
Quick Start Workflow
1
Select
Pick the object, camera, or prop you want to animate.
2
Choose a Tool
Rotate, Orbit, Spawn, Follow, or FX depending on the type of motion you need.
3
Apply
Click the main Apply button. DSM creates the rig or procedural motion setup for you.
4
Adjust / Clear / Bake
Tweak settings, move controls, clear the effect, or bake it when you’re ready.
How To Use Each Tool
1) Rotate Tab

Use this for fans, wheels, planets, signs, records, propellers, turbines, or anything that needs controlled spinning.
- Choose Rotate or Swing mode.
- Rotate mode: choose axis, speed, and optionally center the origin first.
- Swing mode: set pivot, axis, peak angle, and cycles per second.
- Use Key In / Key Out if you only want the motion active in a specific time range.
- Use Bake Rotation or Bake Swing if you want normal keyframes.
Tip: Rotate creates a simple control setup so the object and control both remain selectable.
2) Orbit Tab

Use Orbit for drones, satellites, magic rings, electrons, chain motion, planets, shoulder followers, and orbiting cameras.
- Pick a Target. If left empty, DSM uses the 3D Cursor as the pivot.
- If your target is an armature, you can pick a Bone.
- Choose a shape: Circle, Ellipse, Infinity, Square, or Sphere.
- Sphere creates the atom-style, multi-axis orbit behavior.
- Daisy Train arranges a selection into one shared orbit path.
- Use Behavior for normal placement, even offset, or randomized phase.
- Adjust Speed, and if live radius is available, adjust the orbit Radius.
- Turn on Face Direction if the object should point in the direction of travel.
- Audio Reactive can modulate orbit motion when enabled.
Camera note: orbiting cameras get a movable Focus Empty automatically.
3) Spawn Tab
Use Spawn for traffic, trains, spaceships, conveyors, floating background motion, camera sliders, looping object travel, and more.
- Spawn mode: object travels, disappears/resets, and respawns.
- Looper mode: object moves back and forth.
- Curve mode: object follows an editable Bezier or Poly curve.
- For straight motion, choose Axis, Speed, and Distance.
- Use Fade In Point and Fade Out Point for smoother acceleration and deceleration.
- Multi-object selections can use Per-Object Variation for more natural spacing and speed differences.
- Audio Reactive is available here too.
Curve workflow: click Add Curve, then Edit Curve to shape the path. Clear keeps the editable curve.
4) Follow Tab
Use Follow for companions, drones, helper objects, props attached to motion, camera follow rigs, and secondary motion tied to a target.
- Select a Target, or a Bone if following part of an armature.
- Delay Frames controls lag. Higher values create more trailing motion.
- Drift adds organic imperfection.
- Use Variation in Advanced for multi-object follow setups.
Important: Follow is location-focused and designed for smooth chase behavior rather than rigid parenting.
5) Pickup / Drop / Throw
These tools live under the Follow tab and are built for prop interaction.
- Choose a Rig / Object and optionally a Bone.
- Select the prop you want the character or object to hold.
- Click Pick Up Object at the correct frame.
- Move to the release frame and click Drop Object.
Throw Workflow
- Select the prop.
- Click Key In to capture the throw start pose.
- Move the prop to the landing pose and click Key Out.
- Adjust Arc Height.
- Optionally enable Spin and set Spin Turns.
- Choose timing: End Frame, Duration, or Gravity Auto.
- Click Throw Object.
6) FX Tab
FX is for quick layers of life and vibration on top of other motion.
Included presets:
Sci-Fi Drone • Space Debris • Engine Vibration • Breathing • Magic Hover • Alakazam! • Handheld Camera • Floating UI • Engine Idle • Heavy Machinery • Underwater • Drunk Camera • Micro Jitter • Hovercraft
- Choose a preset.
- Set Amount and Speed.
- Open Advanced for Float, Wobble, Scale Pulse, Bob, Shake, Bob Axis, and Shake Speed controls.
- Use Audio Reactive if you want the FX to respond to a loaded MP3/WAV file.
Audio Reactive Guide
Audio Reactive is shared across supported tools. It appears in Orbit, Spawn, and FX.
- Turn on Audio Reactive.
- Load an MP3 or WAV file.
- Choose a band: Full, Bass, Mids, or Highs.
- Adjust Audio Strength.
- Open Audio Advanced for Input Gain, Smoothing, and Add to Sequencer.
Simple idea: use FX + Audio Reactive for music visuals, use Orbit + Audio for motion-driven orbit changes, and use Spawn + Audio for waveform-style moving elements.
Best Practice Workflow
- Apply the base motion first — Rotate, Orbit, Spawn, or Follow.
- Then layer FX last if you want extra life.
- Use Pickup / Drop / Throw when props need interaction with characters or rigs.
- Use Clear on a single tool if you want to remove only that system.
- Use Clear All to remove all DSM systems from the selected object(s).
- Use Bake when you want traditional keyframes for final hand-editing.
Troubleshooting
I can’t find the panel
Press N in the 3D Viewport and open the Dead Simple tab.
Audio isn’t working
Make sure an MP3 or WAV is loaded, Audio Reactive is enabled, and the sound is available in the scene.
Throw button is disabled
You need both a Key In and a Key Out captured before the throw can be applied.
My curve motion isn’t showing
Make sure you selected or created a valid curve and are using Curve mode inside the Spawn tab.
I want to start over
Use the per-tool Clear button, or select the object(s) and hit Clear All.
Dead Simple Motion in One Sentence
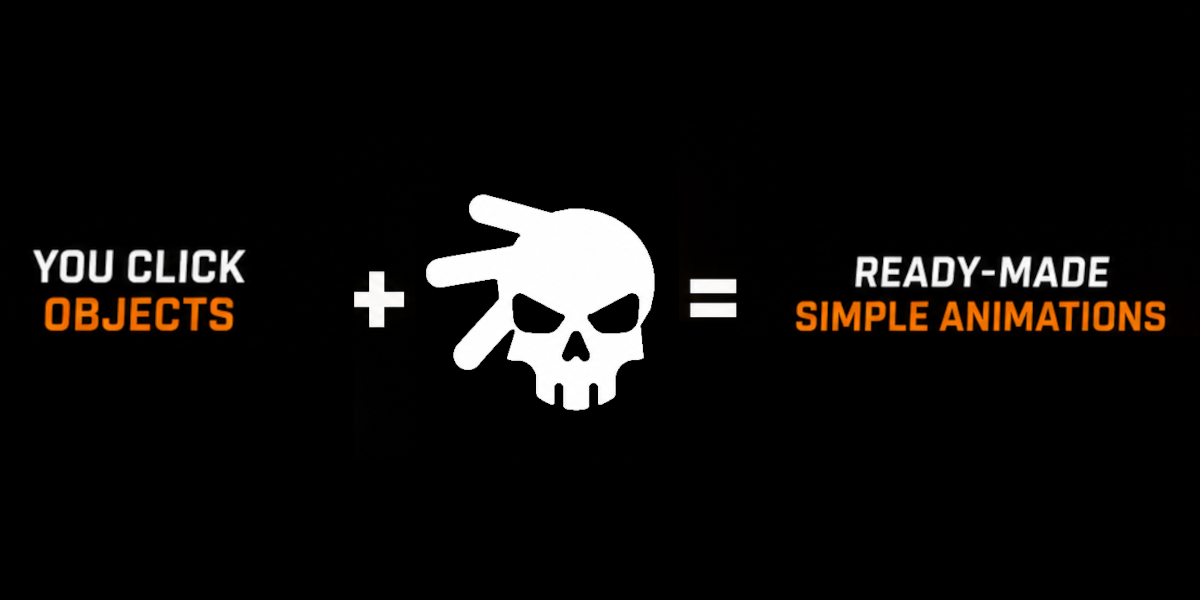
Select the thing. Pick the motion. Hit Apply. Make the scene feel alive.
-
$1 $2
Rotate, Circle Orbit, Looper, Breathing, 3 FX, plus audio-reaction. No other limitation. For test reason.
-
$14.99 $29.98
All motion tools, advanced Orbit and Looper controls, Spawn, Swing, Curve paths, Follow, Pickup/Drop/Throw, the full FX library, and expanded audio reaction
Have questions about this product?
Login to message
| Blender Extension Compatible | Yes |
| Dev Fund Contributor | |
| Published | about 21 hours ago |
| Blender Version | 4.5 - 5.2 |
| Extension Type | Add-on |
| Render Engine Used | Arnold, Blender-Internal, Blender-Game-Engine, Cycles, Eevee, Freestyle, Luxrender |
| License | GPL |