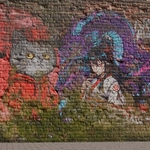
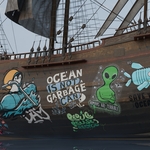
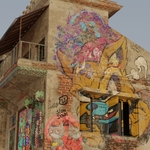
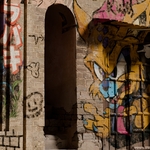
Updated V1.3 - Decal Beast – All In One Decal Addon

Bala in Presets


UDecal Beast

A one-stop solution to all your decal addon needs. It’s designed to solve all the problems that 3D artists face while adding decals to their scenes, making their workflow faster and more efficient.

Before & After


Core Features

With Decal Beast, you get a powerful set of tools to streamline your decal workflow. It's a non-destructive, layer-based system that offers:

  • ✓ Instantly drag and drop decals onto any mesh, it supports objects that has different materials on it.
  • ✓ Drag and drop the same decal onto multiple objects at once.
  • ✓ Change the color and roughness of your decals with ease.
  • ✓ Type your own words to create custom graffiti with a variety of unique fonts.
  • ✓ Use a layer-based workflow to move decals forward or backward, just like in Photoshop.
  • ✓ Slide decals on the surface of any object after placement.
  • ✓ Add grunge and aging to your decals to create realistic wear and tear.
  • ✓ Animate the aging and grunge effects for stunning timelapse scenes.
  • ✓ Bake decals onto your mesh with one click, freeing up GPU memory.

Adding Graffiti

Instantly drag and drop decals onto any mesh, even if it has multiple materials. The empty cube decides where the decal is placed. You can manually move the decal on the surface or use the "slide empty" option to slide it along the object. What's even cooler is you can drag and drop the same decal onto multiple objects at once. The same empty will control the decal on all objects, a specialty of this addon.

Graffiti Layering

You can move the added decal layers up or down just by selecting the empty associated with the decal. In the UI, there is an option to move the graffiti layers to the top or bottom, just like the layering system in Photoshop. This layer-based workflow makes it non-destructive.

Change Color of the Decal

Easily modify the color of any decal directly within the UI. No matter what color your decal is, you can change it. One limitation is that for now, it can only add two colors, but future updates will implement adding more colors.

Change Roughness

The roughness of the decal can be changed. When graffiti is painted on a wall, different types of paints are used. You can increase or decrease the roughness to make it shine or appear dull. This is helpful to achieve a realistic look, as graffiti gets dull over time.

Batch Styling

Batch Styling is one of the most important features of Decal Beast. You can add Grunge, Aging, Roughness, and other settings for each decal separately, or you can select all the empties of the graffiti you want to change, and click "Apply to selected" in the Batch Styling panel. This will transfer the values and save you time.

One Click Baking

A problem with the Blender shader is that the more nodes you add, the more it uses the GPU. When it hits the maximum nodes it can handle, you cannot add more due to the memory limit. This is where the baking option comes in. With just a single click, you can bake the decals onto the image texture of the object they are added to. This makes it lightweight, and you can start adding more decals. You can repeat this process as many times as you want, adding decals, baking them, and then adding more.

Type Text to Make Decal

This is one of the coolest features! With Decal Beast, you can literally turn any words into graffiti with nearly 25 graffiti fonts. This is a fantastic way to create your own customized words without relying on external software like Photoshop. You can also adjust the spacing of the letters to make them overlap like original graffiti. Just like with normal decals, you can change the color of the text graffiti as well. More fonts will be added in the future.

Animating the Decals

This isn't all! Now for the animation part of Decal Beast. We've added decals, we've added grunge, and we've created our own decals. What now? Wouldn't it be nice if you could animate the graffiti? Graffiti wears away over time, and you can animate it. First, you have to capture the default value by clicking on the "capture default" button. Once that's done, you can change the Aging, Roughness, and other details as you wish. Then, set the number of frames, choose the interpolation mode, and click "Animate." Your animation is ready! You can integrate this into your timelapse scene, and it can be made even faster with the Batch Styling option, which allows you to change and animate all the values at once.

What’s Included

Available Graffiti Fonts
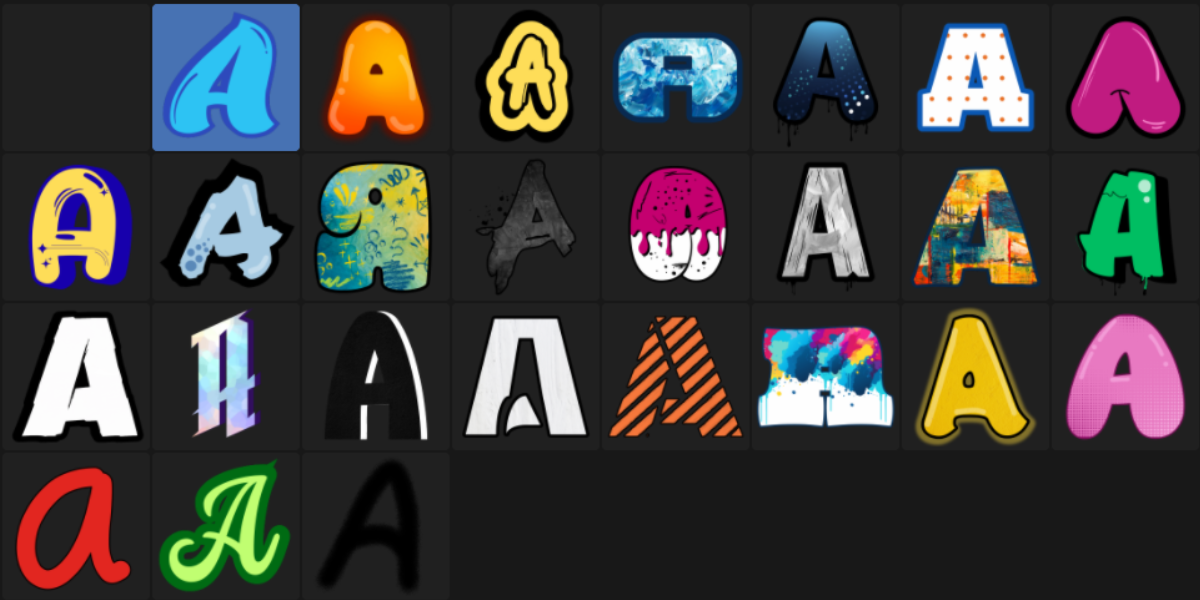
Available Graffiti Fonts

Background Elements
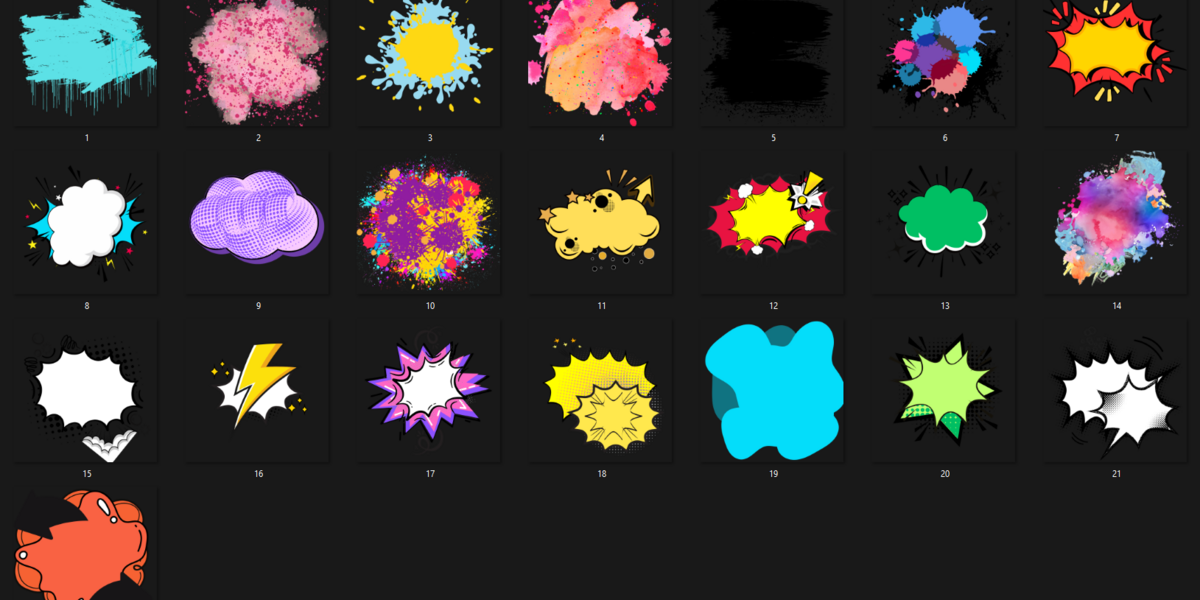
Background Elements

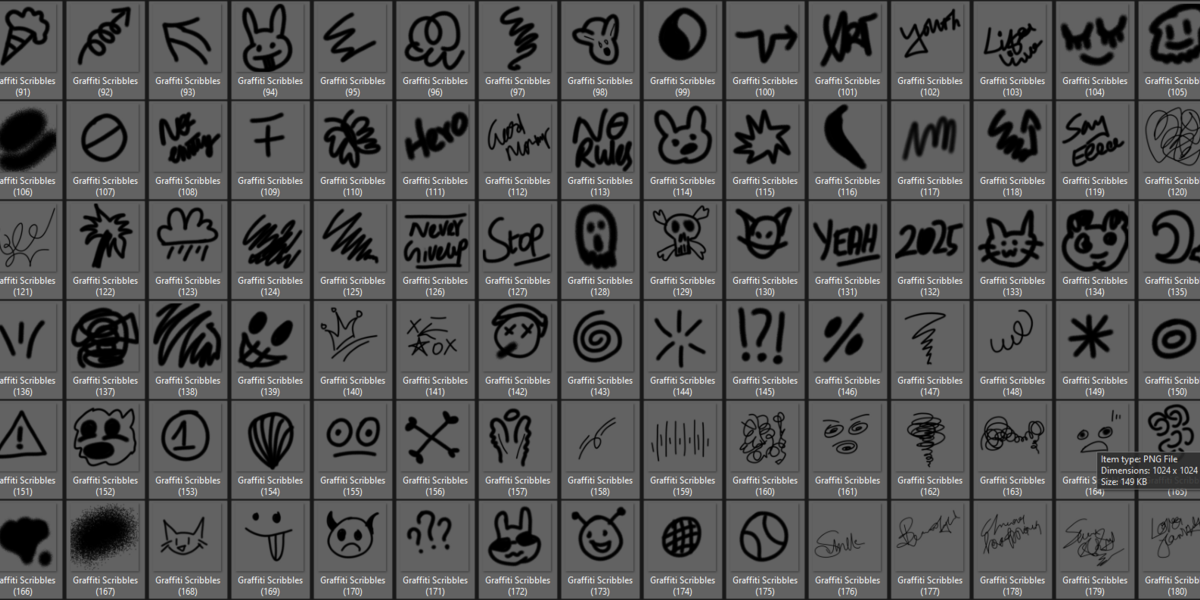
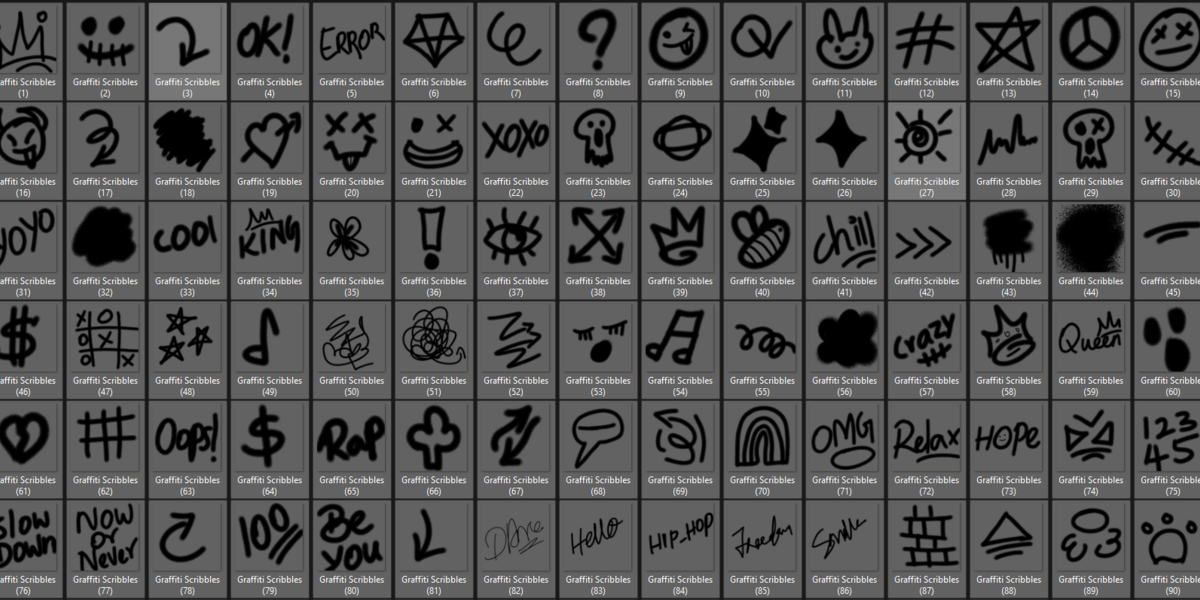
More than 250 Hand Scribbles
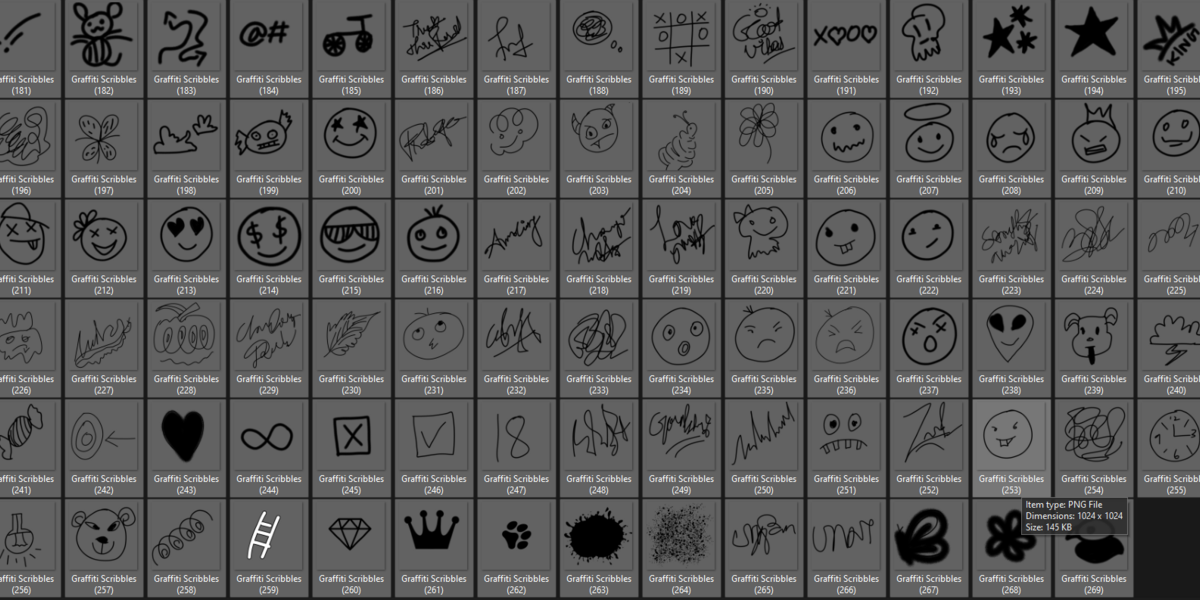
Hand Scribbles 1
Hand Scribbles 2
Hand Scribbles 3

Collaborators

Pradee
Pradee
Writer • Graphic Designer
Her Book Store
  • Add Decal, Decal Layering, Slide Decal, Delete the selected Decal, Change Color, Aging, Grunge, Roughness, 25% of the Scribble Decal image, 22 Background Elements, Batch Styling.

    $19
  • Add Decal, Decal Layering, Slide Decal, Delete the selected Decal, Change Color, Aging, Grunge, Roughness, 50% of the Scribble Decal image, 22 Background Elements, Batch Styling, Select all empties at once, Delete Selected Empties, One Click Baking with Multiple Objects at Once.

    $29
  • Add Decal, Decal Layering, Slide Decal, Delete the selected Decal, Change Color, Aging, Grunge, Roughness, 100% of the Scribble Decal image, 22 Background Elements, 26 Graffiti Fonts, Create your own Graffiti with text Graffiti, Batch Styling, Select all empties at once, Delete Selected Empties, One Click Baking with Multiple Objects at Once, Animate the Decal.

    $39
$19

Have questions about this product?
Login to message

Details
Sales 60+
Downloads 7
Rating
2 ratings
Dev Fund Contributor
Published about 1 year ago
Blender Version 4.1 - 5.0
Extension Type N/A
Render Engine Used Cycles, Eevee
License GPL