Delta Render Pro
 Delta Works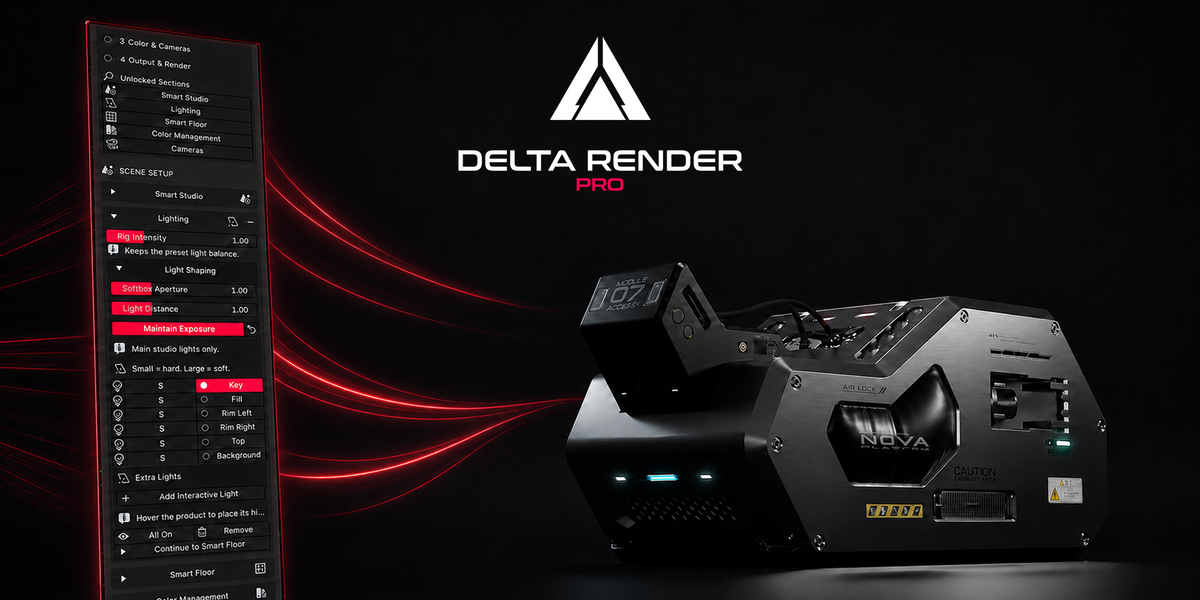
Delta Render Pro — Documentation
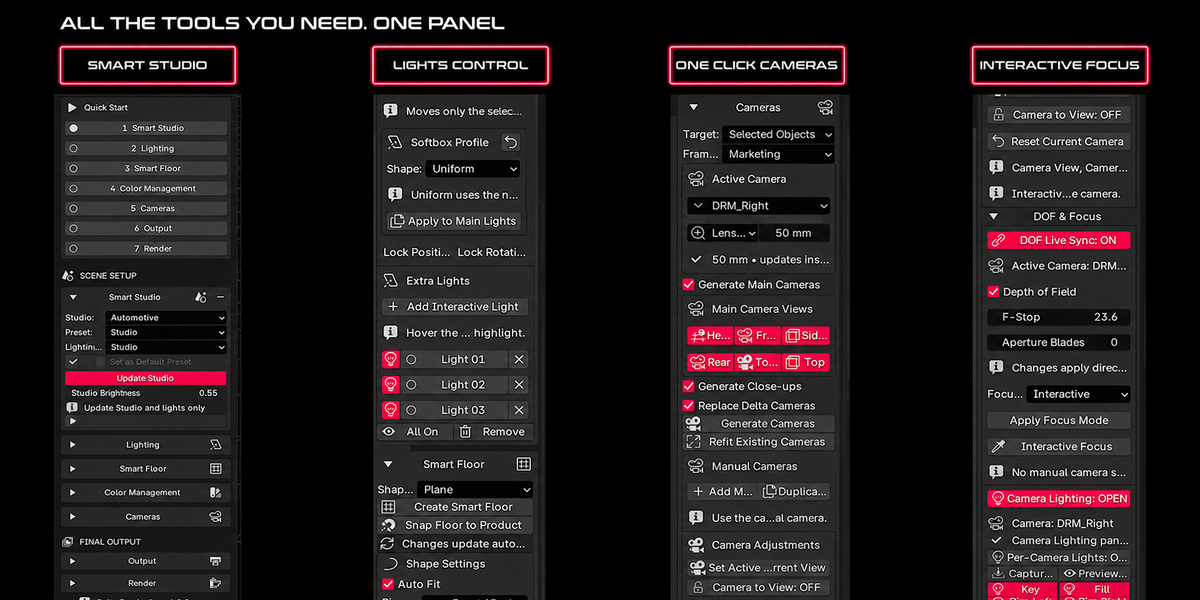
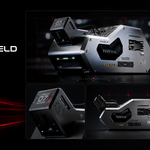
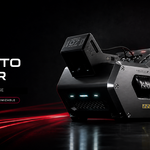
Delta Render Pro is a professional product-visualization add-on for Blender. It brings studio creation, lighting controls, smart floors, cameras, depth of field, color management, output settings, and rendering tools together in one organized panel.
System Requirements
Blender 4.5 or newer
Designed for compatibility with Blender 5.x
Compatible with Eevee and Cycles
Cycles is recommended for final production renders and complete feature support
Installation
Download the Delta Render Pro ZIP file.
Open Blender.
Go to Edit → Preferences → Add-ons.
Click the drop-down menu in the upper-right corner and select Install from Disk.
Select the downloaded ZIP file.
Enable Delta Render Pro in the Add-ons list.
Close the Preferences window.
Do not extract the ZIP file before installation unless instructed in the included files.
Opening Delta Render Pro
Open the Blender 3D Viewport.
Press N to open the sidebar.
Select the Delta Render Pro tab.
If the tab is not visible, confirm that the add-on is enabled under Blender Preferences.
Before You Start
Select the object or group of objects you want to visualize. Delta Render Pro uses the selected product to position the studio, floor, lights, and cameras.
For models made from multiple objects, select all relevant components before creating the scene.
Recommended Workflow
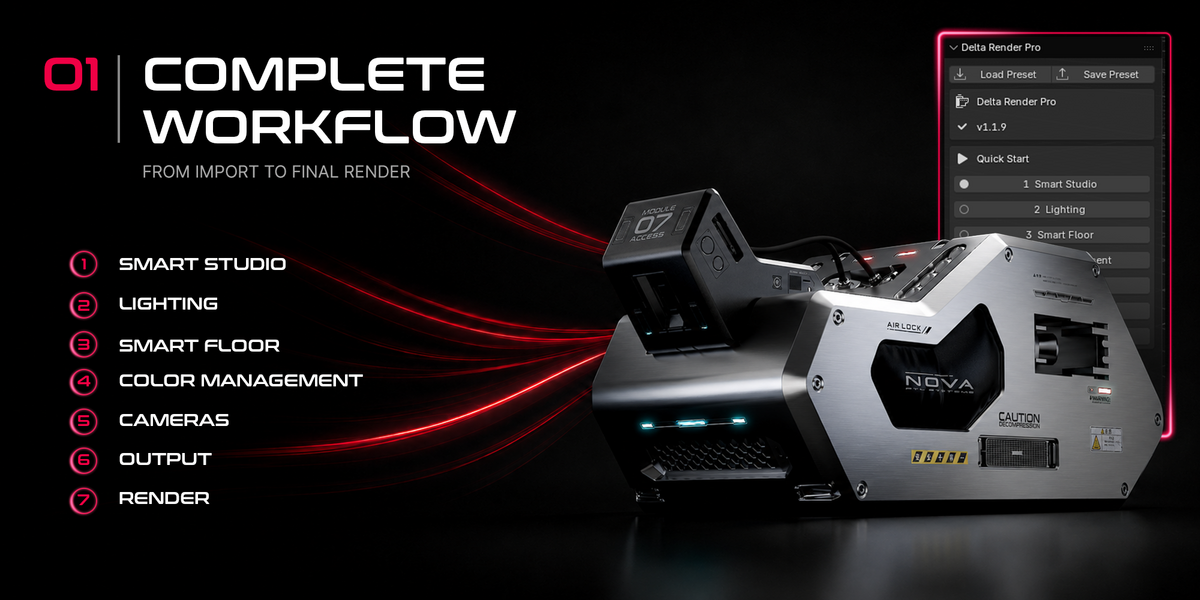
Follow the main sections in this order:
Smart Studio
Lighting
Smart Floor
Color Management
Cameras
Output
Render
The Quick Start section shows your progress and provides direct access to each stage of the workflow.
1. Smart Studio
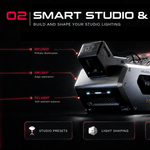
Smart Studio creates a product-ready lighting environment around the selected object.
Create a Studio
Select your product.
Open Smart Studio.
Choose a studio category.
Choose a lighting preset.
Apply the selected studio preset.
Adjust the global studio intensity if needed.
Available categories and presets are designed for different visualization scenarios, including product, automotive, jewelry, electronics, and sci-fi presentations.
Smart Studio modifies the lighting setup only. It does not automatically create or replace the Smart Floor.
2. Lighting
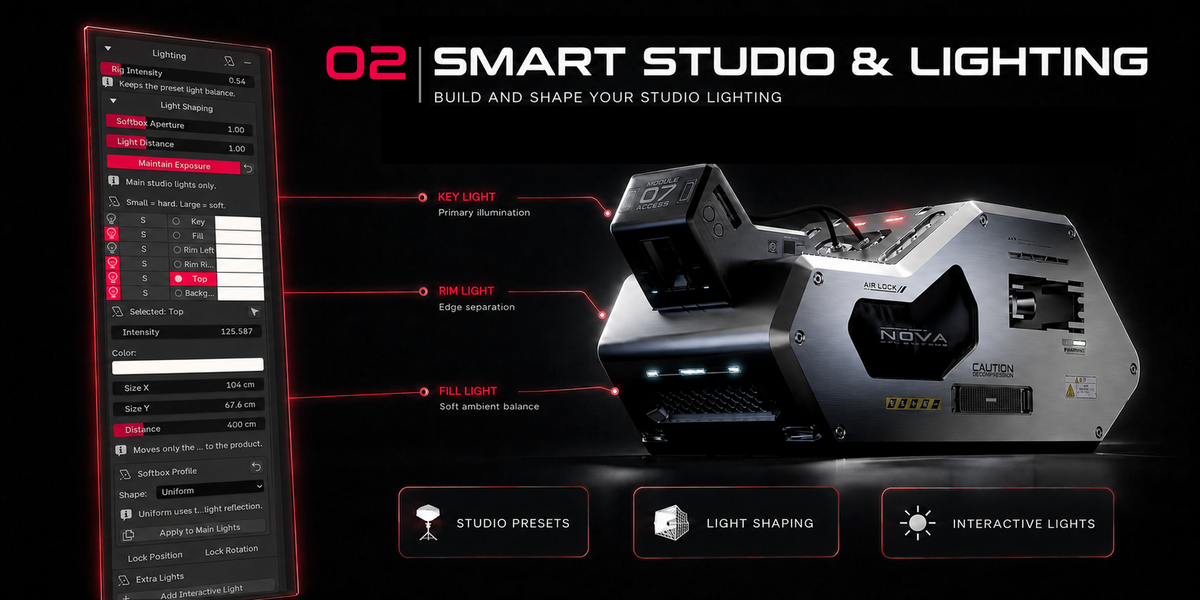
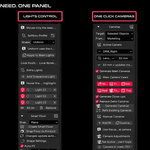
The Lighting section provides global and individual control over the studio lights.
Global Lighting Controls
Rig Intensity: Adjusts the overall lighting strength while preserving the balance between the preset lights.
Softbox Aperture: Changes the apparent size of the main light sources. Smaller values produce harder reflections; larger values create softer reflections.
Light Distance: Moves the main studio lights closer to or farther from the product.
Maintain Exposure: Helps preserve the perceived exposure while shaping the lighting.
Main Lights
Select a main light to edit it individually:
Key
Fill
Rim Left
Rim Right
Top
Background
Depending on the selected light, you can adjust:
Intensity
Color
Size
Distance
Position
Rotation
Softbox Profiles
Use Softbox Profiles to shape the appearance of reflections produced by the main and interactive lights.
Available profiles include:
Uniform
Center Strip
Linear Fade
Radial Soft
Additional profile controls may include softness, focus, contrast, rotation, and X/Y offset.
Interactive Lights
Use Add Interactive Light to create an additional light and position it directly around the product.
Interactive Lights are useful for:
Highlighting a specific feature
Creating accent reflections
Improving edge separation
Adding controlled illumination without changing the main preset
3. Smart Floor
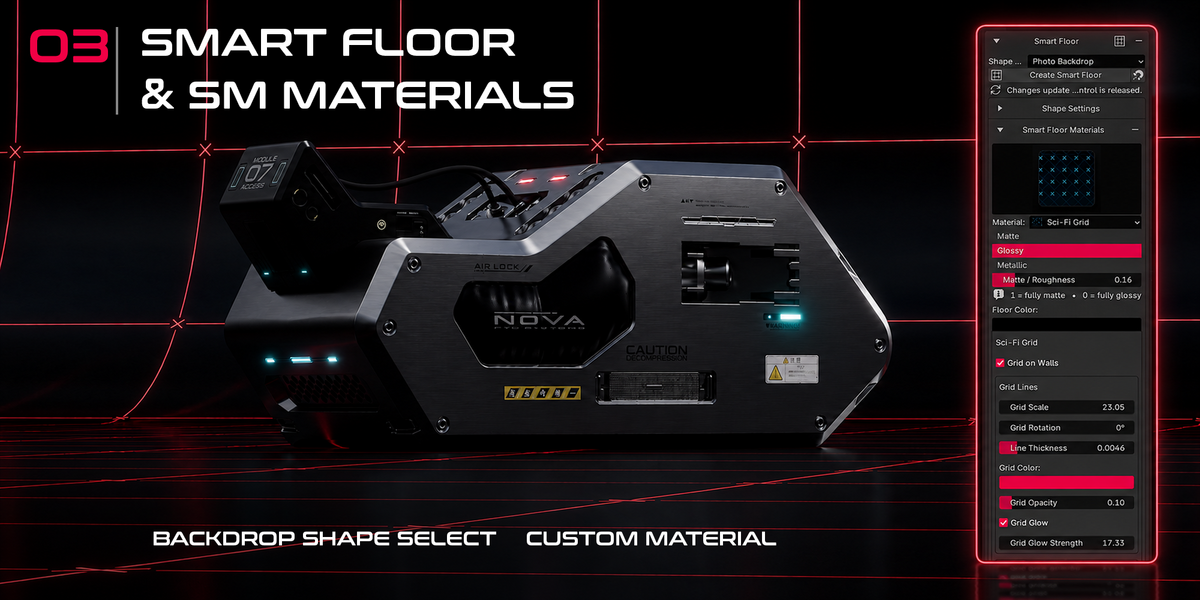
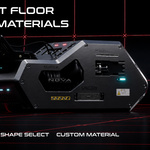
Smart Floor creates and positions a display surface based on the selected product.
Create a Smart Floor
Select the product.
Open Smart Floor.
Choose a floor shape.
Click Create Smart Floor.
Use the available fit and positioning controls to align the surface with the product.
The floor can be deleted and generated again without rebuilding the Smart Studio.
Floor Materials
Choose a material preset and customize its appearance.
Available controls may include:
Floor color
Matte or glossy finish
Roughness
Metallic appearance
Pattern scale
Grain scale
Normal strength
Gradient colors
Grid scale
Grid rotation
Line thickness
Grid opacity
Grid glow strength
Some controls are displayed only when supported by the selected material.
4. Color Management
Use Color Management to establish the base look of the scene before rendering.
Depending on the selected configuration, you can control:
View transform
Look
Exposure
Gamma
Contrast-related settings
Use the live preview when available to evaluate the image before applying the final configuration.
Color Management affects the appearance of the complete scene and should normally be adjusted after the studio and floor have been created.
5. Cameras
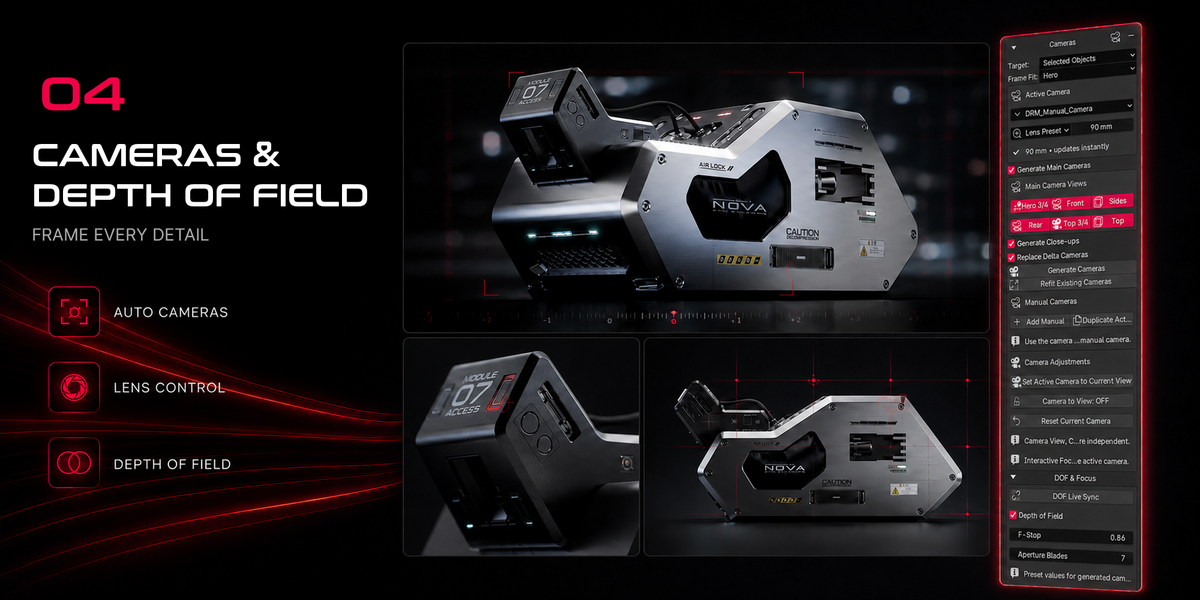
The Cameras section helps generate consistent product views and close-up shots.
Generate Main Cameras
Select the product.
Choose a framing preset.
Enable Generate Main Cameras.
Select the required views.
Click Generate Cameras.
Available product views include:
Hero 3/4
Front
Sides
Rear
Top 3/4
Top
Close-Up Cameras
Enable Generate Close-ups to create additional detail shots.
Main cameras and close-up cameras can be generated independently.
Manual Cameras
Use the Manual Cameras section to:
Add a manual camera
Duplicate the active camera
Set the active camera to the current viewport
Refit an existing camera
Adjust the current camera view
Lens Controls
Choose a lens preset or enter a custom focal length. Lens changes are applied to the active Delta camera.
Depth of Field
Enable Depth of Field to control the focus and background blur.
Available controls include:
F-Stop
Aperture blades
Focus target
Interactive focus
Lower F-Stop values produce a shallower depth of field. Higher values keep more of the product in focus.
6. Output
The Output section configures the resolution and base settings used by the render workflow.
Enter a project name.
Choose the desired aspect ratio.
Choose the output quality.
Click Apply Output.
The project name is used to organize the generated render files.
Always confirm the final resolution and output folder before starting a complete camera batch.
7. Render
The Render section provides organized rendering controls for individual cameras or complete camera sets.
Render Output
Configure:
Output folder
Beauty image
Image format
Multilayer EXR passes
Avoid overwrite
Render Processing
Enable the render denoiser when supported by the selected render engine.
Cycles provides the most complete denoising support. In other render engines, the option is used only when supported by Blender.
Material Override
Use Material Override to render the scene with a single temporary material assigned through the active View Layer.
Available default override options include gray and white materials.
Clear the View Layer material override manually when it is no longer required.
Render Actions
Render Active Camera: Renders the currently active camera.
Render All Cameras: Renders every generated Delta camera.
Render Selected Cameras: Renders only the selected camera views.
Open Output Folder: Opens the configured destination folder.
The batch-render system displays the current render status, camera progress, elapsed time, and completion information.
Presets
Use Save Preset to store the current Delta Render Pro configuration.
Use Load Preset to restore a previously saved configuration.
Presets are useful for maintaining a consistent visual style across several products or projects. Always verify the current object selection and scene before applying a saved preset to a different product.
Eevee and Cycles Compatibility
Delta Render Pro supports the main studio, lighting, floor, camera, output, and rendering workflow in both Eevee and Cycles.
Cycles is recommended for:
Final production renders
More accurate reflections
Softbox Profile validation
Cycles denoising
Full support for hiding light sources from glossy reflections
Some reflection-management and denoising functions are specific to Cycles or depend on the capabilities of the active render engine.
Quick Troubleshooting
The Delta Render Pro tab is missing
Confirm that the add-on is enabled in:
Edit → Preferences → Add-ons
Then return to the 3D Viewport and press N.
The studio or floor is incorrectly positioned
Select every object that belongs to the product before creating or refitting the setup.
The generated cameras do not frame the complete product
Select the complete product and generate or refit the cameras again.
Depth of Field is not visible
Confirm that:
Depth of Field is enabled
A valid focus target is selected
The active camera uses an appropriate F-Stop value
The current render engine supports the selected settings
A render is too bright or too dark
Review:
Rig Intensity
Individual light intensity
Maintain Exposure
Color Management exposure
Material reflectivity
Render-engine settings
A material control is missing
Some parameters appear only when they are compatible with the selected Smart Floor material.
Important Notes
Smart Studio controls the studio lights and does not automatically rebuild Smart Floor.
Smart Floor can be deleted and regenerated independently.
Main and close-up cameras can be generated independently.
Interactive Lights can be repositioned after creation.
Always save your Blender project before running a large render batch.
Test one camera before rendering the complete camera set.
Final runtime behavior may vary depending on the Blender version, render engine, operating system, and GPU configuration.
Have questions about this product?
Login to message
| Published | about 2 months ago |
| Blender Version | 4.5 - 5.2 |
| Extension Type | N/A |
| Render Engine Used | Cycles, Eevee |
| License | GPL |