Destro 1.0
 Egret Studios LLC
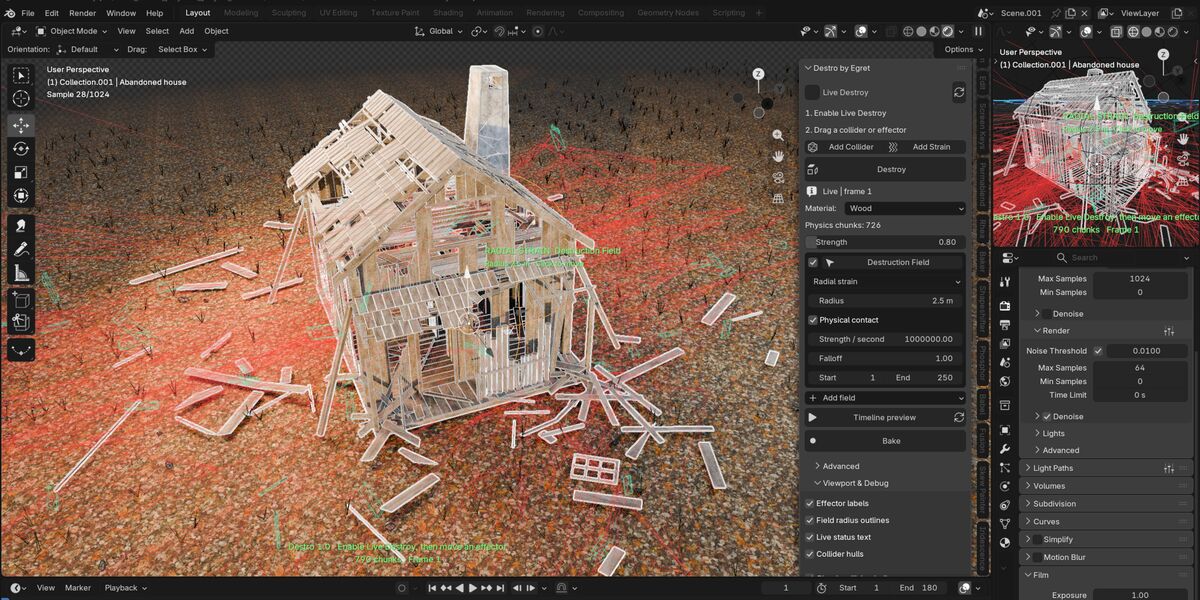
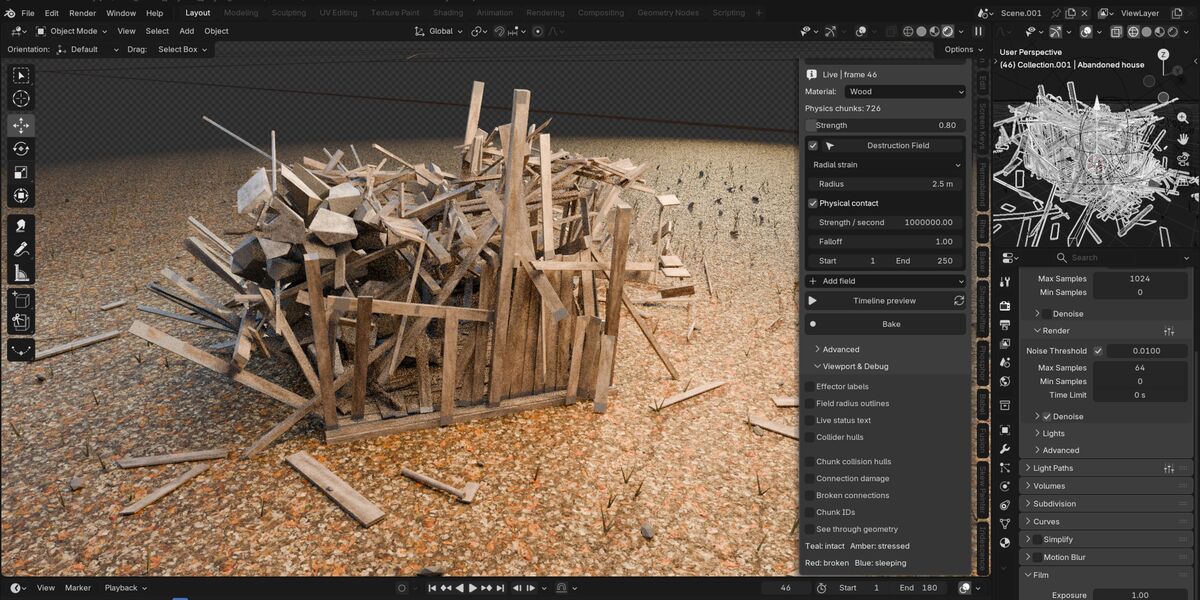
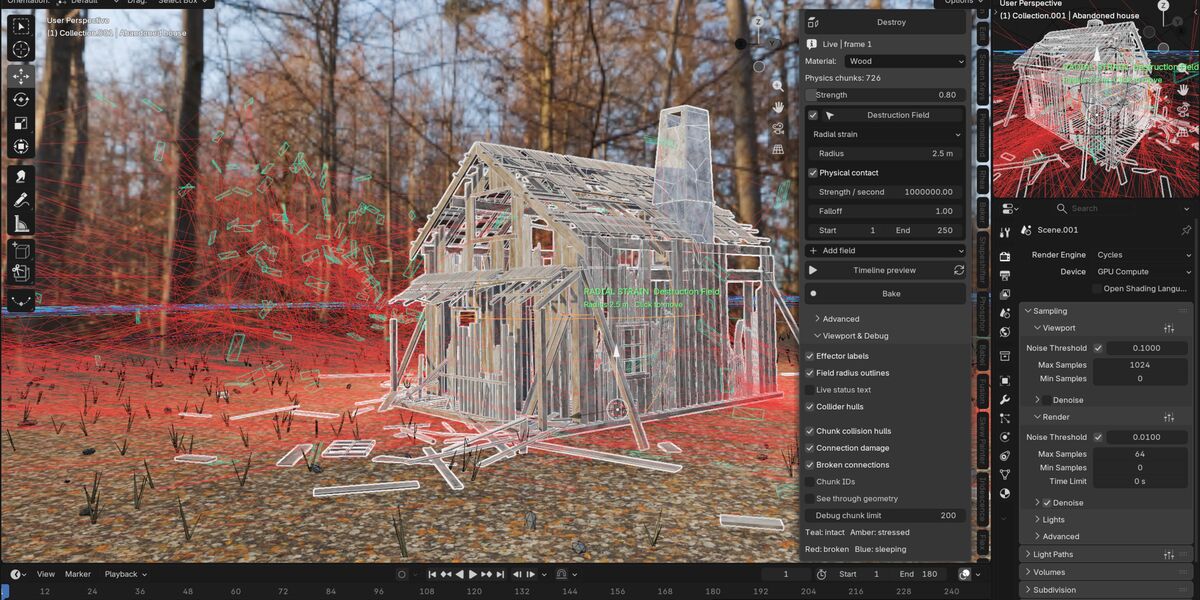
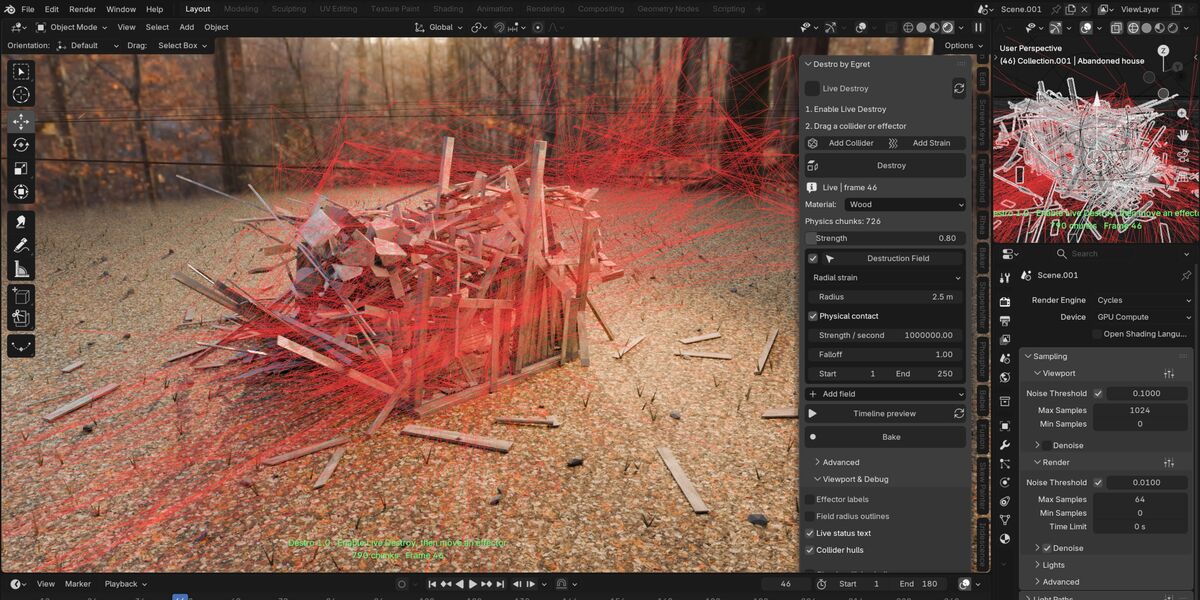
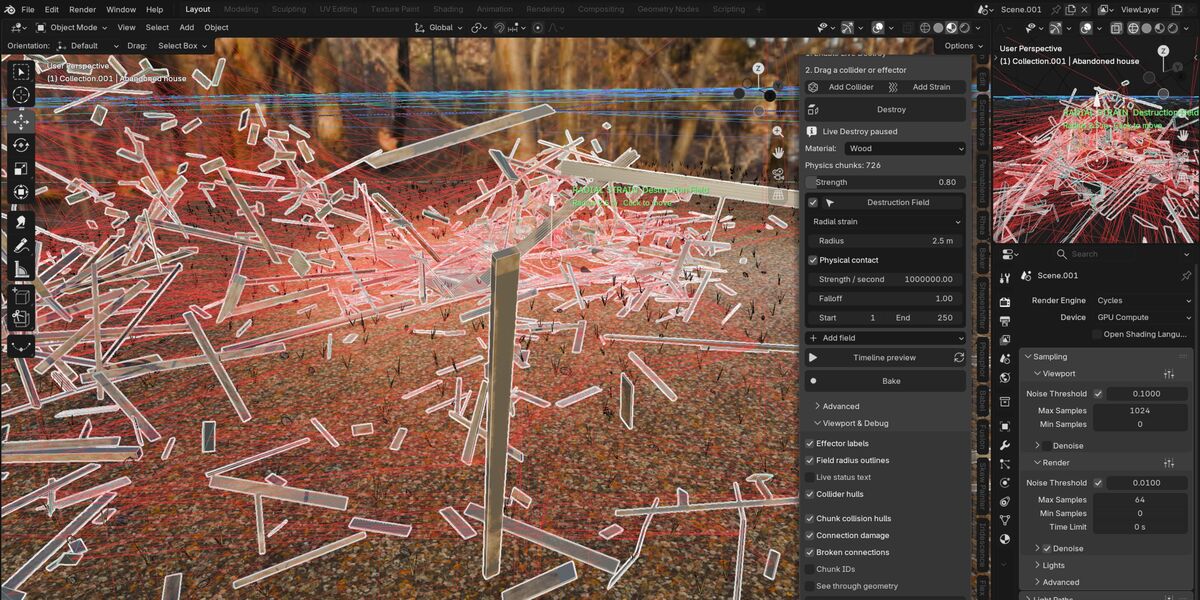
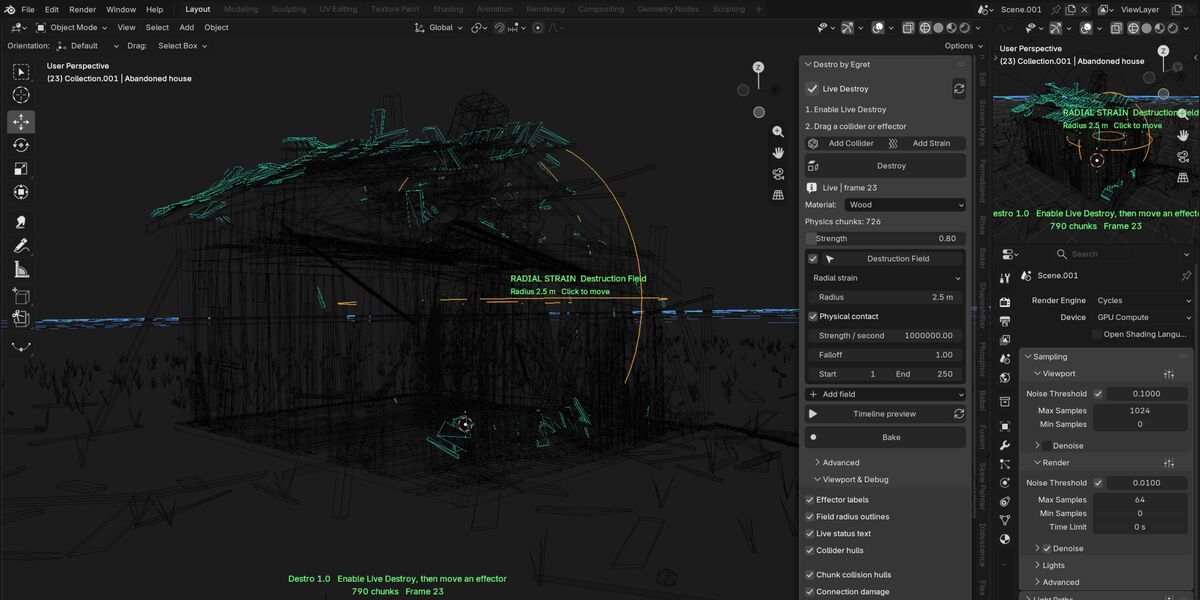
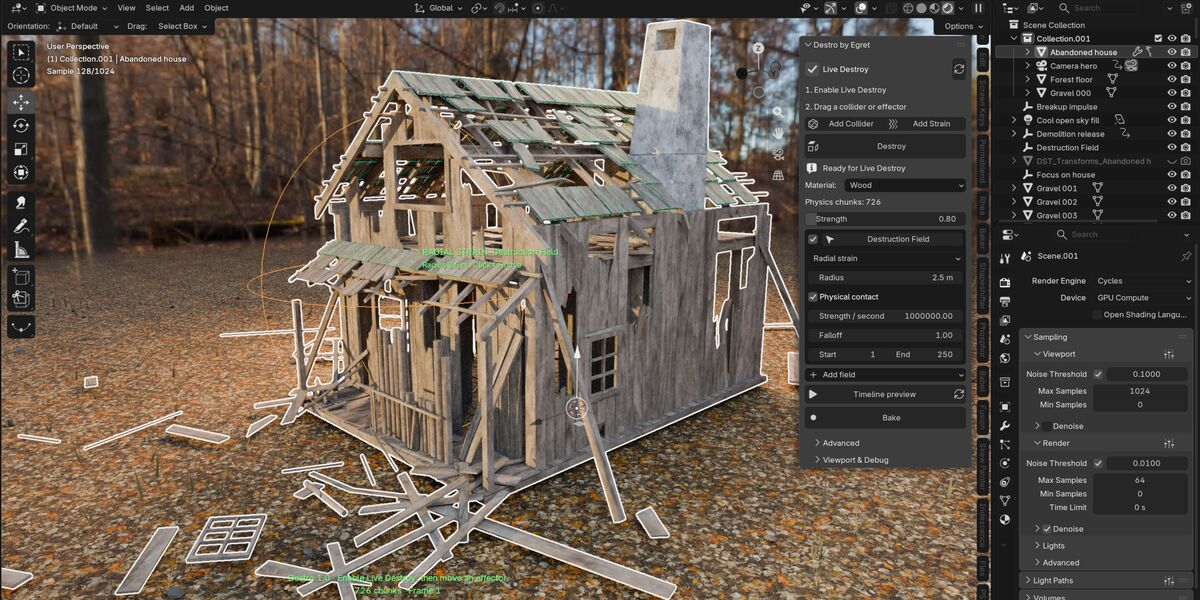
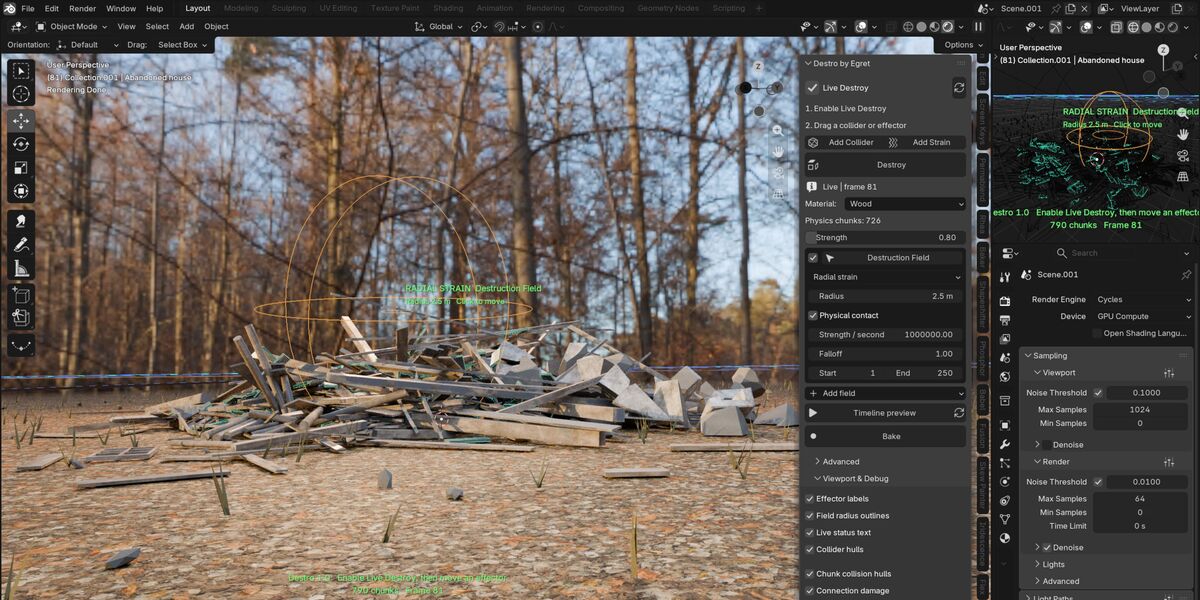
Destro 1.0 - User Documentation
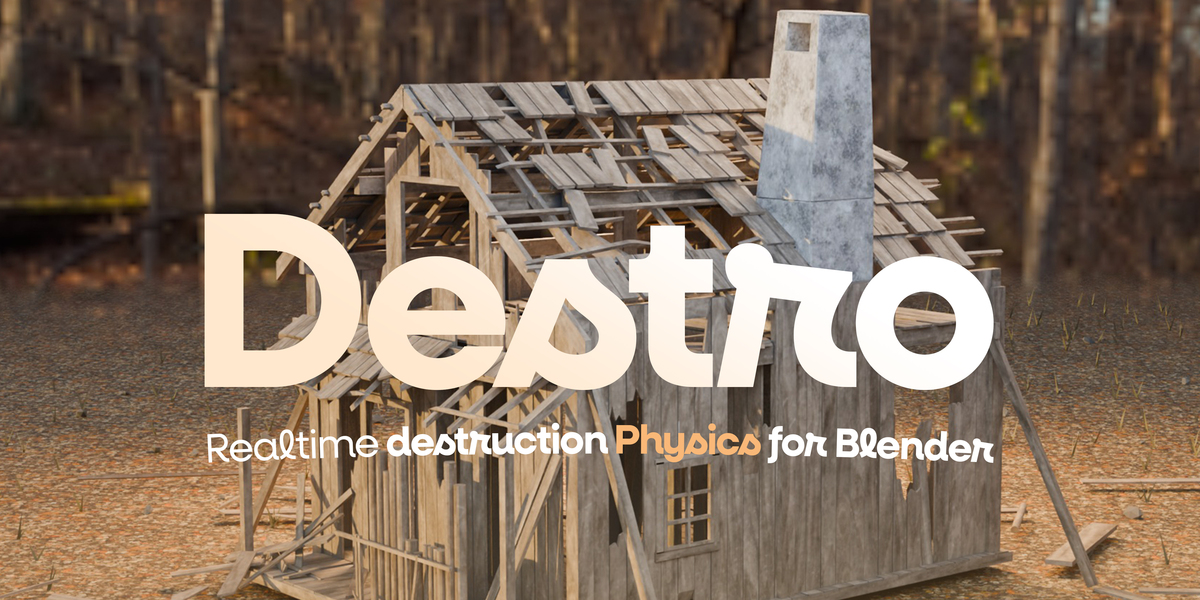
Realtime destruction physics for Blender
By Egret Studios
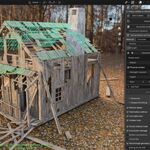
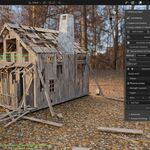
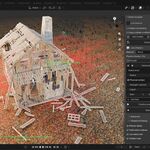
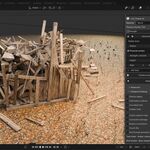
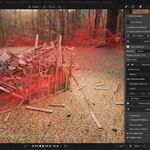
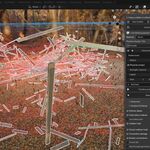
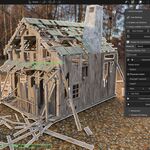
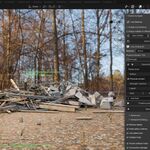
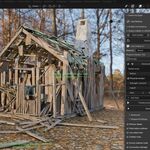
Destro is a realtime destruction physics extension for Blender powered by native C++ Jolt Physics. It is built around connected fracture, controllable structural damage, authored-piece assembly, interactive viewport destruction, physical colliders, force fields, anchors, and a separate bake workflow for finished animation.
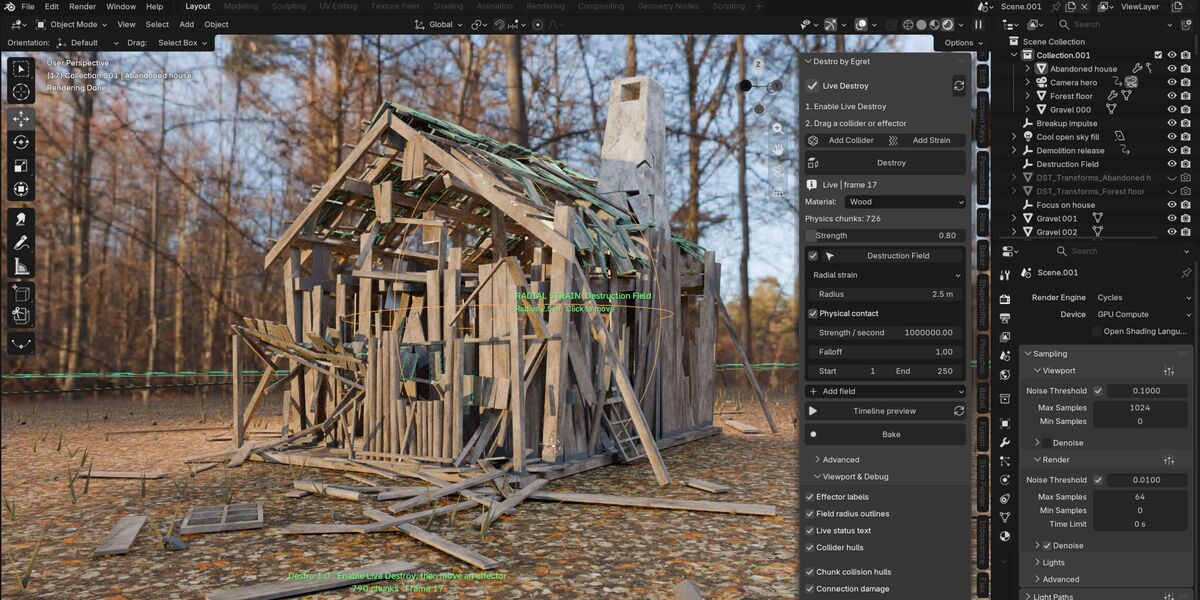
Use Destroy to prepare solid meshes as connected fracture chunks, or assemble your own modeled pieces into a breakable structure. With Live Destroy, you can move strain fields, impulses, suction, explosions, or kinematic colliders directly through the scene and watch connections weaken, fail, and release debris while the timeline remains still.
For final shots, keyframe your fields and colliders, preview the simulation through Blender's timeline, then bake the result for consistent animation and rendering.
Installation
Choose the installer that matches your operating system and processor.
| Platform | Installer | Tested Blender Versions |
|---|---|---|
| Windows x64 | destro-1.0.0-windows-x64.zip |
4.2 and 5.2 |
| Linux x64 | destro-1.0.0-linux-x64.zip |
4.2 and 5.2 |
| macOS Apple Silicon | destro-1.0.0-macos-arm64.zip |
4.2 and 5.2 |
| macOS Intel | destro-1.0.0-macos-x64.zip |
4.2 and 4.5 |
Keep the installer zipped. In Blender, open Edit > Preferences > Add-ons > Install from Disk, select the matching Destro ZIP, enable the extension, then press N in the 3D Viewport and open the Destro tab.
Each installer includes the native solver and the required Python 3.11 and 3.13 wheels. No separate Python installation or network connection is required. Apple Silicon users should run the native Apple Silicon version of Blender. Intel Macs support Blender 4.2–4.5; Blender 5.0 and later no longer support Intel macOS.
When updating Destro, install the new matching ZIP and restart Blender so the updated native module and viewport tools can load correctly.
Live Destroy
Live Destroy is Destro's interactive viewport destruction mode. It runs while the Blender timeline remains still, making it useful for testing how a structure behaves before committing to an animation.
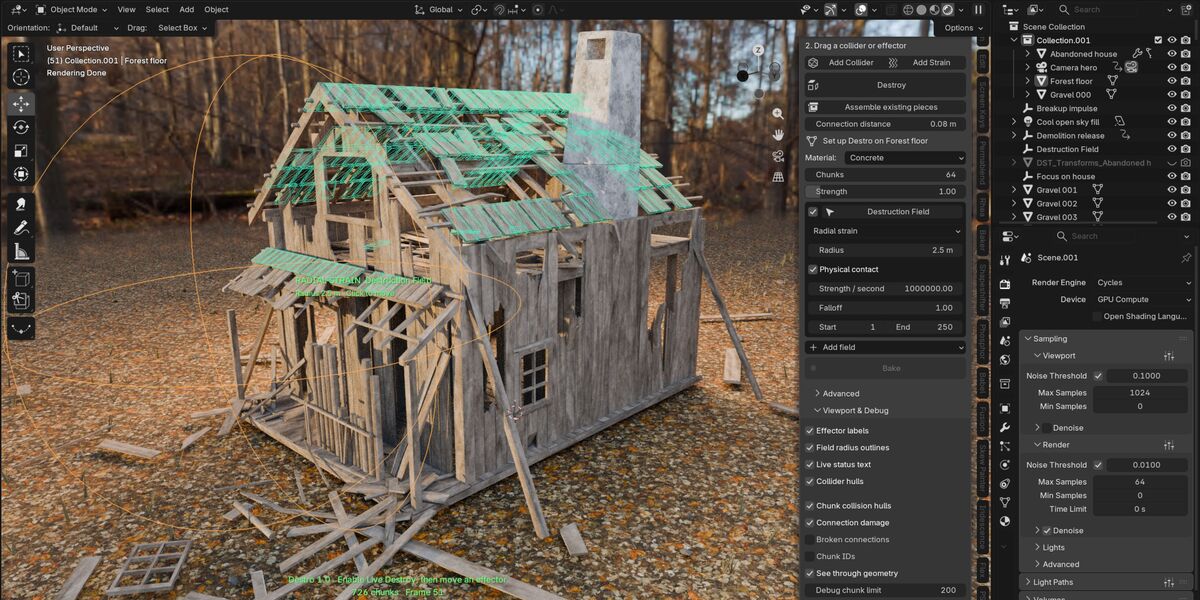
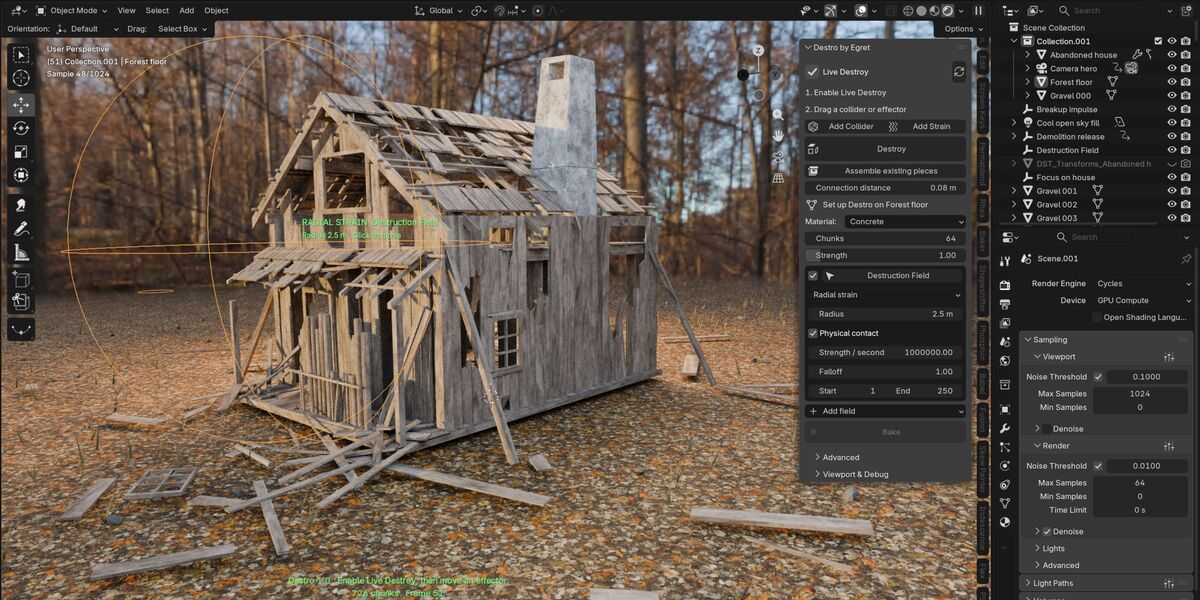
Select a closed mesh, choose a material preset, chunk count and strength, then click Destroy. Add a Radial Strain field or a Kinematic Collider, enable Live Destroy, and move the effector through the structure using the move gizmo or G.
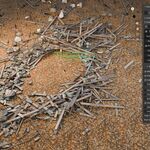
A fresh Live Destroy session waits until an effector moves. Strain weakens nearby connections, impacts can break bonds, and gravity moves the released pieces. You can adjust field radius, strength, position, direction and enabled state while the simulation is running.
Disable Live Destroy to pause and preserve the current state. Enable it again to continue. The adjacent reset control restores the prepared structure and stops the simulation without moving the timeline.
Live Destroy does not record your hand movements as animation. It is an interactive sandbox. For final rendering, use the timeline and bake workflow.
Selecting Fields and Colliders
Effectors can be selected directly in the viewport by clicking their centre target, visible radius outline, collider surface or label. Blender's native move gizmo appears automatically after selection.
You can also select an effector through the Outliner or from its name in the Destro sidebar. Selection still works when labels or Blender Extras are hidden by using the centre target or visible field outline.
Move the effectors and colliders rather than moving the prepared destruction target itself.
Viewport & Debug
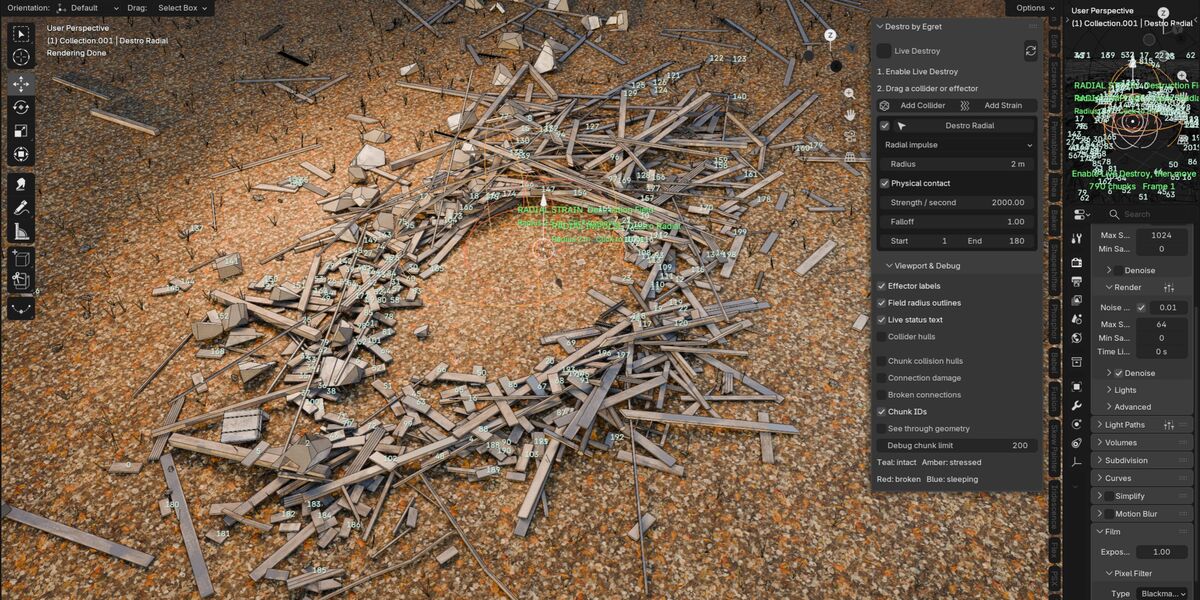
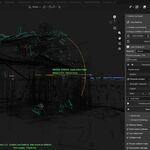
The Viewport & Debug panel provides visual feedback for both live and timeline simulations. Effector labels, field-radius outlines, collider hulls and live status text are enabled by default.
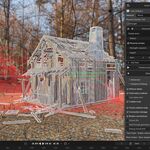
Optional diagnostics include chunk collision hulls, connection damage, broken bonds and chunk IDs. Intact connections appear teal, damaged connections amber, broken connections red, and sleeping chunk hulls blue.
See Through Geometry keeps guides visible through the scene, while Debug Chunk Limit prevents dense simulations from becoming visually cluttered. These overlays are viewport-only and never appear in final renders.
Connection damage can be inspected during a running or paused simulation, but baked transform caches do not store bond-damage history.
Preparing Geometry
Destro supports three preparation methods depending on how your asset is built.
| Method | Best For | Requirements |
|---|---|---|
| Destroy | Solid objects that need new fracture cells | Closed manifold mesh with outward normals |
| Assemble Existing Pieces | Bricks, planks, blocks and authored pieces | Join meshes into one object; each disconnected island becomes a chunk |
| Grid Fracture | Architectural assets and structured cell layouts | Apply thickness first, then set X/Y/Z grid divisions |
Exterior UV layers and material assignments are preserved during preparation. New fracture surfaces use the Interior material. Custom normals and arbitrary mesh attributes are not transferred.
Destro uses convex collision hulls, so highly concave cavities and very thin details are approximated. Apply modifiers before preparation if you want their result included.
Prepared targets must be unparented and unanimated and should not contain constraints or shape keys.
Remove Destro restores the stored original mesh, transform and modifier visibility.
Assemble Existing Pieces
Use Assemble Existing Pieces when the visible pieces already exist in your model. Each disconnected mesh island becomes a destruction chunk.
Connection Distance controls how close pieces must be before Destro creates a bond between them. Choose a value that matches the scale of the asset. Flat or zero-volume pieces require thickness.
To rebuild an assembly with different settings, use Remove Destro, adjust the configuration, then run the assembly process again.
Grid Fracture
Grid Fracture is intended for architectural assets and other structures where regular divisions are useful.
Set the desired X, Y and Z grid divisions. These define the maximum cell layout; empty or degenerate cells are discarded automatically.
The Physics Chunks value shows how many chunks were actually created.
Fields & Forces
Destro includes several field types for damaging and moving prepared structures.
| Type | Behaviour |
|---|---|
| Radial Strain | Damages nearby connections without adding outward force |
| Explode | Pushes chunks outward and can optionally break connections |
| Suction | Pulls chunks inward and can optionally break connections |
| Radial Impulse | Pushes released dynamic chunks away from the field centre |
| Vector Impulse | Pushes chunks along the field object's local Z axis |
| Anchor | Holds chunks inside its radius while enabled |
| Kinematic Collider | Physically pushes through a structure and can cause impact damage |
Radius is measured in world units. Strength is applied per second, and falloff reduces the effect toward the edge of the field.
Impulse fields do not directly break bonds. Use strain, connection-breaking force, or physical impact to release connected chunks first.
Physical Contact
Radial Strain, Radial Impulse and Vector Impulse use Physical Contact by default during Live Destroy.
When enabled, the field radius also behaves as a convex sphere collider. This allows the same field to continue pushing and colliding with loose debris after the structure has broken apart.
Disable Physical Contact when you want the field to apply only its strain or impulse effect.
Kinematic Colliders
Any suitable mesh can be turned into a Kinematic Collider through Advanced > Use as Kinematic Collider.
Move it through a prepared structure to push chunks and create impact damage. Colliders use convex approximations, so simpler low-poly shapes generally give more predictable contact.
Avoid changing collider scale or deforming its geometry during a simulation. Reset the simulation after modifying its shape.
Anchors
Use Anchor fields to hold parts of a structure in place while surrounding connections fail.
Anchor Base holds chunks whose original minimum Z position falls below Anchor Height.
The solver ground is an invisible plane located at Ground Height. Add separate visible floor geometry if the ground needs to appear in the final render.
Explode & Suction
Explode pushes chunks outward, while Suction pulls them toward the field centre.
Both expose controls for force, falloff and optional connection breaking. Break Strength / Second controls how quickly nearby bonds fail independently from the physical force.
You can switch between Explode and Suction during Live Destroy without resetting the current debris state.
These modes apply forces directly and do not create a solid sphere collider.
Timeline Animation & Rendering
Use the timeline workflow when you need repeatable animation for rendering.
Prepare the destruction target, add your fields or colliders, and keyframe their transforms and supported properties. Set the desired Start and End frames, then use Timeline Preview to simulate the scene through Blender's timeline.
Timeline Preview restarts uncached physics and evaluates each frame in sequence. Pausing stops playback, and rewinding restarts the simulation from the beginning.
Once the result is ready, select each destruction target and click Bake. Save the resulting .npy cache and keep its matching .npy.json metadata file beside it.
After all targets are baked, use Advanced > Render Baked Scene to verify the caches before rendering.
Baking & Cache Behaviour
Press Escape to cancel an incomplete bake.
Free Bake disconnects the current cache path without deleting the files.
Changes to physics settings, field animation, frame range or frame rate invalidate the cache and require a new bake.
Standard F12 and background rendering should only be used with valid caches.
Live Destroy and Timeline Preview can disconnect active cache playback, but they do not delete the existing cache files.
Animation Support
Destro supports standard object keyframes and supported property keyframes.
For reliable replay and cache validation, the following are not supported:
Driver-controlled field motion
Constraint-driven field motion
NLA-driven field motion
Animated collider scaling
Collider deformation
Live Destroy sessions are not automatically converted into timeline animation. Baking always simulates the keyed scene from its configured start frame.
Advanced Controls
Destro includes material presets for Concrete, Brick, Glass and Wood. These provide artistic starting values for density, friction, restitution and bond thresholds; they are not intended as engineering material validation.
Strength scales bond thresholds, with lower values making structures easier to break.
Substeps add extra collision steps for difficult contact situations at a higher CPU cost.
Impact Radius spreads contact-derived strain around an impact point, while Thickness Bias adjusts resistance according to chunk volume.
Solver Threads controls solver threading. A single thread is the baseline for reproducible local runs.
The Connection Graph visualizes connectivity and damage during timeline simulations.
Destro can also export chunk geometry, collision hulls and connectivity data to JSON. This is structural data export, not a ready-made game-engine scene or prefab exporter.
Performance
Destro's solver runs on the CPU.
Performance depends on chunk count, collision complexity, substeps, viewport shading and hardware. Heavy scenes may run slower than realtime during Live Destroy.
For faster interaction, use Solid shading, reduce chunk count, lower substeps and simplify collider geometry.
Cinematic Cycles rendering is offline output and should not be treated as a measure of Live Destroy viewport performance.
Troubleshooting
Nothing breaks
Make sure the field is enabled and overlaps the target. In timeline mode, confirm that the correct Start and End frames are active.
If necessary, increase strain strength, reduce target strength or use a moving collider.
Anchored groups remain static until enough connections around them have been released.
Pieces collide before touching visually
Destro uses convex collision hulls. Highly concave geometry can therefore have collision boundaries larger than the visible surface.
Split highly concave objects into smaller, more convex pieces for better results.
Live Destroy is slow
Use Solid viewport shading, reduce chunk count, lower substeps and simplify collider geometry.
Live Destroy limits catch-up work to preserve responsive viewport input, so demanding scenes can run slower than realtime.
Solver module failed to load
Check that you installed the package matching your operating system and Blender/Python ABI.
Reinstall the correct Destro ZIP and restart Blender if an older native module was already loaded.
Two Destro targets do not collide
Each destruction target uses its own physics world.
Join mutually interacting geometry before preparation when their chunks must collide with one another.
A designated collider can affect each world, but debris from separate Destro targets does not exchange collisions.
Render does not match the viewport
Verify the cache and bake the scene again.
Keep the .npy and .npy.json files together and reconnect the cache path if Live Destroy or Timeline Preview disconnected it.
Current Limitations
Destro is an artistic destruction system, not a structural engineering solver.
Contact damage estimates impact momentum and should not be interpreted as validated engineering analysis.
Destro 1.0 does not include automatic dust, smoke or fluid simulation, deformable wood, live topology cutting, hierarchical multilevel activation, or direct game-engine scene export.
Geometry is prepared before live simulation begins.
Support
For support, contact [email protected].
Include the Destro version, Blender version, the smallest reproducible scene, clear reproduction steps, and any error text shown in the Destro panel.
See the included FAQ for additional information.
 Included
Includes 12 months of
- Support from Egret Studios LLC
- Product updates
Extend this product’s Support Period +12 months: 50% of product price
Have questions before purchasing?
Login to message
| Blender Extension Compatible | Yes |
| Published | 13 days ago |
| Blender Version | 4.2 - 5.2 |
| Extension Type | Add-on |
| Render Engine Used | Cycles, Eevee, Octane, Vray |
| License | GPL |

Discover more products like this
blender physics realtime-destruction chaos Game Engine destruction jolt-physics