 Medicraft


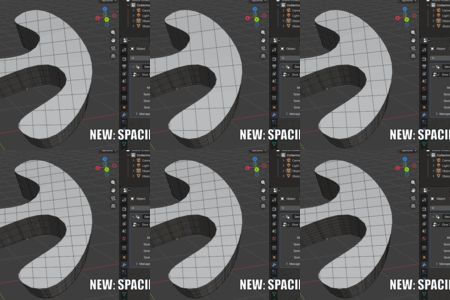
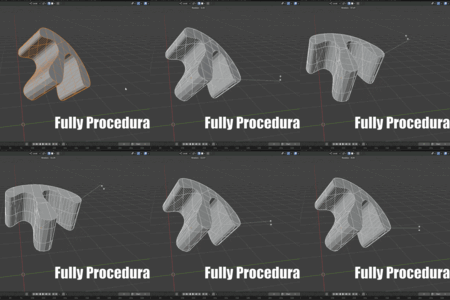
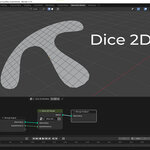
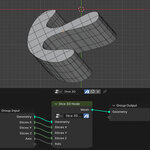
Need to add dense, uniform grid topology to an object without destroying your original mesh? The Procedural Dice tool is a Geometry Nodes asset designed to slice your geometry into clean, adjustable grids.
Whether you are cleaning up the topology of an extruded flat mesh, prepping a complex 2D profile for clean procedural bevels, or just trying to get an even quad distribution across a custom architectural shape, this tool gives you absolute procedural control over how your geometry is subdivided.
Key Features
Procedural & Non-Destructive: Add dense topology on the fly while keeping your original low-poly mesh intact and editable.
Independent Axis Control (3D): Dial in the exact topology you need by setting the X, Y, and Z slice resolutions completely independently. Alternatively, set exact X, Y and Z spacing.
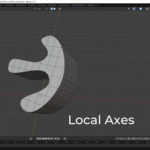
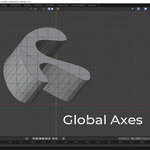
Global vs. Local Alignment: Choose exactly how the slicing grid projects onto your object. Align the cuts to the World (Global) or have them follow the rotation of your specific object (Local).
Dedicated 2D Support: Includes a lightweight, optimized version specifically built for 2D meshes and flat planes.
2D vs. 3D: Which to Use?
The download includes two distinct versions of the tool to keep your workflow optimized:
Dice 3D: The powerhouse tool for 3-dimensional objects. It allows you to specify exactly how many slices (or how much spacing) to make along the X, Y, and Z axes. It also includes the crucial Axis dropdown to switch between Global and Local alignment.
Dice 2D: A streamlined version built specifically for flat, 2-dimensional meshes. Because the Z-axis and complex alignments aren't necessary for flat planes, this version simply features a single Subdivisions parameter to quickly and evenly dice your 2D shapes.
How to Use & Getting Started
You can bring the tool into your current Blender scene in two simple ways:
Method 1: Asset Browser (Recommended)
Save the downloaded
.blendfile into a folder designated as an Asset Library in Blender's Preferences (Edit > Preferences > File Paths > Asset Libraries).Open your working project and open an Asset Browser window.
Locate the Dice assets and drag and drop the appropriate modifier (2D or 3D) directly onto your object!
Method 2: Appending
In your working project, go to
File > Append.Locate the downloaded Dice
.blendfile and double-click it.Open the
NodeTreefolder, select theDice 3DandDice 2Dnodes, and click Append.Add a Geometry Nodes modifier to your object and select the appended node group from the dropdown menu.
Pro-Tip: Global vs. Local Axes (3D Version)
Understanding the alignment dropdown is key to getting the results you want:
Local Axes: The dicing grid rotates with your object. If you rotate your mesh 45 degrees, the grid cuts rotate 45 degrees with it.
Global Axes: The dicing grid stays locked to Blender's world axes, regardless of how your object is rotated. The grid essentially slices through your object perfectly straight up, down, left, and right.
