 LemonEdge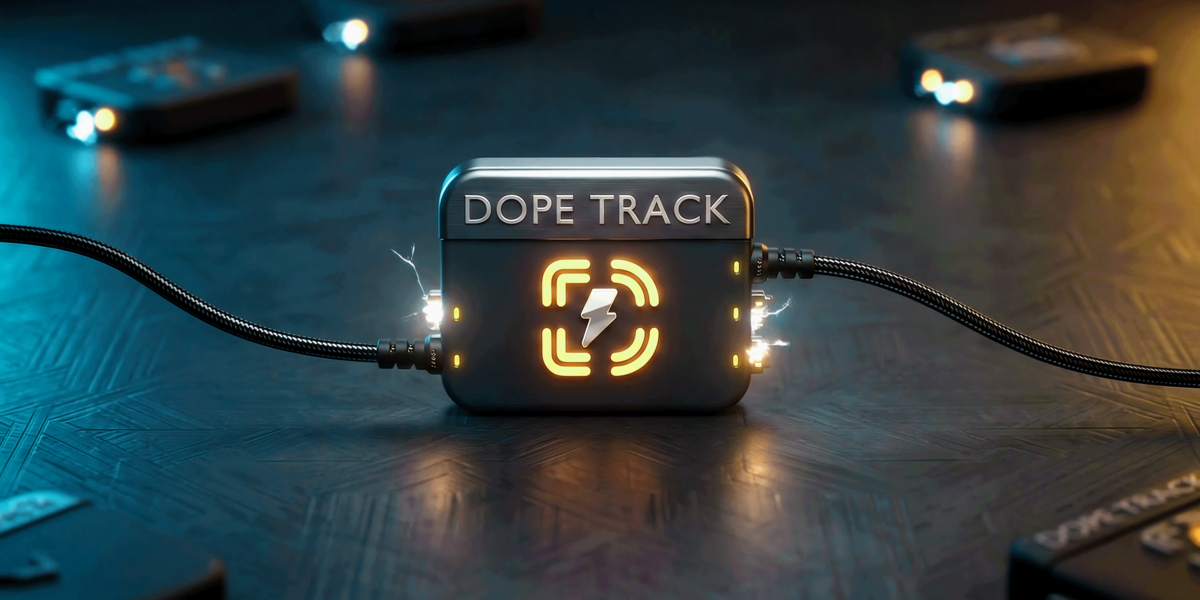
Made for Blender artists
The matchmoving toolkit I wanted inside Blender.
Camera tracking can make a CG shot feel completely real, but one slipping track, a weak lens solve or the wrong distortion can give the whole thing away. Blender has a solid starting point; I built Dope Track to connect the missing parts into one practical workflow, from the original plate to a camera, point cloud, moving-object solve and final comp.
It is made by a small creator for other artists and creators. The goal is simple: spend less time moving data between disconnected tools, and more time building the shot.
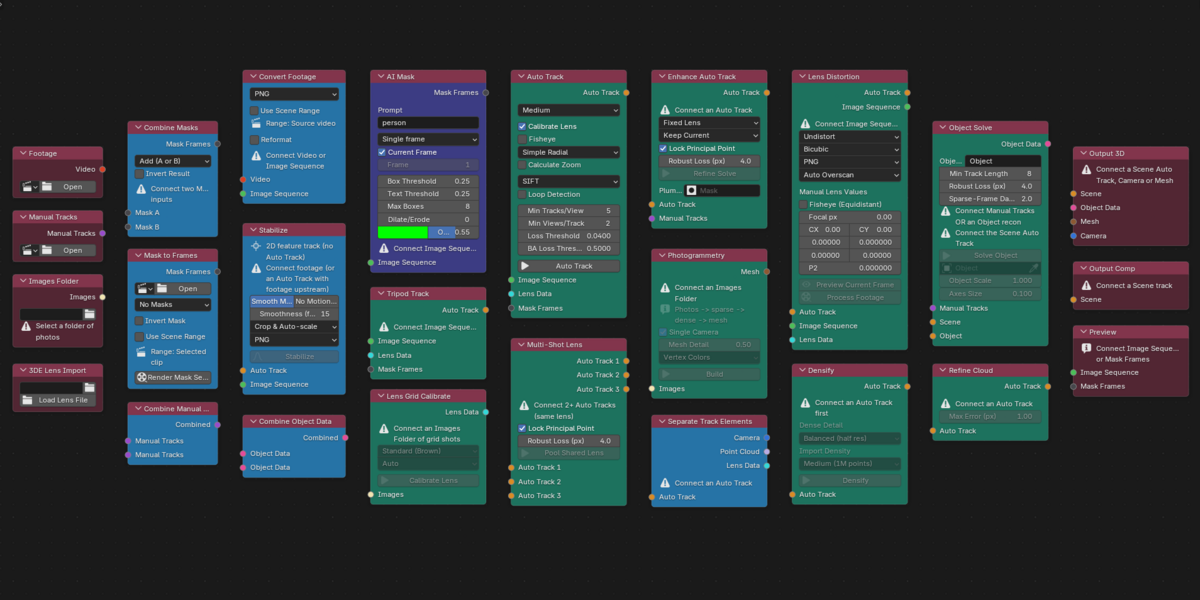
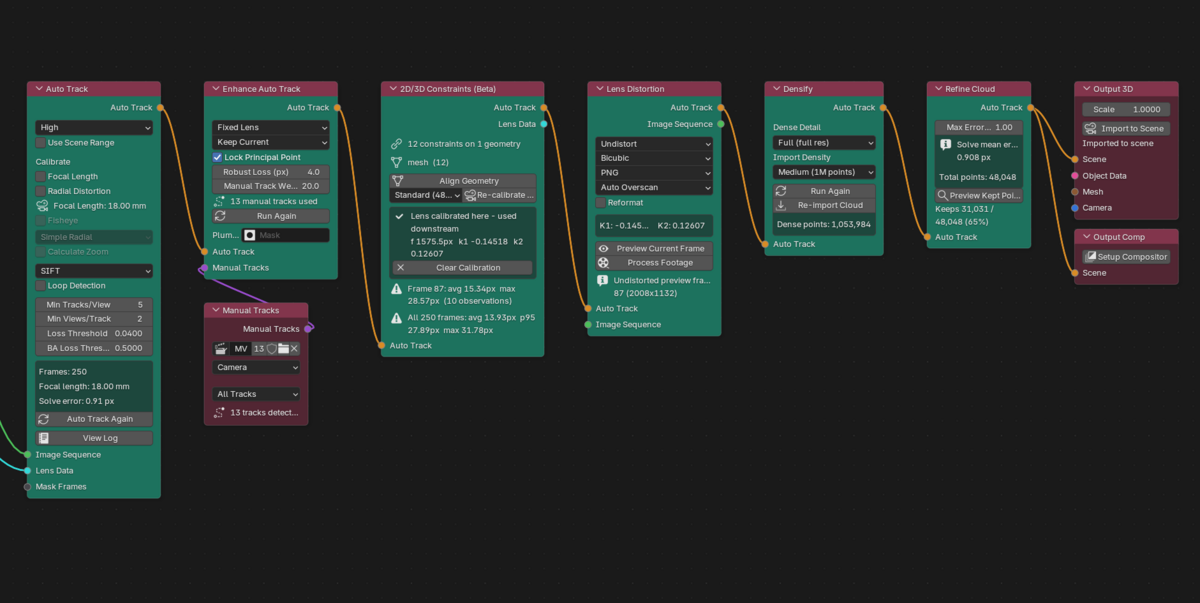
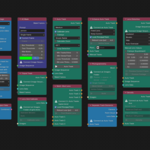
The graph, end to end
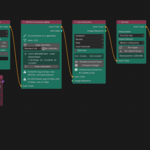
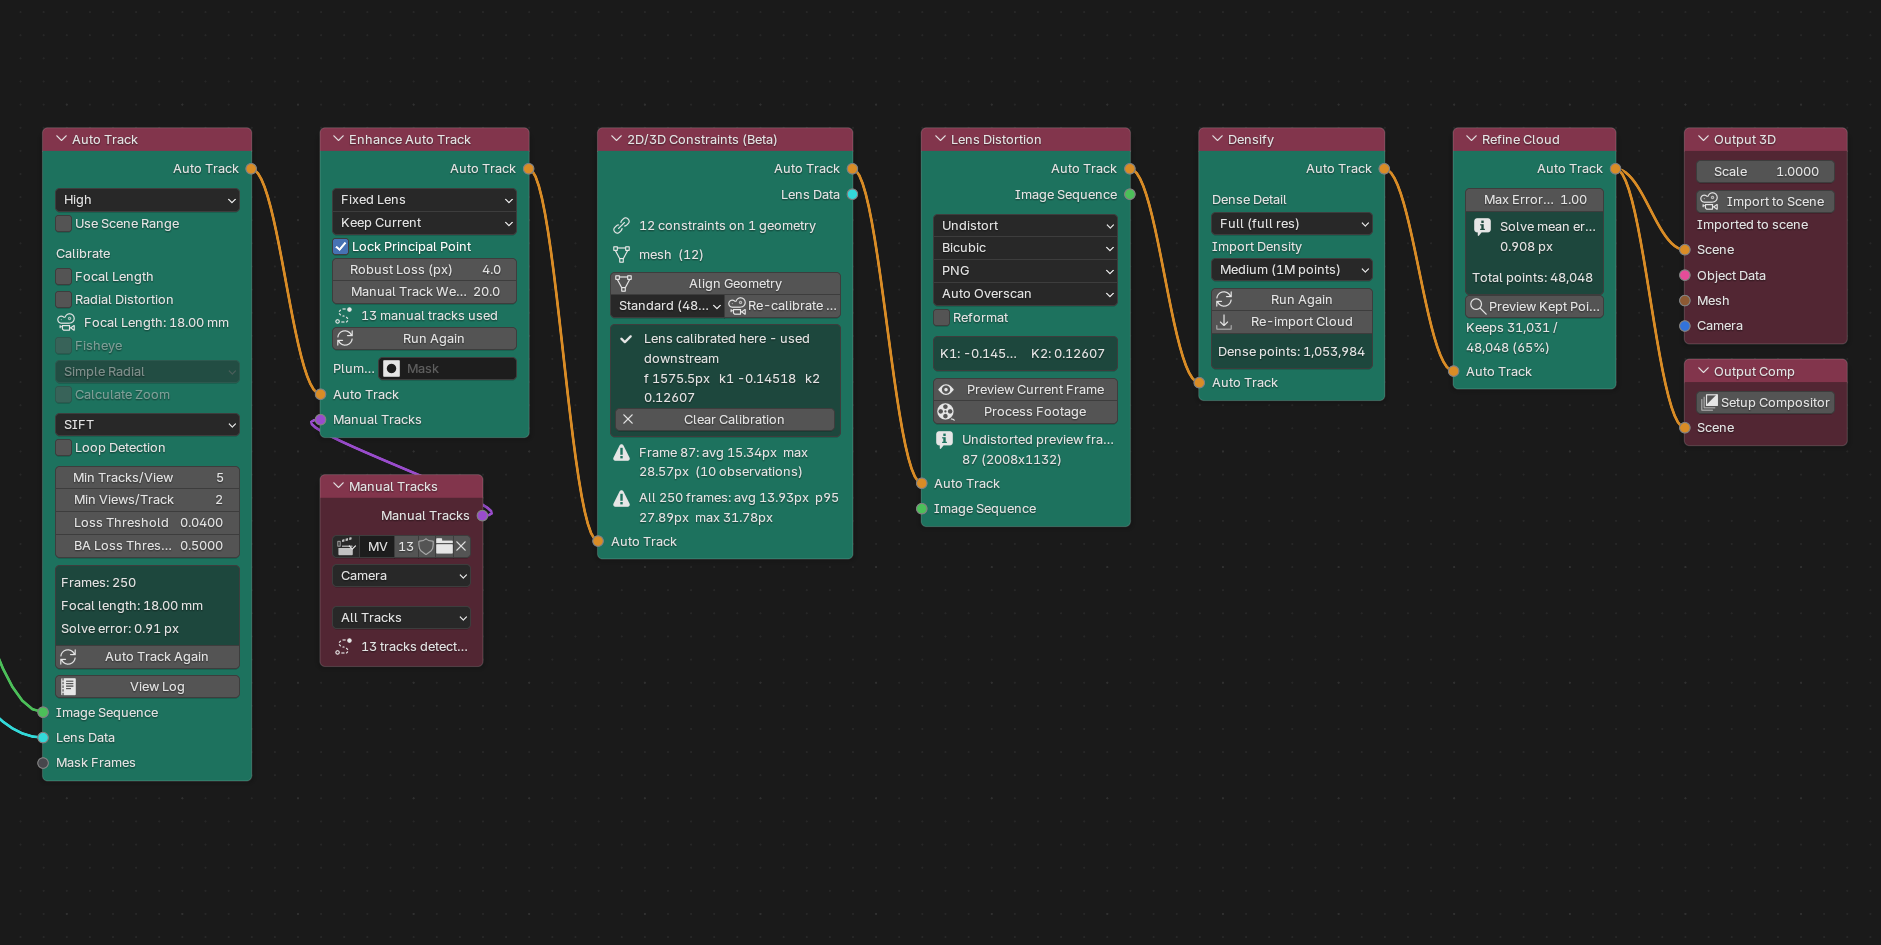
Each stage stays visible as a node, so you can change one part of the setup without throwing away the work that came before it.
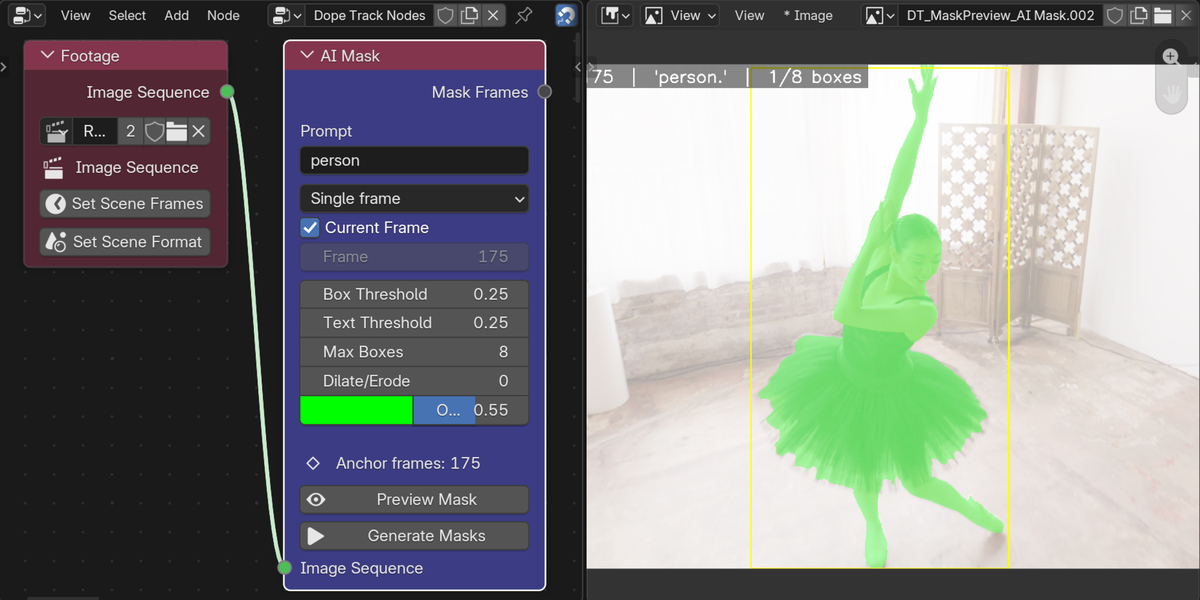
Image sequence or video in. Sets your scene frame range and format from the node, so the plate and the timeline never drift apart.
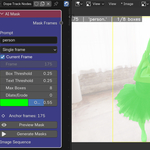
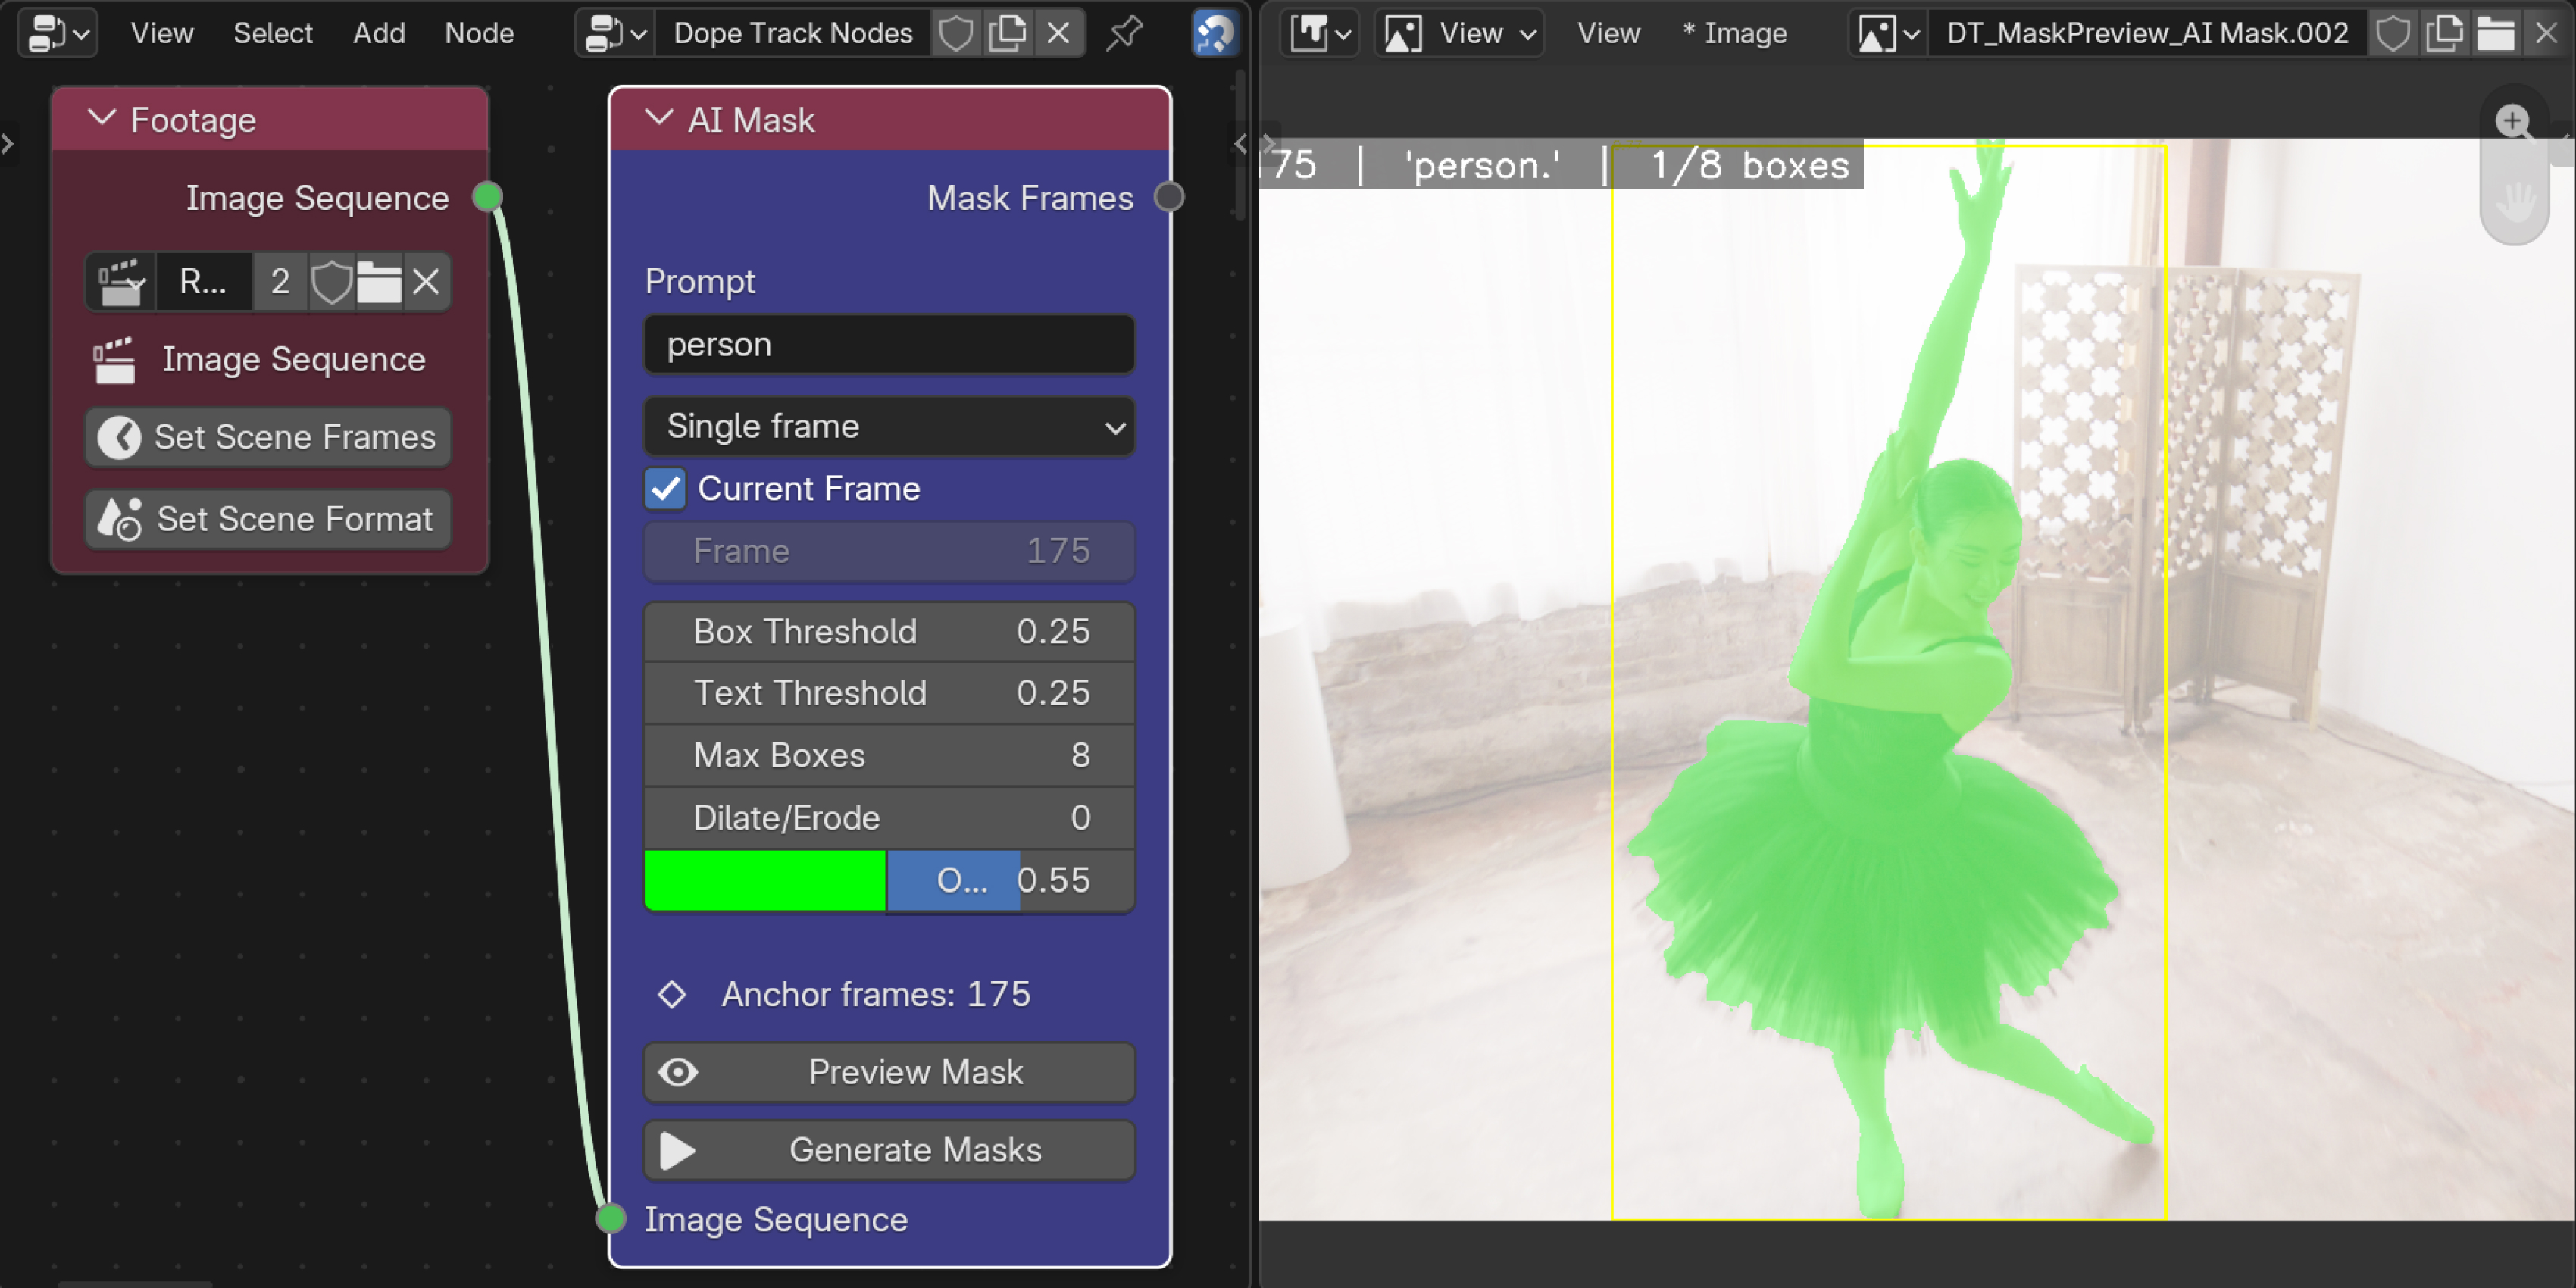
Describe what you want to isolate, choose a frame where it is clearly visible, and preview the result before processing the full shot. GroundingDINO finds the subject and SAM 2 propagates the mask through the sequence.
prompt person. car
prompt red bag. dog
Add extra anchor frames when the subject enters late, becomes occluded or changes appearance. Box and Text thresholds help on busy frames, while Dilate/Erode gives the result a little extra padding. Use the mask to keep actors, vehicles, reflections and other independent movement from pulling the camera solve.
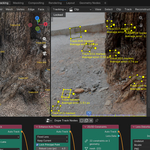
The main solver finds features, matches them through the sequence and reconstructs the camera together with a sparse 3D point cloud. Choose a quick quality level for testing or a denser feature pass for a difficult shot, then read the registered-frame count, solved focal length and reprojection error directly on the node.
Solve error: 0.87 px
For nodal pans and tripod shots with very little parallax, Tripod Track provides a workflow designed for that kind of camera move instead of forcing a normal reconstruction onto it.
This is where a decent solve becomes an exact one. Every fix is its own node, so nothing upstream gets thrown away when you change your approach.
Enhance Auto Track — reinforce a weak section with hand-placed tracks
Manual Tracks — take direct control where automation will not do
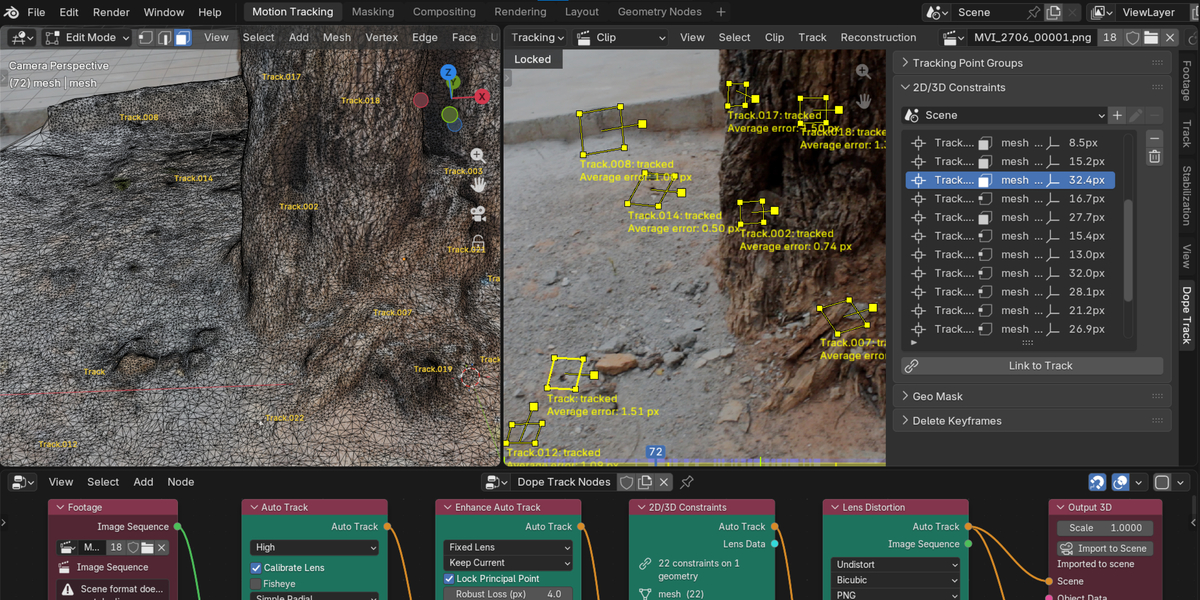
2D/3D Constraints (Beta) — connect tracks to known points on a model
Lens Grid Calibrate · 3DE Lens Import — real lens data, not a guess
Densify — turn a sparse cloud into something you can model against
Re-run the solve after any of it. The graph keeps the rest of the shot intact.
With 2D/3D Constraints, a tracked point can be linked to a vertex, edge midpoint or face centre. Use those links to align finished geometry with the reconstruction, help calibrate the lens from known stationary geometry and inspect lens-aware reprojection errors across the shot. This workflow is currently in beta, so its results should be checked carefully before production use.
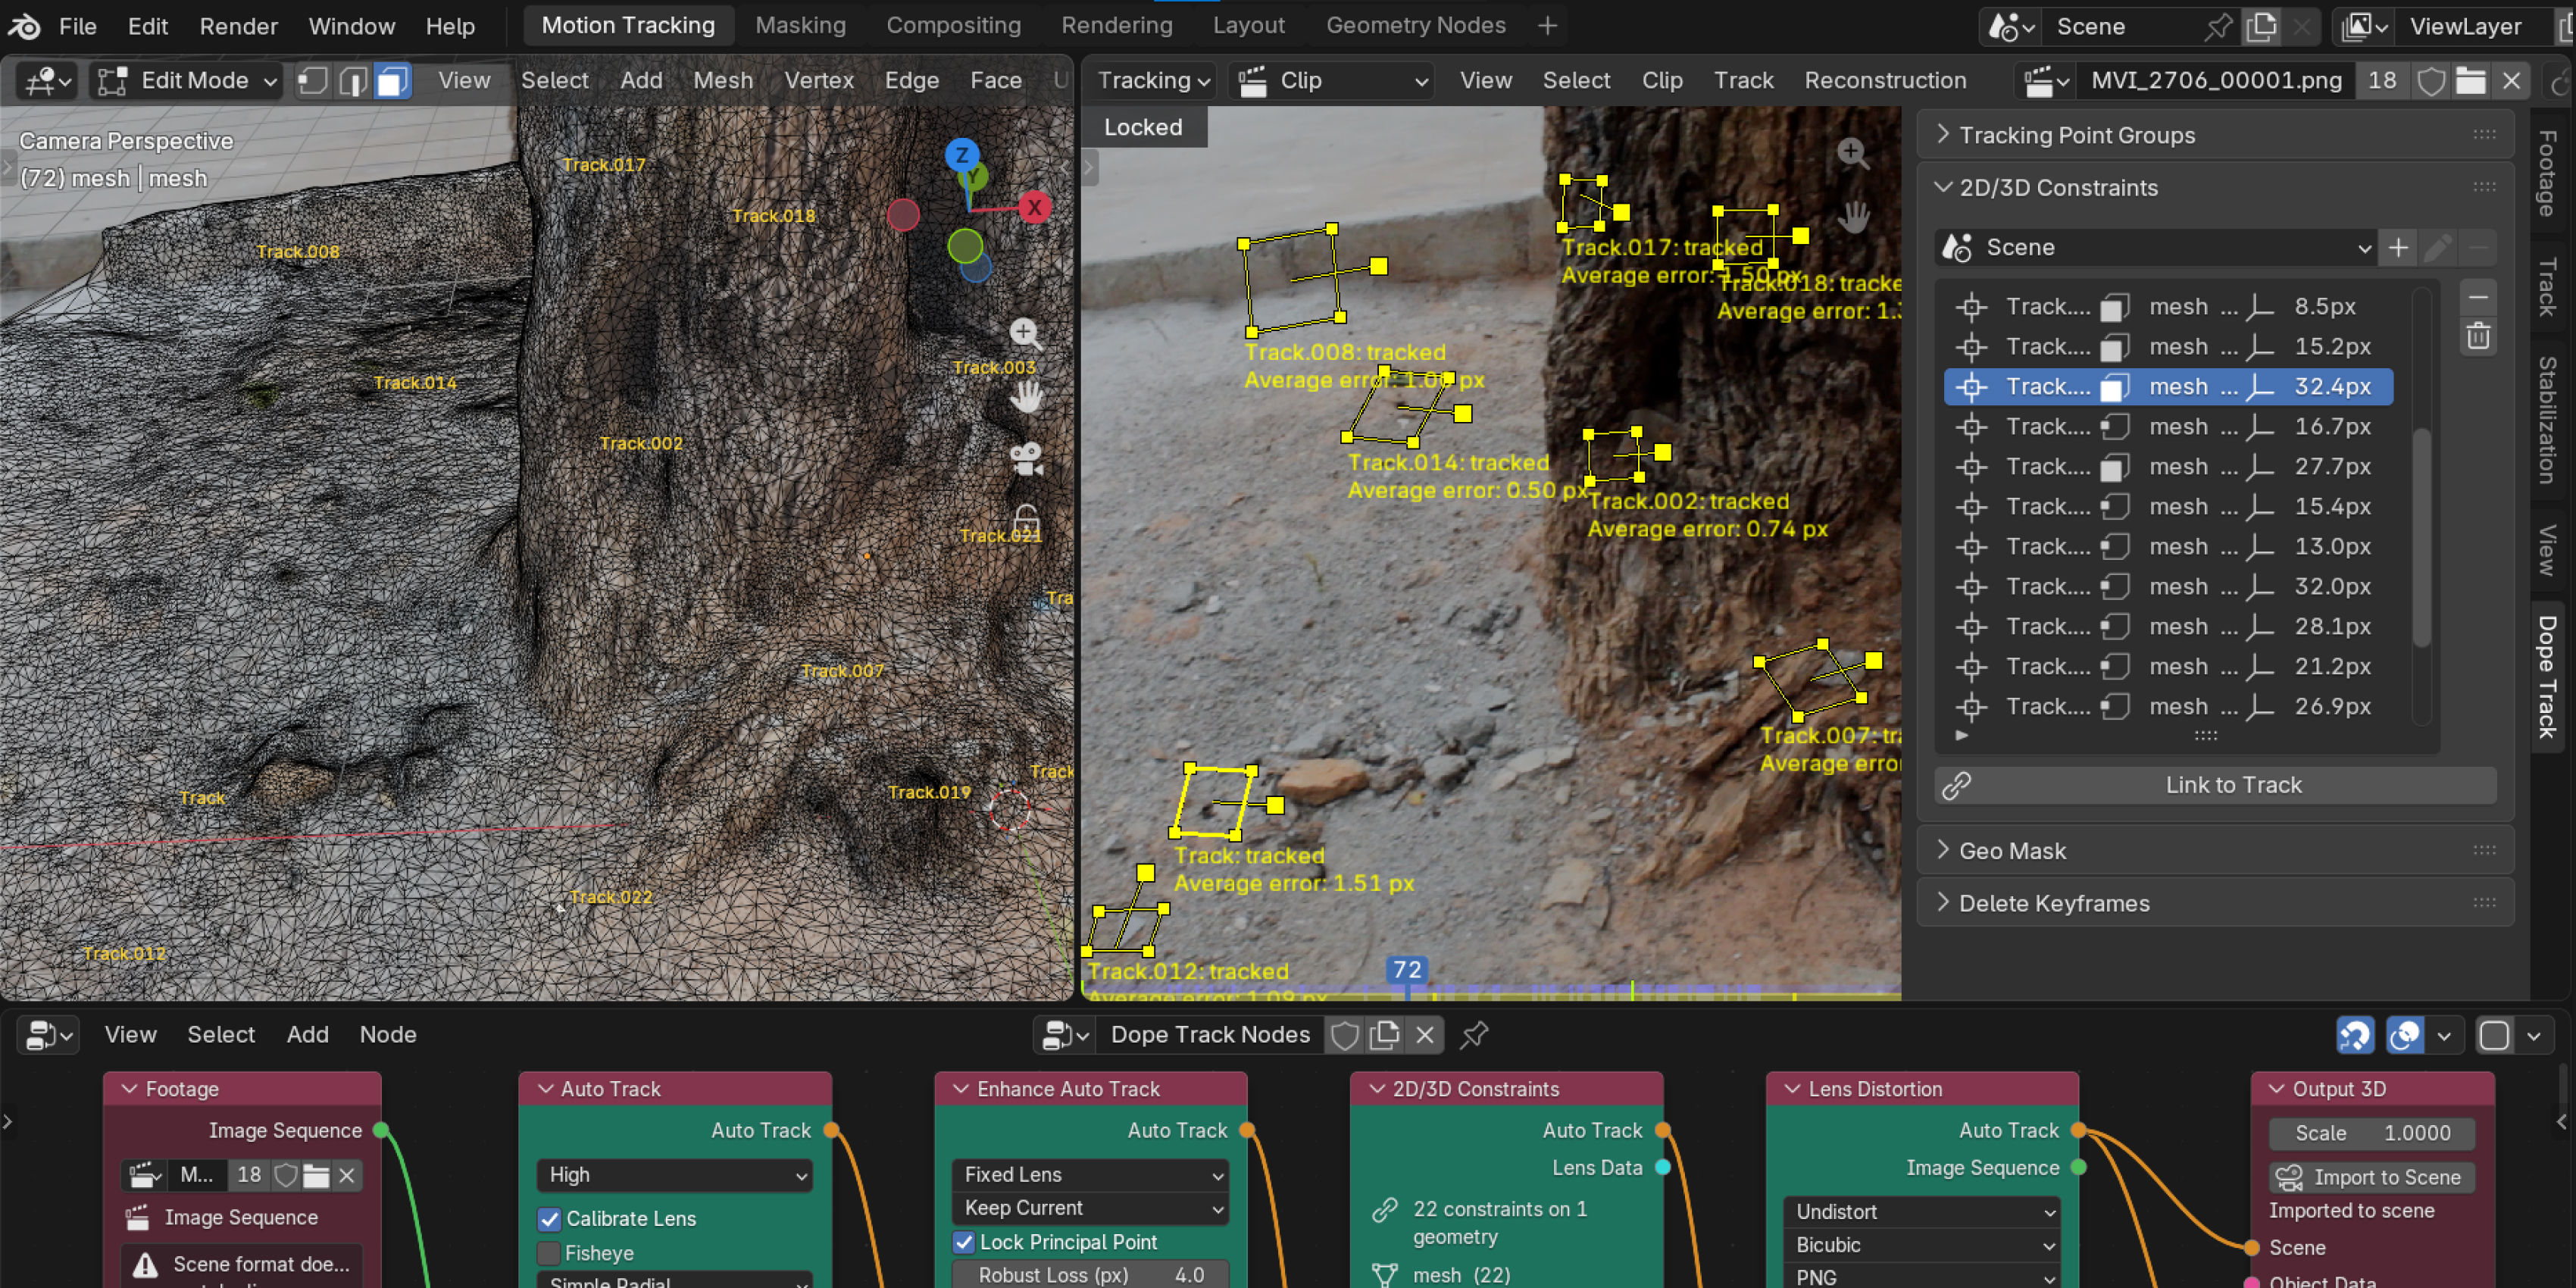
Straight into the scene at the scale you ask for. Camera, cloud, mesh and object data land as real Blender datablocks, ready to light.
A moving camera and a moving subject
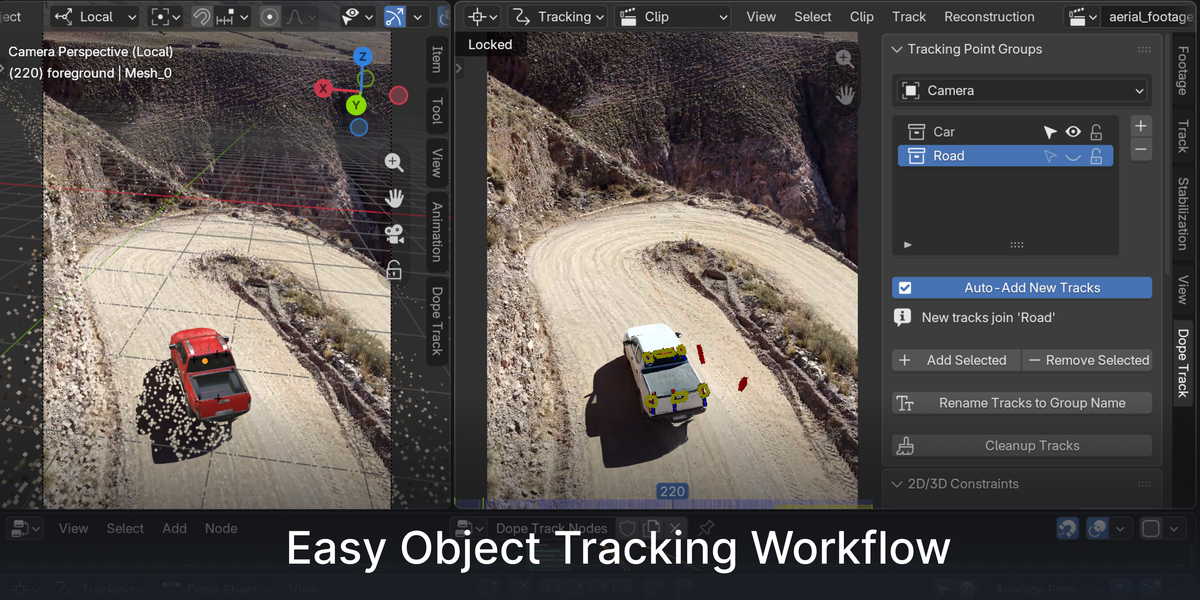
Solve object motion separately
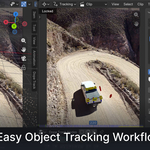
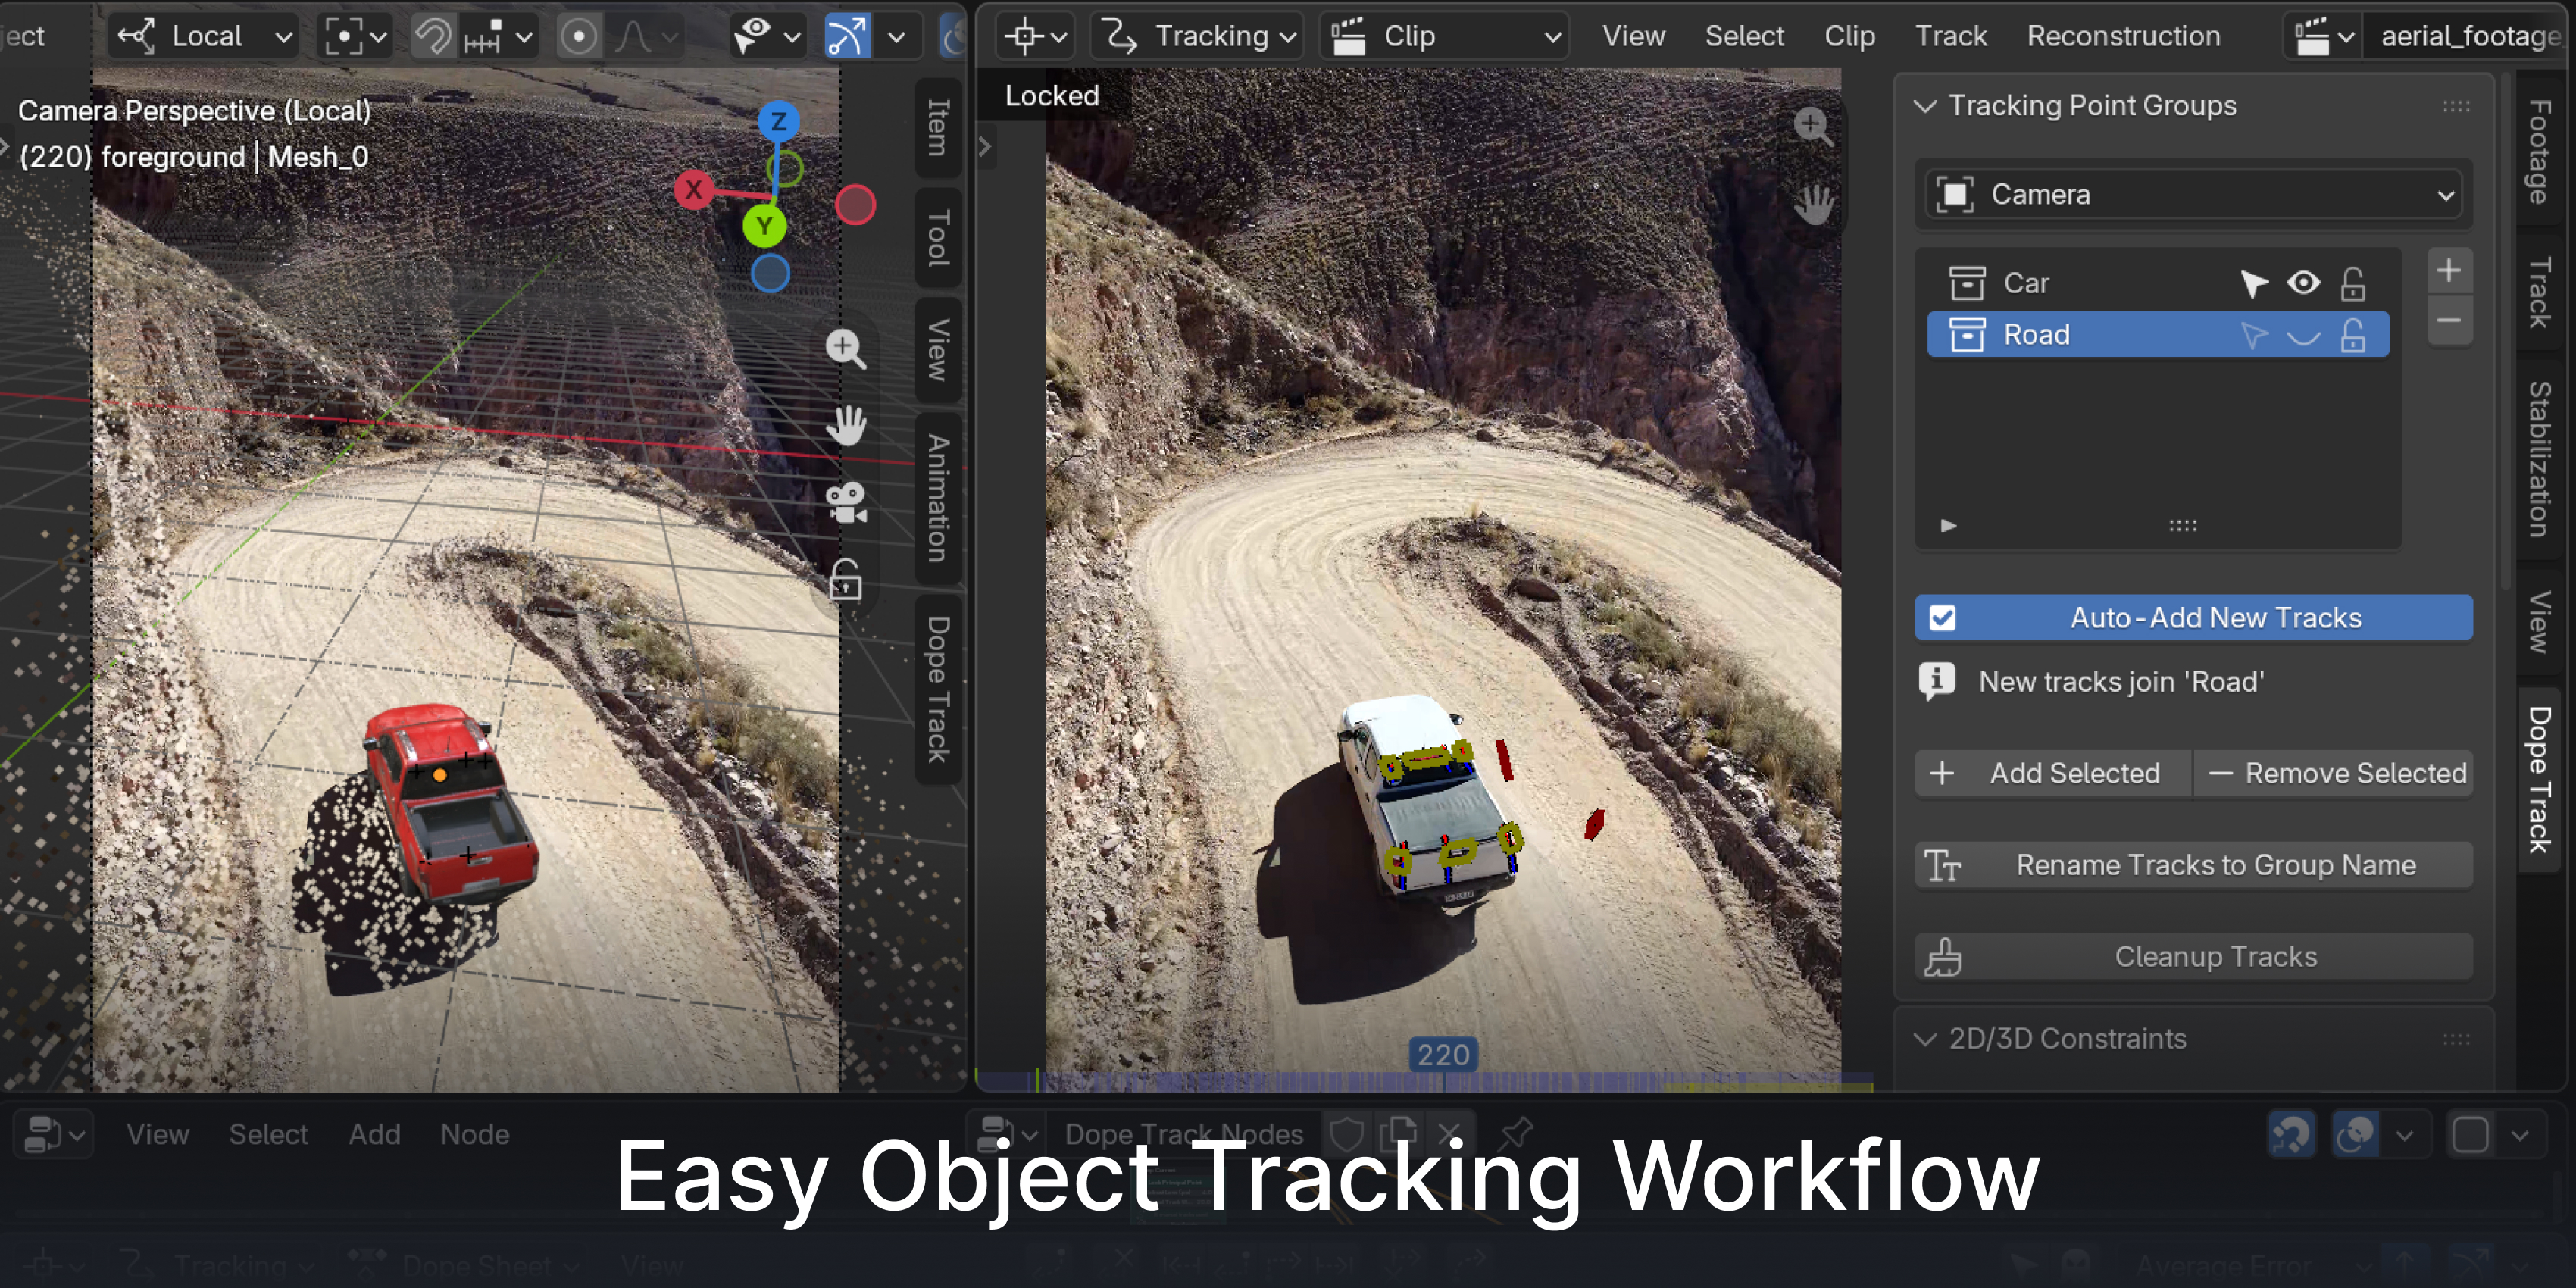
After solving the camera, Object Solve can use a separate group of tracks to calculate the motion of a rigid object without changing the camera reconstruction. You get independent camera and object animation for a car, prop or other moving subject, ready for attaching CG or lining up an asset in the shot.
Calibrate, undistort and put it back
Calibrate from lens-grid images, import compatible 3DEqualizer lens data, or refine focal length and distortion with the solve. Lens Distortion can remove the warp for tracking and CG work, then restore it for the final comp. Automatic overscan helps preserve pixels that move beyond the original frame, with PNG, JPEG and OpenEXR output available.
Once the camera is solved
A solved camera is not the finish line, it is the thing that makes the rest possible. Two projection tools ride on it, and neither is a node — both live in the sidebar where the work actually happens.
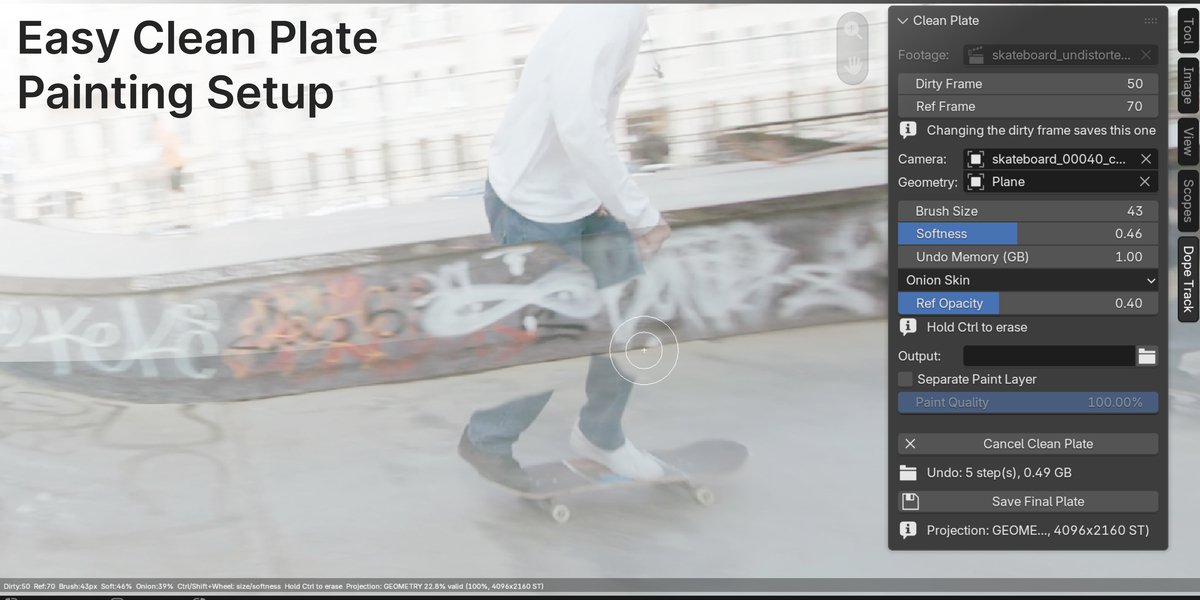
Clean Plate
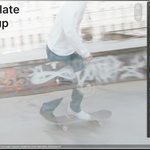
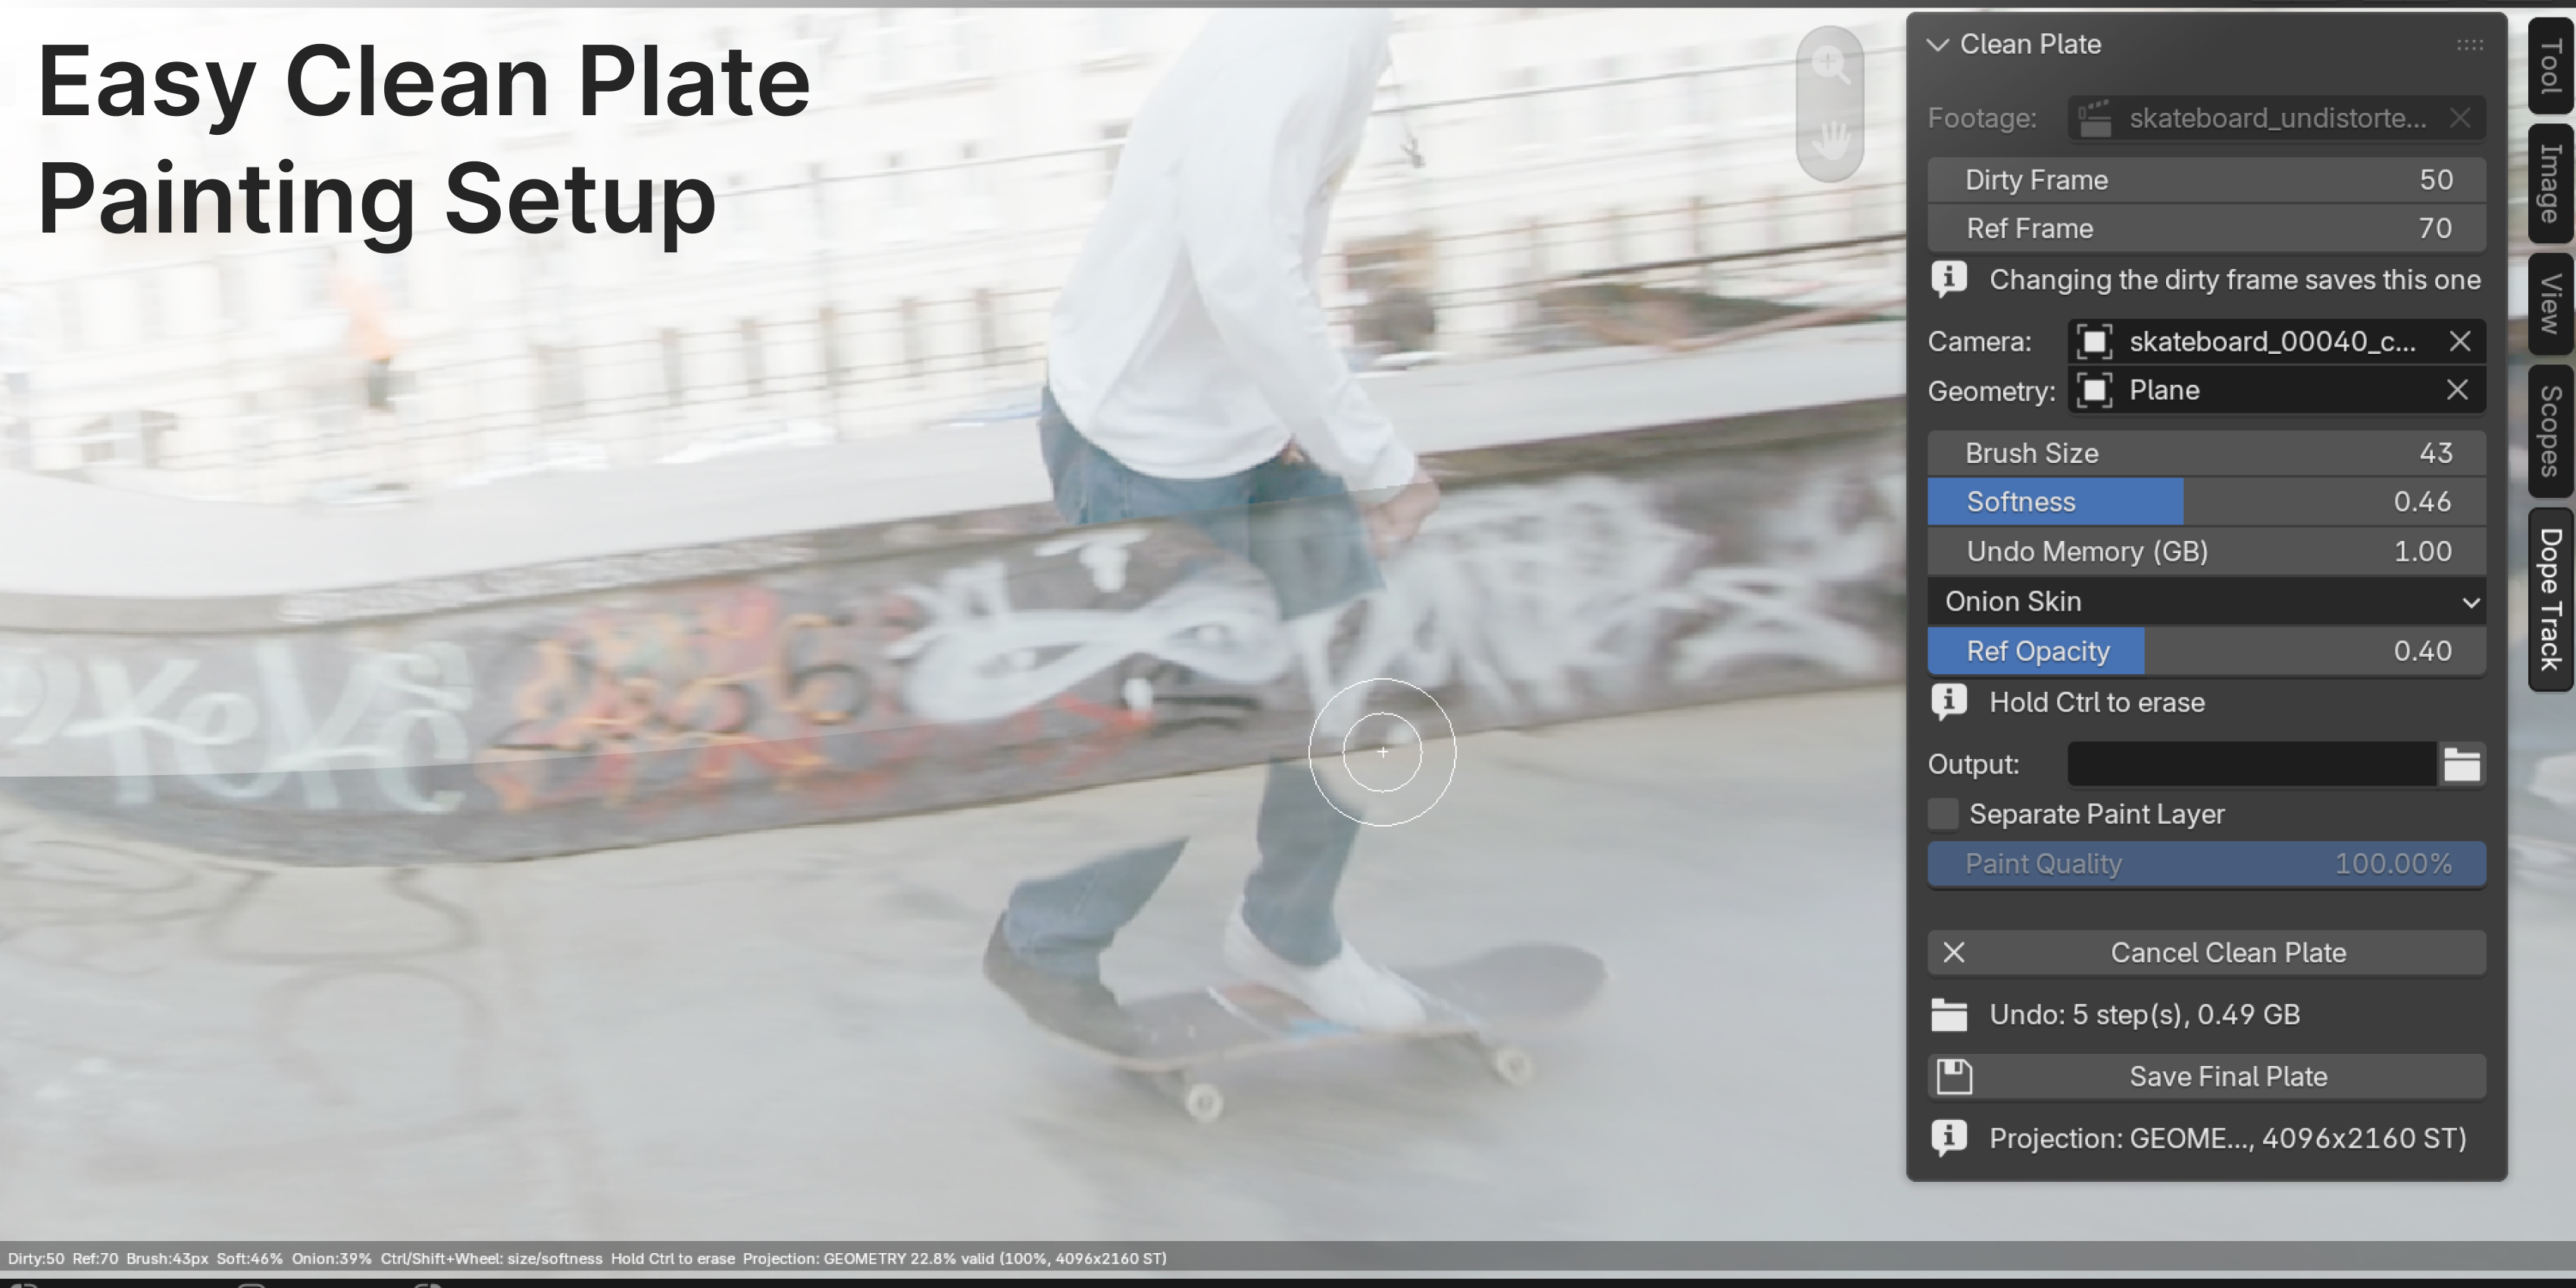
Paint something out of a shot using a clean frame from the same shot as the source. Because the camera is already solved, the reference frame is projected into the exact perspective of the frame you are fixing — which is what stops a clone from sliding around as the camera moves.
Use simple proxy geometry to describe the surface, adjust the projected reference overlay, paint with a soft clone brush and save the finished clean plate at full projection quality.
Geo Mask
Draw a roto shape once and let the shot carry it. Each mask point is cast onto your tracked geometry and projected back through the solved camera every frame, so the shape moves because the scene moves.
Geometry never matches the plate perfectly, so nudge any frame that drifts and key it. The correction eases off toward the neighbouring keys while the baked 3D motion keeps running underneath. Layers stay independent — one shape on a wall, another on a door.
Add ›
A connected set of nodes for preparing, tracking, refining and finishing the shot inside Blender.
| Input | Footage · Images Folder · Convert Footage · Preview · Stabilize |
|---|---|
| Lens | Lens Grid Calibrate · 3DE Lens Import · Lens Distortion · Multi-Shot Lens · 2D/3D Constraints |
| Tracking | Auto Track · Tripod Track · Manual Tracks · Enhance Auto Track · Refine Cloud · Densify · Photogrammetry |
| Masking | AI Mask · Combine Masks · Mask to Frames · Geo Mask |
| Output | Object Solve · Separate Track Elements · Combine Object Data · Output 3D · Output Comp · Clean Plate |
Properties
| Blender | Blender 5.1 and above |
|---|---|
| Platform | Windows (Mac and Linux coming soon) |
| GPU | Nvidia (Optional) |
| AI Mask setup | One-time runtime and model download |
| Documentation | dopetrack.lemonedge.cc |
Read the manual before you buy
Every node has a reference page and every workflow is written out end to end — basic tracking, object tracking, lens distortion, clean plates, geo masks. It is all public. Go and see whether it fits your shot before you spend anything.
Open the wiki