DraftCraft
 ParametrStudio



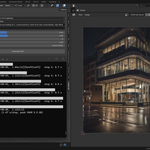
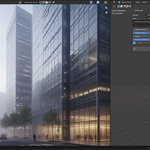
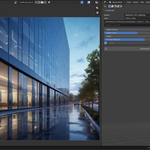
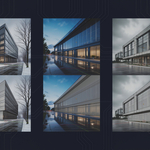
DraftCraft 1.3.3 - User Guide
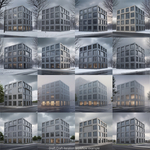
AI concept renders from your 3D viewport. Generation runs locally on your own GPU - no cloud, no credits, no subscription.
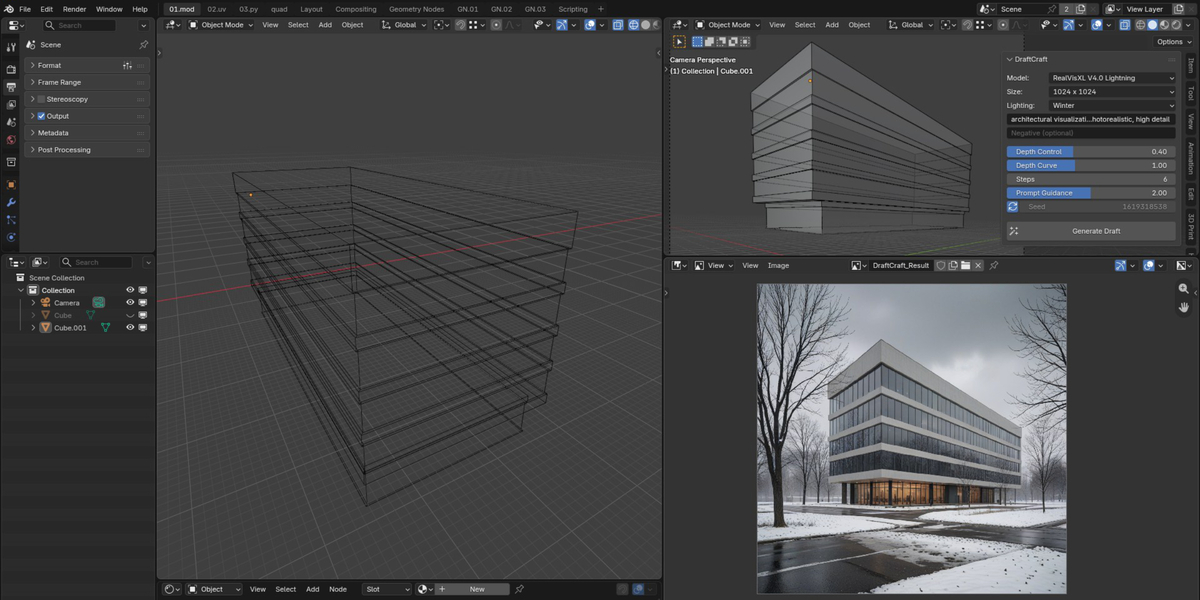
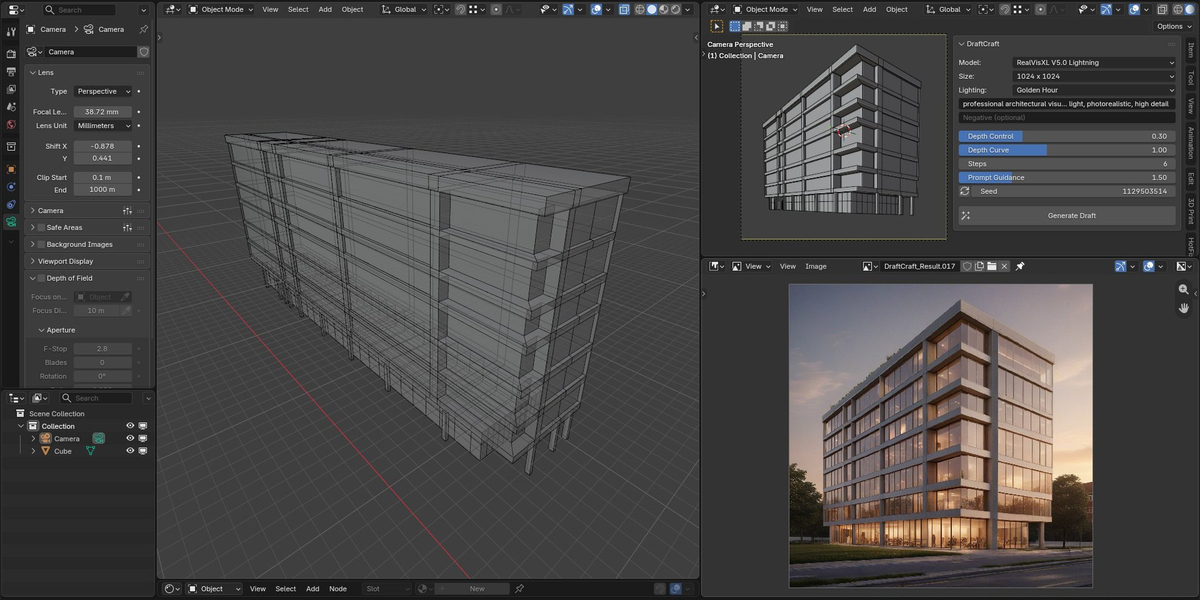
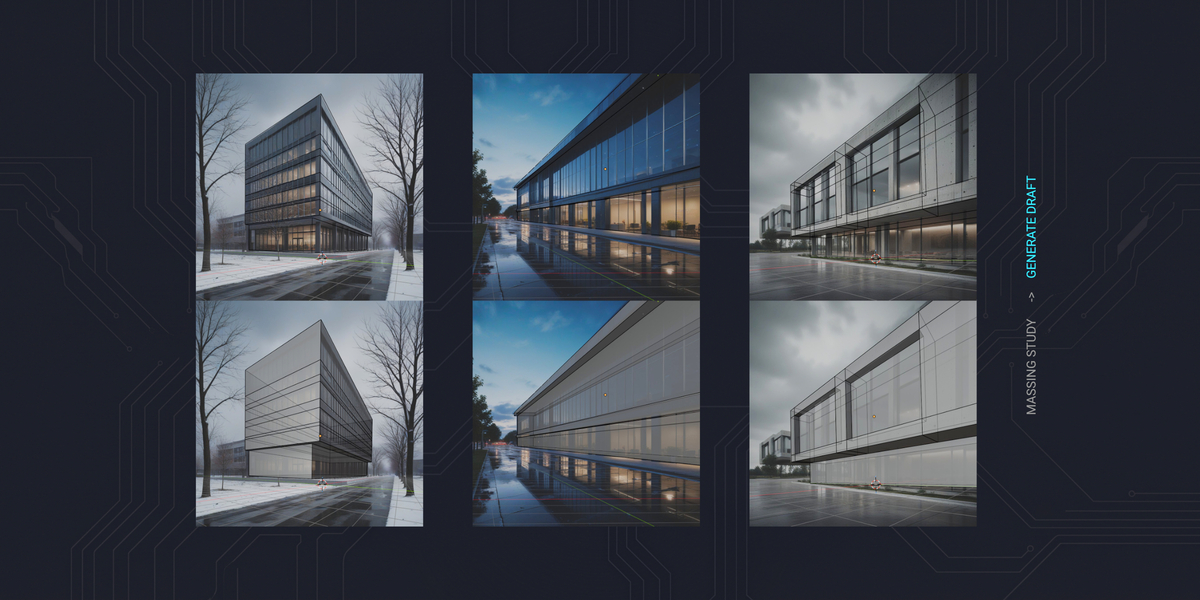
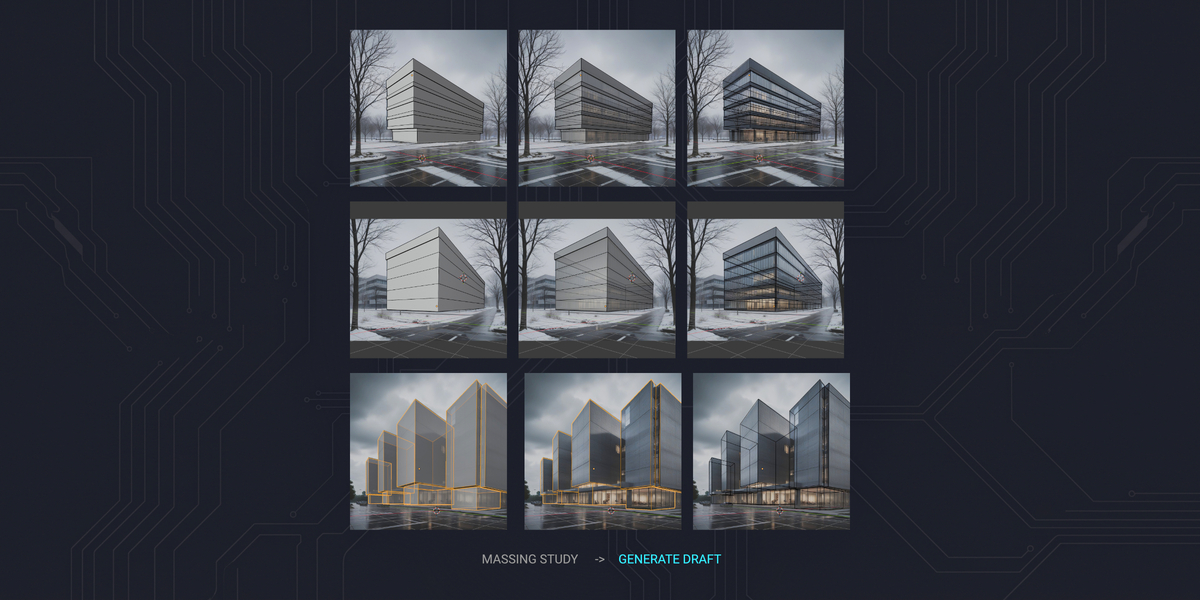
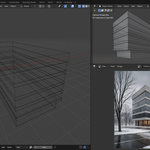
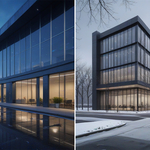
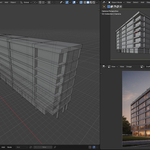
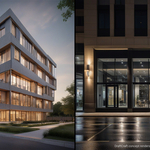
Block out a massing model → press Generate Draft → get a concept visualization guided by the depth of your own geometry.
Requirements
| OS | Windows 10/11 (64-bit) |
| GPU | NVIDIA RTX 30/40 series, 8 GB VRAM or more, recent driver |
| Disk | ~11 GB for the engine and the default model, plus ~7 GB per additional model. Extra temporary space is needed during installation. |
| Blender | 4.2 or newer (tested with Blender 4.2 LTS and 5.2 LTS) |
| Internet | only for the engine installation and for downloading or verifying models |
Installation
A step-by-step video installation and setup guide is available on YouTube.
1. Install the add-on - Edit → Preferences → Add-ons → Install from Disk…, select the DraftCraft ZIP and enable DraftCraft.
2. Check the install path - In the add-on preferences, Install Path is where the AI engine and the models will live. Change it before the next steps if you want them on another drive. Use a short path without spaces or accented characters, for example D:\DraftCraft.
3. Install AI Engine (~2.5 GB) - A console window shows the progress. When the step is done it shows Installed and needs nothing more.
4. Select a model and click Download Selected Model (~7 GB) - When the step is done it shows Downloaded.
5. Generate - Open the N-panel → DraftCraft tab in the 3D Viewport and press Generate Draft.
Everything installs into the single Install Path folder. Blender and its Python are never modified. To uninstall, stop the engine and delete that folder; images saved next to your .blend files stay where they are.
Updating from an older version
Install the new ZIP and keep the same Install Path. An engine left running from an older version restarts itself on the next Generate Draft.
Then, in the preferences, click Verify AI Engine once and Verify Selected Model once. Both steps reuse what you already have and end up showing Installed and Downloaded. Nothing is downloaded again.
What happens during setup
Install AI Engine creates an isolated Python environment (venv) inside your Install Path and installs the AI libraries into it from the official PyPI and PyTorch repositories, version-pinned to the set we tested. Nothing is installed outside the Install Path, and there are no registry entries, system services or startup items.
Download Selected Model downloads the checkpoint you selected, plus a depth ControlNet and a VAE fix, from pinned versions on Hugging Face into Install Path\models, and verifies them by checksum. The ControlNet and the VAE are downloaded only once and are shared by both checkpoints.
Generating itself needs no internet connection and downloads nothing. Setup and model downloads do use the internet, so the download providers receive ordinary connection data such as your IP address.
Usage
- Open the N-panel → DraftCraft tab in the 3D Viewport and frame your view. Exactly what you see is the input; overlays and the grid are excluded automatically.
- Pick an output Resolution: 1024 x 1024 (square), 1152 x 896 (landscape) or 1344 x 768 (wide). All three are about one megapixel, so time and VRAM use are similar.
- Pick a Lighting Preset for a ready-made starting point, or leave it on Custom and write your own prompt.
- Press Generate Draft. Colors, materials and mood come from the prompt; composition, massing and perspective follow your geometry.
- Results appear in the Image Editor and are saved next to your .blend file in
draftcraft_output\, named likeDC_260707_143207_s1226303857.pngwith the date, time and seed. If the .blend has not been saved yet, images go toInstall Path\output\instead. Existing files are never overwritten.
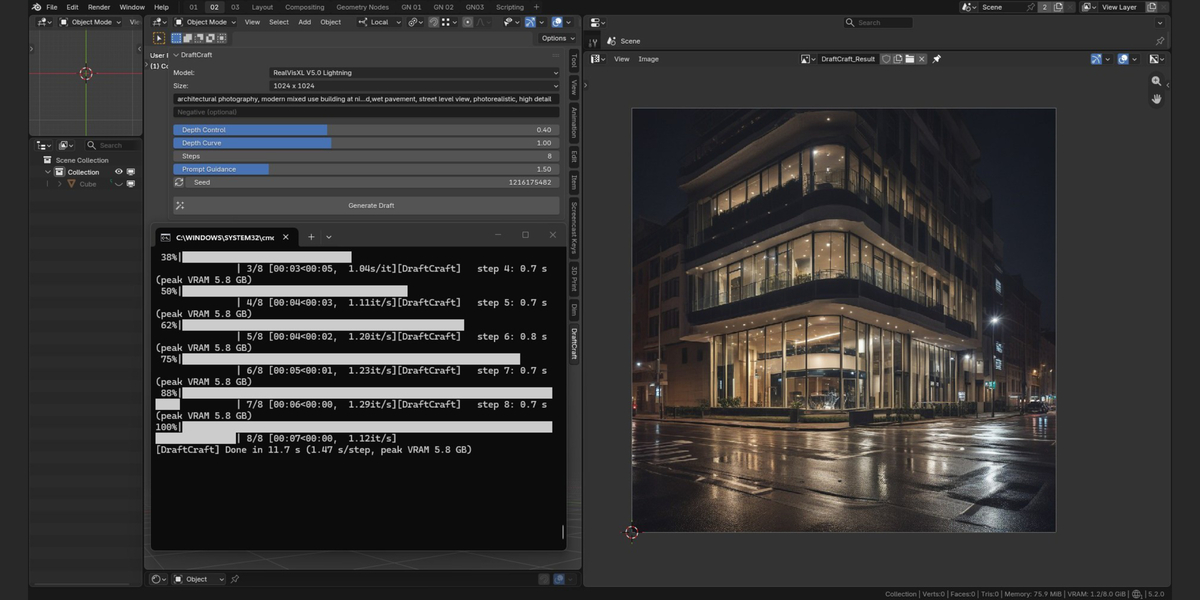
Speed, measured with RealVisXL V5 at 1024 x 1024 and 6 steps on an RTX 4060 Laptop GPU with 8 GB VRAM: about 9 seconds per image with the engine running. The first image after starting the engine takes about 16 seconds, and loading the models beforehand takes about 20 seconds. Other cards were not measured.
The engine starts automatically on the first generation and runs in its own console window, which shows per-step timing and VRAM use. Leave it running for your whole work session; stop it with Stop Engine in the preferences or by closing its window. Press Esc to cancel a generation.
What goes into the depth
The depth map is rendered from your geometry, not estimated from a screenshot. Everything visible in the viewport is included, including collection instances, Geometry Nodes output, hair and point clouds.
Capture runs in a separate temporary scene, so your objects, cameras, visibility settings and compositor are not changed. Blender's Render Result window may be replaced during capture.
Lighting presets
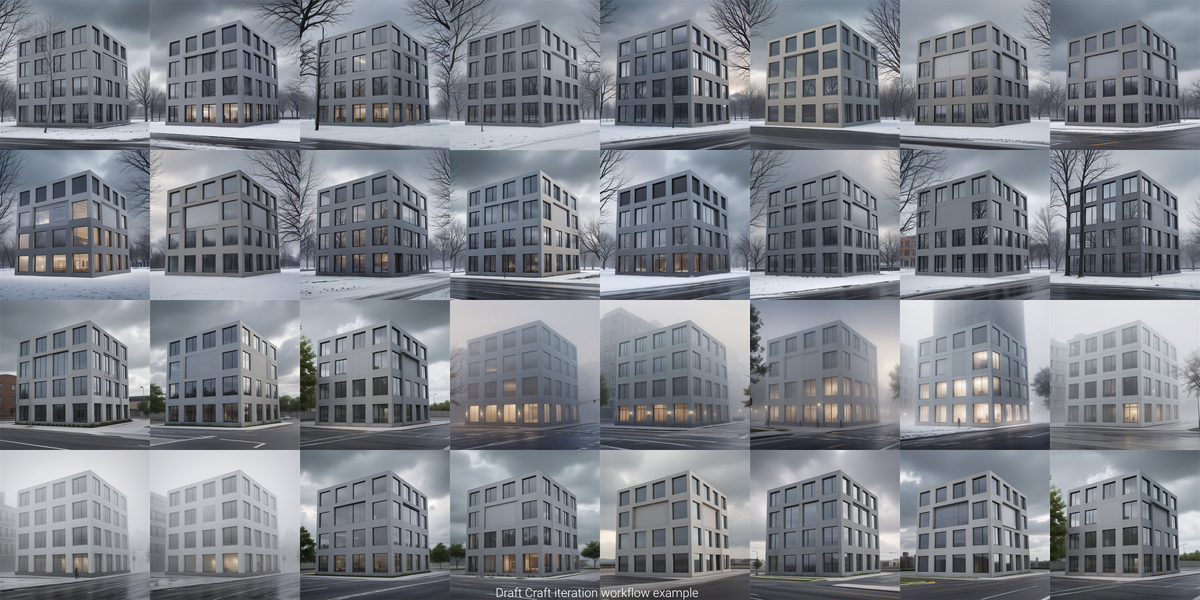
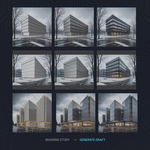
A lighting preset is a prepared prompt plus two parameter values. Selecting one overwrites the prompt and sets Prompt Guidance and Depth Control. Nothing else changes: the model, the resolution and the depth map work exactly as before. Everything a preset writes stays editable.
| Preset | What you get | Prompt Guidance | Depth Control |
|---|---|---|---|
| Custom | Nothing is changed. | unchanged | unchanged |
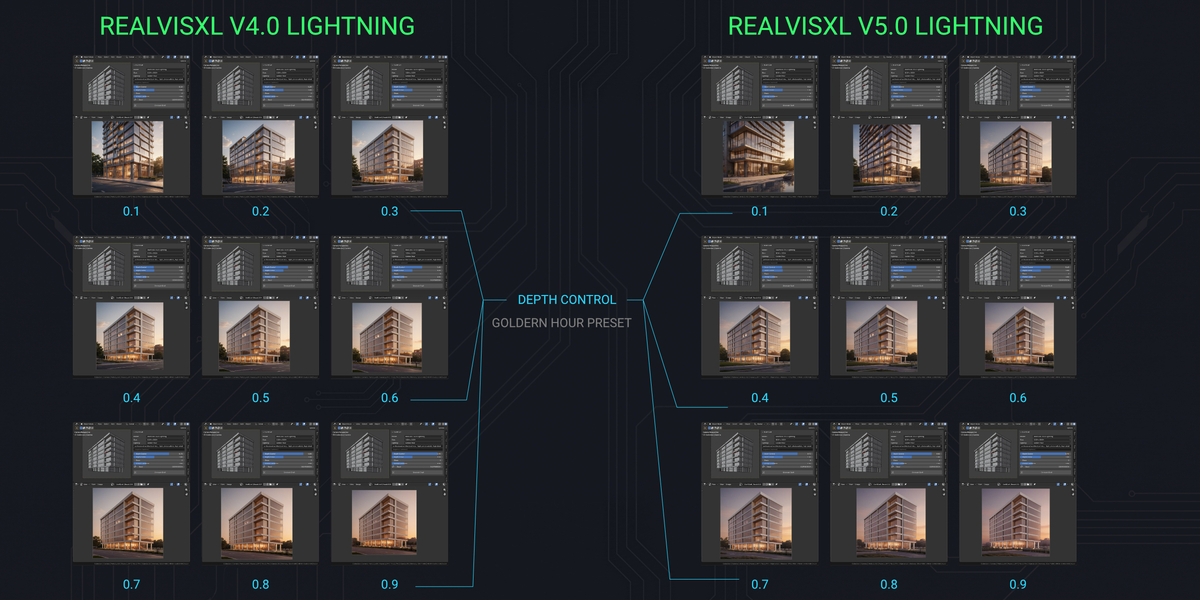
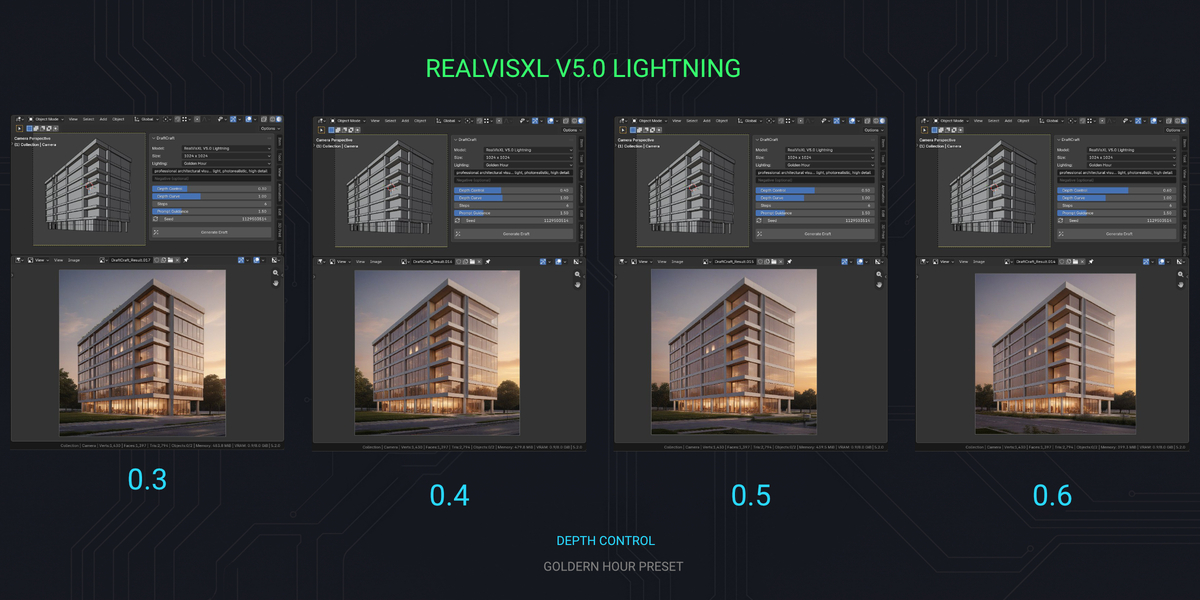
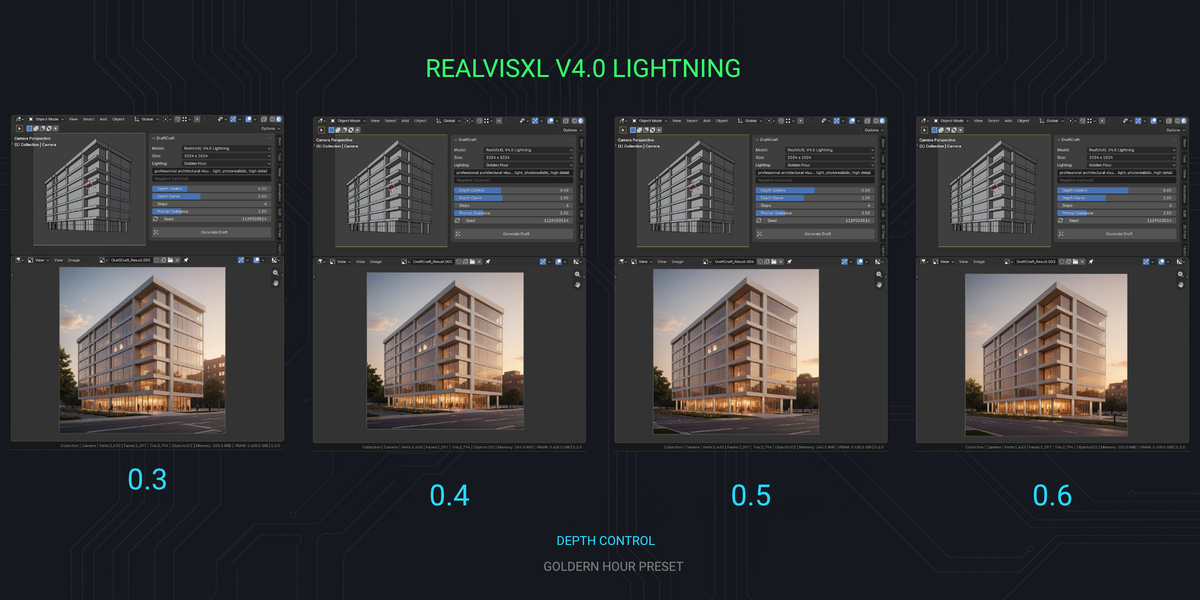
| Golden Hour | Warm low sun on the facade. | 1.5 | 0.6 |
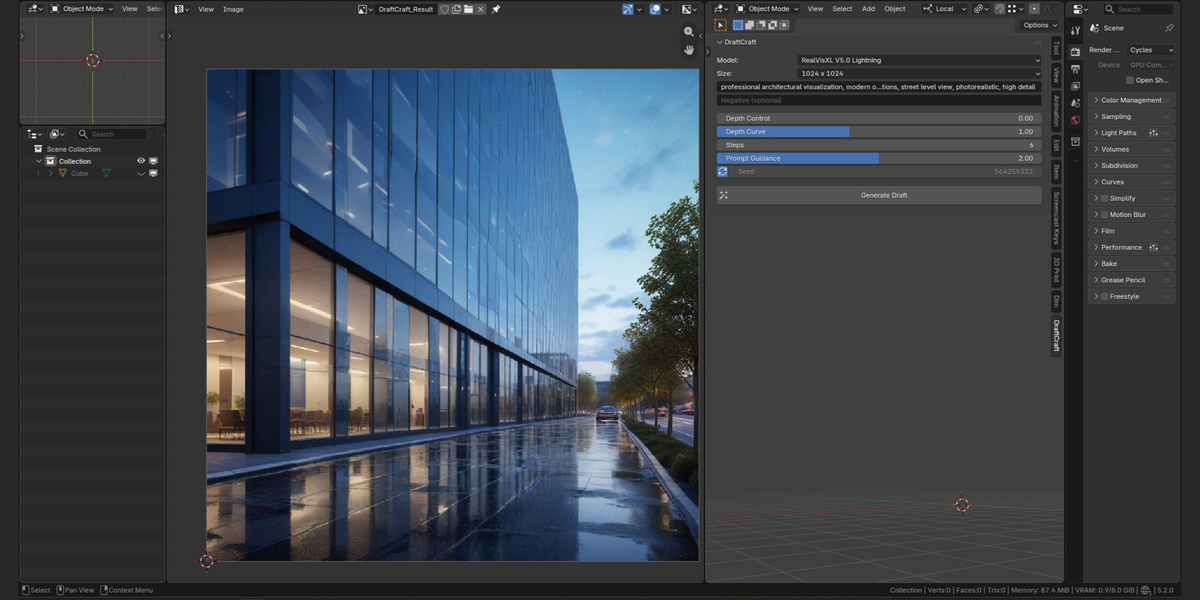
| Blue Hour | Deep blue sky, warm interior light, wet asphalt. | 2.0 | 0.4 |
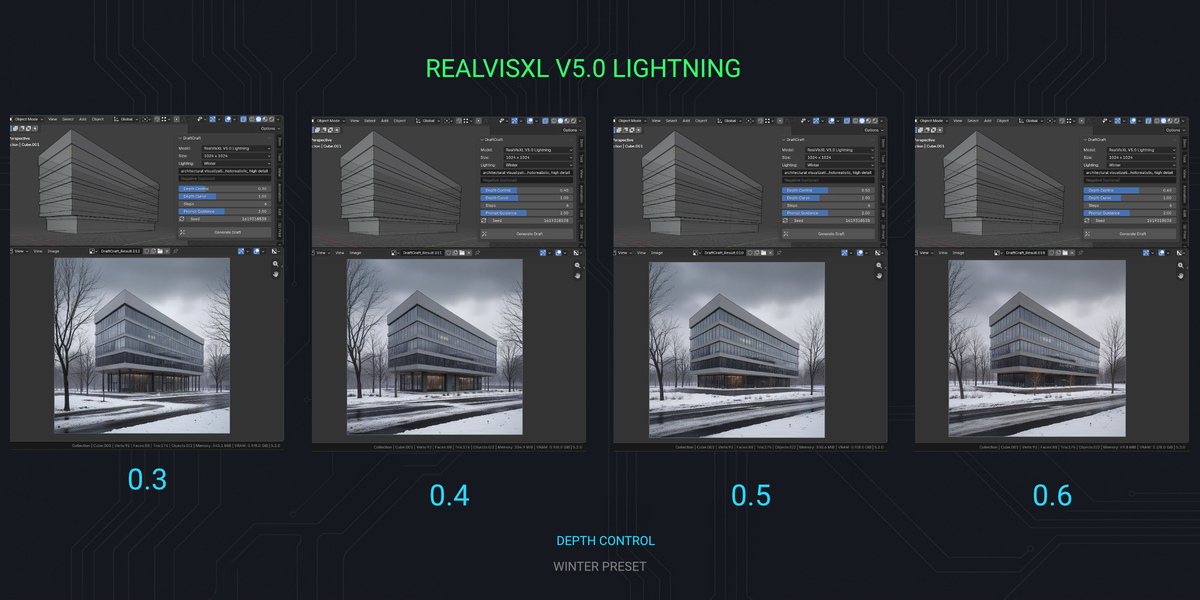
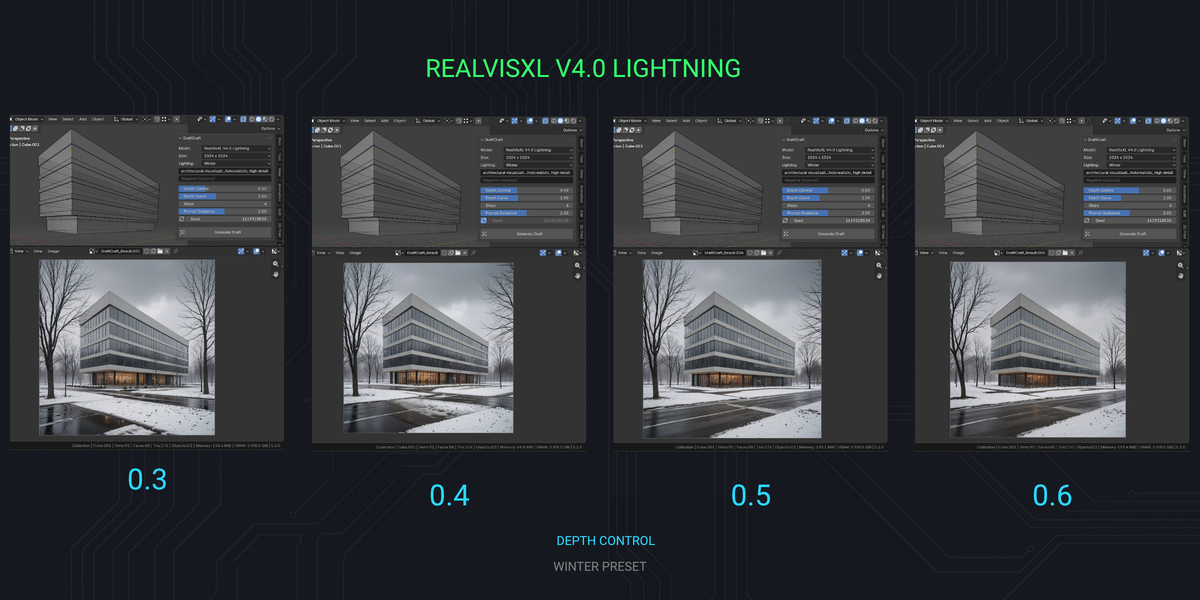
| Winter | Snow, bare trees, cold flat light. | 2.0 | 0.4 |
| Overcast | Soft diffuse light, no harsh shadows, muted tones. | 2.0 | 0.4 |
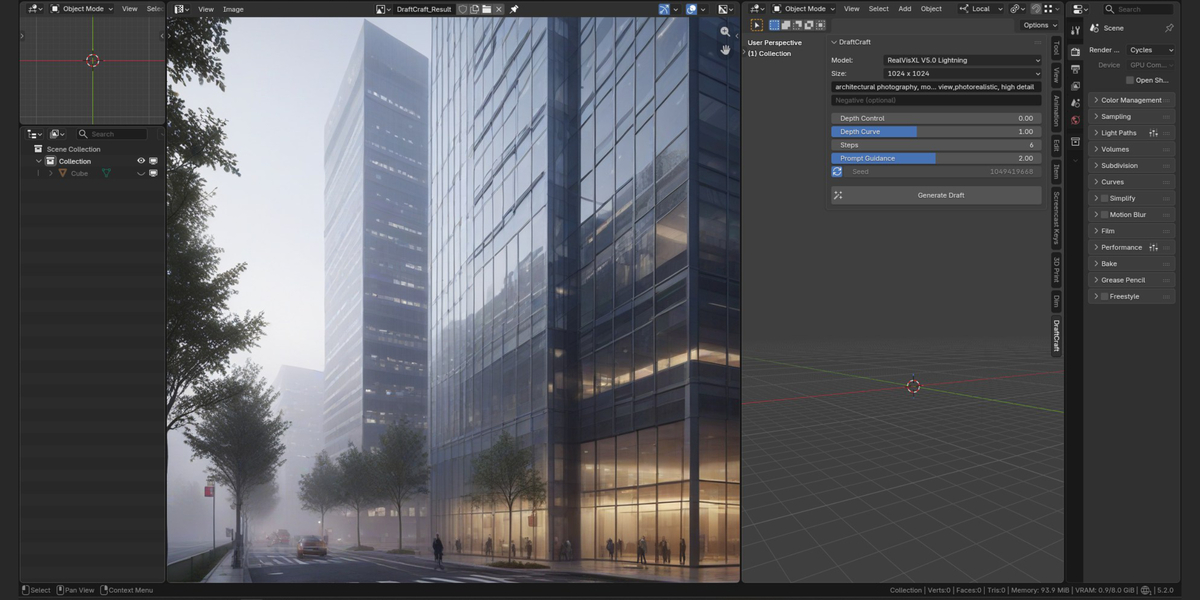
| Fog | White fog, desaturated, layered depth. | 2.0 | 0.4 |
| Night | Illuminated facade, street lamps, wet pavement. | 2.0 | 0.6 |
The default prompt at startup is neutral, with no lighting condition in it: professional architectural visualization, modern building, photorealistic, high detail.
Choosing a model
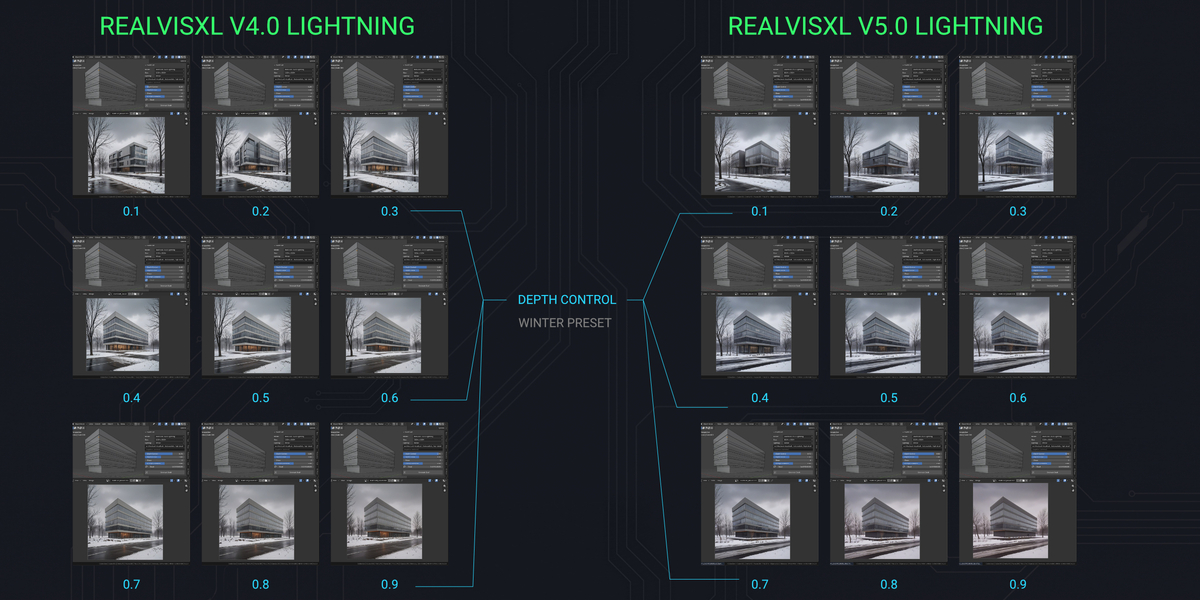
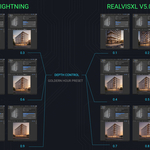
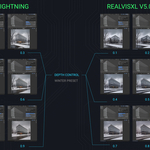
The model is selected in the preferences and the active one is shown in the N-panel. RealVisXL V4.0 Lightning is the default and RealVisXL V5.0 Lightning is a newer revision of the same photorealistic model family. Switching restarts the engine on the next generation, so that first image takes longer again. Both models can stay installed side by side.
Exact framing with a camera
To control the crop precisely, match your scene render aspect ratio to the selected resolution: a square for 1024 x 1024, 9:7 for 1152 x 896, 7:4 for 1344 x 768. The pixel size does not matter, only the ratio. Then frame the shot with a camera and enter camera view (Numpad 0).
The capture follows the camera frame, including lens shift (two-point perspective) and orthographic cameras. If the aspect ratios do not match, the capture will not match the frame you see on screen.
Parameters
| Parameter | What it does | Recommended |
|---|---|---|
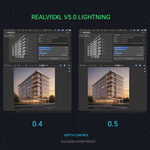
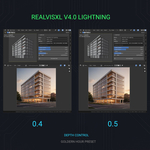
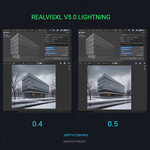
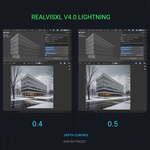
| Depth Control | How closely the result follows your geometry. The lighting presets set this value themselves. | 0.4-0.7 |
| Depth Curve | Values below 1.0 lift distant geometry so background structures are kept. The effect is clear in scenes with a large depth range and minimal on a single mass against an empty background. | 1.0; 0.5-0.7 for deep scenes |
| Steps | The model is distilled for few steps. More is not better. | 5-7 |
| Prompt Guidance | How strongly the prompt is followed. Higher values burn the image on this model. The lighting presets set this value themselves. | 1.5-2 |
| Seed | The same seed with the same settings usually gives the same result on the same computer. The seed is stored in the output filename. | Random to explore, fixed to iterate |
| Negative | Leave empty first; add only what keeps appearing and you do not want. | empty |
| Keep Models on GPU | On an 8 GB card this should stay off: the models plus Windows and Blender do not fit together, the driver spills into system RAM and generation gets slower. Restart the engine after changing it. | off; on only with 12 GB VRAM or more |
Tip: at these low Prompt Guidance values the beginning of the prompt carries the most weight, so put what matters in the first few words. For the same reason a negative prompt does little here; rewriting the positive prompt works better.
Troubleshooting
The engine step does not show Installed - the installation did not finish. Open Install Path\logs\install_engine.log, look for the [ERROR] line, then delete the venv folder inside your Install Path and click Install AI Engine again. Downloaded models are kept.
"The engine environment is broken" - the isolated environment was built with a Blender installation that has since been updated, moved or removed. Delete the venv folder and run Install AI Engine again. Models are kept.
Verify Selected Model appears again - the model files are incomplete. Click it; only the missing files are fetched.
Engine will not start - click Start Engine and read the error in the console. If the engine does not answer within a minute, the add-on stops waiting and shows the end of server.log. The usual causes are a model that is not downloaded, a changed Install Path, or antivirus blocking python.exe inside the Install Path.
"Out of GPU memory" - turn off Keep Models on GPU, close other GPU apps, restart the engine and try again. 8 GB is the minimum.
Generation takes minutes instead of seconds - the GPU driver is spilling into system RAM. In NVIDIA Control Panel → Manage 3D Settings → CUDA - Sysmem Fallback Policy set Prefer No Sysmem Fallback and restart the engine. The first image after starting the engine or after switching the model always takes longer.
Quad View or a panoramic camera - neither is supported; the add-on shows an error. Switch to a single viewport and a perspective or orthographic camera.
My prompt disappeared - you changed the Lighting Preset, which overwrites the prompt by design. Switch back to Custom and type your prompt again.
HTTP 422 right after an update - an engine from the older version is still running; the add-on restarts it for you, so no action is needed.
Firewall prompt - the engine communicates only on 127.0.0.1. Allow private networks.
Sending a support request - the logs are in Install Path\logs\ (install_engine.log, download_models.log, server.log). Attach the relevant one. Never send session.json; it holds the private key of your local engine.
Licensing and image use
DraftCraft (the add-on code) is licensed under GPL-3.0-or-later. You can use it for personal and commercial work.
The AI models are not part of DraftCraft. They are downloaded from Hugging Face during setup and come with their own licenses:
- RealVisXL V4.0 Lightning and RealVisXL V5.0 Lightning: CreativeML Open RAIL++-M
- Depth ControlNet (controlnet-depth-sdxl-1.0-small): CreativeML Open RAIL++-M
- SDXL VAE fp16 fix: MIT
What this means for your images:
- You can use the images you generate in client presentations, competitions, portfolios and commercial projects.
- The model licenses do not claim any rights to your images. You are responsible for how you use them.
- The models must not be used for illegal or harmful purposes, such as deceiving or harming people or harassment. The full list of restrictions is in the license.
- Whether AI-generated images are protected by copyright depends on the laws of your country.
Full license texts are included with the add-on (Preferences > Model Licenses) and on the model pages:
https://huggingface.co/SG161222/RealVisXL_V4.0_Lightning
https://huggingface.co/SG161222/RealVisXL_V5.0_Lightning
https://huggingface.co/diffusers/controlnet-depth-sdxl-1.0-small
https://huggingface.co/madebyollin/sdxl-vae-fp16-fix
This summary is for orientation only and is not legal advice.
Privacy
Generation runs locally. Your scenes, prompts and generated images are never uploaded, and the engine downloads nothing while generating. The engine listens on 127.0.0.1 and only answers requests coming from DraftCraft on this computer.
Installing the engine and downloading or verifying models does use the internet. There is no account, no API key and no telemetry from the add-on.
DraftCraft is developed by Parametr Studio with AI assistance.
Parametr Studio
Version history
1.3.3
Depth capture runs in a separate temporary scene, so your objects, cameras, visibility settings and compositor are not changed. Everything visible in the viewport goes into the depth, including instances, Geometry Nodes, hair and point clouds.
Verified setup: a finished step shows Installed or Downloaded and needs nothing more, and models are checked by checksum after downloading.
After updating from an older version, one click on Verify AI Engine and Verify Selected Model is enough and nothing is downloaded again. An engine left running from the older version restarts itself.
The local engine only answers requests coming from DraftCraft on this computer.
Esc reliably cancels a generation, only one generation runs at a time, and results never overwrite an existing image.
Clearer errors: an ordinary generation error no longer requires an engine restart, and an incomplete model shows up as Verify Selected Model in the preferences.
1.3.0
Added Lighting Presets: Golden Hour, Blue Hour, Winter, Overcast, Fog and Night.
Selecting a preset immediately sets the prompt, Prompt Guidance and Depth Control.
The Custom option leaves the prompt and the settings untouched.
The default prompt is now neutral, with no lighting condition in it.
1.2.0
Added a choice of generative model: RealVisXL V4.0 Lightning (default) and RealVisXL V5.0 Lightning, both photorealistic and both included at no extra cost.
Each model is a separate download of about 7 GB; the ControlNet and the VAE are shared, and an already installed default model is not downloaded again.
Switching the model restarts the engine automatically on the next generation.
Fixed HTTP 422 after updating the add-on and the installation on Blender 4.2, where a missing system library stopped the engine from starting.
The engine window no longer disappears on a crash and its output is written to Install Path\logs\server.log.
1.1.0
Added output resolution presets: 1024 x 1024, 1152 x 896 and 1344 x 768. All are about one megapixel, and the depth map is rendered directly at the target size instead of being resampled.
Fixed the setup: step 1 is marked complete only after every engine component is really installed.
Setup windows no longer disappear on an error, and setup progress is written to Install Path\logs\.
A clear message instead of a crash when a Blender update or a moved Blender installation breaks the engine environment.
Faster viewport capture.
1.0.3
Initial release.
-
$35
For freelancers and personal use. Full add-on, all features.
-
$100
For companies and teams. Full add-on, all features. Buy this one if you are purchasing for an office.
Have questions about this product?
Login to message
Discover more products like this
concept-design massing local ai ai-render ControlNet ArchViz Render sdxl architecture stable-diffusion Visualization ai