 MNC Development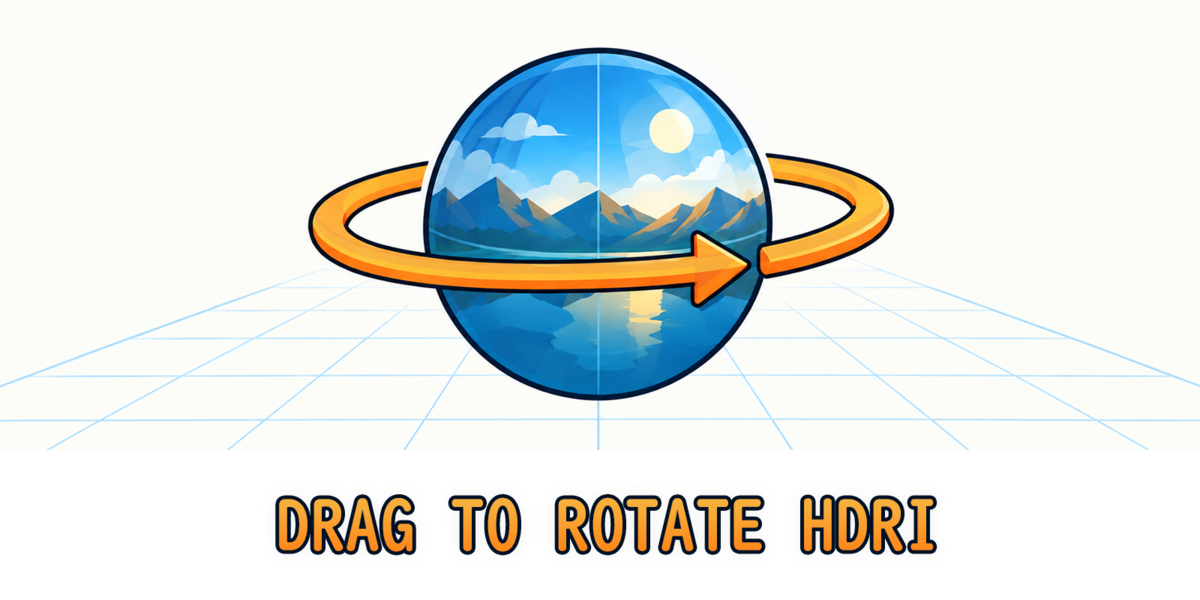
Spin the world.
Hold Shift, right-click and drag in the viewport, and the HDRI lighting your scene turns with your mouse.

Turning an HDRI usually means leaving the viewport: switch an editor to the World shader, find the Mapping node — or build one first — then nudge its Z rotation and look back to see what changed.
Drag to Rotate HDRI puts that control where you are already looking. Hold Shift, right-click anywhere in the 3D Viewport and drag sideways: the environment follows your mouse, the lighting and reflections sweep around your model as you go, and letting go of the button sets it in place.
No panel to open, no node to hunt down. If you can orbit the view, you already know how to use it.
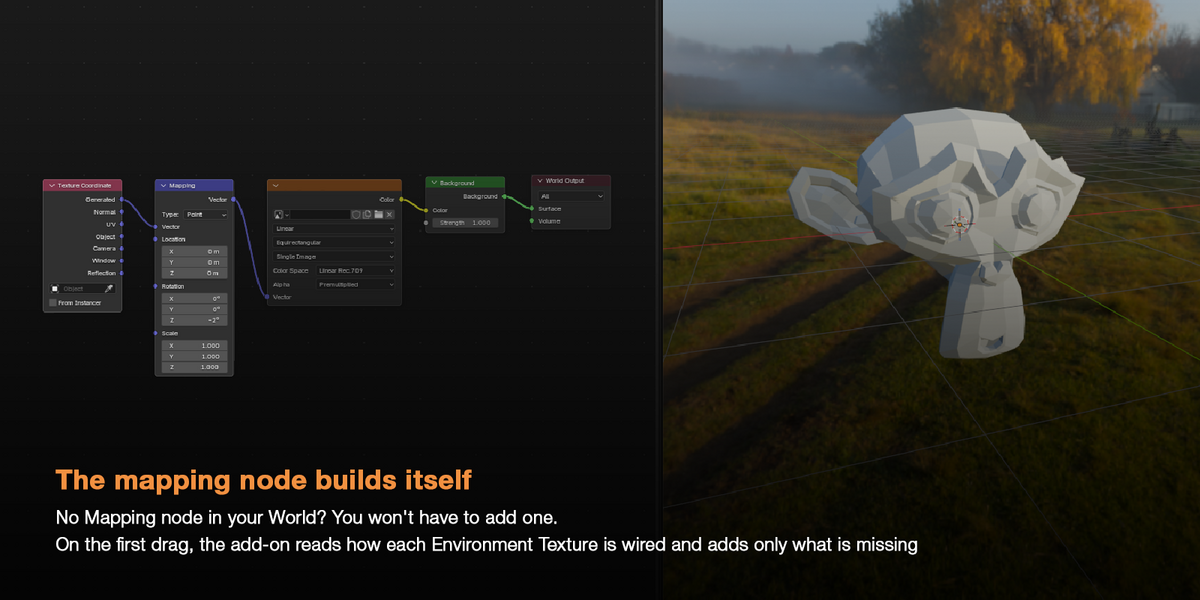
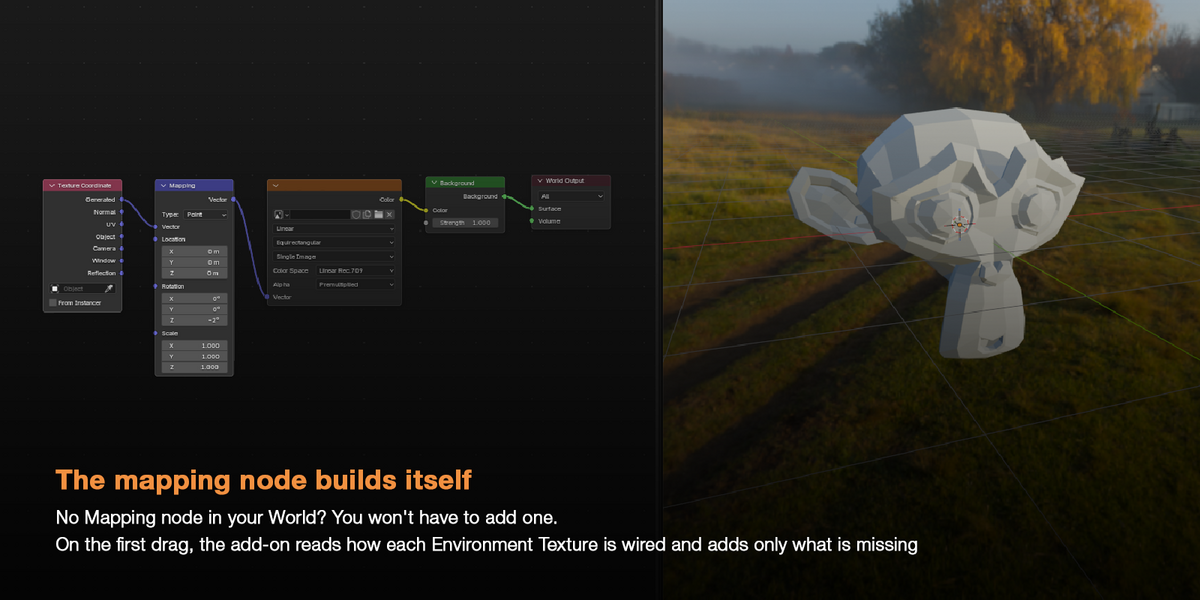
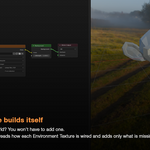
No Mapping node in your World? You won't have to add one.
On the first drag, the add-on reads how each Environment Texture is wired and adds only what is missing:
| Nothing plugged in | Texture Coordinate and Mapping are created and wired, right beside the texture |
| Mapping already there | Used as it is — even behind reroutes |
| Another vector source | A Mapping is slipped in between, the rest of the chain is kept |
| Mapping in Texture mode | Direction compensated — the HDRI still follows your mouse |
| Inside a frame | New nodes land in the same frame |
The nodes it adds are plain Blender nodes, placed the way you would place them yourself. Nothing else in your World is touched.
One HDRI for the lighting, another one for the background? They stay aligned.
The add-on follows the World Output back through your node tree — Mix Shaders, Light Path setups, reroutes — and finds every Environment Texture that actually reaches it. All of them turn by the same angle, in the same drag, and the ones that had no Mapping share a single new one, so they can never drift apart.
Textures sitting unconnected in the tree are left exactly as they are.
Material Preview does not always show your World. The add-on checks what the viewport is actually displaying.
With Scene World on, your World HDRI turns. When the viewport shows one of Blender's built-in studio HDRIs instead, that is the one that turns — the light on screen is always the light in your hand.
| Solid | Turns the World HDRI — handy next to a Rendered viewport |
| Material Preview | The World HDRI, or the studio HDRI when Scene World is off |
| Rendered | Same rule, with EEVEE and Cycles alike |
Each viewport keeps its own studio rotation, which stays out of the undo history like any other viewport setting. Prefer to always turn the World? Switch off Rotate Studio HDRI in the preferences.
Shift + right-click already has a job in Blender: it places the 3D cursor. It still does.
The add-on only takes over once the mouse actually moves. A plain Shift + right-click places the 3D cursor exactly as before, and while you rotate, the cursor stays right where it was — it never jumps to the spot you pressed.
Only the drag changes: instead of sliding the 3D cursor around, it now turns your HDRI.
Fast enough to swing the sun around, precise enough to set it down.
The HDRI turns at the pace of Blender's own orbit, and the cursor wraps around the edges of the viewport, so you can keep turning without running out of screen. The current angle is shown in the viewport header, and the keys you can use while dragging are listed in the status bar:
| Release | Keep the new rotation |
| Ctrl | Snap to clean angles — every 15° by default |
| Esc | Put everything back, including any node created for the drag |
Each drag of the World HDRI is a single undo step, and Blender's Adjust Last Operation panel lets you type an exact angle right after it.
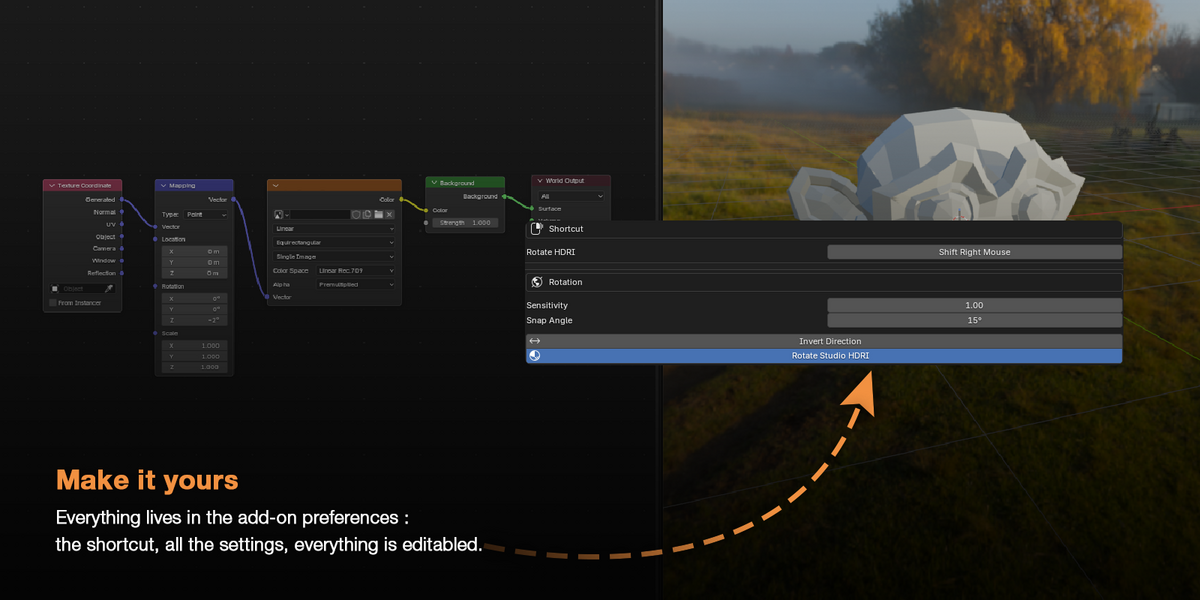
Everything lives in the add-on preferences.
The shortcut sits right at the top: click it, press the combination you want — another mouse button, a keyboard key held while you move the mouse — and it's yours. One click brings the default back.
| Shortcut | Shift + Right Mouse by default |
| Sensitivity | How fast the HDRI turns — 1.00 by default |
| Snap Angle | Step used while Ctrl is held — 15° by default |
| Invert Direction | Turn the HDRI against the mouse instead of with it |
| Rotate Studio HDRI | Turn the built-in studio HDRI when it is the one on screen — on by default |
| BY HAND | WITH A DRAG |
| Switch an editor to the World shader and look for the Mapping node | Stay in the viewport — the HDRI is one drag away |
| Add a Texture Coordinate and a Mapping node, then wire them up | The Mapping node is created and wired for you |
| Type a Z rotation, check the viewport, try another value | Watch the light move as you drag, release when it looks right |
| Rotate each Environment Texture of the World one at a time | Every HDRI reaching the World Output turns together |
| In Material Preview, rotate the World and see nothing change | The HDRI on screen is always the one that turns |
The sun goes where you drag it.