Drop to Bed
 Sonneblom Digitaal
Drop to Bed 1.0.0
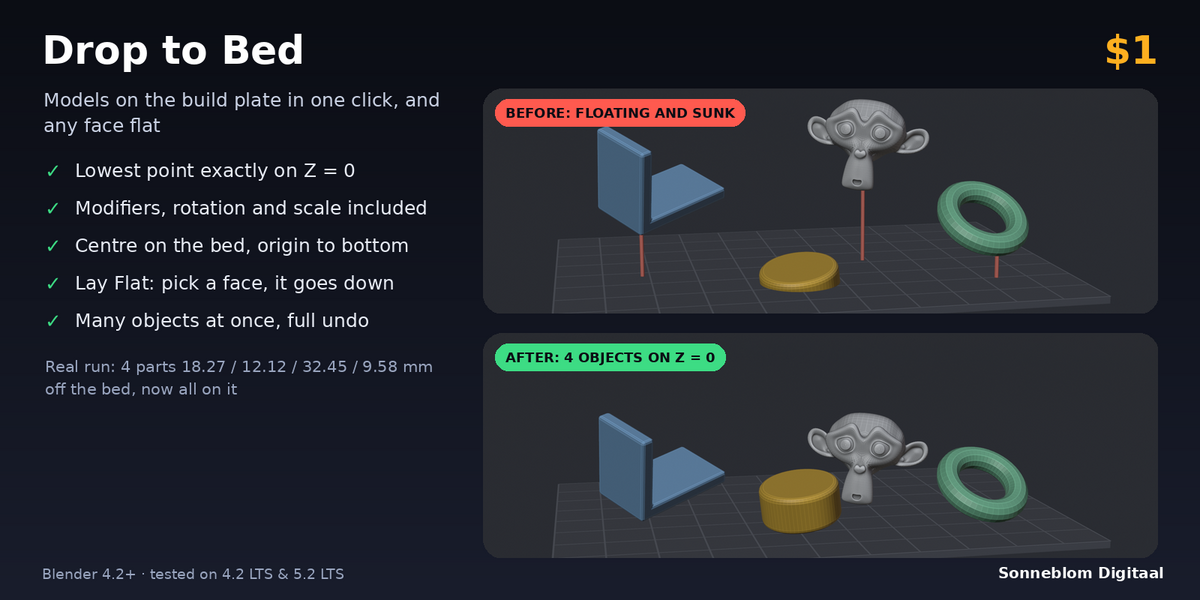
Put models exactly on the build plate (Z = 0), centre them on the bed, set the origin to the bottom centre, and lay any face flat. Blender 4.2 LTS or newer, tested on 4.2 LTS and 5.1 (and 5.2 LTS).
Install
-
Extension zip (recommended):
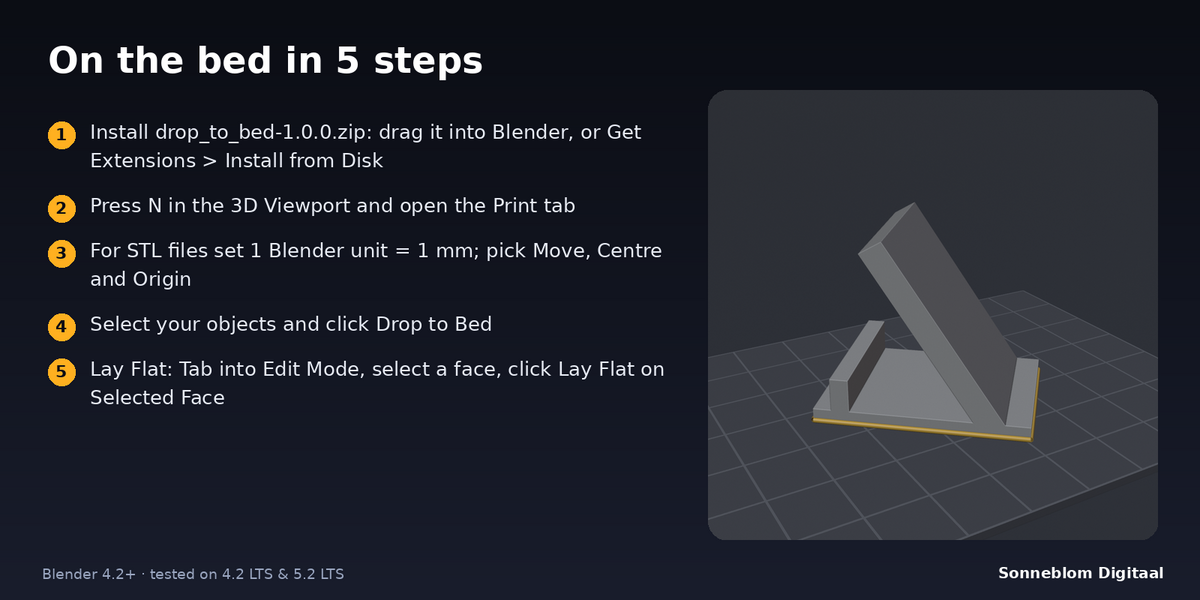
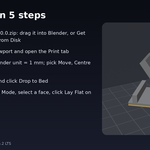
drop_to_bed-1.0.0.zip. Drag it into Blender, or go to Edit > Preferences > Get Extensions, open the drop-down at the top right and choose Install from Disk. -
Legacy zip:
drop_to_bed-1.0.0-legacy.zip. Go to Edit > Preferences > Add-ons > Install from Disk, then tick Drop to Bed.
The panel is in the 3D Viewport sidebar. Press N and open the Print tab. Drop to Bed shares this tab with our other print add-ons.
Drop objects on the bed, step by step
- Import or open your model (File > Import > STL, OBJ or 3MF).
- Set 1 Blender unit =. STL files are almost always in millimetres, so choose 1 mm. The line under it shows how many millimetres one unit is now. This is used for the bed size and the distances in the report.
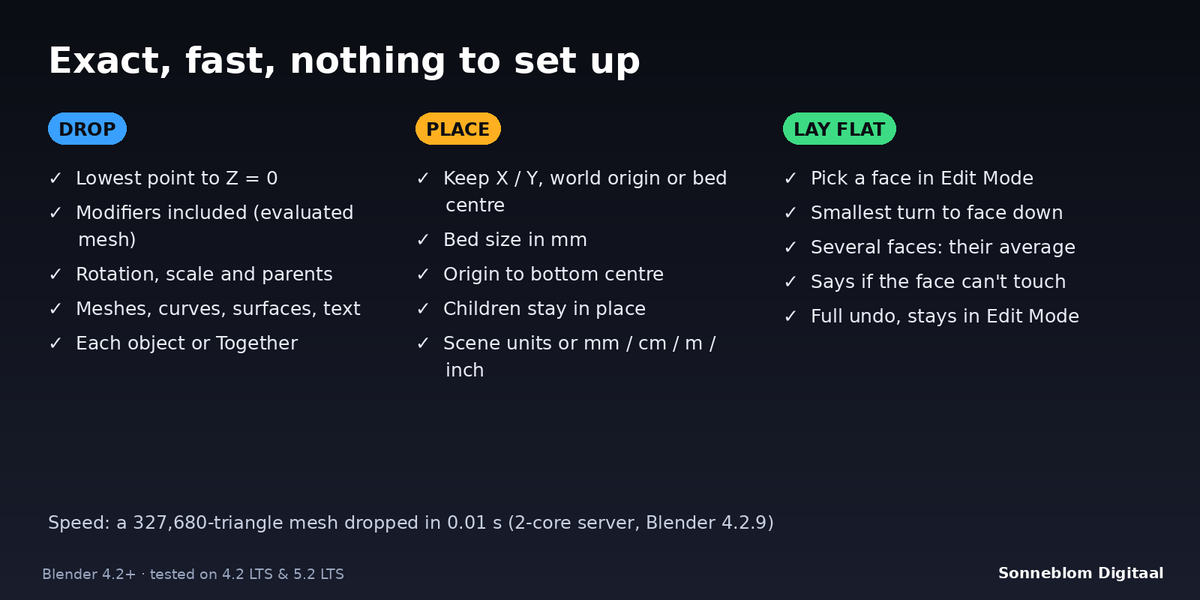
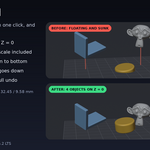
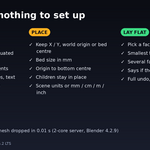
- Choose Move: Each object puts every object on the bed on its own; Together moves the selection as one block, so an assembly keeps its spacing and only its lowest point touches the bed.
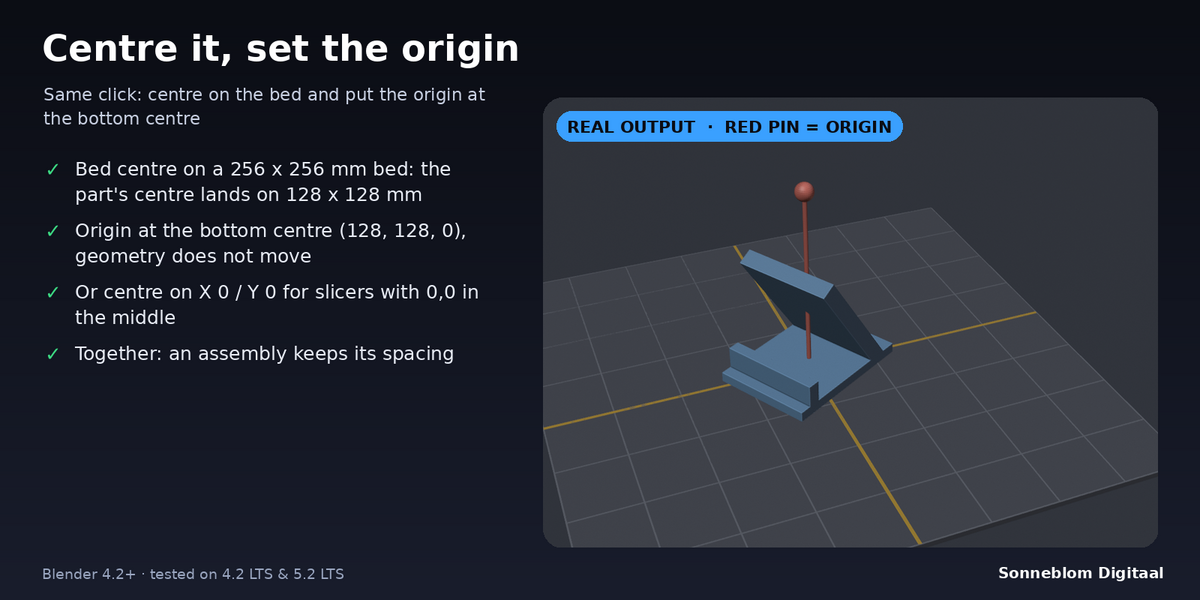
- Choose Centre: Keep X / Y only moves up or down; World origin puts the centre of the bounding box on X 0, Y 0; Bed centre puts it on the middle of a bed whose corner is at 0,0 (enter your bed size in mm).
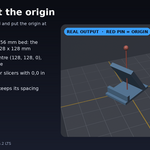
- Choose Origin: Keep origin, or Bottom centre to put the origin under the middle of the object at its lowest point.
- Select the objects and click Drop to Bed. The report under the button (and in the status bar) says what moved and how far, in mm. Ctrl+Z undoes it.
Lay a face flat
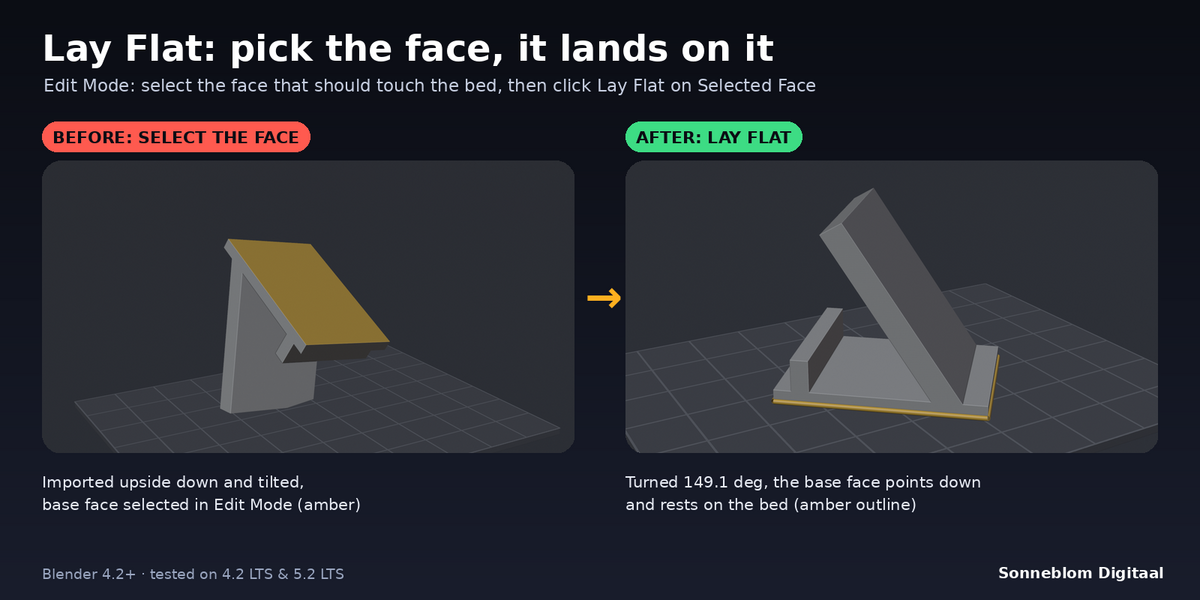
- Select the object and press Tab for Edit Mode. Face select (press 3) is easiest.
- Select the face that should rest on the bed. You can select several faces on the same side: their area-weighted average direction is used.
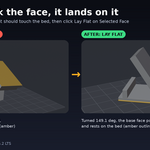
- Click Lay Flat on Selected Face. The object turns (the smallest turn that makes the face point straight down) and is dropped onto the bed, with the same Centre and Origin settings. You stay in Edit Mode.
- If another part of the model reaches lower than the face (a peg, a handle), the object rests on that part and the report says how many mm the face is above the bed.
Settings
| Setting | Default | What it does |
|---|---|---|
| 1 Blender unit = | Auto (scene units) | Auto reads Scene > Units (Blender's default is 1 unit = 1 m; unit scale 0.001 = 1 mm). Or choose 1 mm, 1 cm, 1 m or 1 inch. |
| Move | Each object | Each object on its own, or Together as one block. |
| Centre | Keep X / Y | Keep X / Y, World origin, or Bed centre. |
| Bed X (mm) / Bed Y (mm) | 220 / 220 | Your bed size, only used for Bed centre (shown when it is chosen). |
| Origin | Keep origin | Keep origin, or Bottom centre (geometry does not move). |
How the lowest point is found
The add-on reads the evaluated object, the same shape Blender shows and exports, and turns every vertex into world space with the object's full transform (location, rotation, scale and parents). The lowest of those points goes to Z = 0. For text and curves the final, extruded or bevelled shape is used. Only the location changes, so rotation and scale stay exactly as they were.
Tips
- Export straight after the drop: with Origin set to Bottom centre and Centre on World origin, most slicers place the model in the middle of the bed at the right height.
- For a print plate with many parts, use Each object to put every part down, then arrange them; use Together for parts that must keep their positions.
- Works in Edit Mode too: Drop to Bed includes the edits you have not left Edit Mode for.
Limits
- No cutting, no repair and no automatic orientation search: you pick the face.
- Lay Flat reads the faces of the base mesh in Edit Mode; modifiers that change the shape are still included when the object is dropped.
- Keyframed locations, constraints that set the location, Geometry Nodes instances and collection instances are not handled. Empties, cameras and lights are skipped.
- The origin is only moved for meshes not shared with other objects.
More tools from Sonneblom Digitaal
At the bottom of the panel, the More tools from Sonneblom Digitaal box has a button to Printability Check (our separate add-on that checks if a mesh will slice) and one to all our add-ons. They only open your browser when you click them; the add-on makes no network calls.
Licence
GPL-3.0-or-later. Copyright Sonneblom Digitaal.
Have questions about this product?
Login to message
| Blender Extension Compatible | Yes |
| Published | 1 day ago |
| Blender Version | 4.2 - 5.2 |
| Extension Type | Add-on |
| License | GPL |
Discover more products like this
origin STL print prep transform lay flat 3d printing drop to floor