Dusty
 WillUrquhart3D



1. Applying dust
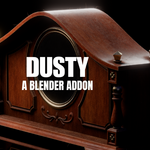
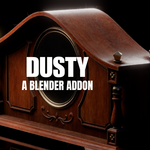
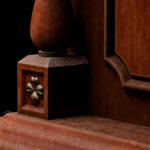
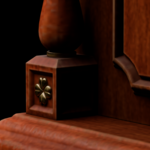
Simple select any object, and click "Dustify" in the dusty panel on the right side of the viewport
2. Shader Controls
A shader node will be added to all materials on the selected objects.
GLOBAL - controls the overall amount of dust
Dustiness - A general control to increase overall dustiness from a base value.
Layering - Adds a second layer of dust over top. Can be used to smooth the dust look or to make it more splotchy.
Slope Influence - Controls how much the slope of an object effects dust. Higher values cause dust to not appear on sharper slopes
Slope Tolerance - used to control how much dust can build up on a slope regardless of the slope influence. Use this to add a micro buildup of dust on slopes for added realism.
Accumulation - causes dust to buildup and clump together around rounded edges of objects.
3. Geometry Nodes Controls
A shader node modifier will be added to all selected objects.
Seed - Controls the seed value when distributing hairs on object.
Resolution - Controls the amount of distance between hair segments. Lower values will have more geometry.
Amount - Controls the amount of a hairs distributed on an object.
Length - Controls how long each hair can be. Shorter hairs require a lower resolution distance.
Frizz - controls how much hairs curl outward.
Have questions about this product?
Login to message
| Blender Extension Compatible | Yes |
| Sales | 10+ |
| Published | 10 months ago |
| Blender Version | 4.2 - 5.0 |
| Extension Type | Add-on |
| Render Engine Used | Cycles, Eevee |
| License | GPL |

Discover more products like this
geomtery nodes best procedural nodes Node Shader 3d dust procedural