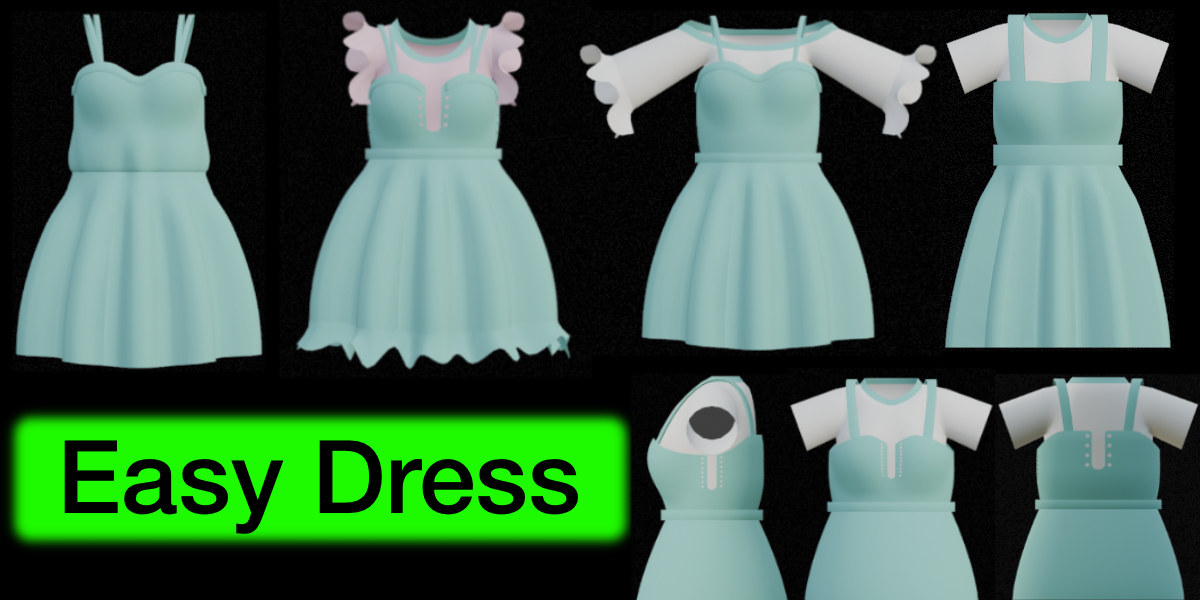
Easy Dress
 Onion365studio
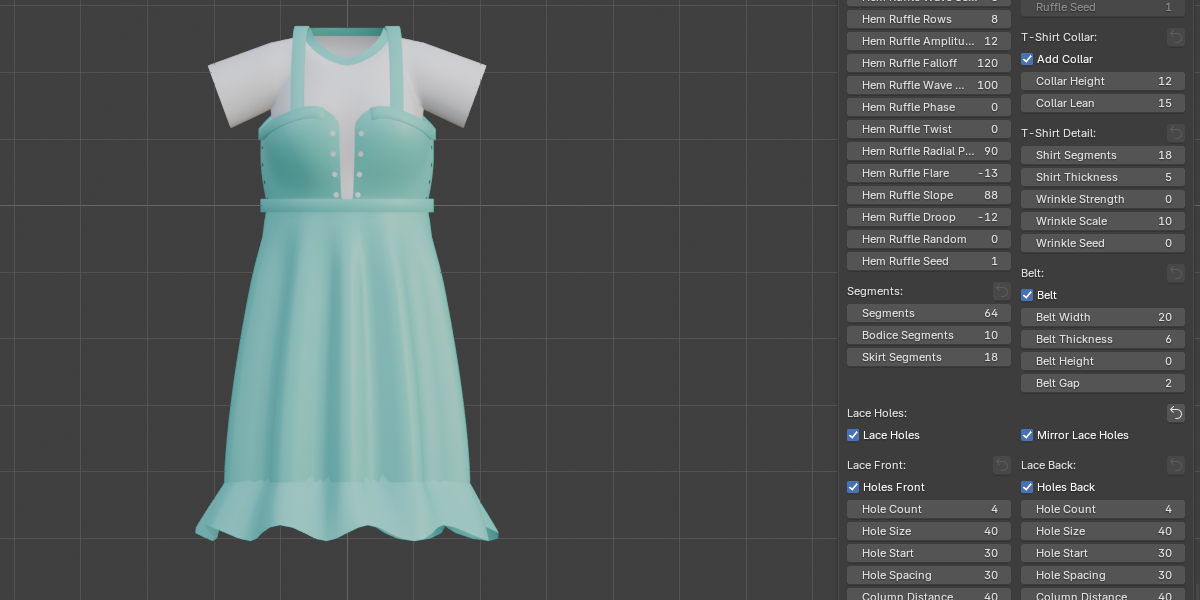
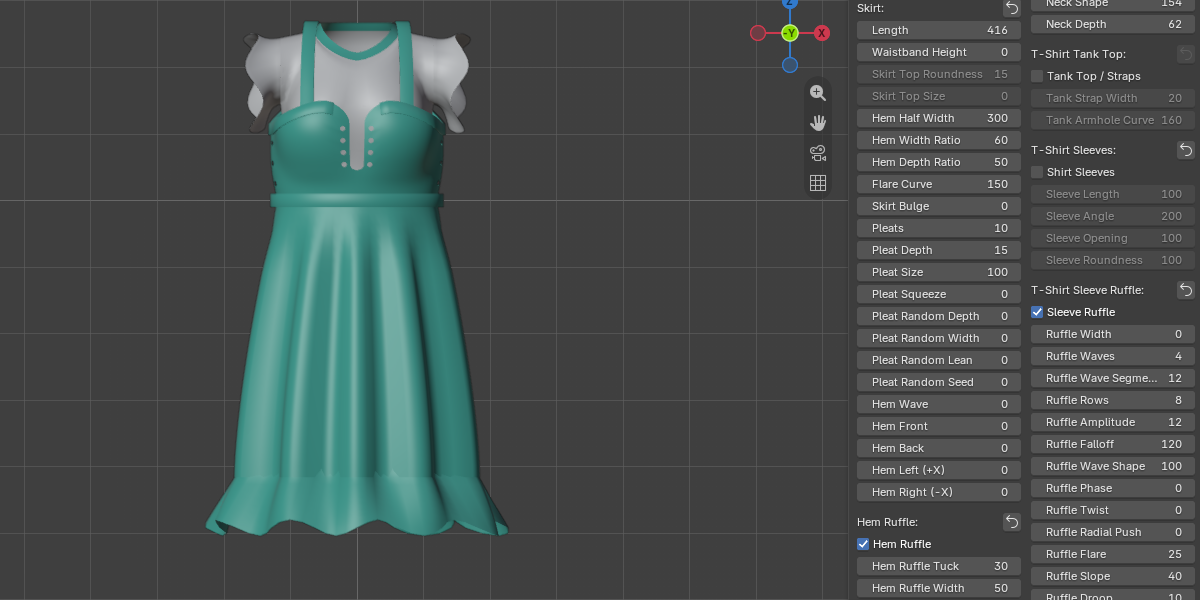
Documentation
Installation
- In Blender, open Edit > Preferences > Add-ons.
- Open the small arrow menu at the top right and choose Install from Disk.
- Select the downloaded
.zipfile, then make sure Easy Dress is ticked. - Open the 3D Viewport, press N, and click the Easy Dress tab.
Quick start
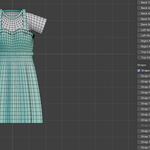
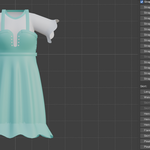
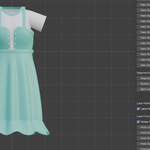
- Click Add Dress. A dress with a matching T-shirt appears at the 3D cursor.
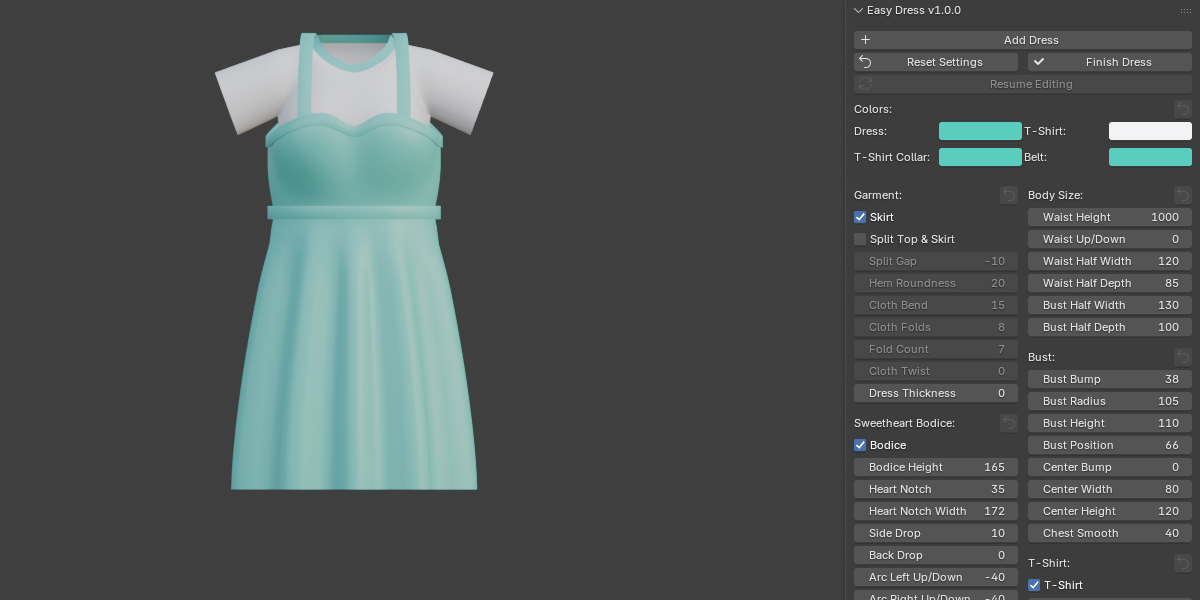
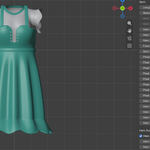
- Adjust the sliders. The mesh rebuilds live. Use the color pickers at the top of the panel for the dress, T-shirt, collar and belt.
- Click Reset Settings at any time to return the selected dress to its defaults.
- Click Finish Dress when you are done. Live editing stops, the mesh becomes a normal object, UV seams are marked and the UVs are unwrapped.
- Resume Editing turns live editing back on. The mesh is regenerated, so manual edits made after finishing are lost.
The panel
- Garment, Body Size, Bust: turn parts on or off, set the waist and bust size, shape the bust, split the top from the skirt, and give the dress a wall thickness.
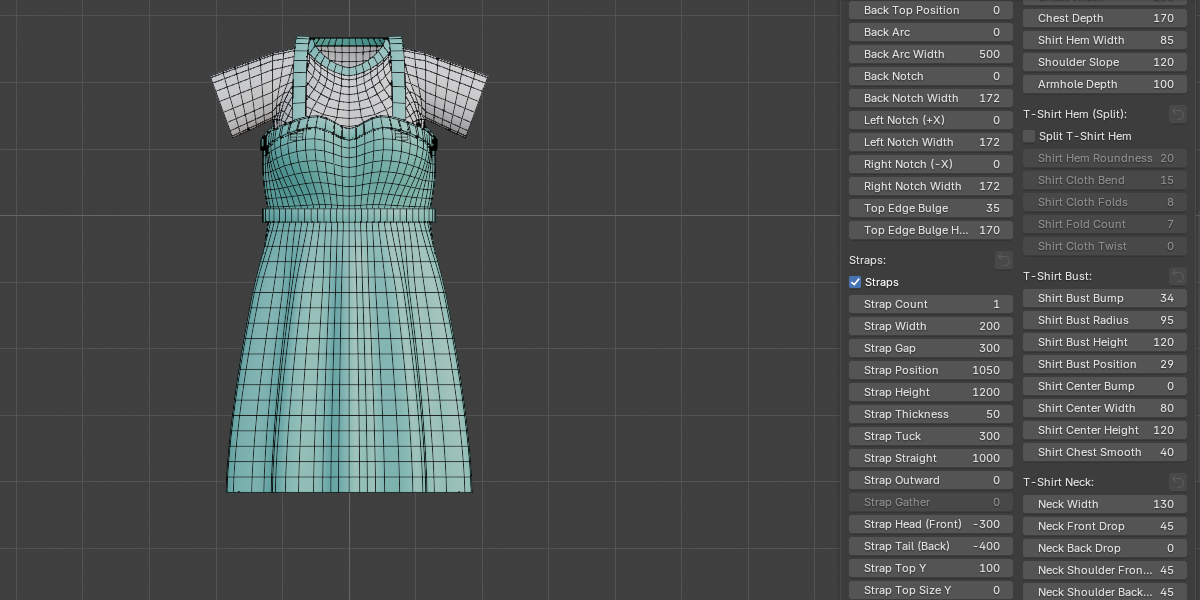
- Sweetheart Bodice: the shape of the top edge (notch, arcs, side and back drop) and the thickened top edge band.
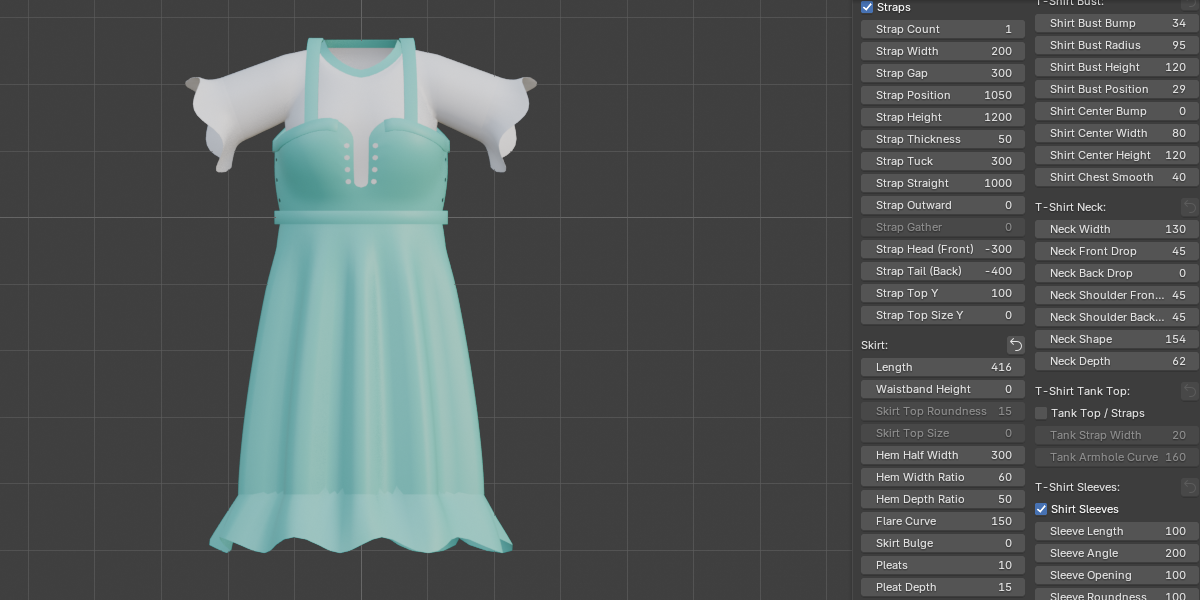
- Straps: count, width, height, tuck, and how the straps lean (Strap Straight and Strap Outward).
- Skirt and Hem Ruffle: length, flare, pleats, hem shape, and a wavy ruffle around the hem.
- Lace Holes: eyelets at the front, back and sides, with their own settings for each place.
- Belt: a band that follows the cloth around the waist.
- T-Shirt groups: body, hem, bust, neck, tank top, sleeves, sleeve ruffle, collar and wrinkles.
- Segments: mesh density around the dress, in the bodice and in the skirt.
Tips
- Hover over any slider to read what it does.
- Settings that do not apply right now are greyed out, for example the strap sliders while Straps is off.
- The sliders move in small fixed steps. The tooltip shows the step size, and a number you type is counted in steps.
- Use enough Segments for pleats: about 4 per pleat, and about 10 per pleat when you use Pleat Squeeze.
- The sliders are locked while you are in Edit Mode.
Easy Lacing
FAQ
Does it include a character?
No. Easy Dress makes the clothes only. Match the Body Size sliders (waist height, waist and bust width and depth) to your own character, then adjust the rest.
Is it rigged?
No. After Finish Dress the dress is a normal mesh, so you can use Blender’s usual rigging and weight tools on it.
Can I edit the mesh by hand?
Yes, after you click Finish Dress. While live editing is on the sliders rebuild the mesh, so hand edits would be replaced. Resume Editing also discards them.
Why are some sliders greyed out?
The feature they belong to is switched off, for example Straps, Hem Ruffle, T-Shirt, Lace Holes or Tank Top.
Why do my pleats look rough?
Raise Segments. About 4 per pleat is the minimum, and Pleat Squeeze looks best with about 10 per pleat.
The T-shirt pokes through the dress. What do I do?
Keep the T-shirt’s Chest Width and Chest Depth a bit smaller than the dress’s Bust Half Width and Bust Half Depth.
My lace holes do not show up.
Check that Lace Holes and the place you want (front, back, left or right) are both on. Holes that do not fit are left out, and more Segments allow smaller holes that sit closer together. Open Window also needs a Column Distance above 0.
Can I use the Belt and Split Top & Skirt together?
No. Turning one on turns the other off.
Are textures included?
No. The dress uses four simple colored material slots (dress, shirt, collar, belt). Replace them with your own materials, and use the UVs from Finish Dress for textures.
Have questions about this product?
Login to message
| Blender Extension Compatible | Yes |
| Dev Fund Contributor | |
| Published | about 6 hours ago |
| Blender Version | 5.2 |
| Extension Type | Add-on |
| Render Engine Used | Cycles, Eevee |
| License | GPL |