Easy Hair
 Onion365studio
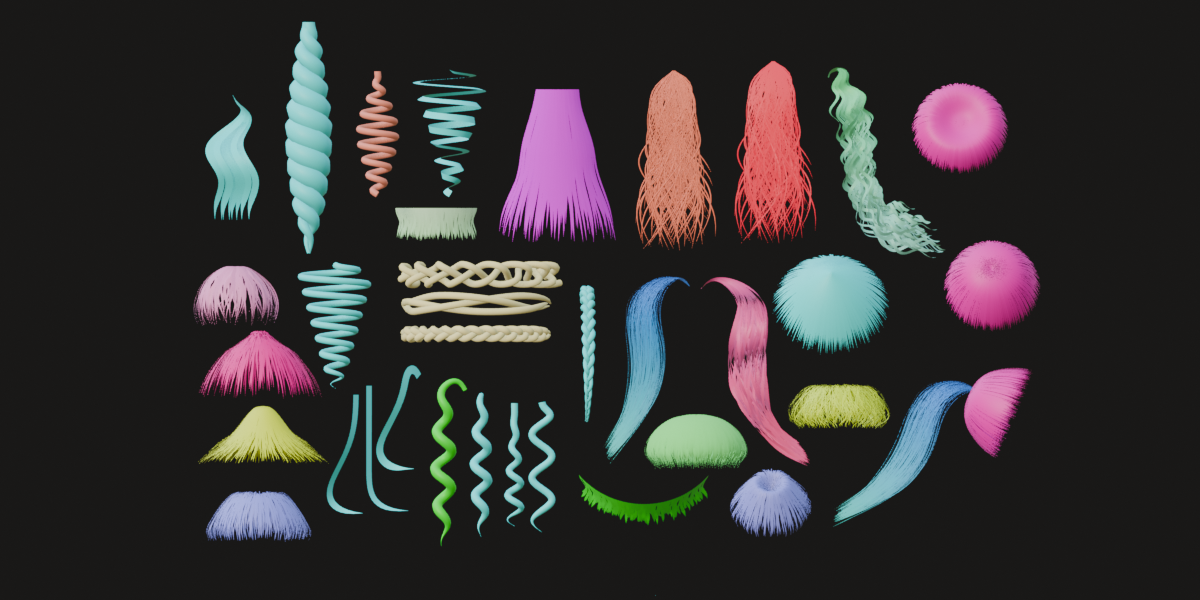
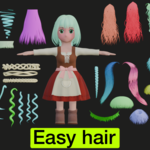
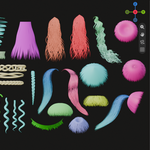
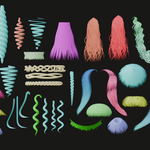
Easy Hair Documentation
Installation
Easy Hair requires Blender 5.2 or newer. Open Edit > Preferences > Add-ons, choose Install from Disk from the drop-down menu at the top right of the Add-ons list, select the downloaded file and enable Easy Hair. The panel lives in the 3D Viewport: press N and open the Easy Hair tab.
Quick Start
Place the 3D cursor where the hair should start. Pick a style and a strand shape, then click Generate Hair. The new hair is selected automatically, and every slider you move from now on rebuilds that hair live. When you are happy with it, click Convert to Mesh.
The Panel at a Glance
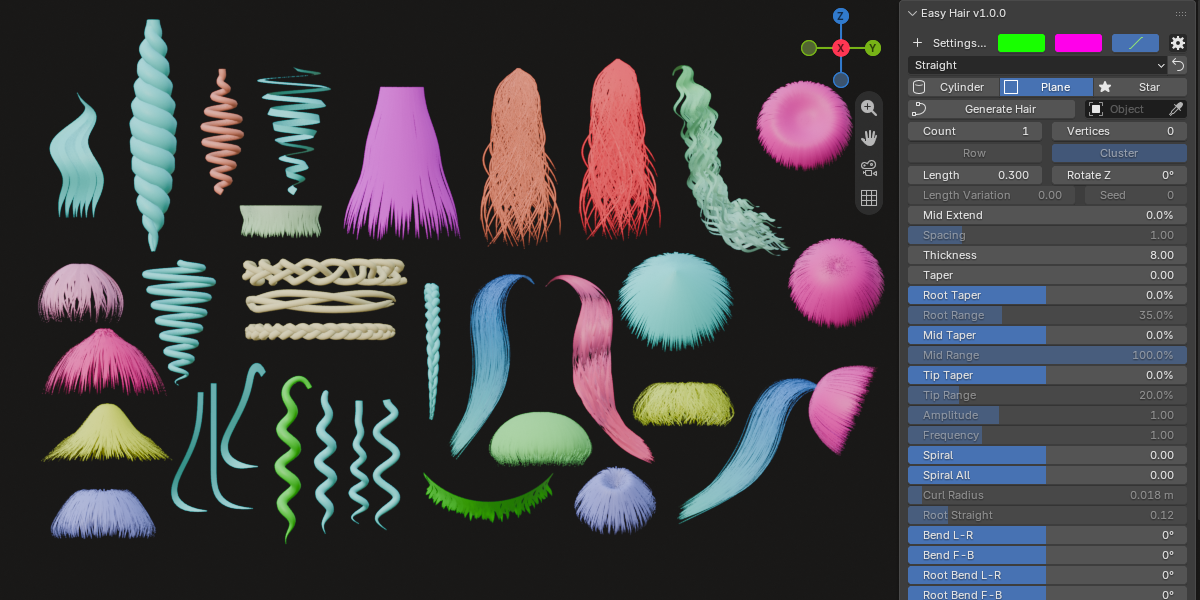
The top line tells you what the sliders are editing. With no hair selected it reads “Settings for the next hair”: the sliders prepare the next hair you generate. With a generated hair selected it reads “Editing: Hair_Name”: the sliders change that hair only.
Next to the label are the Color swatch, the Color 2 swatch and the Gradient button, followed by a gear button that opens the Convert to Mesh options. Below them are the Style dropdown with the Reset Sliders button, the three shape buttons (Cylinder, Plane, Star), the Generate Hair button with the Custom Curve field, and then all the sliders.
Sliders that do not apply to the current style or hair count are greyed out. In Edit Mode all sliders are disabled; exit Edit Mode to use them.
Colors and Gradient
Color is the hair color. With Gradient switched on, Color is the color at the root (top) and Color 2 is the color at the tip (bottom), and the hair fades smoothly between them. With Gradient switched off, the hair is one solid color. By default Color is pink, Color 2 is teal green and Gradient is on.
Each hair has its own material, so changing the color of one hair never changes another. In Solid shading the viewport shows Color; the gradient is visible in Material Preview and Rendered shading. The gradient uses the hair’s own height, so it needs no UV map and keeps working after Convert to Mesh.
Styles
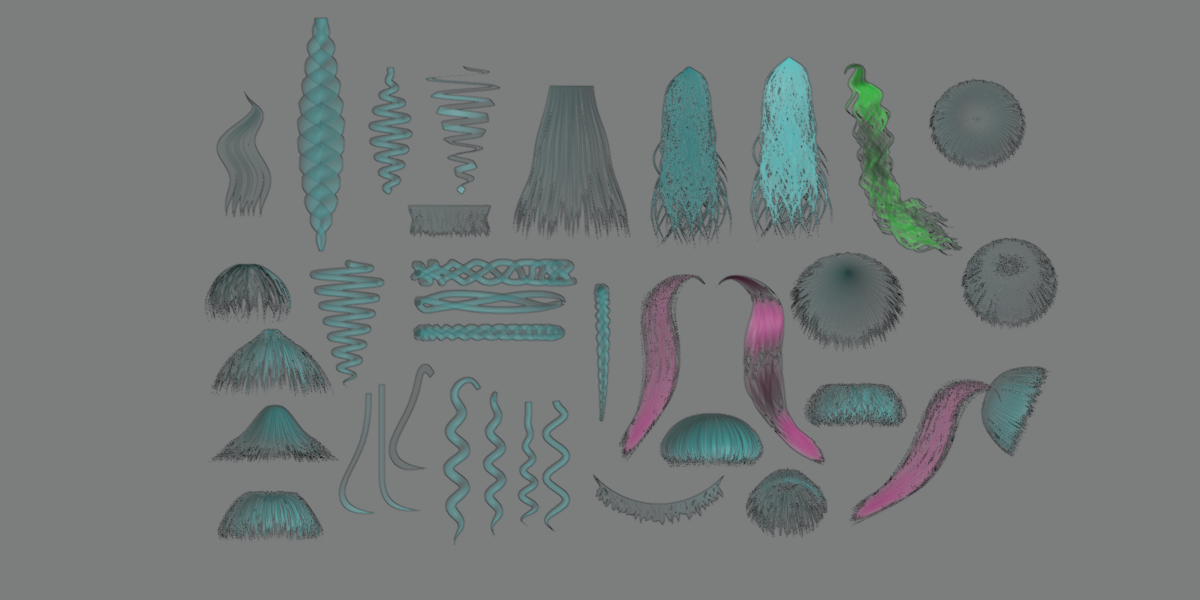
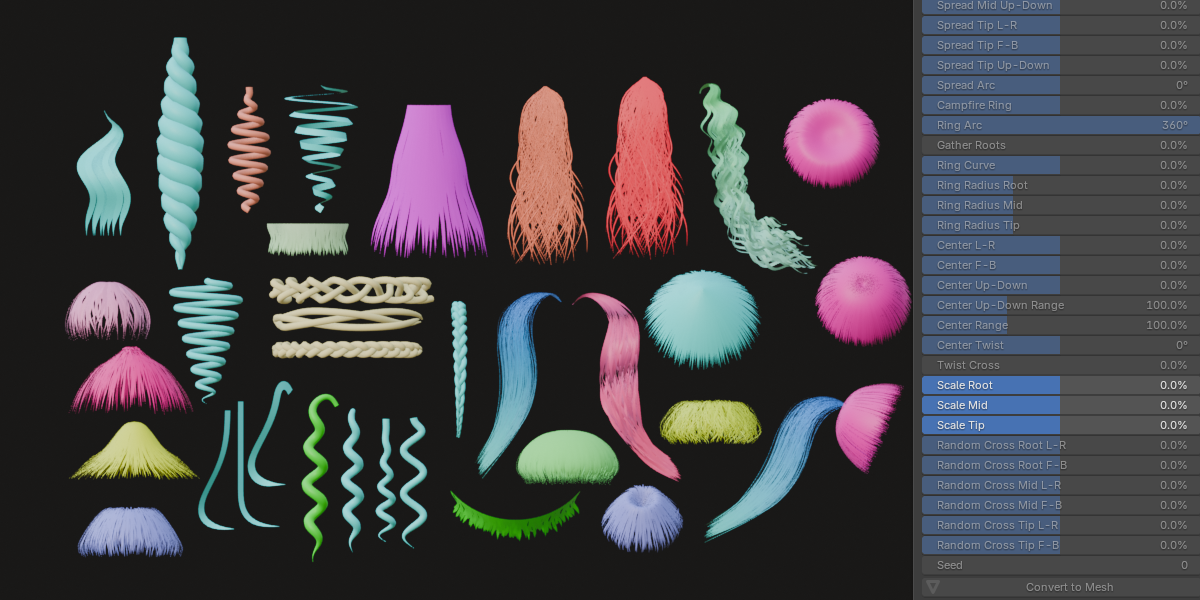
Straight: plain strands, with optional Spiral controls.
Wavy: a side-to-side wave along the hair.
Spiral Curl: a corkscrew curl.
Cone Spiral: a corkscrew that tightens toward the tip.
Two-Strand Twist: two strands wound around each other.
Braid: three strands braided together.
Switching style loads that style’s default Curl Radius and Taper, then rebuilds the hair.
Shapes
Cylinder: round strands.
Plane: flat ribbons.
Star: five-pointed star cross-section.
For a shape of your own, draw a curve in the XY plane and pick it in the Custom Curve field. It is centered and scaled so that its longer side is twice the Thickness. Click Cylinder, Plane or Star to remove the custom curve again.
Basic Settings
Count: number of hairs, from 1 to 8000.
Layout: where new hairs go when Count goes up. Row adds them to the left and right of the first hair; Cluster fills a round cluster around it. Needs Count above 1.
Vertices: number of control points along each hair. More gives smoother curves. 0 means automatic, based on the style.
Length: hair length in Blender units.
Rotate Z: turns the whole hair around the vertical axis through the root, a full 360 degrees. Bends, root bends, the row of hairs and the curls all turn together.
Length Variation: makes hairs different lengths. 0 means all the same, 1 means lengths vary from full length down to almost nothing. Needs Count above 1.
Seed: random seed for Length Variation. Change it for a different mix of lengths.
Mid Extend: makes the hair longer from the middle only. The root part and the tip part keep their shape and size. 100 percent makes the hair twice as long.
Spacing: distance between neighbouring roots as a multiple of the default. 1 is just clear of each other, 0 puts all roots on the same spot. Needs Count above 1.
Thickness: hair thickness in millimetres.
Taper
Taper: how much the hair thins toward the tip.
Root Taper, Mid Taper, Tip Taper: change the thickness at the root, the middle or the tip. 0 means no change, +100 makes that spot a needle point, and -100 makes it twice as thick. They work on top of Taper.
Root Range, Mid Range, Tip Range: how much of the hair each of those tapers covers. 100 percent is the whole hair, smaller values only the part near the root, the middle or the tip. These are only active when the matching taper is not 0. A small range needs more Vertices to stay smooth.
Style Controls
Amplitude: size of the sway for Twist and Braid. 0 is straight.
Frequency: number of waves, curls or twists along the hair.
Spiral: Straight style only. Winds each hair into a spiral with this many turns. Negative values turn the other way.
Spiral All: Straight style only. Spirals the whole bundle as one piece around its middle. Flat Plane ribbons turn with it. With Curl Radius at 0 the bundle simply twists like a rope.
Curl Radius: radius of the curls, or the side-to-side swing for Wavy. Also sets the radius of Spiral.
Root Straight: how much of the hair, counted from the root, the curl fades in over, so the root stays put. 0 means full-size curl from the very root.
Bending
Bend L-R and Bend F-B: bend the whole hair left or right, front or back, along an arc. The length stays the same.
Root Bend L-R and F-B: tilt the hair at the root. The tilt fades out over the first part of the hair, which then hangs down as usual.
Mid Bend L-R and F-B: bend the middle of the hair. It is strongest in the middle and fades toward the root and tip.
Tip Bend L-R and F-B: bend the tip. The bend fades in over the last part of the hair.
Root Lift: flips the part of each hair next to the root up and out before it falls down. 90 degrees points sideways, more points up.
Lift Range: how much of the hair, counted from the root, Root Lift covers.
Lift Direction: the horizontal direction every hair flips toward, as an angle seen from above. 0 is +X, 90 is +Y, -90 is -Y and 180 is -X.
Lift Range and Lift Direction are only active when Root Lift is above 0.
Spreading Several Hairs
Spread Root, Spread Mid and Spread Tip each have L-R, F-B and Up-Down sliders. They push the hairs apart at the root, the middle or the tip, in percent of the hair length, from -100 to 100. With Up-Down, the middle hair stays in place while the outer hairs move up (positive, like a dish) or down (negative, like a dome).
Spread Arc: bends the row or cluster of hairs around the vertical axis into an arc. 0 is straight and 360 degrees is a closed ring. Flat ribbons and stars turn to follow the arc.
All Spread sliders need Count above 1.
Campfire Ring
Campfire Ring lays the hairs down on the ground in a ring, like firewood around a campfire. It needs Count above 1.
Campfire Ring: 0 is off and the hairs hang down. Raising it lays them down gradually. At 100 the whole ring lies flat with every tip pointing at the middle. Negative values lay them down the other way, as a flat star.
Ring Arc: how much of the circle the ring covers. 360 is the whole ring; smaller values make a fan or horseshoe.
Gather Roots: slides all roots toward the middle while the hairs turn around their roots like a pinwheel. At 100 every root sits in the center and the hairs point outward like sun rays.
Ring Curve: bends the hairs of the ring up (positive, a mound) or down (negative, a nest).
Ring Radius Root, Mid and Tip: make the ring wider (positive) or narrower (negative) at the root end, the middle or the tip end of the hairs.
Center L-R, Center F-B and Center Up-Down: push the middle of the ring sideways, front or back, or bulge it up or dent it down, with a soft falloff toward the edge.
Center Range and Center Up-Down Range: how far from the middle those pushes reach. Small values make a sharp bump or pit, large values move the whole ring.
Center Twist: turns the middle of the ring around the vertical axis like a drill bit, winding the hairs into a whirlpool.
Twist Cross: makes neighbouring hairs turn against each other in Center Twist, so they cross like a woven basket.
Scale
Scale Root, Scale Mid and Scale Tip make the whole bundle smaller (negative) or bigger (positive) at the root, the middle or the tip. The distances between hairs and the thickness of every hair change together, like one lock getting narrower or wider. The length stays the same.
Random Cross
Random Cross Root, Mid and Tip (each with L-R and F-B) let the hairs wander sideways at random so they cross each other. 0 means no crossing; at 100 percent a hair can wander up to one hair length. A negative value gives the same tangle mirrored. The root point itself always stays where it is. Seed gives a different tangle. Needs Count above 1.
Reset Sliders
The circular arrow button next to the Style dropdown sets every slider back to its default. Style, shape, layout, colors and Custom Curve are kept. With a hair selected it resets that hair; with nothing selected it resets the settings for the next hair.
Convert to Mesh
Convert to Mesh turns the selected hairs into normal mesh objects. After converting, the sliders no longer work on them, so keep a copy of the hair if you may want to change it later. While it works, the button turns into a progress bar, and Esc stops it.
The gear button next to the color swatches opens two options, both on by default:
Mark Seams on Convert: marks UV seams on every strand, one line along its length plus a ring at both ends of round and star hairs.
Unwrap UV + Follow Active Quads: unwraps the UVs and lays every strand out as a straight, upright strip with the root at the bottom, never bent by taper, curl or twist. Seams are marked automatically for this, even if Mark Seams on Convert is off. With many hundreds of strands this can take a while; switch it off if you only need the mesh.
Working With Several Hairs
Each generated hair is a normal curve object named after its style, for example Hair_Braid. Its cross-section is a hidden helper object parented to it, so please do not delete it. The hair starts at the 3D cursor position.
Click a hair to edit it: the panel shows that hair’s own settings. Duplicating a hair with Shift+D or Alt+D gives the copy its own curve, cross-section and material, so editing one never changes the other. You can also move, rotate and scale hairs like any other object.
Moving a slider rebuilds the hair from its settings, so any point you edited by hand in Edit Mode will be replaced. Finish with the sliders first, or convert to a mesh before hand-editing.
Easy Hair FAQ
Which Blender versions does Easy Hair support?
Easy Hair is built for Blender 5.2 and newer. Older versions are not supported.
Is this Blender’s particle hair or the new hair curves system?
No. Easy Hair generates geometry-based hair: ordinary curve objects with a bevel, which become normal meshes when you convert them. It is made for stylized strands and locks (anime, cartoon, toy and game-style characters). It does not simulate physics and it does not use particle systems or Geometry Nodes hair curves.
Does it work with Cycles and EEVEE?
Yes. Hairs use a standard Principled BSDF material, so they render in both engines. The root-to-tip gradient is visible in Material Preview and Rendered shading; Solid shading shows the Color only.
Where does the hair appear?
At the 3D cursor. Move the cursor first, then click Generate Hair.
How do I make a second hair with the same settings as the first?
Select the first hair, then click Generate Hair. The new hair starts with the selected hair’s settings and appears at the 3D cursor. You can also duplicate a hair with Shift+D; the copy gets its own curve, cross-section and material, so editing one never changes the other.
Why do the sliders say “Settings for the next hair”?
Nothing is selected, so the sliders are setting up the next hair you generate. Select a generated hair and the label changes to “Editing:” followed by its name; the sliders then change that hair.
Why are some sliders greyed out?
A slider is greyed out when it does not apply. Amplitude only works for Two-Strand Twist and Braid. Spiral and Spiral All only work for Straight. Frequency needs a style with waves, curls or twists. The Range sliders and Lift Direction need their main slider to be above 0. Layout, Spacing, Length Variation, Spread, Campfire, Center and Random Cross need Count above 1. In Edit Mode every slider is disabled.
Can I use my own hair shape?
Yes. Draw a curve in the XY plane and pick it in the Custom Curve field. It is centered and scaled so its longer side is twice the Thickness. Click Cylinder, Plane or Star to go back to a built-in shape.
How many hairs can I generate at once?
Up to 8000 with the Count slider. Very high counts take longer to update when you move a slider, and Convert to Mesh with UV unwrapping takes longer the more strands you have.
I edited the curve points by hand and my changes disappeared. Why?
Moving a slider rebuilds the hair from its settings, which replaces hand-edited points. Finish your slider adjustments first, then convert to a mesh and edit the mesh by hand.
The sliders stopped working on my hair. What happened?
Either the hair has been converted to a mesh (a converted hair is a normal mesh and has no sliders any more), or it is not selected. If you converted by accident, press Ctrl+Z right away. It is a good habit to keep a copy of a hair you might want to change later.
What exactly does Convert to Mesh convert?
The selected hairs, plus the active hair (the one shown after “Editing:” in the panel), even if it is not selected. The hidden cross-section helper objects are cleaned up automatically once nothing uses them any more.
Convert to Mesh is slow. Can I speed it up?
Open the gear popup next to the color swatches and switch off Unwrap UV + Follow Active Quads. Mark Seams on Convert is much lighter. Press Esc to stop a conversion that is already running.
Can I use the hair in a game engine or export it as FBX or glTF?
Yes. After Convert to Mesh the hairs are regular mesh objects, and with the unwrap option on, every strand has a straight, upright UV strip with the root at the bottom. Please note that the root-to-tip gradient is made with shader nodes (it reads the hair’s own height), which most game engines and export formats do not read. For a game, bake the gradient to a texture, or paint a gradient texture along the UV strips.
Can I change the color after generating?
Yes, at any time while the hair is still a curve. Each hair has its own material, so changing one hair never changes another. If you edit the material in the Shader Editor, remember that changing Color or Color 2 in the panel writes the Base Color and the gradient again.
Does it need an internet connection, and which systems does it run on?
No internet connection is needed. Easy Hair is pure Python, so it runs wherever Blender 5.2 or newer runs: Windows, macOS and Linux.
Have questions about this product?
Login to message
| Blender Extension Compatible | Yes |
| Dev Fund Contributor | |
| Published | 1 day ago |
| Blender Version | 5.2 |
| Extension Type | Add-on |
| Render Engine Used | Cycles, Eevee |
| License | GPL |
Discover more products like this
hair-strands character hair cartoon-hair anime-hair-maker hair-generator Quick-Hair stylized-hair hair-maker hair-gen anime hair easy hair generate-hair