Easy Lacing
 Onion365studio
Documentation
Installation
- Download the zip file from your Blender Market library. Do not unzip it.
- In Blender, open Edit > Preferences > Add-ons.
- Choose Install from Disk, select the zip file, then enable Easy Lacing.
- Open the 3D Viewport, press N and click the Easy Lacing tab.
Preparing Your Mesh
- You need two rows of eyelet holes, one on each side of the opening.
- The two rows can have a different number of holes. The lace skips the missing eyelet.
- The Mirror X option works best when the mesh is symmetric around local X = 0.
Marking the Holes
- Enter Edit Mode and select the area (faces or vertices) around one eyelet hole, or a line of two or more connected edges.
- Click Hole Marking. The border of your selection becomes a green line. Each green loop counts as one hole.
- Turn on Mirror X to mark the matching edges on the other side at the same time.
- Click the select icon next to Hole Marking to select all marked edges.
- Clear Line removes the green lines inside your selection. The trash icon clears all green lines on the mesh.
- The eye icon shows or hides the green lines in the viewport.
- A line on the back side of the mesh needs X-ray turned on before you can clear it.
Generating the Lace
- Click Generate Lace. The lace starts with a bar across the lowest pair of holes, and the bow goes on the end that is higher in world Z.
- If the mesh has several separate sets of holes, for example two shoes, each set gets its own lace.
- After generating, the settings update the lace live. Clicking Generate Lace again replaces the previous lace of that mesh.
- Remove Lace (the trash icon next to Generate) deletes the generated lace.
- Reset Settings (the icon in the Hole Lines row) restores all settings to default.
Lacing Styles
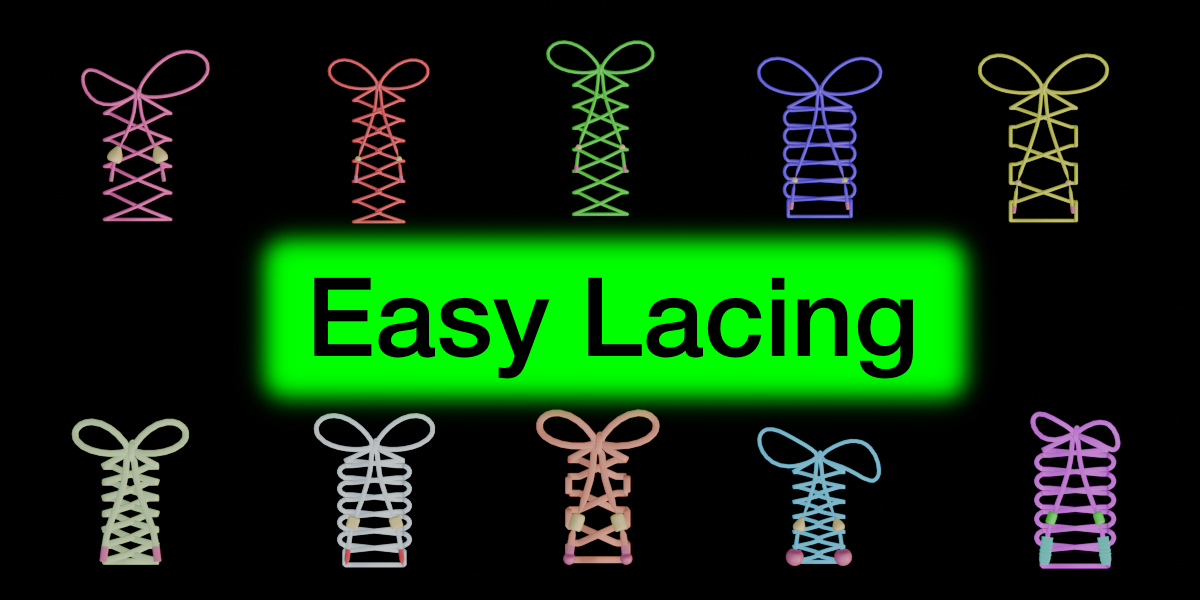
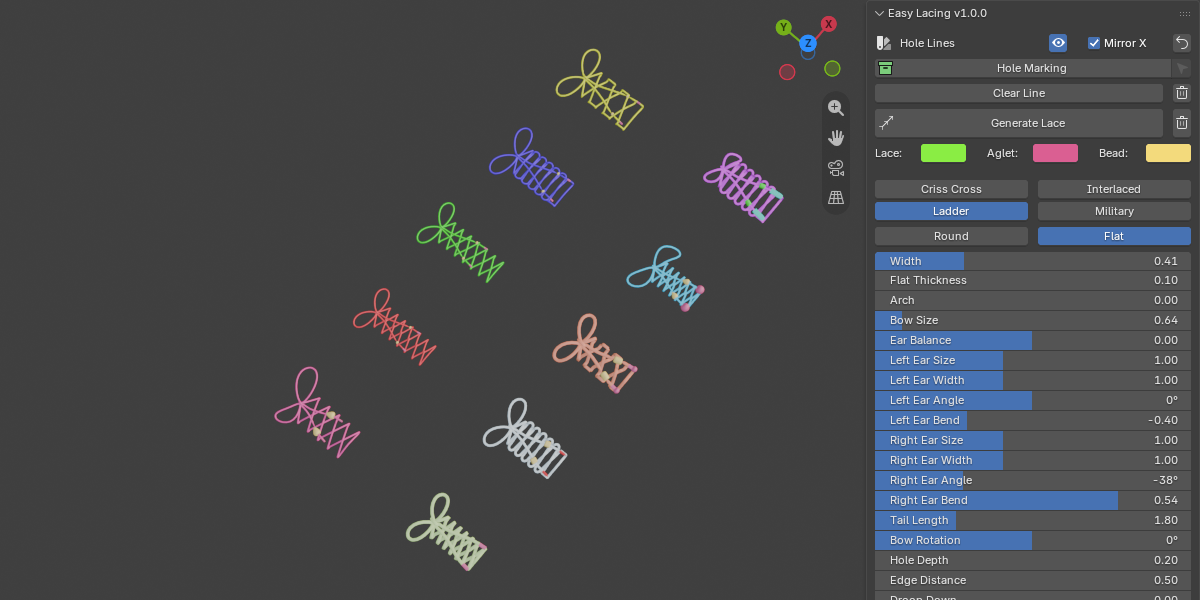
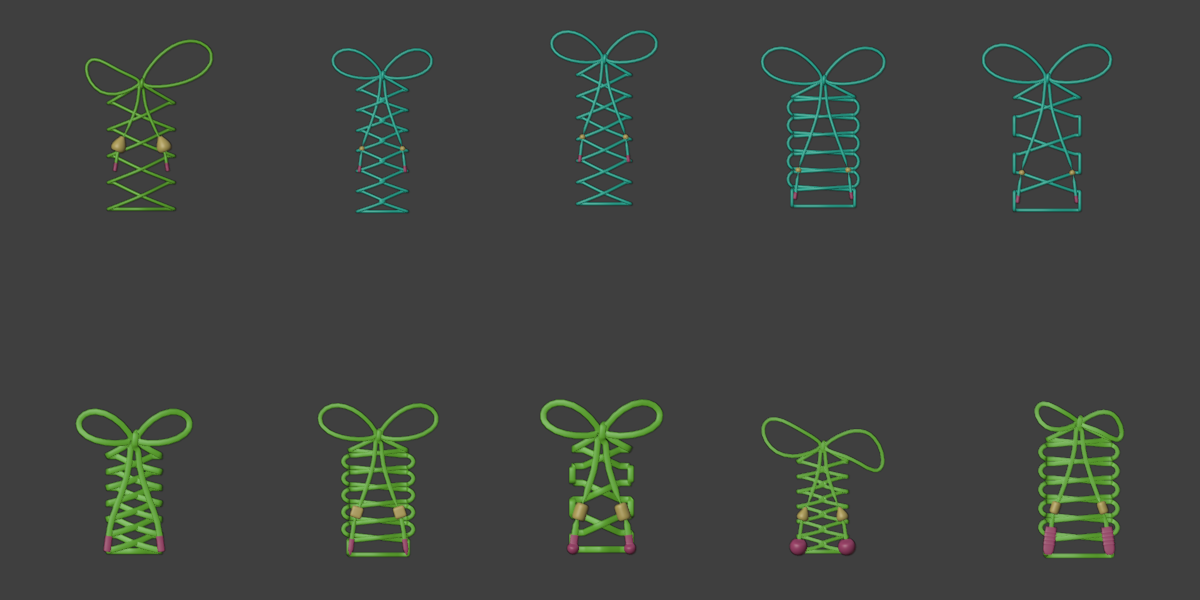
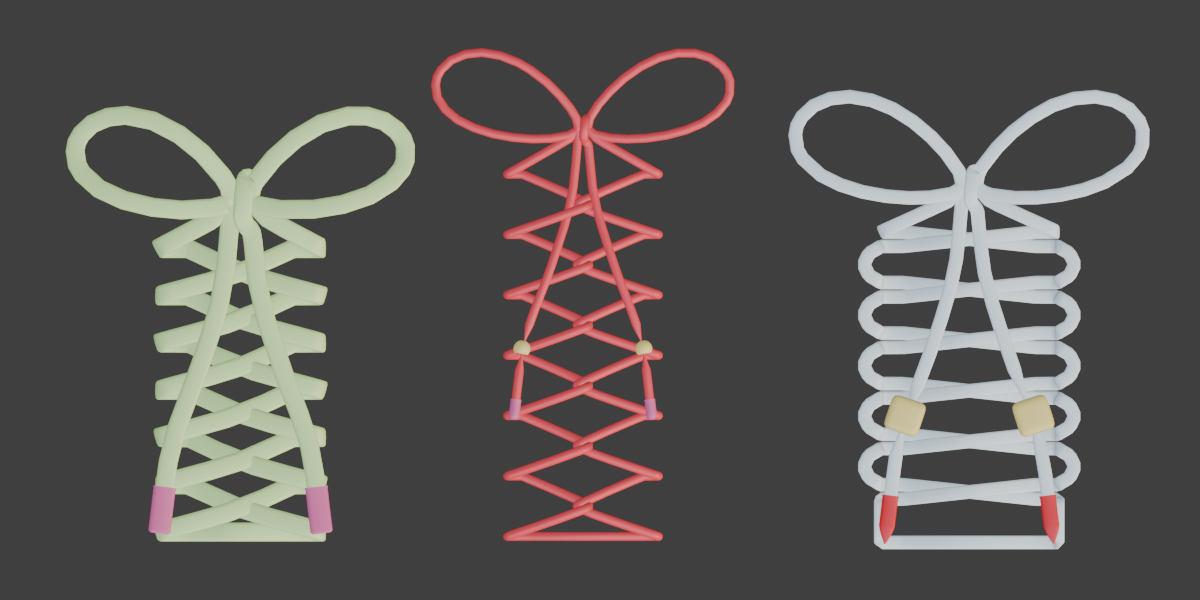
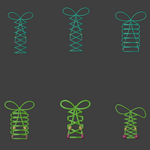
- Choose between Criss Cross, Weave, Ladder and Military.
Lace Shape and Size
- Round makes a round lace. Thickness sets the lace radius as a fraction of the hole radius. Keep it below 1 or the lace will not fit the hole.
- Flat makes a flat ribbon lace. Width sets how wide it is, and Flat Thickness sets how thick it is compared to its width (0.3 is a thin ribbon, 1 is as thick as wide).
- Arch lifts the crossings between the two rows. Use it on a curved foot or body.
Bow
- Bow Size sets the length of each loop, and Tail Length sets the length of the two tails.
- Bow Rotation turns the whole bow around the knot.
- Ear Balance makes one loop bigger and the other smaller.
- Left and Right Ear Size, Width, Angle and Bend shape each loop separately.
- Droop Down makes the loops sag toward the surface. Droop Up lifts them away from it.
- Flip moves the bow to the other end of the holes.
Hole Placement
- Hole Depth sets how far the lace runs straight through each hole, measured in hole radii.
- Edge Distance sets where the lace dives under the flap beside a hole, measured in hole radii toward the tongue.
End Knots and Hollow Beads
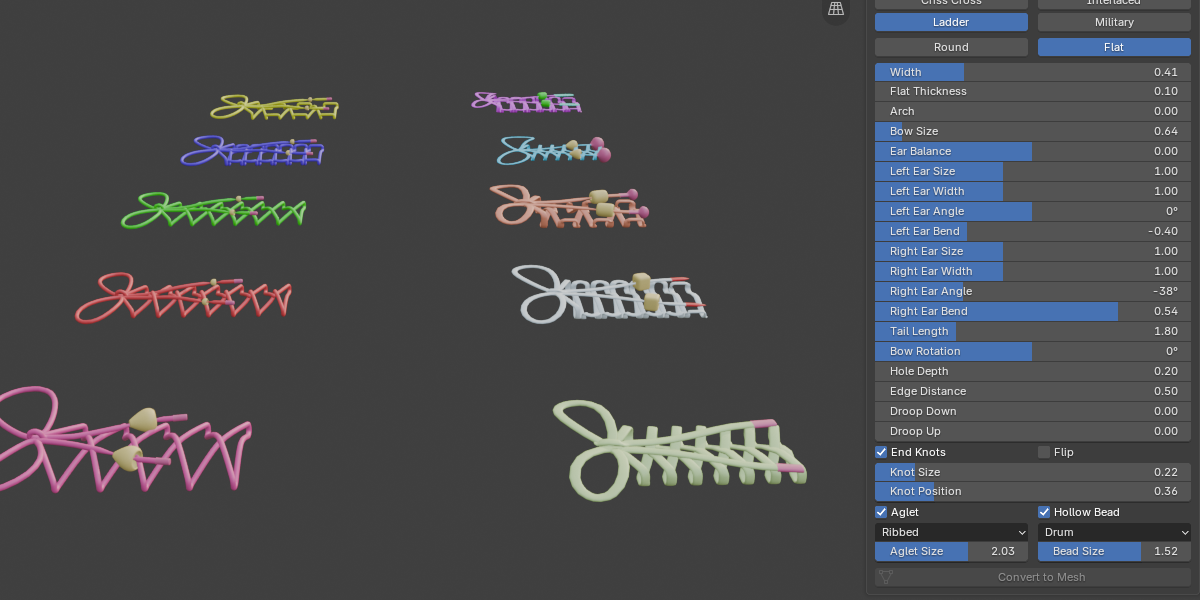
- Turn on End Knots to tie a knot near each end of the lace.
- Knot Size sets how thick the lace is at the knot. Knot Position sets where the knot sits on the tail.
- Turn on Hollow Bead to cover each knot with a hollow bead. Choose from Sphere, Cube, Drum, Bell and Drop.
- Bead Size at 1 is just big enough to cover the knot.
Aglets
- Turn on Aglet to add a tip to both ends of the lace.
- Choose from Classic, Pointed, Ball, Sphere, Ribbed and Flat End.
- Aglet Size at 1 is the normal size.
Colors
- Set the Lace, Aglet and Bead colors directly in the panel.
Convert to Mesh
- Convert to Mesh turns the lace, aglets and beads into ordinary mesh objects, one mesh per lace, and every part keeps its own material.
- A round lace is converted with its thickness baked in.
- After converting, the sliders no longer change those objects, and Generate Lace creates new laces next to them instead of replacing them.
FAQ
Which Blender version do I need?
Easy Lacing is made for Blender 5.2.0 or newer.
Does it only work on shoes?
No. It works on any mesh with eyelet holes, including sneakers, boots, corsets, bodices and laced dresses.
Do I need to model the lace myself?
No. The lace, bow, knots, beads and aglets are all generated for you.
How many holes do I need?
You need two rows of holes. The rows can have a different number of holes, and the lace skips the missing eyelet.
Nothing happens when I click Generate Lace. What is wrong?
Check that your mesh has green lines and that you marked two rows of holes. If you see a message at the bottom of Blender, it tells you what is missing.
Can I change the settings after generating?
Yes. The lace updates live while you move the sliders.
My mesh is not symmetric. Can I still use it?
Yes. Turn off Mirror X and mark each side separately.
Can I lace two shoes at once?
Yes. If the mesh has several separate sets of holes, each set gets its own lace.
How do I edit the lace by hand?
Click Convert to Mesh. The lace, aglets and beads become ordinary mesh objects that you can edit like any other mesh.
Can I use the result in a game engine?
After Convert to Mesh, each lace is a normal mesh that keeps its materials, so it should export like any other mesh.
Does it need any other add-ons?
No. Easy Lacing works on its own.
Have questions about this product?
Login to message
| Blender Extension Compatible | Yes |
| Dev Fund Contributor | |
| Published | 6 days ago |
| Blender Version | 5.2 |
| Extension Type | Add-on |
| Render Engine Used | Cycles, Eevee |
| License | GPL |