Easy Rigid Body
 Onion365studio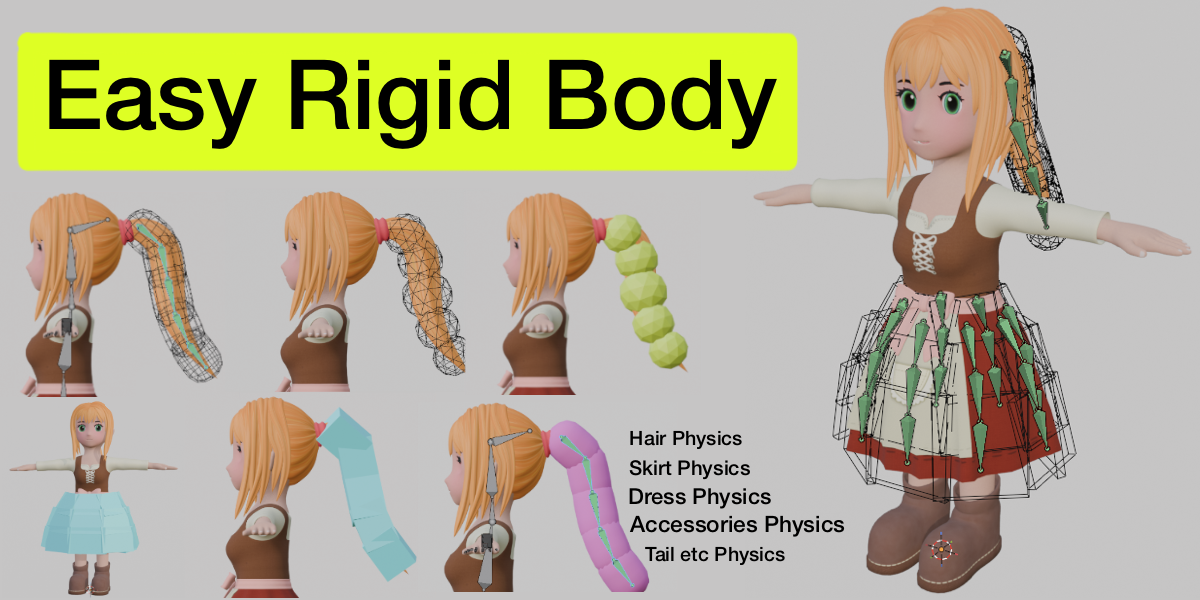

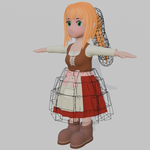
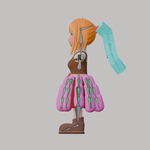
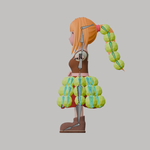
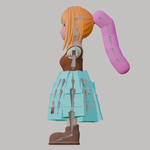
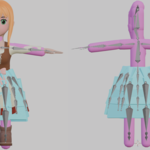

Easy Rigid Body: Documentation
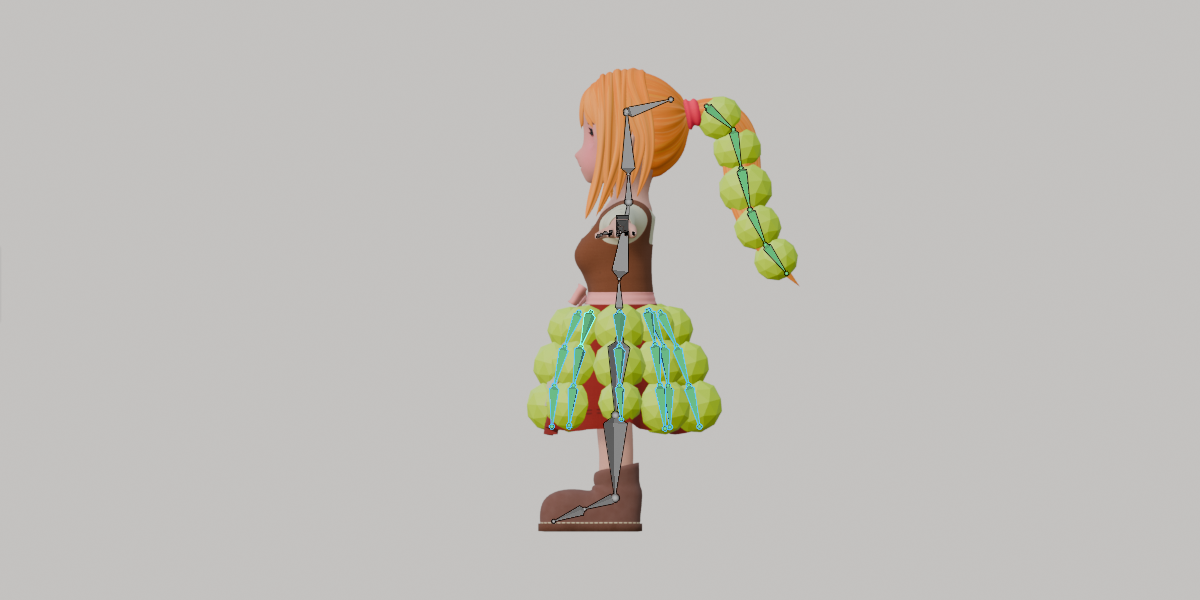
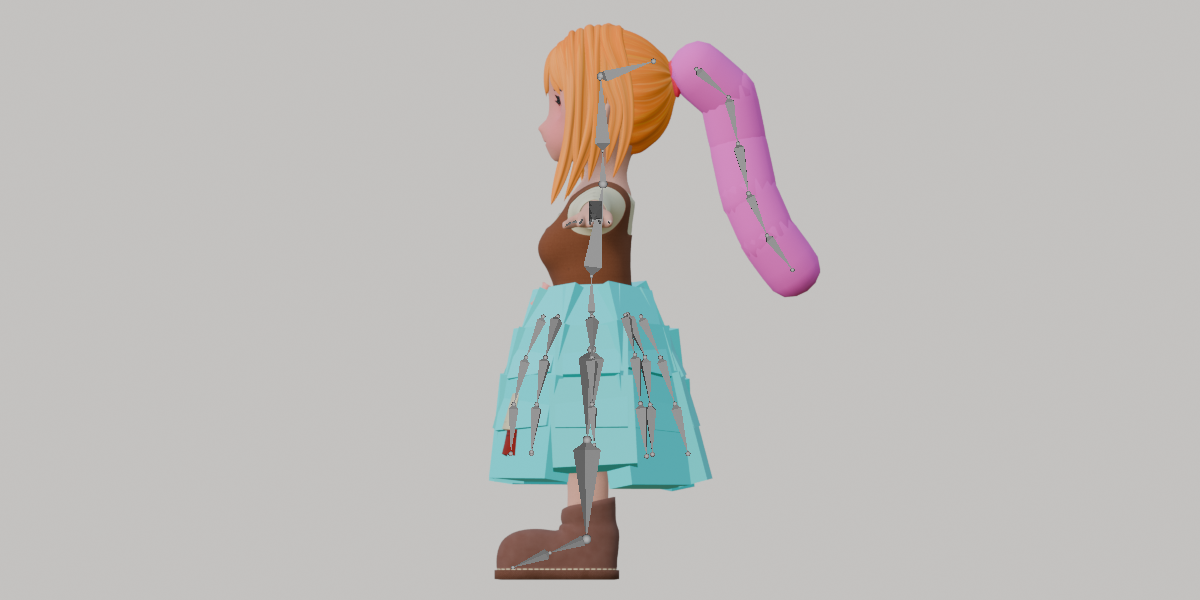
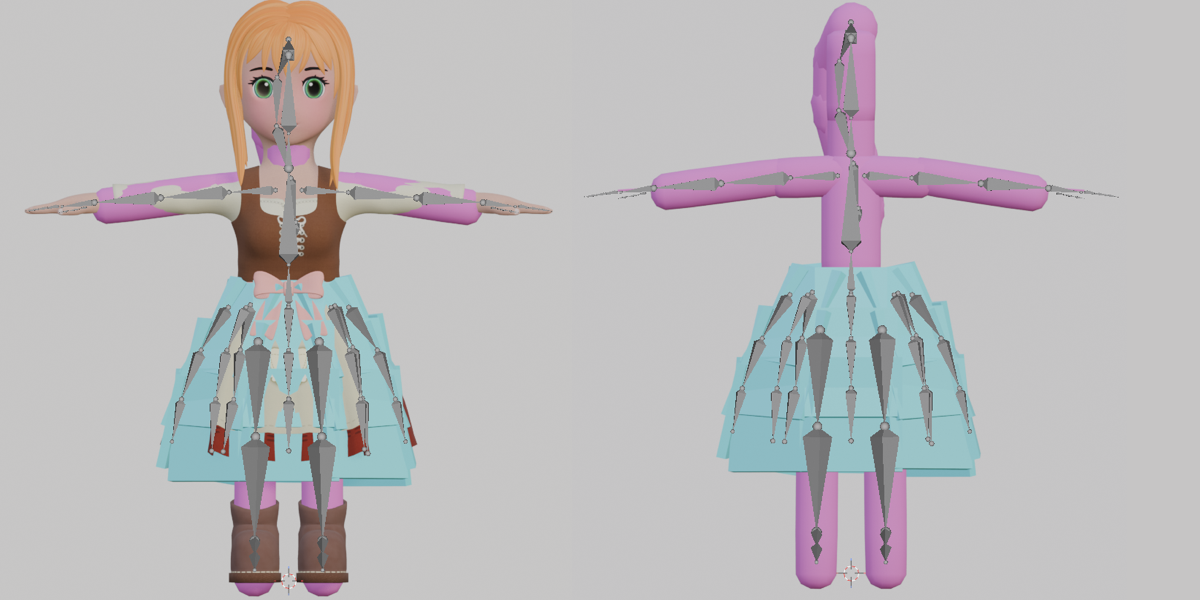
Easy Rigid Body sets up rigid body physics for hair and skirts on an armature. Select bones, click one button, and it builds the blocks, joints and bone constraints for you. It can also generate collision blocks so your physics don't sink into the body.
Installation
- Download the
.zipfrom your Superhive library. - In Blender, open Edit > Preferences > Add-ons.
- Click Install from Disk... (in newer versions, the small arrow at the top right of the Add-ons tab) and choose the
.zip. - Enable the add-on.
- Open the 3D Viewport, press N, and find the Easy Rigid Body tab.
Requirements: Blender [minimum version you tested], and an armature with bone chains (hair strands, skirt segments, etc.).
Quick Start
The usual order is collision first, then physics.
- Select your armature and enter Pose Mode.
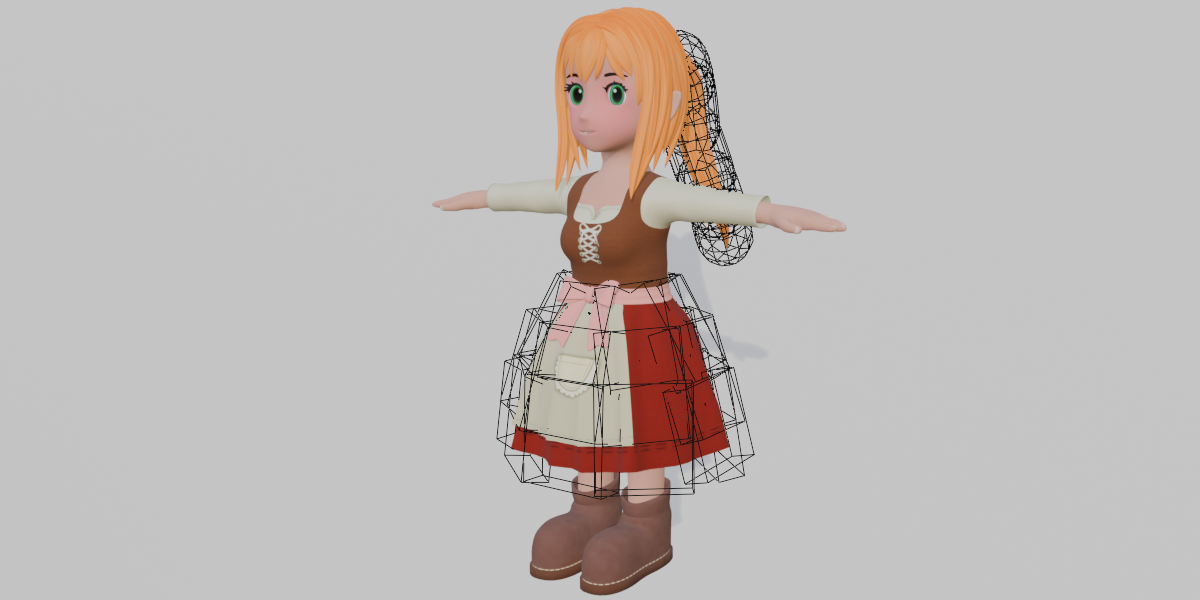
- Collision: set the mode to Collision, select the bones the physics should collide with (hips, thighs, legs), and click Add Collision.
- Adjust the Collision shape sliders until the blocks cover the body.
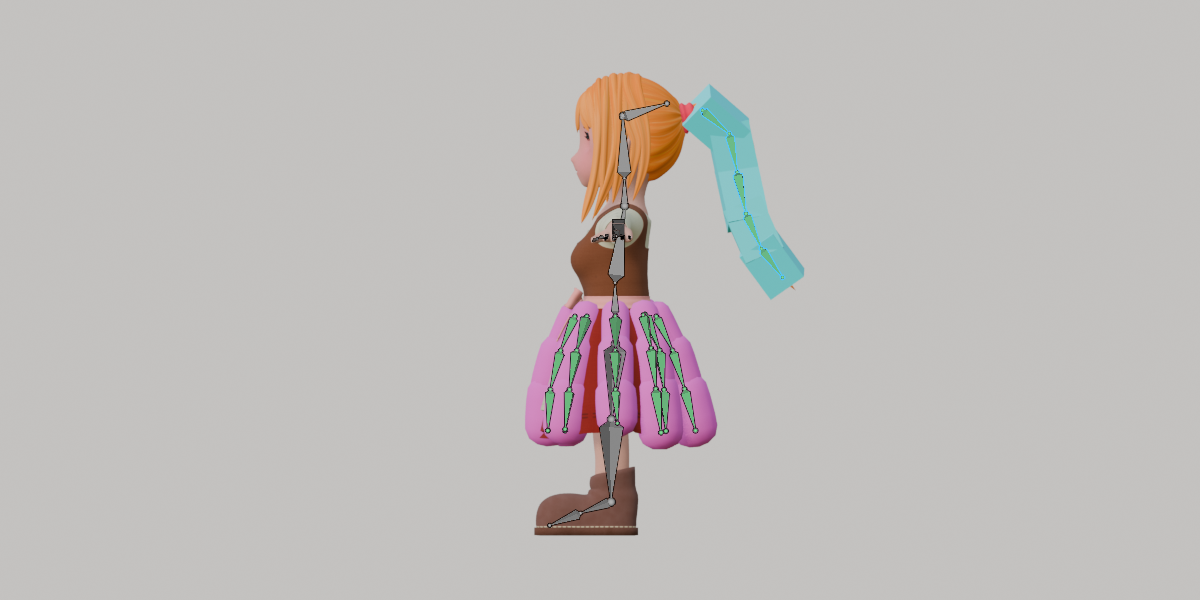
- Physics: set the mode to Physics, select the bones of the skirt or hair (whole chains, top to bottom), and click Add Physics.
- Press play from the Simulation Start frame and watch it move.
- Tune the sliders and parameters until you like the motion.
- Click Bake when you are happy.
Tip: Blocks are built from the pose of your bones at the Simulation Start frame. The add-on jumps to that frame when you click Add. Make sure the character is in the pose you want the physics to start from.
Panel Reference
Everything lives in 3D Viewport > N Panel > Easy Rigid Body.
Collection Name
Everything the add-on generates is placed in one collection so it is easy to manage and delete.
- Refresh icon: restore every number in the panel to its default.
- Trash icon: in Pose Mode, delete the physics or collision blocks of the selected bones only (with their joints, anchors and follow constraints). Other bones are not touched.
Mode
- Physics: every selected bone gets an active rigid body block. Blocks are linked by spring joints, and the bones follow the blocks.
- Collision: every selected bone gets a passive block that follows its bone and blocks other rigid bodies. It never drives the bones.
Shape
The collision shape given to the blocks you generate next: Box, Sphere or Capsule. A capsule runs along the bone and suits long thin parts like skirt strips.
Each block keeps the shape it was generated with. Changing this later does not affect existing blocks.
Block size (used when generating)
| Setting | Default | What it does |
|---|---|---|
| Width Overlap | 1.3 | 1.0 makes each block as wide as the spacing to its left/right neighbours. Above 1.0, neighbouring blocks overlap. |
| Width | 0.08 | Fallback width for bones that have no left/right neighbour (for example a single chain). |
| Depth | 0.06 | Thickness of the block, front to back. |
| Length Overlap | 1.15 | 1.0 makes each block as long as its bone. Above 1.0, blocks extend past both ends so neighbours in a chain overlap. |
Widths are worked out automatically from the spacing between neighbouring chains, so a skirt that widens toward the hem gets wider blocks toward the hem.
Add Physics / Add Collision
Generates one block per selected bone. See Quick Start above.
Simulation Start / End
The frame range of the rigid body simulation. These are disabled while a bake exists.
Bake / Delete Bake / Show/Hide
- Bake: bakes the simulation from Start to End so playback is identical every time.
- Delete Bake: removes the bake and returns to the start frame. Click this before changing blocks or parameters, otherwise the old baked result keeps playing.
- Show/Hide: shows or hides all generated blocks in the viewport. Hidden blocks still take part in the simulation.
Physics shape / Collision shape
Live Height, Width and Depth scale sliders. They resize all blocks of that group at once, relative to their original size. Physics blocks and collision blocks are scaled independently. The arrow icon resets a group to 1.0.
Rigid Body
| Setting | Default | What it does |
|---|---|---|
| Mass per Segment | 0.5 | Heavier blocks swing slower and are harder to push around. |
| Linear Damping | 0.4 | Higher feels like moving through air and stops blocks from flying off. |
| Angular Damping | 0.6 | Higher makes swings die out faster. Lower lets them sway longer. |
| Max Side Gap | 0.02 | How far neighbouring blocks in the same row may move apart. Smaller is tighter with less clipping but stiffer. Larger gives more freedom. 0 locks them completely. |
Joint
| Setting | Default | What it does |
|---|---|---|
| Swing Limit | 45° | Maximum swing of each joint. |
| Twist Limit | 15° | Maximum twist along the bone. Skirts rarely need twisting, so keep it small. |
| Spring Stiffness | 12 | How strongly the joint pulls back to the original pose. Higher is stiffer and more upright. Lower hangs more. |
| Spring Damping | 0.5 | Higher reduces oscillation while returning to rest. |
Parameter changes apply to existing blocks immediately, and the simulation re-runs automatically from the start frame a moment after you stop dragging. This is skipped while the timeline is playing.
Collections list
Keep several setups apart, such as a skirt and hair, each as its own collection. Click a collection to switch to it, and each collection remembers its own settings. Use the pencil icon to rename and the minus icon to delete a collection together with all its blocks, joints and bone constraints (you will be asked to confirm).
How It Works
Physics mode creates, for the bones you selected:
- One active rigid body block per bone.
- A spring joint between each block and the block of its parent bone.
- An invisible anchor for the top of each chain, attached to the parent bone, so the chain hangs from it.
- Side joints between neighbouring chains at the same level, so a skirt keeps its shape as a ring.
- No-collision joints between nearby blocks that are not directly linked, so overlapping neighbours don't jam.
- A Copy Transforms constraint on each bone, named
SkirtRB_Follow, so the bones follow the blocks.
It also raises the Rigid Body World's Substeps per Frame and Solver Iterations to at least 20 for stability.
Collision mode creates one passive block per selected bone, parented to that bone.
FAQ
Nothing happens, or I get "Select the armature and enter Pose Mode". The add-on works on the bones selected in Pose Mode. Select the armature, switch to Pose Mode, select the bones, then click Add.
Why did Add Physics create a new collection?
If the active collection already contains blocks, Add Physics starts a new collection with the same name (Blender adds a number, such as .001). This keeps setups like Skirt and Hair separate. You can rename collections in the list.
Which bones should I select? Select every bone in the chains you want to simulate, from the top of the chain to the tip. The top selected bone of each chain hangs from an anchor on its parent bone, and each lower bone is joined to the block above it. The parent bone itself should not be selected.
Can I use it for hair as well as skirts? Yes, it works on any hanging bone chains. One thing to know: side joints treat the chains at each level as a ring around the character's vertical axis (the armature origin, world Z up). With three or more chains, the first and last chain are also linked. If you want a looser result for an open arc of hair strands, raise Max Side Gap.
The skirt or hair goes through the body. Add Collision blocks to the bones it passes through (hips, thighs, legs) and use the Collision shape sliders to make them cover the body. Then click Delete Bake if you had baked, and play again.
The motion is too stiff, too floppy or too bouncy.
- Too stiff: lower Spring Stiffness, or raise Swing Limit.
- Too floppy: raise Spring Stiffness.
- Keeps bouncing: raise Spring Damping or Angular Damping.
- Feels heavy and slow: lower Mass per Segment.
- Flies off: raise Linear Damping.
I changed a setting but nothing changed. Check whether the simulation is baked. A bake keeps playing until you click Delete Bake.
I changed the Shape (Box/Sphere/Capsule) but my blocks look the same. The shape is applied to blocks you generate next. Existing blocks keep the shape they were made with. Delete them and generate again to use a new shape.
I can't see the blocks. Check that Show/Hide is highlighted. Joints and anchors are always hidden after generation, and that is normal. Hidden blocks still simulate.
The result looks different when I scrub the timeline. Rigid body simulation depends on the frames before the current one. Play from Simulation Start, or bake, for consistent results.
How do I remove the physics?
- One or more bones: in Pose Mode select them and click the trash icon.
- A whole setup: select its collection in the list and click the minus icon.
Both also remove the follow constraints from the bones.
What does the add-on change in my scene?
It adds a collection with the blocks, joints and anchors, and creates a Rigid Body World if there isn't one. In Physics mode it also adds a SkirtRB_Follow Copy Transforms constraint to each simulated bone. Deleting the collection or using the trash icon removes them.
Does Bake write keyframes onto my bones? No. Bake caches the rigid body simulation. If you need keyframes on your bones, for example to export, use Blender's own Bake Action on the armature after baking.
Where do I get support? [[email protected].]
Have questions about this product?
Login to message
| Blender Extension Compatible | Yes |
| Dev Fund Contributor | |
| Published | about 21 hours ago |
| Blender Version | 5.2 |
| Extension Type | Add-on |
| Render Engine Used | Cycles, Eevee |
| License | GPL |
Discover more products like this
collision tail-physics Dynamic Rigid Body bone physics hair physics accessories-physics dress-physics physic rigid body skirt-physics