Easy Stylize!
 Boars In Rome


Easy Stylize! Documentation
How to install:
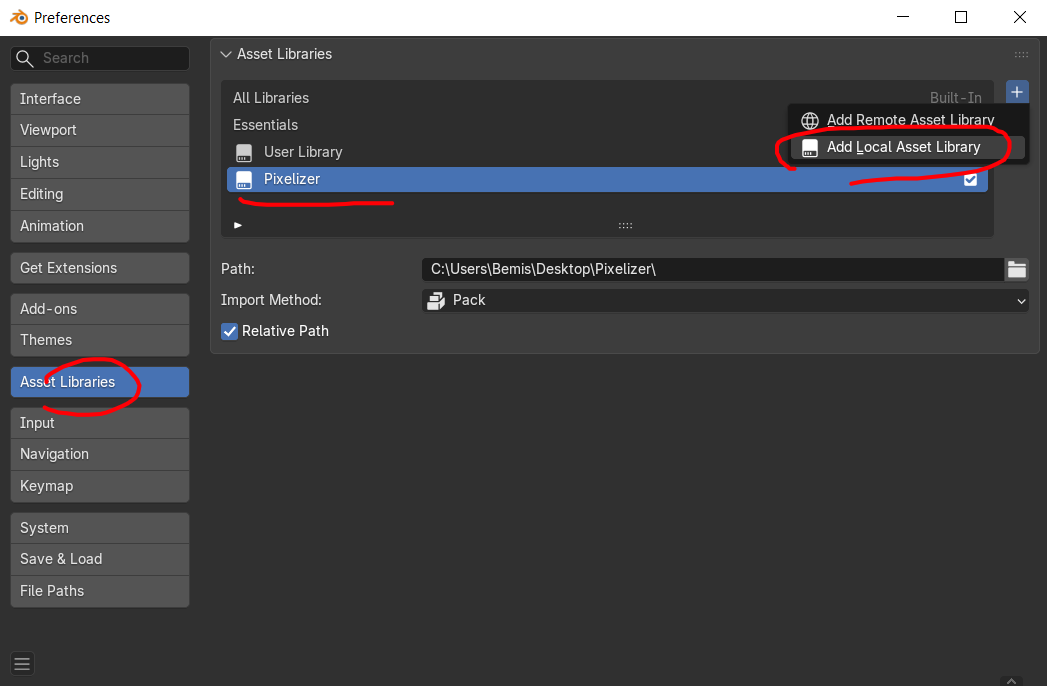
Installation is really simple. Simply add the blender file as an asset library. You will then find all of the nodes under the "Easy Stylize" category inside of Blender's asset browser.
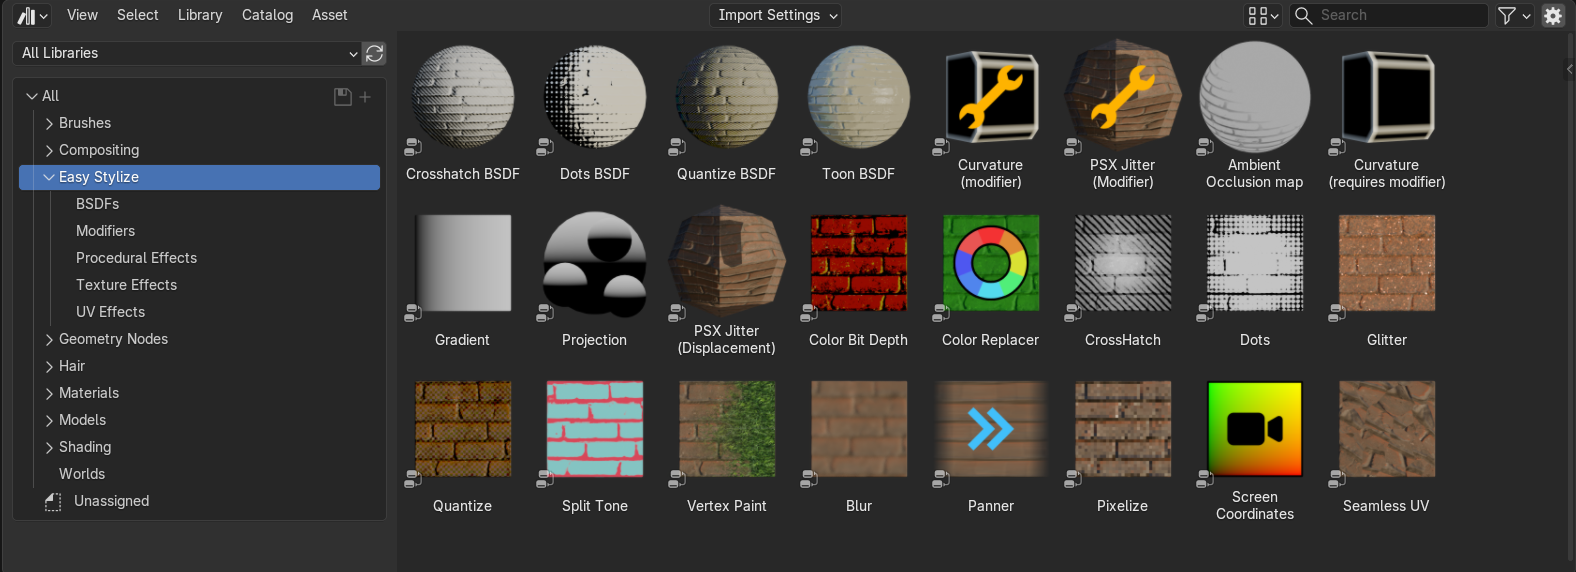
Texture Effects:
This category features a group of effects designed to work with textures. However, they aren't only limited to that, as they can be used with BSDFs using the "shader to RGB" node.Color Bit Depth:
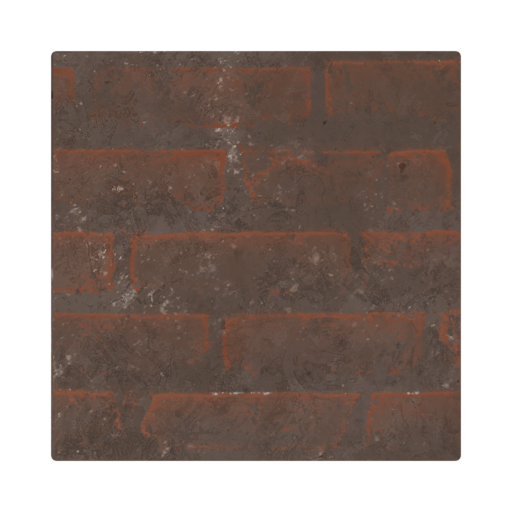
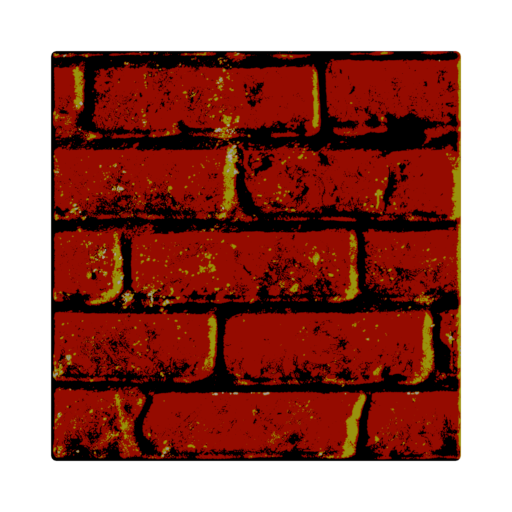
Color bit depth determines how many bits data can be used to describe each pixel's color. In simpler terms, it lowers the amount of possible colors. As an example, the PS1 only supported 24-bits and most of its games used 15-bits to save on memory.
You can learn more about the effect here: https://www.youtube.com/watch?v=1VK3OfFS9J0
| Inputs | Outputs |
Color in: plug your texture here |
Color Out: output your texture here |
Bit Depth: The amount of possible colors |
Color Replacer:
Color Replacer is a utility node that allows you to mask specific colors. This can be useful for removing shadows, altering specific parts of a texture or for general convenience.
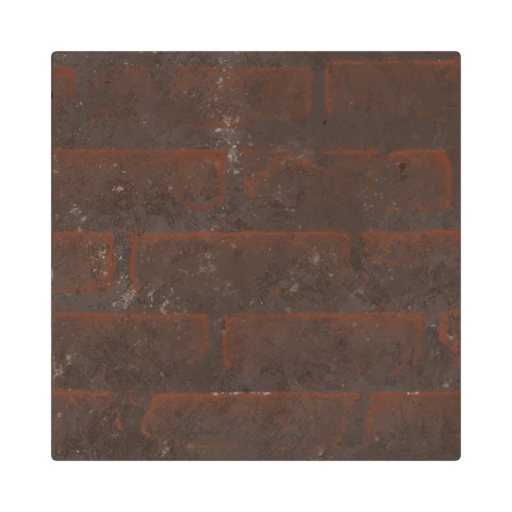
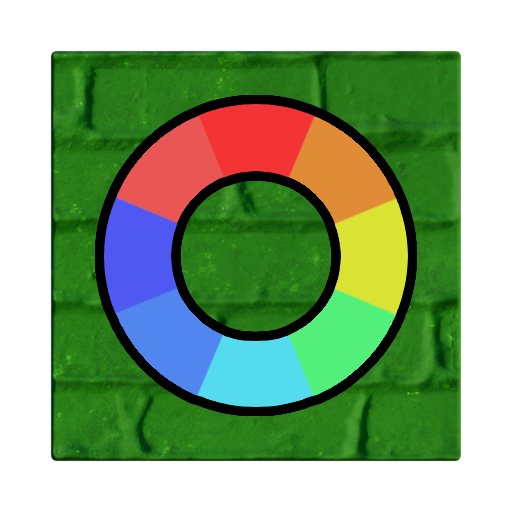
| Inputs | Outputs |
Texture In: This is where the user can plug in their texture |
Texture Out: This is where your texture is outputted |
Color Select: The color to target and replace |
|
|
Replace: The new color Sensitivity: Lower sensitivity "shrinks" the selection. |
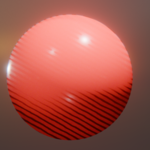
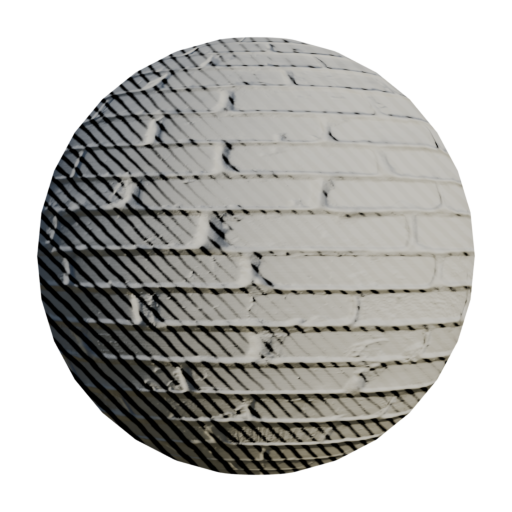
CrossHatch:
An effect which crosshatches based on light and dark values. In the shown image, the crosshatch effect is applied on a diffuse BSDF. As you can see the areas in which the light doesn't shine are crosshatched. However, this effect can be used on textures as well.
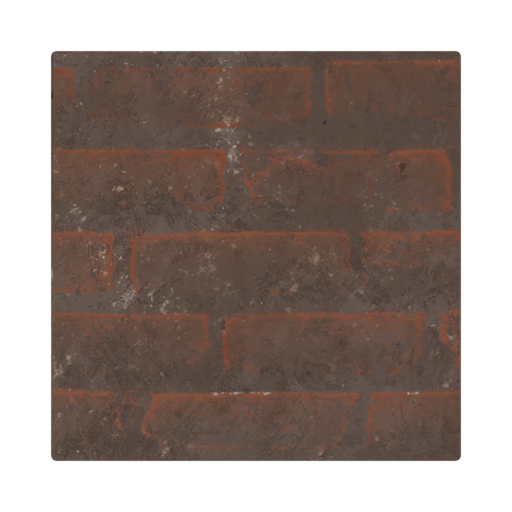
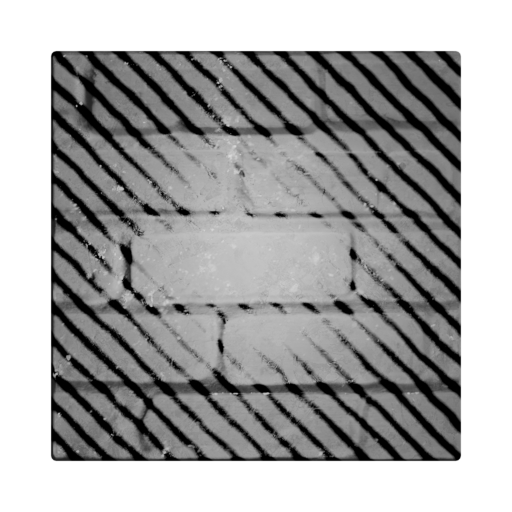
| Inputs | Output |
| Input: This is where you can plug in your value | Output: The output of the node graph |
|
Line rotation: The rotation of the line in degrees Line size: The size of the lines |
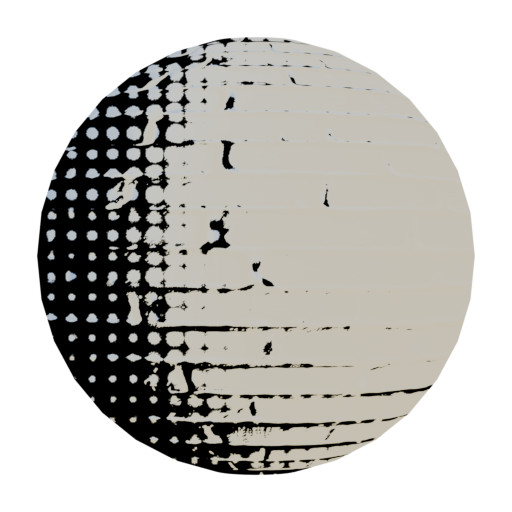
Dots:
An effect which shades dots based on light and dark values. In the shown image, the dot effect is applied on a diffuse BSDF. As you can see the areas in which the light doesn't shine are dotted. However, this effect can be used on textures as well.
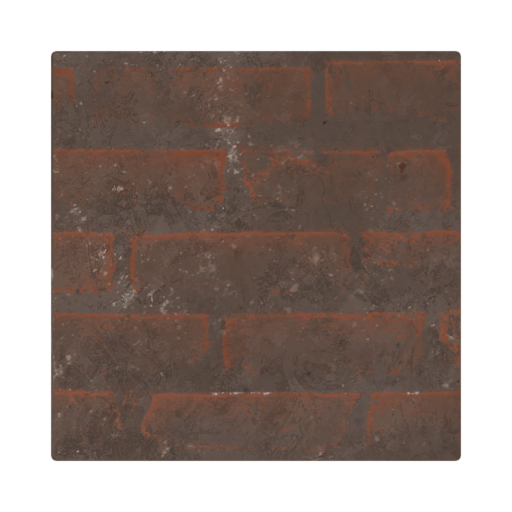
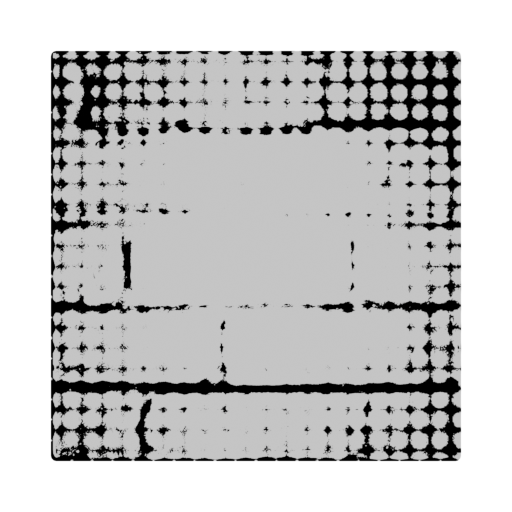
| Inputs | Outputs: |
| UV Input: The UV coordinates used to map the dots | Output: The output of the node graph |
| Input: This is where you plug in your value | |
| Dot Scale: The scale of the dots |
Glitter:
Glitter is a quick effect that can be used to output glitter normals. This is useful for surfaces like snow, sand, cars, nail polish and of course.... glitter. In the example the glitter normals are plugged in a Specular BSDF which is added on top of the Principled BSDF.
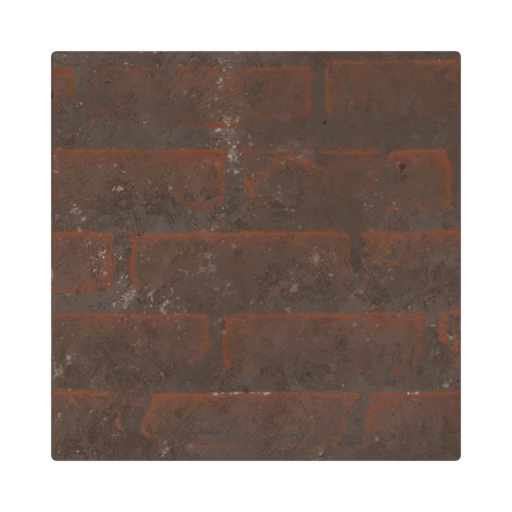
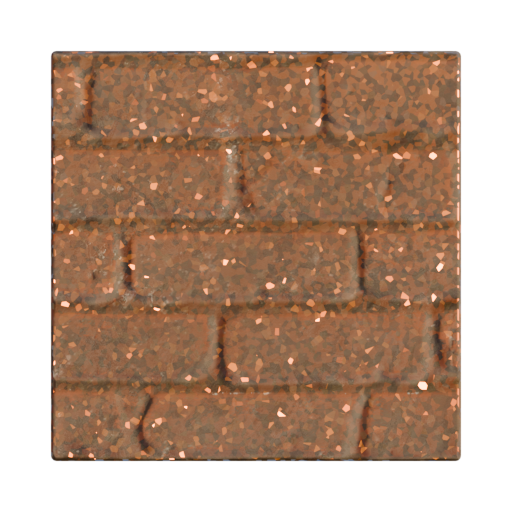
| Inputs | Output |
| Size: The size of the glitter flakes | Normal: The output normal map |
| Strength: The strength of the glitter normals |
Quantize:
The Quantize node does a similar process to the Bit Depth node, but with the added functionality of dithering.
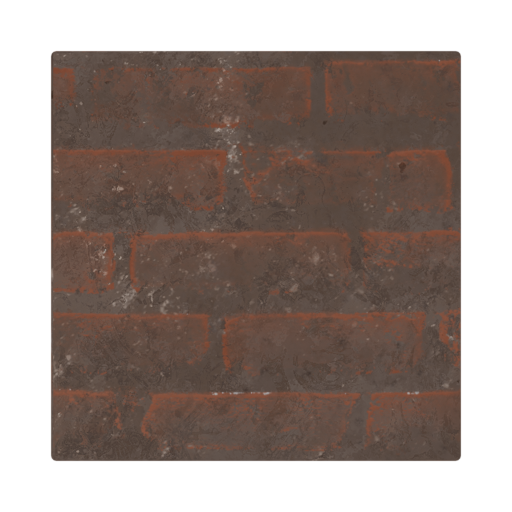
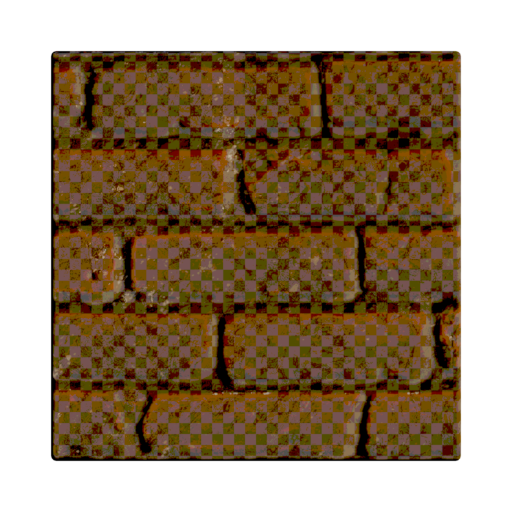
| Inputs | Output |
| Color: This is where you input your value | Output: The output of the node graph |
| Steps: The amount of steps you want to use for quantizing | |
| Dither?: Whether to use dithering, and how much | |
| Pattern Size: The size of the dither pattern |
Split Tone:
Split tone works similarly to Blender's default Mix Color node, but with the added functionality of changing the contrast of the texture. This makes it ideal for stylizing, simplifying complex textures into two colors or color grading.
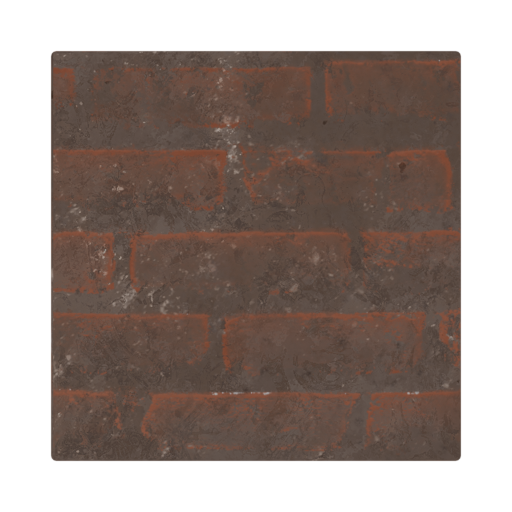
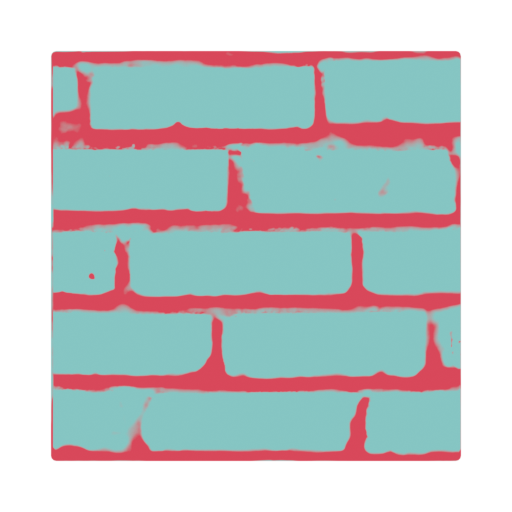
| Inputs | Output |
| Input: This is where you input your value | Output: The output of the node graph |
| Contrast: The contrast of your input | |
| Opacity: How much your input is mixed with the new colors | |
| Color A: The first color | |
| Color B: The second color |
Vertex Paint:
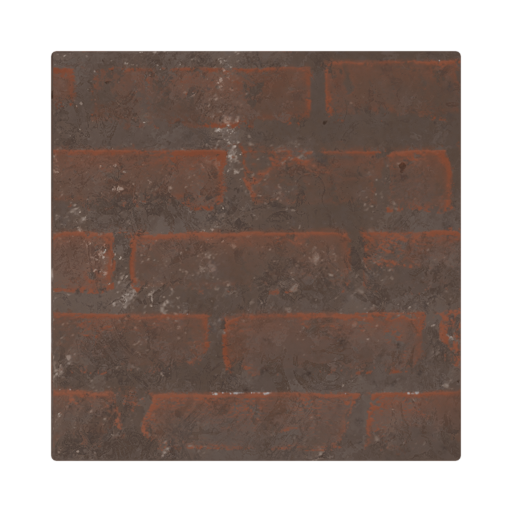
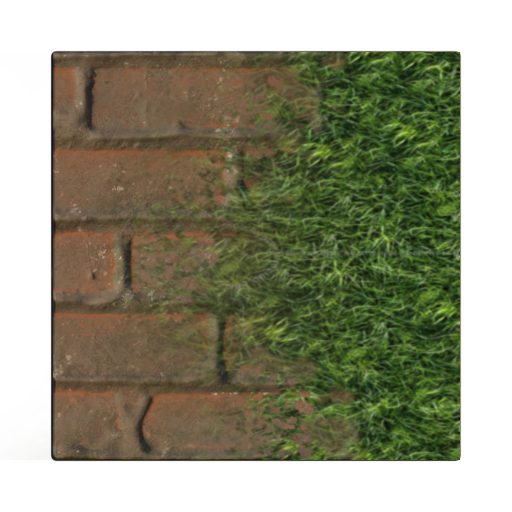
The Vertex Paint node lets you paint between two different sets of textures based on a vertex color. The node allows you to select a specific color to target for the vertex blending. It also allows for easy control of the height map's contrast.
| Inputs: | Output: |
Color to select: The vertex color to target |
Color Out: The base color output |
Height Map: The height map used for blending |
Roughness Out: The roughness output |
Height Contrast: The contrast of the height map |
Normal Out: The normal output |
| ----------------------- | |
Base Color A: The base color of the first material |
|
Roughness A: The roughness of the first material |
|
Normal A: The normal of the first material |
|
| ----------------------- | |
Base Color B: The base color of the second material |
|
| Roughness B: The roughness of the second material | |
| Normal B: The normal of the second material |
UV Effects:
This category features a group of effects designed to work with UVs. Unfortunately due to how Blender handles textures these effects have to be used exclusively during the UV stage. In practice this means that effects like Kuwahara and Gaussian Blur aren't possible at the moment.
Blur:
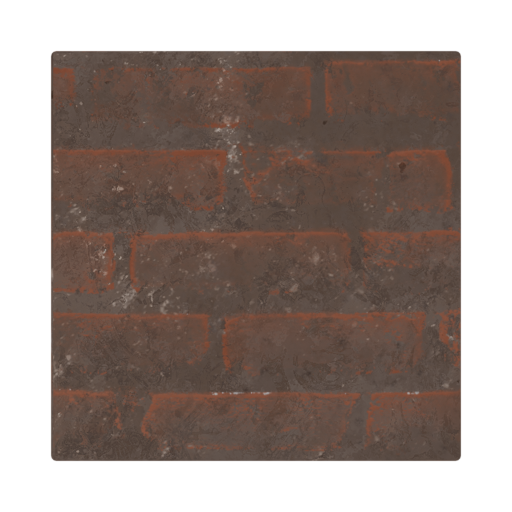
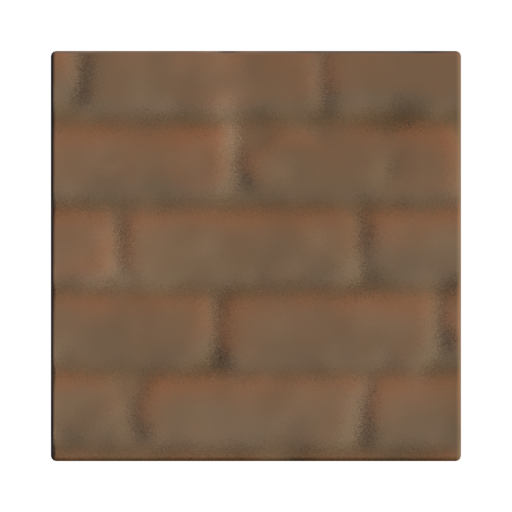
The blur node jitters the UVs in a random directions to give the final impression of blurriness.
| Inputs | Output |
| UV Input: This is where you plug your UVs in | UV Output: This is where the modified UVs are outputted |
| Blur Amount: The amount of blur to apply to the texture |
Panner:
The panner is a utility node that is useful for creating effects like flowing water, lava, or rolling clouds. It works by offsetting the UVs on the X and Y axis over time.
| Inputs | Output |
| Uv Input: This is where you plug your UVs in | Uv Output: This is where the modified UVs are outputted |
| X Speed: The speed of the texture on the X axis. The value multiplies time. | |
| Y Speed: The speed of the texture on the X axis. The value multiplies time. |
Pixelize:
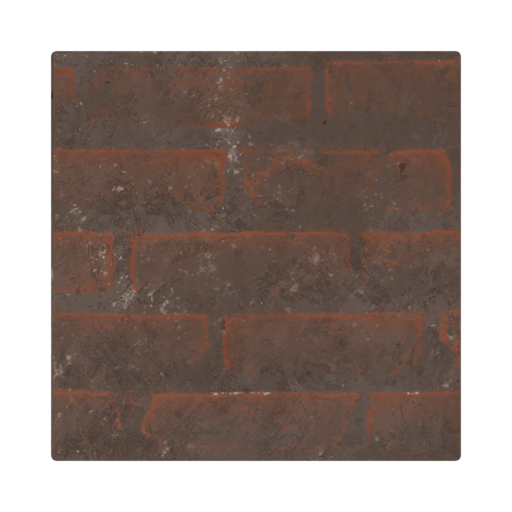
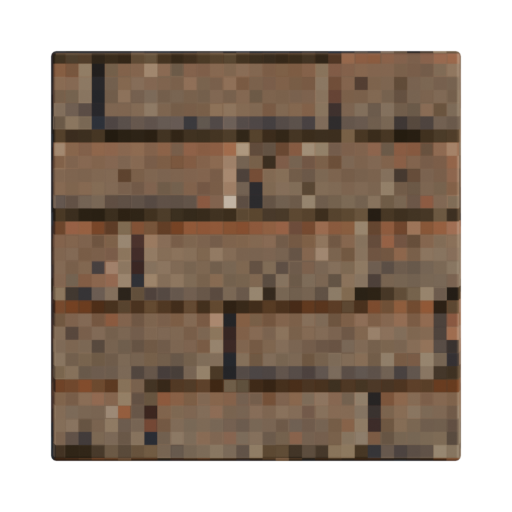
The pixelize node pixelizes the UVs based on the specified amount. Important: you will get some minor artifacts if you don't set the texture's interpolator to "closest"
| Inputs | Output |
| Pixel Size: The size of the pixels | Uv Output: This is where the modified UVs are outputted |
| UV Input: This is where you plug your UVs in |
Screen Coordinates:
The Screen Cordinates node is a utility node that gives you easy access to screen-space coordinates. This is useful for effects that are usually screen-space such as polka dots. The user can specify the aspect ratio of their screen.

| Inputs | Output |
| Aspect Ratio X: The horizontal ratio | UV Output: This is where the modified UVs are outputted |
| Aspect Ratio Y: The vertical ratio |
Seamless UV:
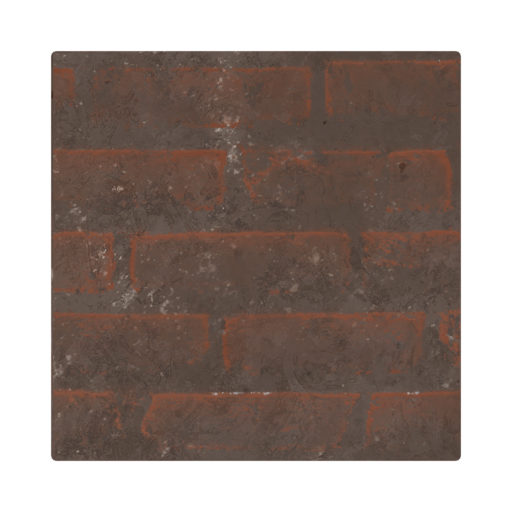
The Seamless UVs node is designed around textures that benefit from being seamless, such as grass, rocks, muds... essentially large terrain textures. You can use this node to break up repetition.
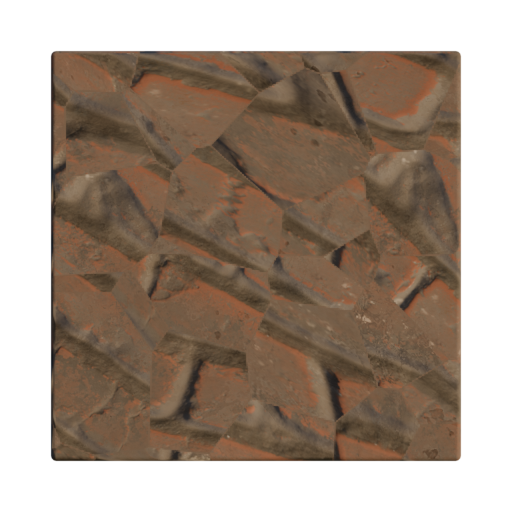
| Inputs | Output |
| UV Input: This is where you plug your UVs in | UV Output: This is where the modified UVs are outputted |
| Break Up Scale: The size of the effect | |
| Smoothness: The amount of blending in between the seams |
Bump Offset:
The Bump Offset node works similarly to Unreal's Bump Offset. This node is used to create fake and cheaper displacement for a more 3D look in your textures. The effect has limitations, especially at grazing angles or when the amplitude is set too high or low. An example use case is provided.
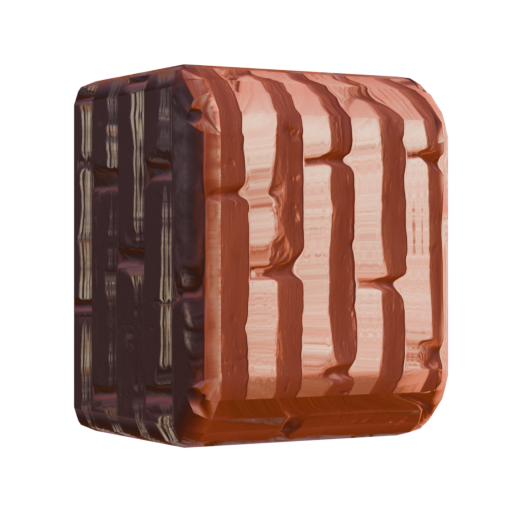
| Inputs | Output |
| UV: Only UVs can be plugged in here. Other types of coordinates break the effect | Parallax UV: The output of the effect, with offset UVs |
| Height: The height to displace. You can plug your Height map here | |
| Height Amplitude: A multiplier on top of the Height. A value of 4 works best |
Parallax Normal Example
This is just an example to show how you can chain different Bump Offsets to create interesting effects such as a cheap version of Parallax Occlusion.
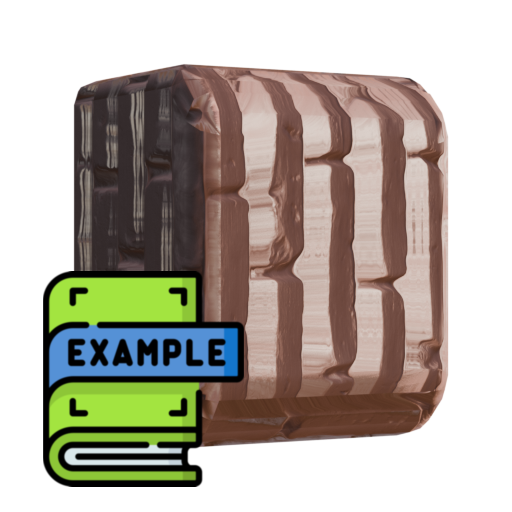
| Input | Output |
| UV: Only UVs can be plugged in here. Other types of coordinates break the effect | Parallax Normals: A normal map output |
Procedural Effects
The procedural effects category was designed to work similarly to Substance Painter, where you can create or stylize textures using a handful of small functions, which when added together become Smart Materials.
Ambient Occlusion map:
The Ambient Occlusion map node simplifies the set-up of AO nodes. Many times AO maps are multiplied on top of the Albedo; this node ensures the AO is shaded in a believable manner, only darkening the areas in shadow.
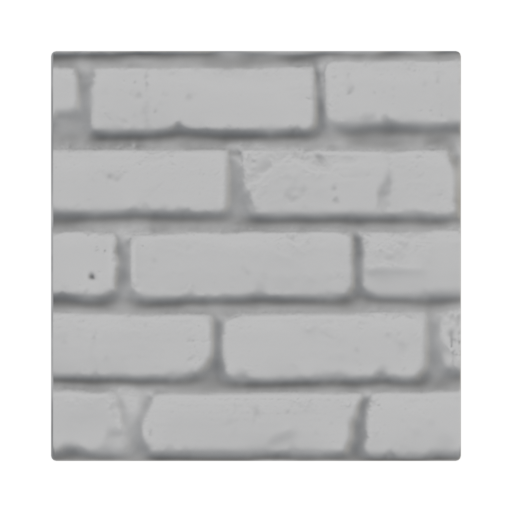
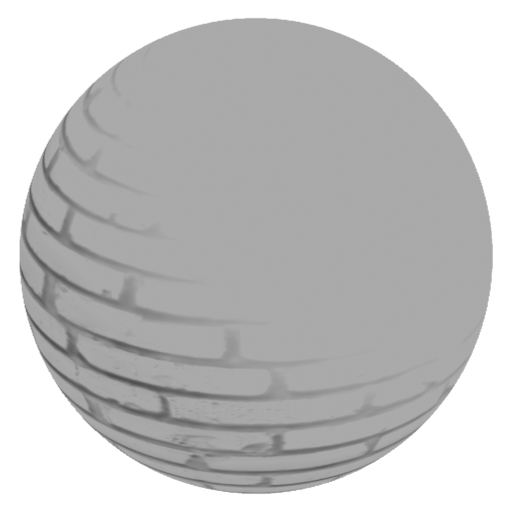
| Inputs | Output |
| AO Map: This is where you plug your AO map in | Output: The color output of the node graph |
| Albedo: This is where you plug your Albedo in | |
| Opacity: The opacity of the effect | |
| Influence: How strongly the effect wraps around the shading |
Curvature (requires modifier):
The curvature node allows you to detect and mask the inner and outer curves of your model. Useful for edge wear, anime styles and enhanced realism. Unfortunately this requires an additional modifier and comes with some limitations (see the modifier section). This is NOT in screen space.
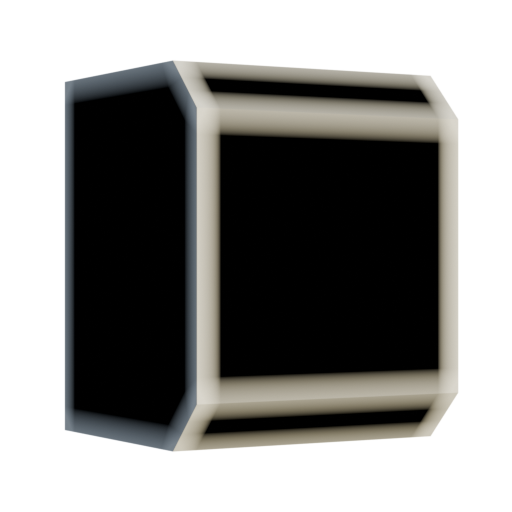
| Outputs: |
| Inner Edge: The inner curvature of the model |
| Outer Edge: The outer curvature of the model |
Gradient:
A simple gradient node with simplified inputs and outputs. Useful for grime or adding extra spice to your models.
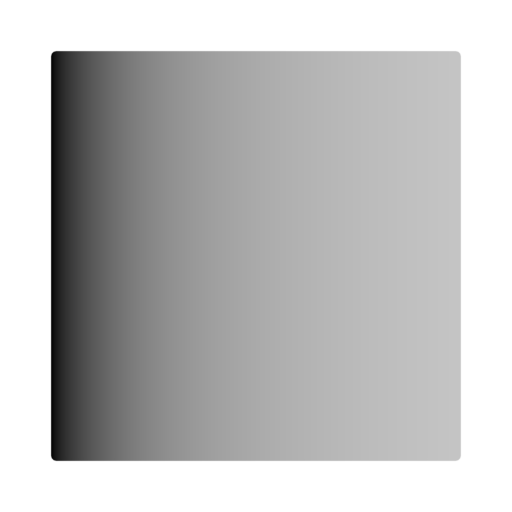
| Input: | Outputs: |
| UV Input: This is where you plug your UVs in | X Output: The gradient on the X |
| Y Output: The gradient on the Y | |
| Z Output: The gradient on the Z |
Projection:
A simple projection node with simplified inputs and outputs. Useful for snow, sand, dust, moss and other similar effects that require projection.
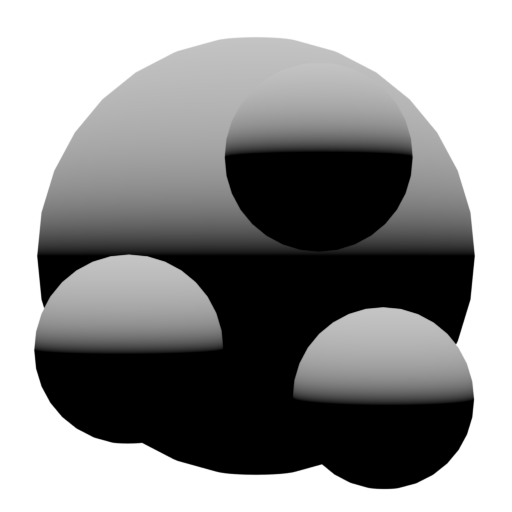
| Inputs: | Outputs: | |
| UV Input: This is where you plug your UVs in | X Output: The projection on the X axis | |
| Y Output: The projection on the Y axis | ||
| Z Output: The projection on the Z axis |
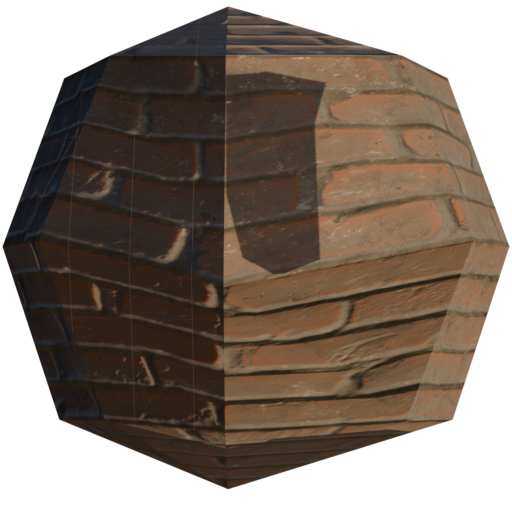
PSX Jitter (Displacement):
A displacement set-up which aims to imitate the Playstation 1's vertex jitters. Since this is a displacement effect there are limitations in EVEE, as displacement also contributes to normal maps. To circumvent this, you can use the PSX Jitter modifier instead. This set-up may be more useful for Cycles.
| Inputs | Output |
| Vertex Snapping Amount: How many meters away the vertex can snap to. For example 0.5 is half a meter. | Vector Displacement: The output, meant to be plugged in the displacement of the shader |
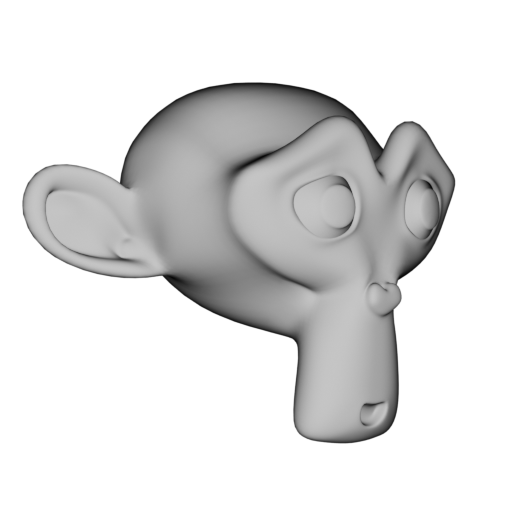
Phong Base:
A node set-up that imitates how phong shading works. This can help you achieve simplified shading, similar to the PS3 / XBOX 360 era
| Input: | Output: |
| Intensity: how strong the Phong effect should be | Phong Base: the output of the node group |
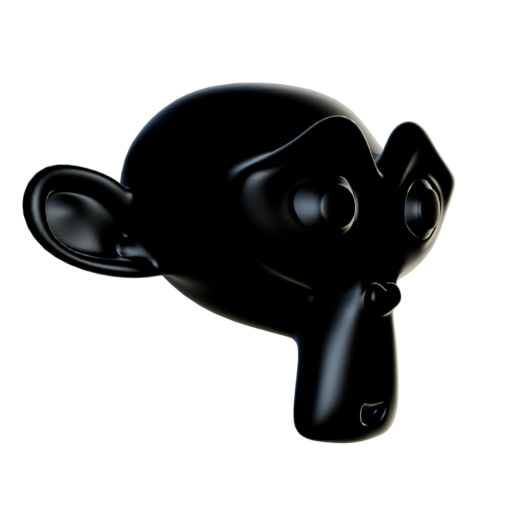
Phong Specular:
A node set-up that imitates how phong reflections work. This can help you achieve simplified shading, similar to the PS3 / XBOX 360 era
| Input: | Output: |
| Intensity: The intensity of the reflections | Specular: The output of the node group |
| Color: The color of the reflections |
Modifiers:
A series of modifiers that are needed for other functions to work
Curvature (modifier):
This modifier is needed to give curvature data to the shaders. The limitations are some glitches when using it in addition to the Bevel Modifier. Additionally it doesn't work that well on overly curved objects like spheres and faces, and on overly tiny geometry. At the moment its ideal use is on hard surface models.

| Inputs |
| Curvature Amount: The amount of curvature to detect in meters |
PSX Jitter (modifier):
An alternative to the PSX Jitter node which works on EVEE as well
BSDFs:
This series of nodes are some presets made to demonstrate how all of these nodes can be used to create different art styles. All of the presets follow a very similar structure to the Principled BSDF but with the added functionality of its respective style.
Crosshatch BSDF:
A BSDF where the shading is handled using the Crosshatch node
Dots BSDF:
A BSDF where the shading is handled using the Dots node
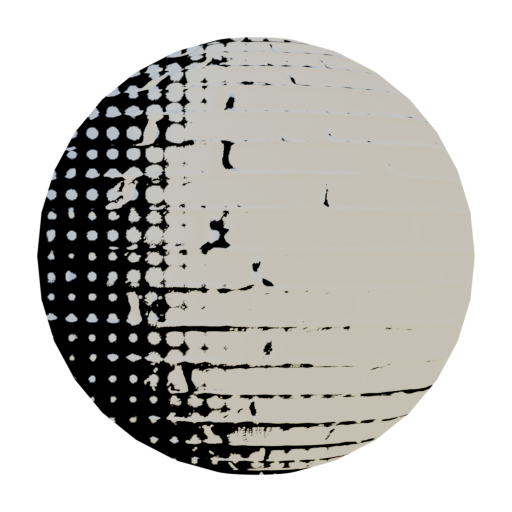
Quantize BSDF:
A BSDF where the shading is handled using the Quantize node
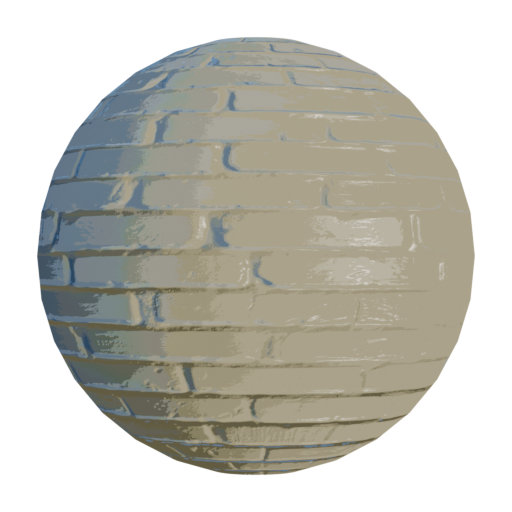
Toon BSDF:
A BSDF where the shading is handled using Color ramps; demonstrating how toon shaders with colored lights can be created
Phong BSDF:
A BSDF where the shading is handled using the phong nodes, to demonstrate how PS3 / XBOX 360 shading looks like
General notes:
If you encounter any bugs, unexpected behavior or poor usability, please let me know, I will update the add-on and its documentation as soon as I can. A video walkthrough is also coming soon!
 Included
Includes 12 months of
- Support from Boars In Rome
- Product updates
Extend this product’s Support Period +12 months: 25% of product price
Have questions before purchasing?
Login to message
| Sales | 10+ |
| Dev Fund Contributor | |
| Published | about 2 months ago |
| Blender Version | 5.2 |
| Render Engine Used | Cycles, Eevee |
| License | GPL |
Discover more products like this
Texturing procedural NPR Shader nodes ps1 3dstylized Geometry utility