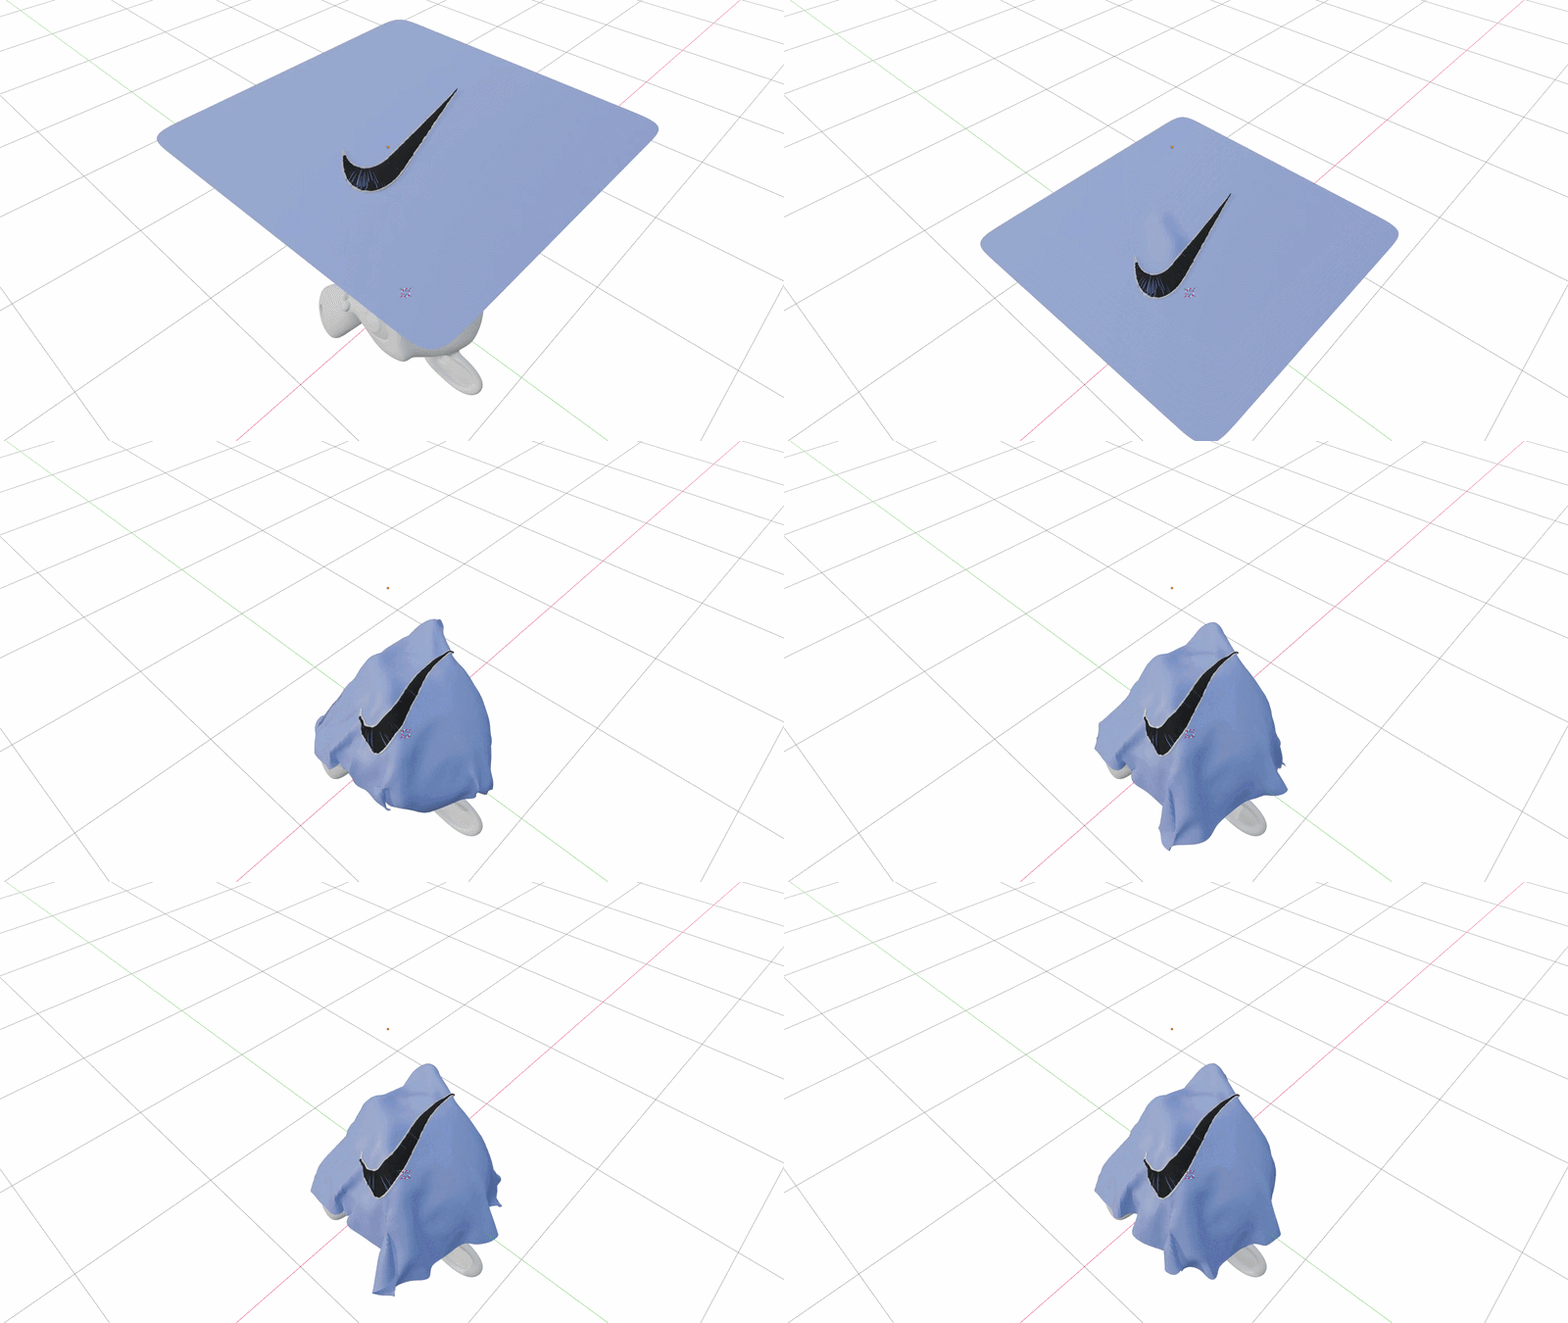
Medicraft


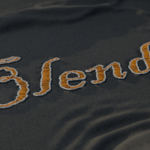
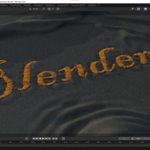
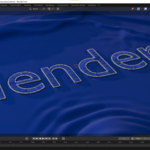
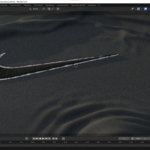
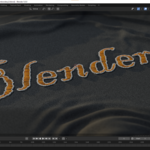
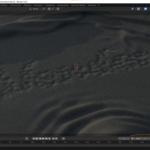
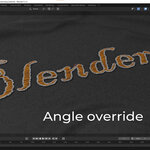
Create beautiful embroideries that match the contours of your object. Works with any curve object (for text, make sure to set "Fill" to "None", otherwise it's considered a mesh instead of a curve.
How to use:
Append the "Embroidery" and "Wrinkles" (optional - if you want wrinkles on the underlying cloth) node groups. Apply a geometry nodes modifier to your curve object, and select the "Embroidery" node tree. If you want wrinkles on the underlying cloth, apply the "wrinkles" node group to it. You can also use the asset browser.
Tutorial:
Embroidery settings:
- Thread color: the base color for the threads.
- Thread color variation: the amount of dark/light (brightness) variation on the base thread color.
- Min length: minimum thread length. Shorter threads will be removed. Useful for removing tiny threads. This is length based, so if your object is small and you're not seeing any threads, this is the likely culprit and you need to increase it.
- Jitter: The amount of random displacement of the threads. This is length based so will will vary according to the size of your object.
- Z-offset: How far the threads bow upwards. This is length based so will will vary according to the size of your object.
- Guide distance: how far apart the guide curves are. This is length based so will will vary according to the size of your object. You want a small number of guide curves since these are relatively slow to calculate. Interpolated "Children" curves (see below) are used to fill between the guides.
- Flip normals: use this if you find the threads pointing out instead of in.
- Children: use interpolated children to fill between the guide curves.
- Children distance: the distance between children. Smaller distance means more dense threads. This is length based so will will vary according to the size of your object.
- Thread thickness: the thickness of the threads. This is length based so will will vary according to the size of your object.
- Rim: whether to add an embroidered rim to your object.
- Rim color: the base color for the threads.
- Rim color variation: the amount of dark/light (brightness) variation on the base rim color.
- Rim radius: the radius of the rim. This is length based so will will vary according to the size of your object.
- Rim thread spacing: the density of the rim threads/ringlets. This is length based so will will vary according to the size of your object.
- Rim randomness: the amount of random offset for the ring threads/ringlets. This is length based so will will vary according to the size of your object.
- Rim noise scale: the scale of the noise texture used to offset the ring threads/ringlets.
- Rim resolution: the resolution of the rim threads. Increase this for close-ups if the rim threads/ringlets look blocky.
- Realize rim instances: use this if you need to deform the result (e.g. lattice+shrinkwrap) since otherwise the rim threads/ringlets will not deform since they are instances.
Override angle: if you want a single direction for all threads instead of having them follow curvature, turn this on and specify the angle.
Wrinkles settings:
- Wrinkle extent: how far the wrinkles extent out from the mesh. This is length based so will will vary according to the size of your object.
- Wrinkle scale: the scale of the wrinkle noise. Larger scales will make smaller wrinkles.
- Bump height: the wrinkle bump map height. Larger values will make the wrinkles more obvious.
Troubleshooting/FAQs:
- The modifier is not working on my text.
- Make sure you set the "Fill" to "None" in the text properties panel.
- I can see a rim but no threads.
- Try increasing the "Min length" and "Guide distance" parameters.
- How do I make it conform to my cloth?
- You can use the lattice+shrinkwrap technique explained in this video, or you can use the "Deform to Surface" Modifier, especially if you need animations: